


How to Make a Tin Cosy

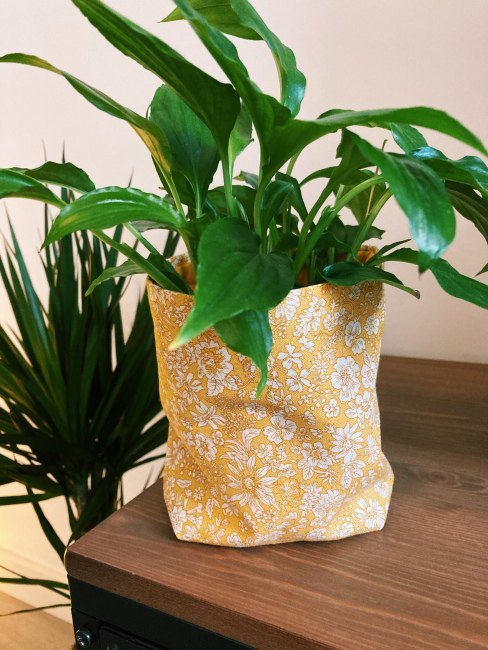
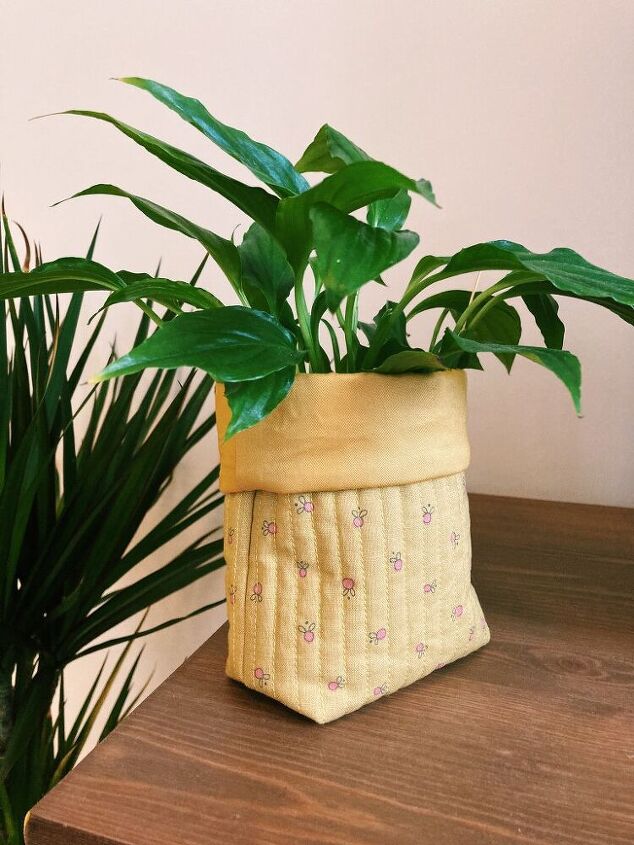
Recycling your cans into mini planters is a great sustainable (and fun!) use for them and these fabric covers are a great way to repurpose your fabric scraps and cut down on waste.
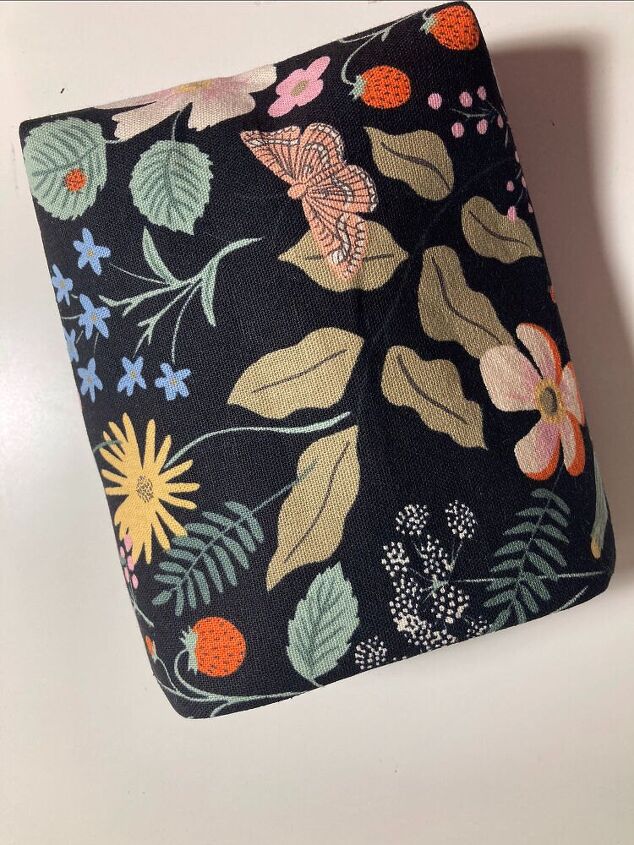
This is a perfect pattern to start off with if you are a beginner sewist and a fun palette cleanser if you’re more experienced. The rectangular shape saves any messing around cutting out a perfect circle for the base and gives a nice slouchy look.
You can use all kinds of fabrics for these tin cosies, from cotton lawn to canvas and oilskin. You could even line the pots with fabric from a shower curtain – I have done this plenty of times to create a water resistant pot!
Please note it will not be 100 waterproof….!
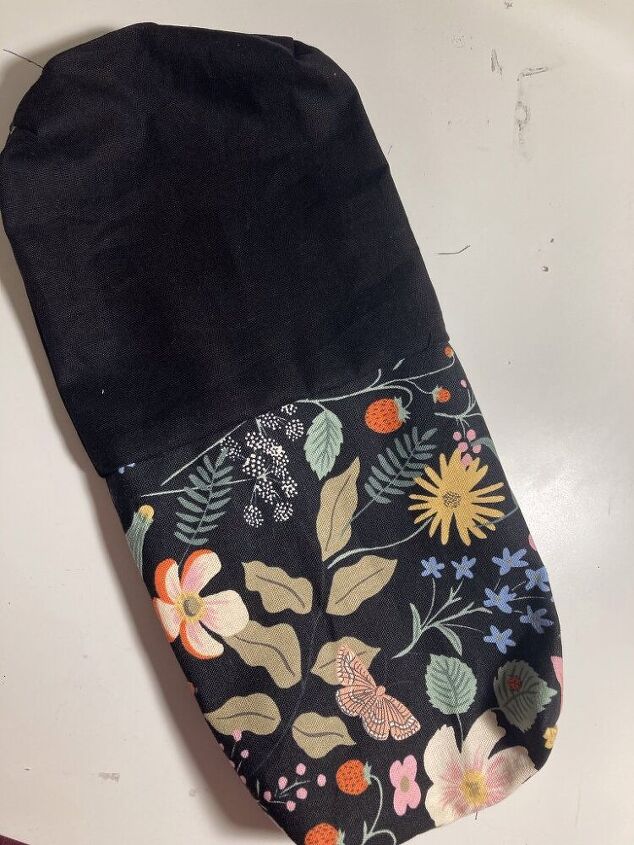
I make mine without interfacing half the time but if you prefer a sturdier pouch you can add interfacing, batting and even quilt the outer fabric before adding the lining as I have done in the version below.
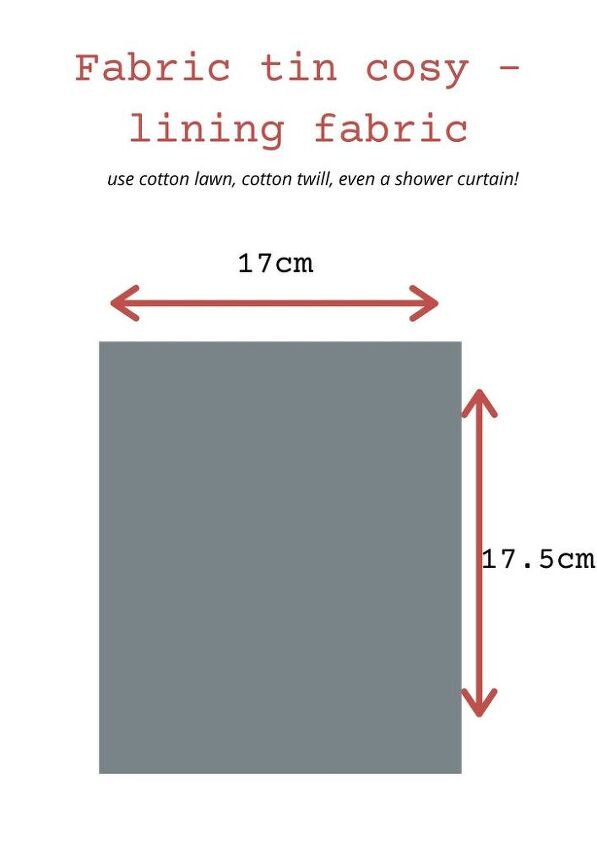
These instructions are for the straightforward cosy which will fit a tin can exactly, If you would prefer to have a folded lip on your cosy, add 4cm to the height of your pattern pieces (ie 23cm outer, 21.5cm) lining.
1. If using interfacing and wadding, apply these to the wrong side of your outer fabric. If preferred you can quilt using straight lines or another design of your choice to strengthen the fabric
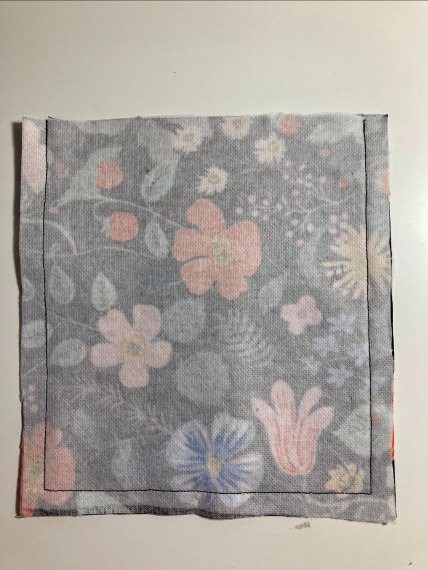
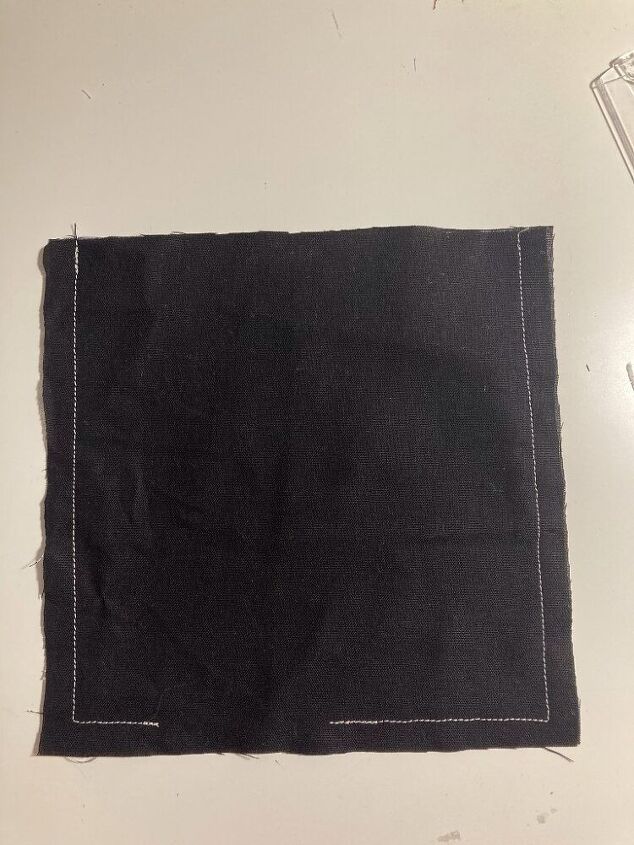
2. Place the two outer pieces right sides together and stitch around 3 sides, leaving one short side open. Back stitch at the end of each stitching line to secure Use a 1cm seam allowance
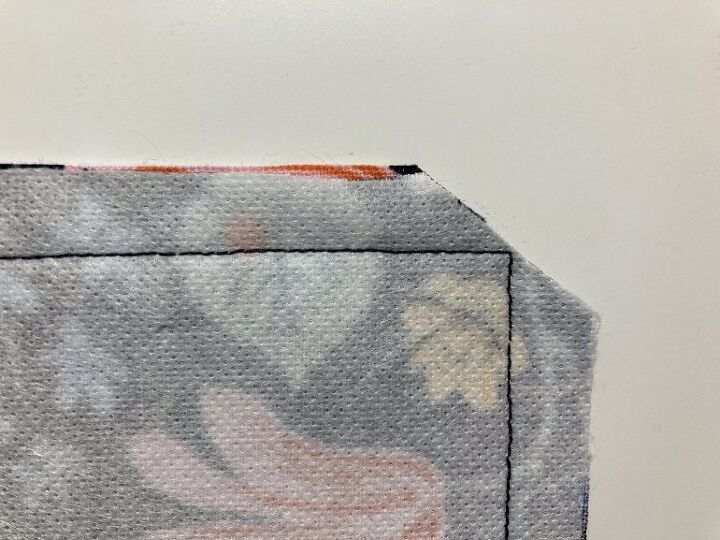
3. Snip the corners
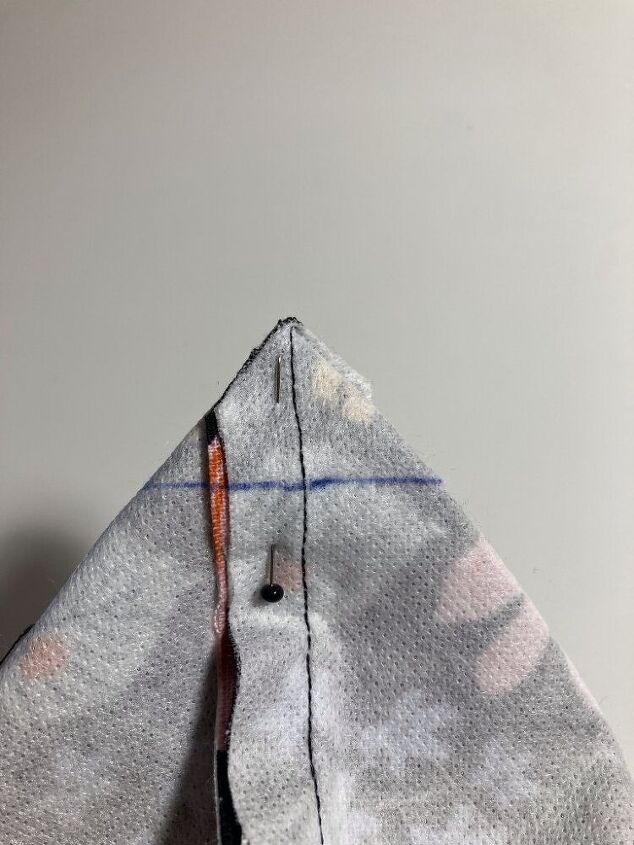
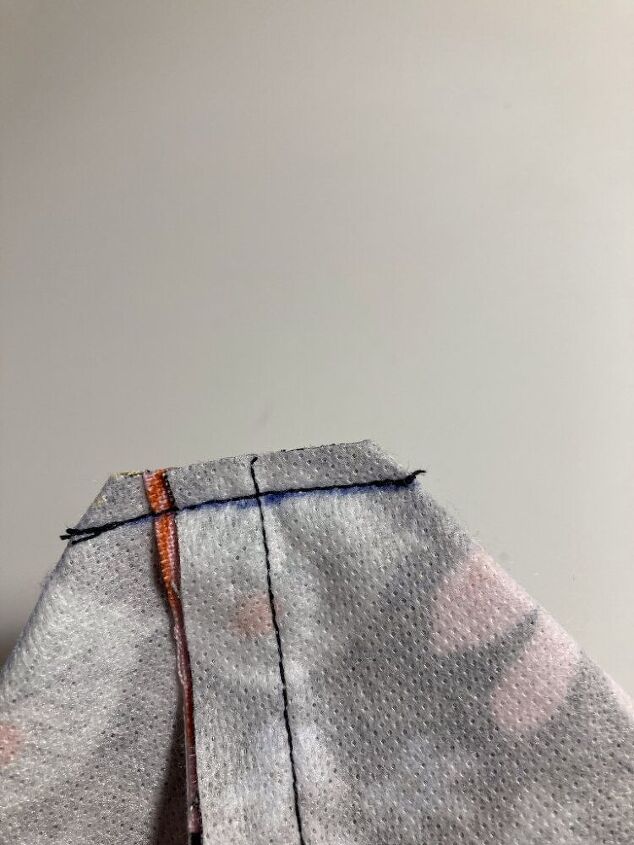
4. Flatten each corner, aligning the seams and forming a triangle. Mark a point 2cm down from the triangle tip and draw a line across in pencil or a frixion pen. Sew these two corners creating a flat bottom. Set the outer piece aside.
5 Place the two lining fabrics right sides together and stitch the long sides and one short side with 1cm seam allowance. Important: leave a 3-4cm gap at the bottom of the lining.
6. Stitch the corners of the lining as in step 4
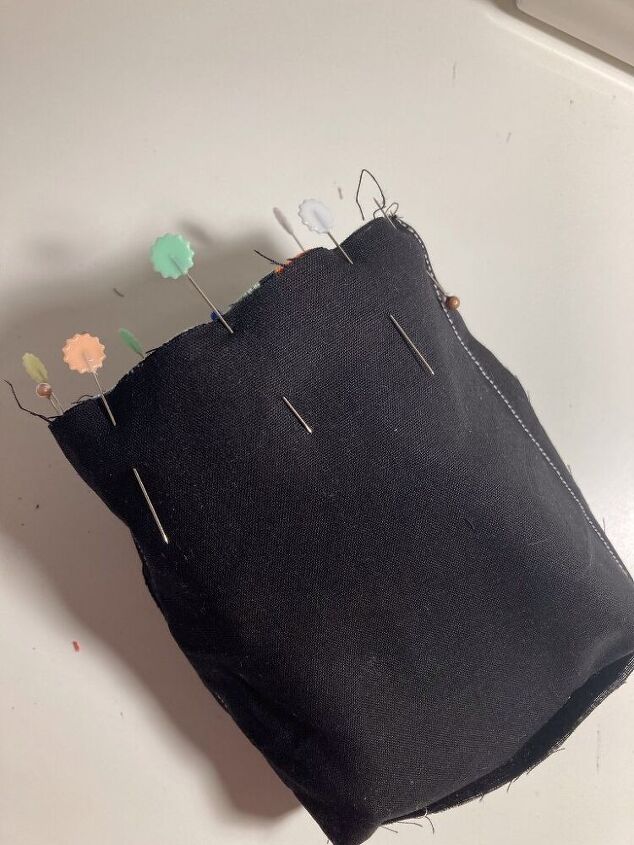
7. Right sides together, place the outer fabric inside the lining fabric, matching the top raw edges. Pin and stitch with a 1cm seam allowance.
8. Reach through the gap in your lining fabric to pull the outer fabric through to the right side.
9. Using machine or hand stitch, close the opening in your lining fabric.
10. Push the lining into the outer fabric. If you are not making a lip, you can top stitch around the top at 0.5cm seam allowance.
11. If making a lip, fold the top of the bag down, right sides together.


Comments
Join the conversation
-
This is such a great idea!
-
Cans can be different sizes, so measure yours first and add 1/4 to 1/2" for seam allowances.


Frequently asked questions
Have a question about this project?