


DIY Faux Aged Metallic Finish
Hi, this is Liz from Simple Decorating Tips a DIY and decorating blog. Creating a DIY faux aged metallic finish involved many layers to accomplish the look I was after.
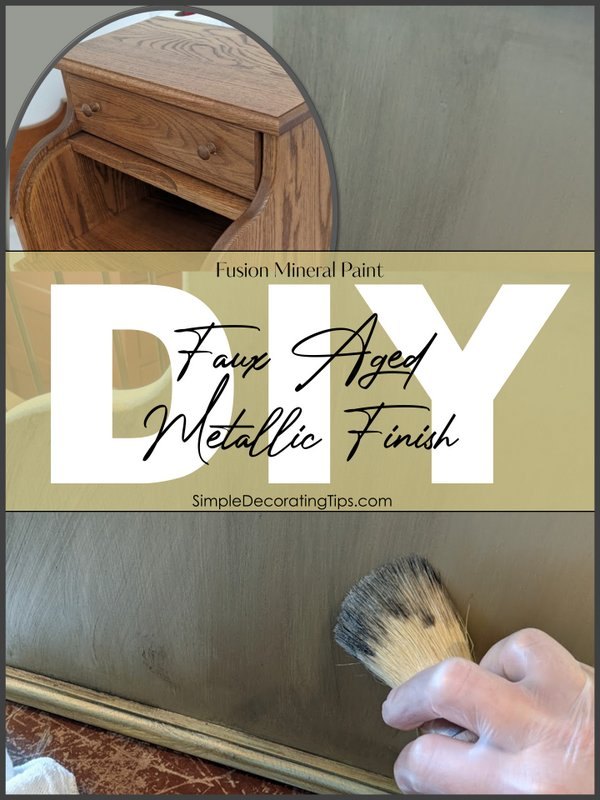
This project was so fun to work on! I love using Fusion Mineral Paints because there is no odor, it is super durable and the paint is just so nice to work with. Painting with good quality paint is so much more enjoyable, isn’t it?!
BTW if you didn’t know this already, I now stock the full line of Fusion Mineral Paints, (I’ve become such a believer in the product, I’m excited to share it with other DIY-ers!) available in the studio in New Richmond, WI or online. You can read more about that on my business site Frame and Frills.
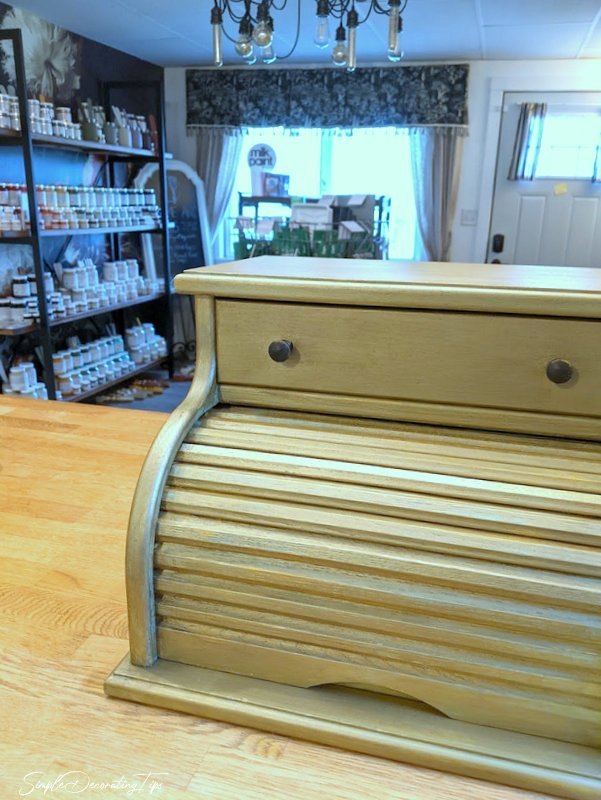
Here are the steps I took to create a faux aged metallic finish using this oak breadbox for the base! (Every product I used in this project is available on my Frame and Frills site).
This kind of oak is not my favorite look, but the shape was exactly what I was after.
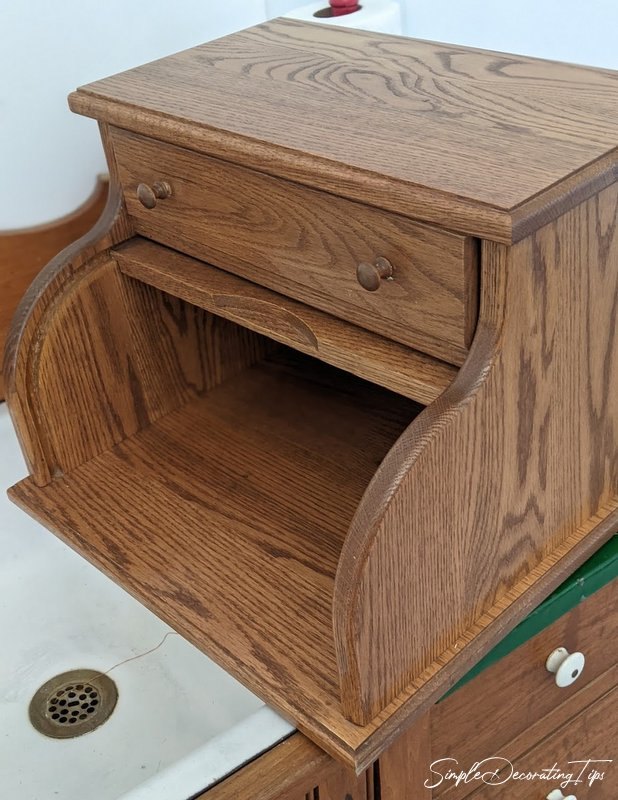
I needed something to have on the checkout counter in the Frame and Frills studio to have a little storage for me, but to look cute for the customers. The back of the breadbox is what will be the customer’s view. Even though the back of this breadbox started out plain, I added some interest and will explain that a little further down.
First thing I did, after snagging the oak breadbox from a garage sale site was to clean it.
This is an important step. Getting rid of the dirt, grime and grease will help ensure the paint sticks to the surface.
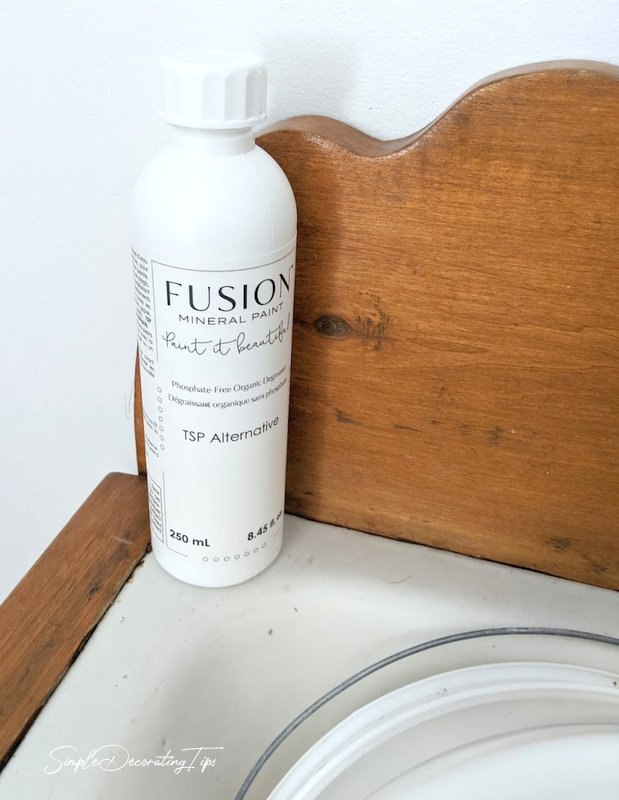
Fusion TSP Alternative cleans great! Just a couple capfuls in a quart of water. But unlike regular TSP this is phosphate free and doesn’t need to be rinsed off.
The breadbox felt waxy, like the prior owner used Pledge or some sort of furniture wax. To get through that layer, I cleaned it with Fusion Odorless Solvent.
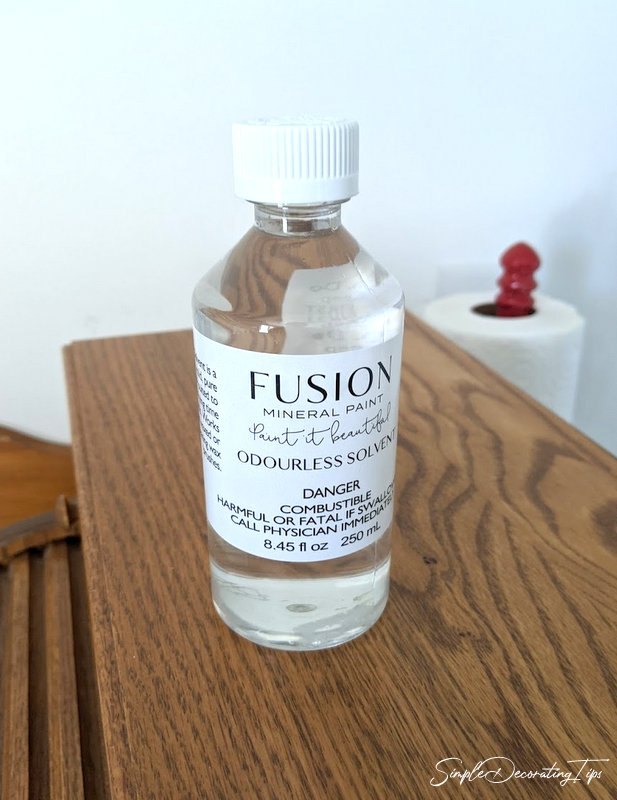
This is like mineral spirits, but without the chemical that causes the odor, (and the headaches!)
After wiping it down with the solvent, I did wash it again with the TSP alternative to remove any residue from the solvent.
The wax was gone, but part of this breadbox is actually made from a laminate type of material, and I will be using this a lot on the checkout counter, so I want to do everything possible to create an excellent base for the paint to stick to.
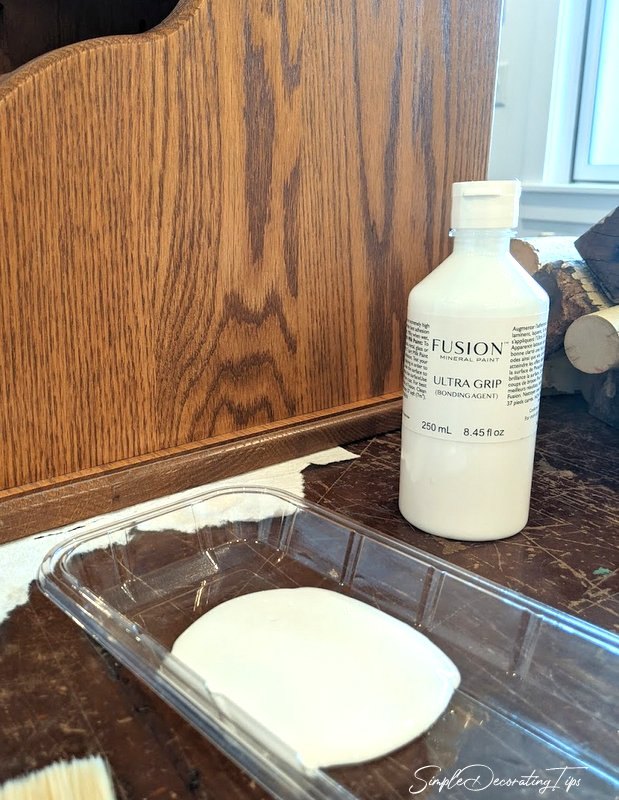
That’s where Fusion Ultra Grip comes into play.
They say it is what makes painting the impossible, possible!
This acrylic bonding primer is the best there is on the market.
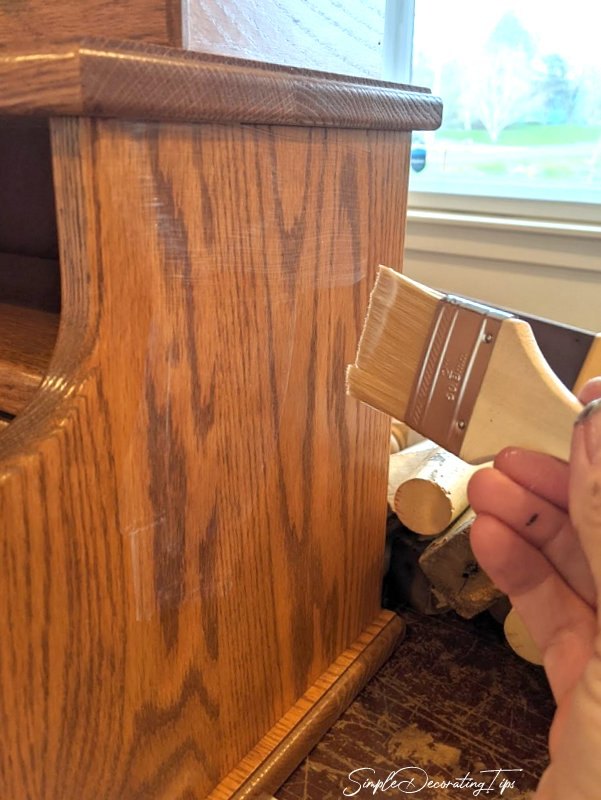
It comes out of the bottle white but dries clear and will literally stick to just about anything! Laminate, vinyl, glass, plastic, you name it! Fusion Mineral Paint adheres really well, so I probably didn’t need to use Ultra Grip, but it’s a super simple 3 minutes to put it on and be extra sure the paint will stay on this storage piece really well.
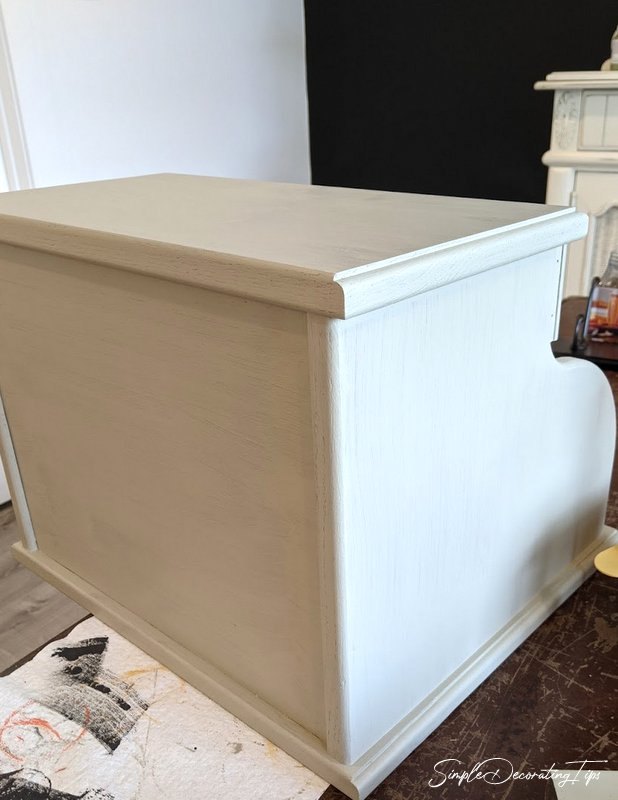
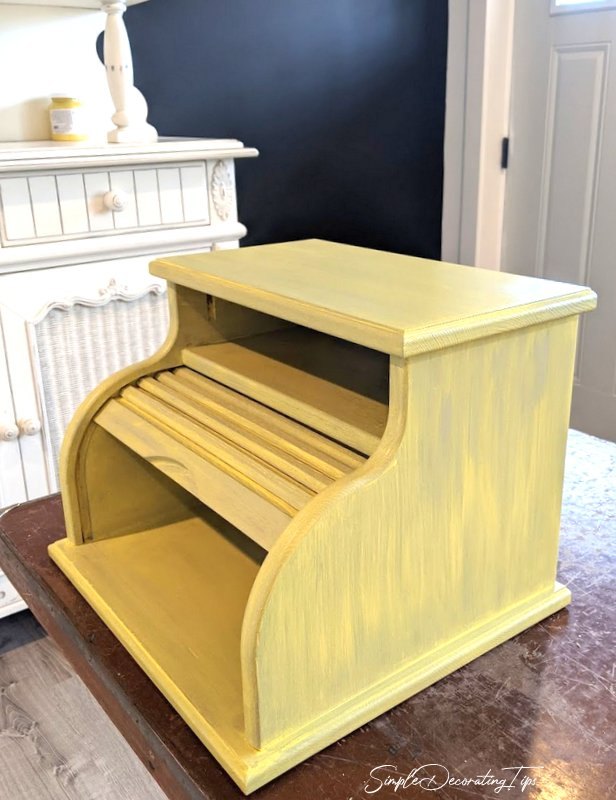
After the primer was dry and I gave it 12 hours to properly cure, I painted on the first base color, Fusion Mineral Paint ‘Bedford’, just a nice neutral greige tone to cover up the oak.
One thing to note, I did take extra care to put on very thin coats of paint on the tambour door and side runners where it slides up and down. I also slid it up and down a few times while it was drying. (It works great, no sticking whatsoever!)
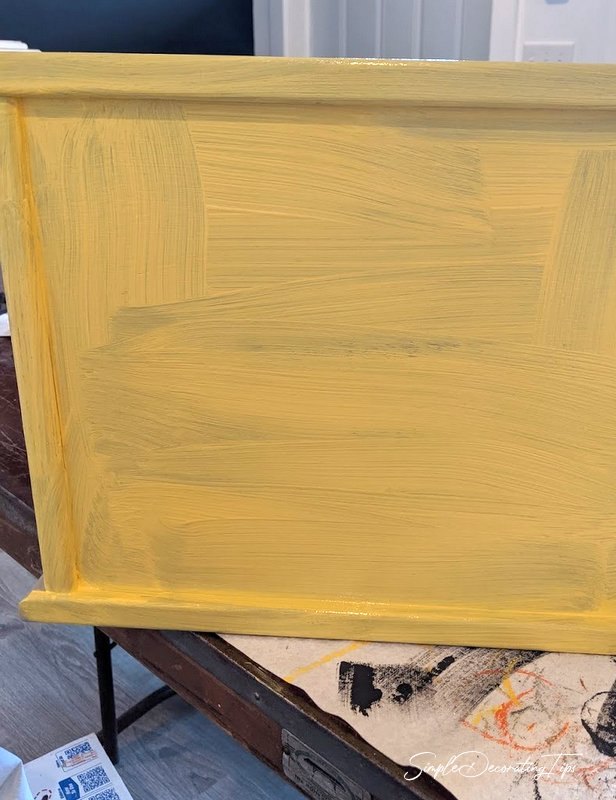
Next day I put on a glaze layer.
This is a simple recipe, of half Fusion glaze with half Fusion Mineral Paint ‘Little Star’.
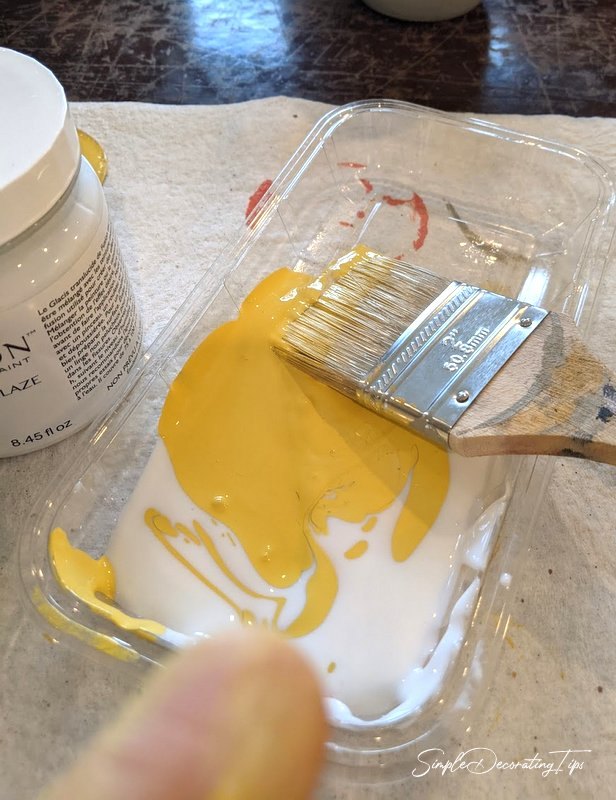
This is super easy process. Glaze has a lot of forgiveness… it has a slow drying time, so it’s safe to fuss around with it till you have it how you want it.
I slapped on a liberal coat of the bright yellow glaze.
Then, with a dry folded paper towel, wiped most of it back off, creating a grained look of texture on the breadbox.
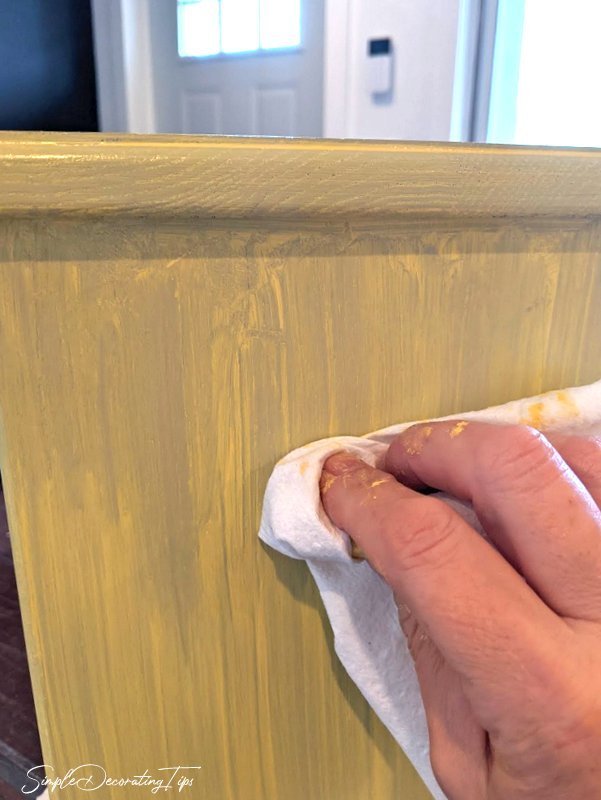
Because glaze has that long ‘open time’ of not drying…
One needs to be patient and let it fully dry before moving on to the next step.
Fortunately, I have many, many projects going on in the studio workroom, so setting this one aside to dry overnight is no problem.
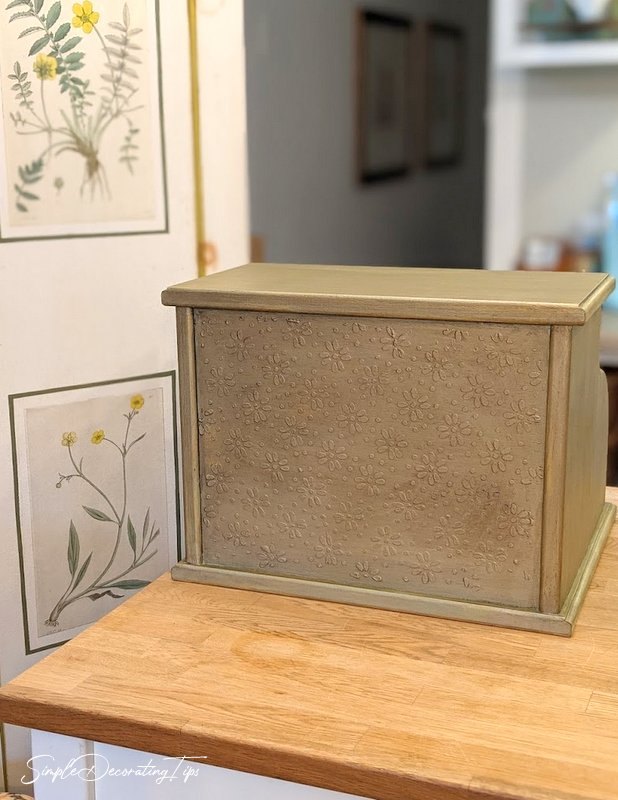
Now, the fun surprise for the back, which will be the front.
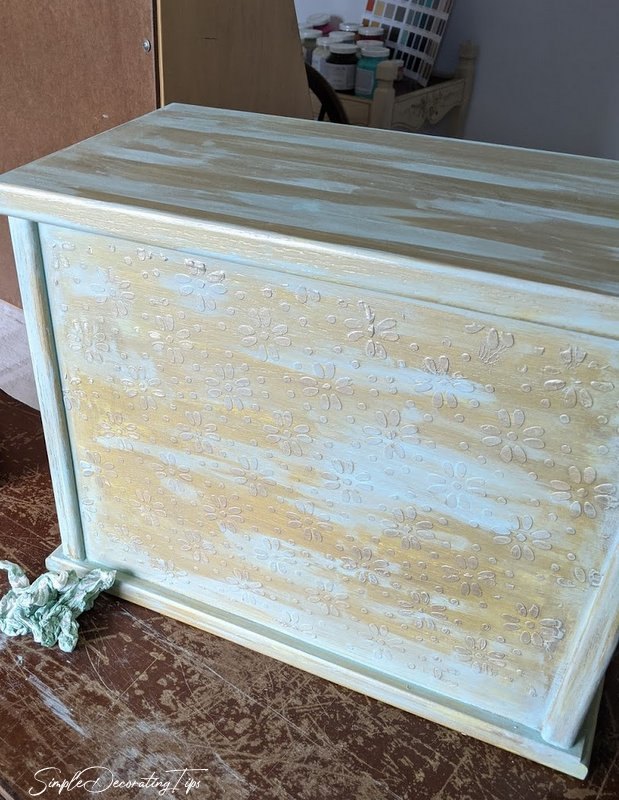
I used a stencil and Fusion Embossing Paste to create beautiful texture on the back of the breadbox.

This is like the idea of using spackling for this dimensional effect, but unlike regular spackling, Fusion Embossing Paste is so smooth and creamy, it’s just wonderful to work with.
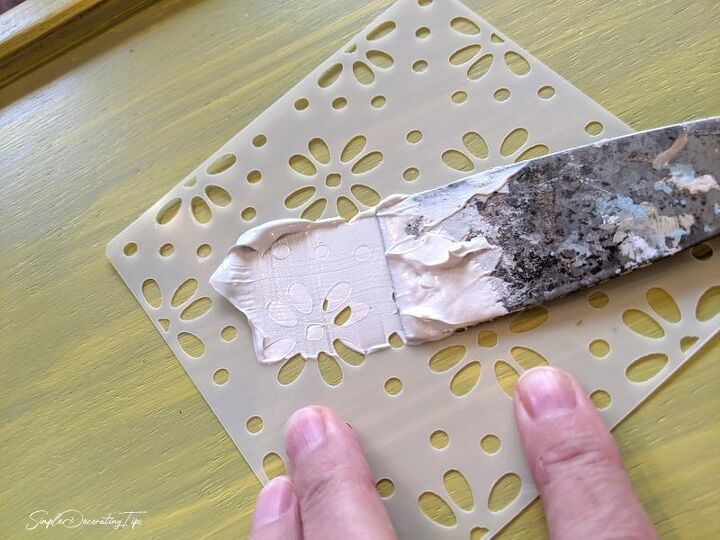
I found it was important to hold the stencil down tight while I smeared the embossing paste on the back of the breadbox.
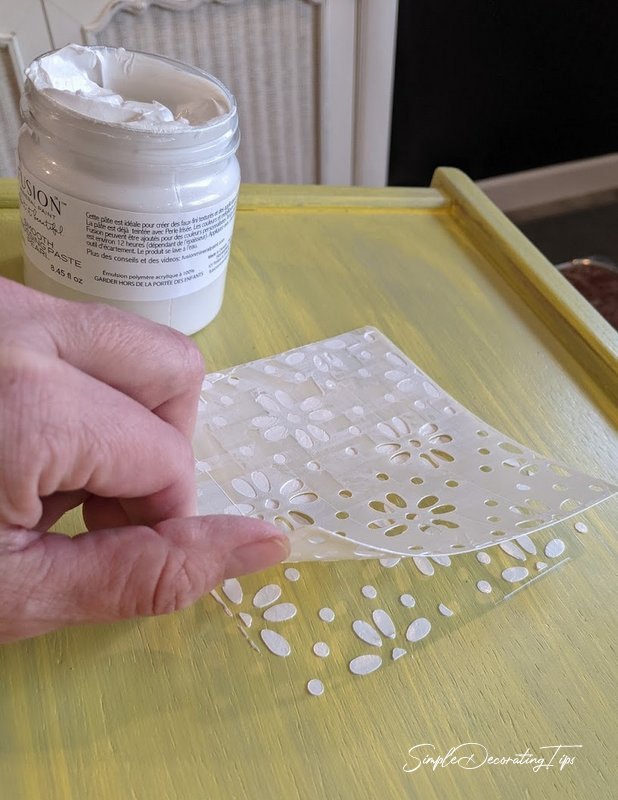
Careful to not smear it when I lifted the stencil, seeing the 3D effect was fun!
The hardest part was trying to hold the stiff stencil flat in the corners and edges of this recessed panel of the breadbox.
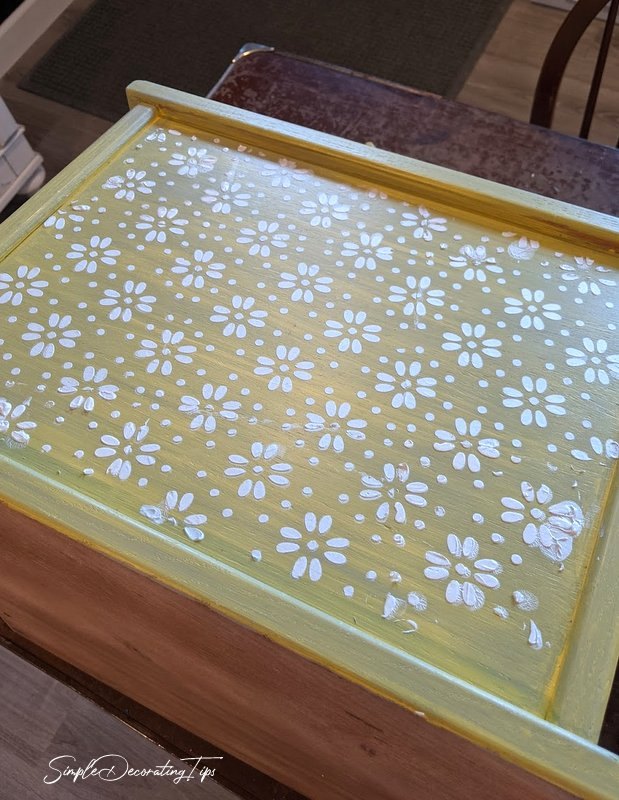
I did get a couple of smudges, and a few bumps, but that was fairly easy to smooth out with an angled sanding block sponge after the embossing paste dried, (another overnight dry time)
Have you ever seen an antique brass cash register?
That is the overall look I’m going for. The shape is right, and now the added beautiful texture is right. Next was the color tweaking…
Fusion Mineral Paint has a line of metallics that are dreamy!
I have painted a few things with them now, and I just love these metallic paints! They have all the amazing durable qualities that the Fusion Mineral Paint has. The sparkle in the metallics comes from finely ground mica, it’s just beautiful!
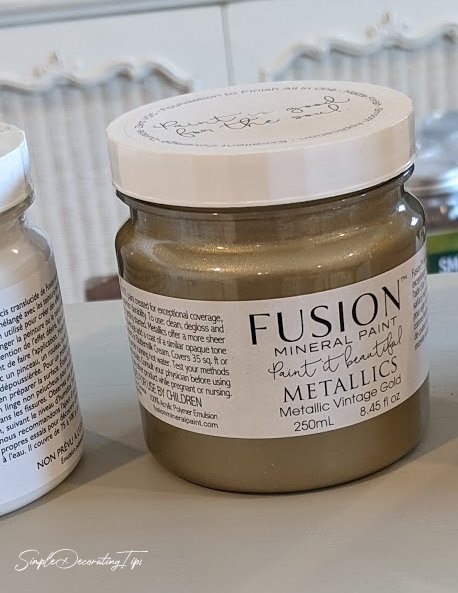
For this breadbox turned antique cash register, I used 2 metallics colors. ‘Metallic Vintage Gold’ is the main color.
The entire breadbox got a coat of ‘Metallic Vintage Gold’ after the embossing paste was dry and the bumps sanded.
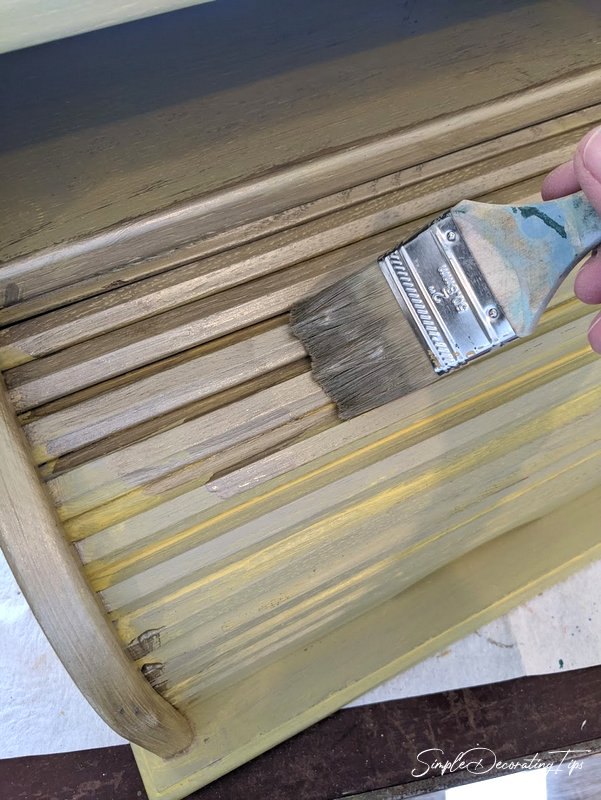
Now some patina.
‘Laurentien’ is a perfect patina color to add to this faux aged metallic finish.
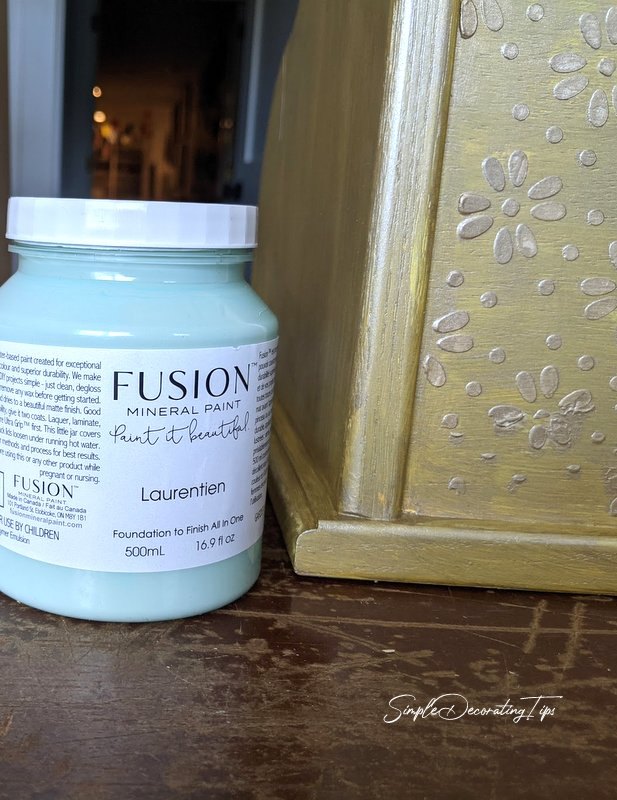
I simply smeared on some ‘Laurentien’ with my finger and wiped it smooth with a wad of paper towel.
To add a few highlights, I grabbed a tester of ‘Metallic Pale Gold’.
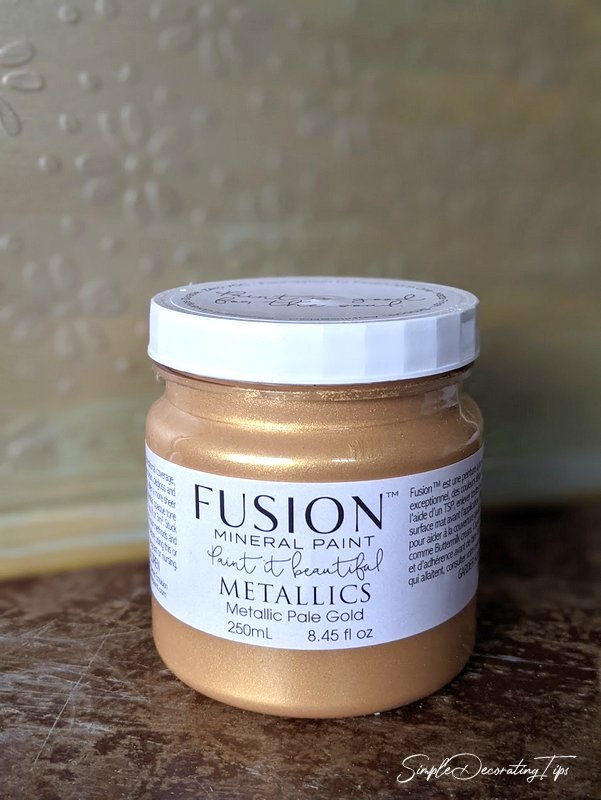
I added the highlights very sparingly.
One more light coat of ‘Metallic Vintage Gold’ over the patina and highlights creates an effect in a very subtle layered depth.
To create a tiny bit more depth and pull out the layers of colors, I decided to use 2 colors of furniture wax.
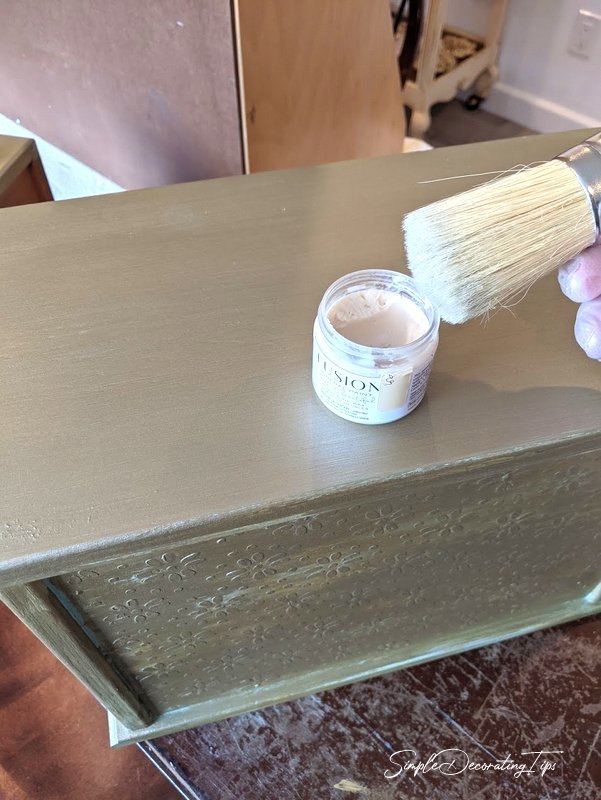
First I put on clear wax and let that dry for a few hours.
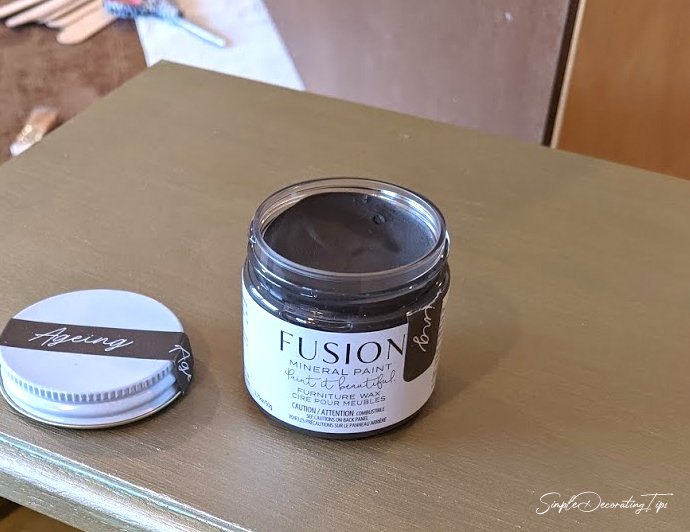
Next, I put on the dark ageing wax. Fusion ageing wax has a lot of colorant in it, so the first layer of clear wax ensures that not too much dark sticks to the finish.
This is a super simple process with the natural bristle Staalmeester brush.
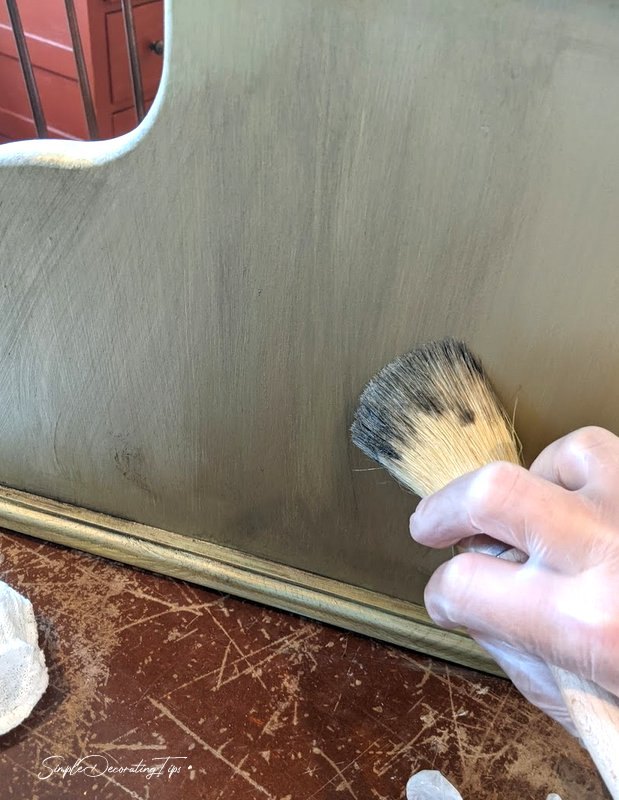
After that dried for about 5-10 minutes, I wiped away the excess wax and buffed it.
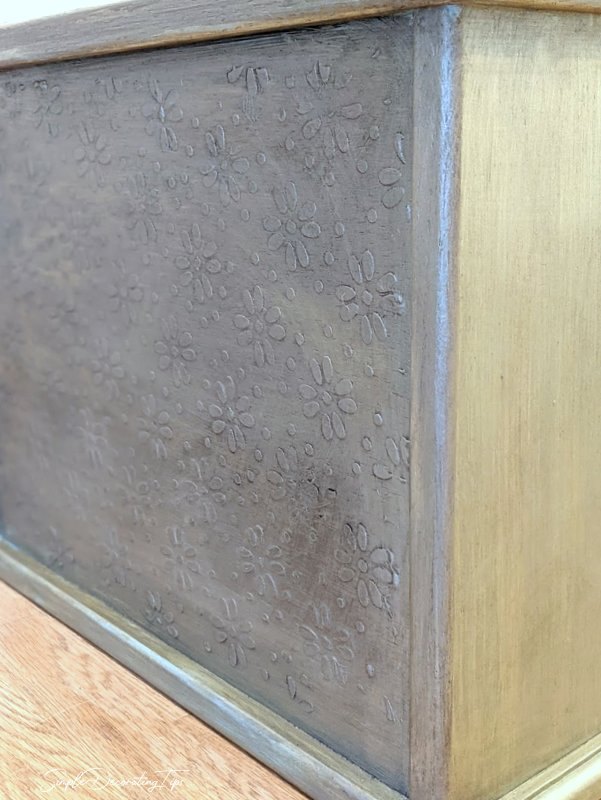
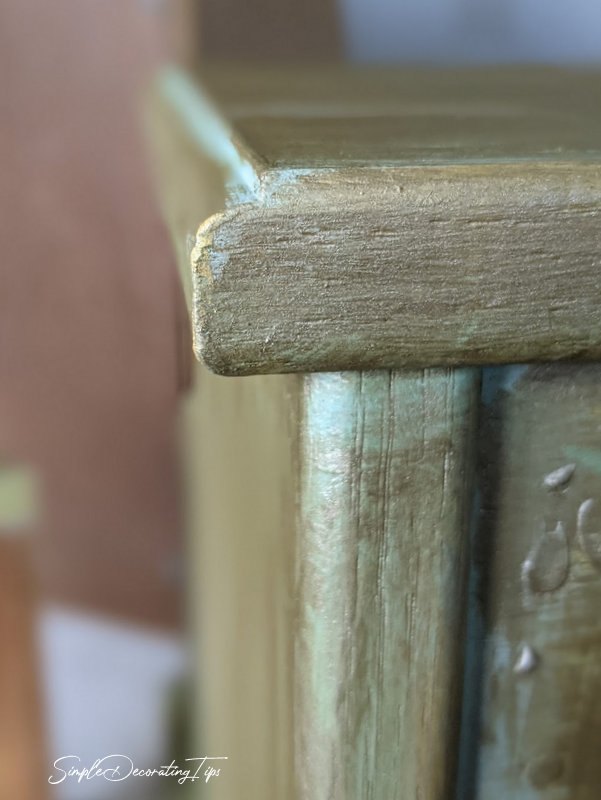
The final look emphasizes the dimension of the embossed back and mostly just leaves a little dark in the cracks and crevices.
From my side, the cabinet offers the perfect storage.
From what is now the front, the embossed back looks beautiful with a faux aged metallic finish!
Thanks so much for stopping by! Hope you can stop by by DIY and decorating blog Simple Decorating Tips for more ideas, and pop over to my business site Frame and Frills to shop for amazing Fusion products and supplies!
Resources for this project:
See all materials


Comments
Join the conversation
-
I am inspired to try this. I have an old kitchen roll top bread box that has a huge rooster and barnyard scene. Hmmmmmm. Going for it!
-
Wow! I'm a huge fan of FMP! I didn't know they had embossing paste. Very cool. I'll be sure to grab some next time I'm at my local store.


Frequently asked questions
Have a question about this project?
It definitely looks old but less dated. Are you going to finish the whole thing? I actually bought a tall bamboo bread
box that has the roll top as well. I have no clue how but it would look nicer with some kind of light copper in it. Thanks for posting!
Glad you like it.Also ,glad it's yours.Would hate to have someone do that to mine,but that;s my taste,so to each their own,right?