


Smoky Mercury Glass Mirror Effect

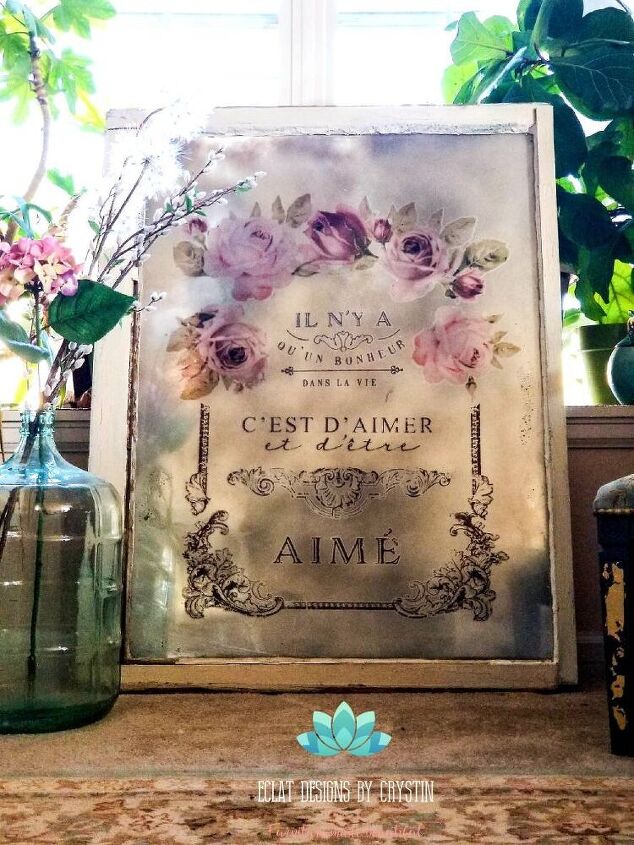
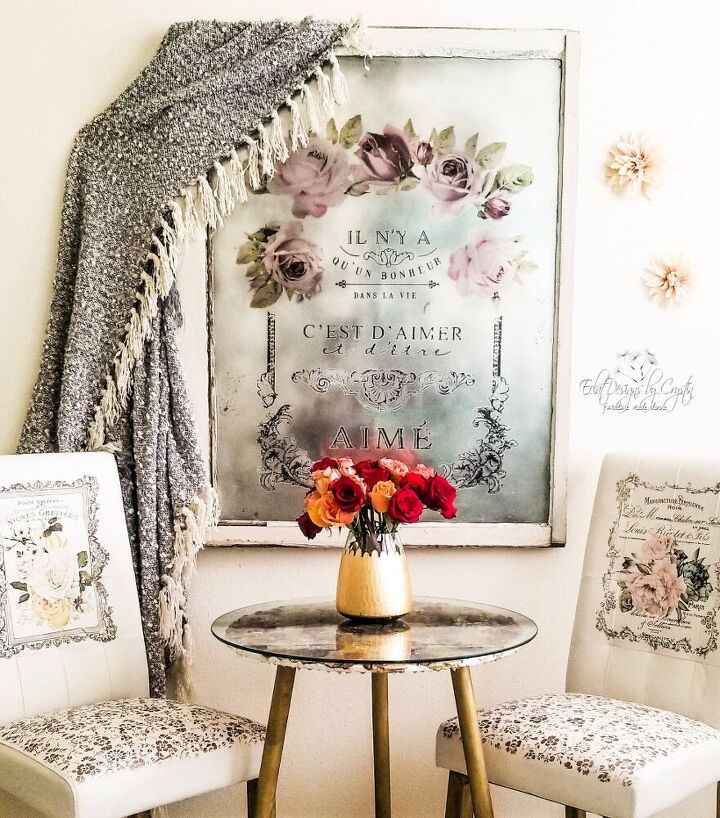
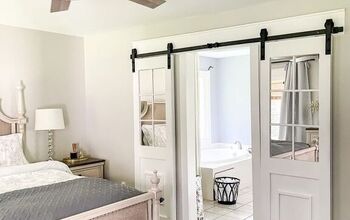
I’ve had a lot of interest as to how I turned an old window into a decorative mirror. I’ll try to be as detailed as possible so that those of you reading this can recreate this project for your own home. It would be stunning on a mantle or just hung on a wall. The image I used is a redesign with prima transfer.
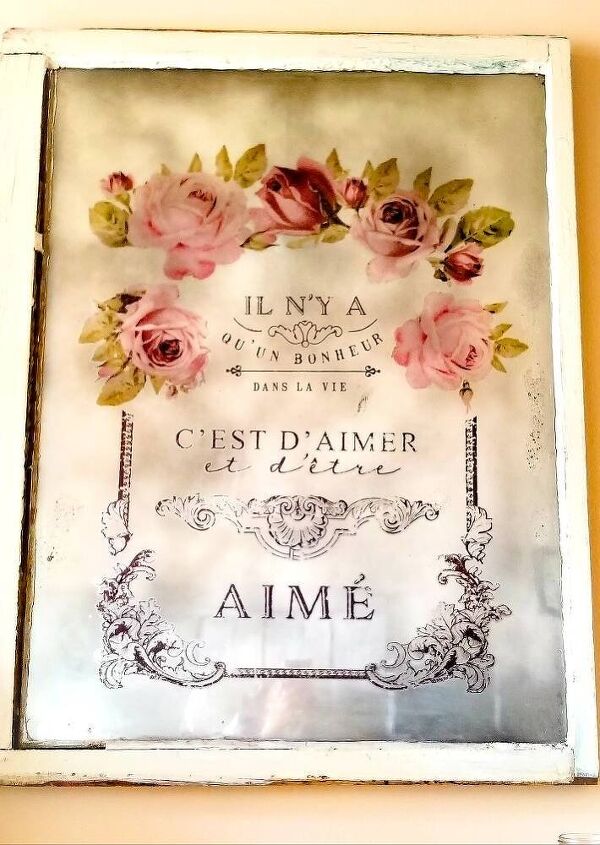
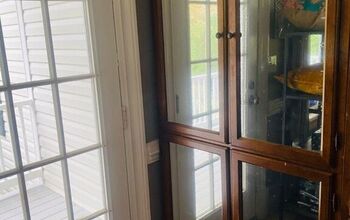
When my hubby brought this antique window home for me, I was surprised by its size. After contemplating how I could re-purpose it, I recalled that I had a prima transfer that would fit perfectly within it and I knew immediately that I had to create a smoky, mercury glass “mirror.” This particular transfer is called “Dans La Vie.” It’s 27″ x 36″

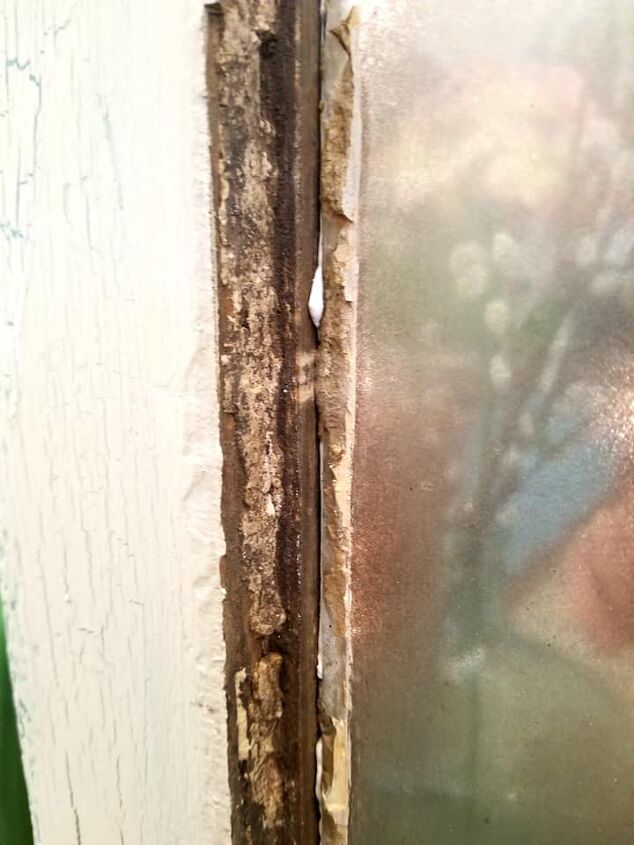
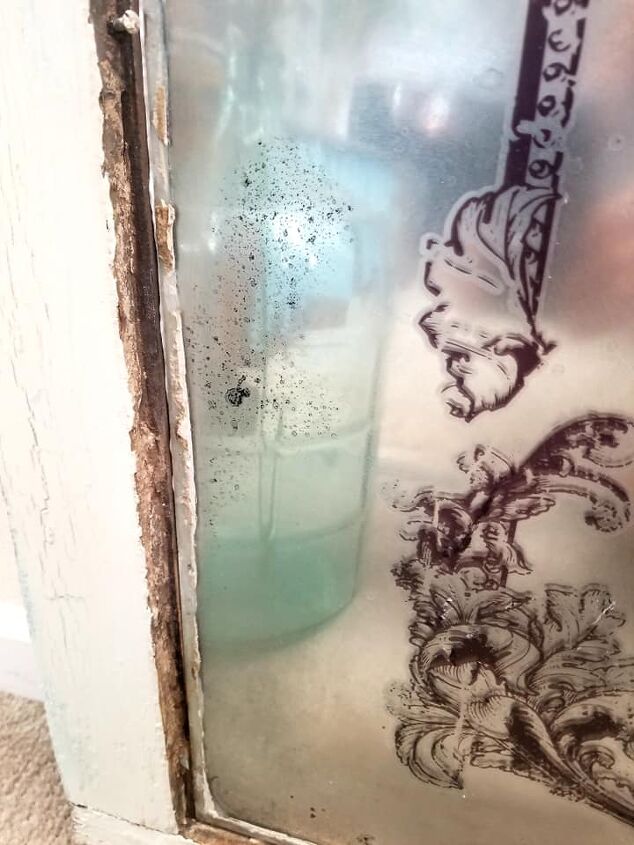
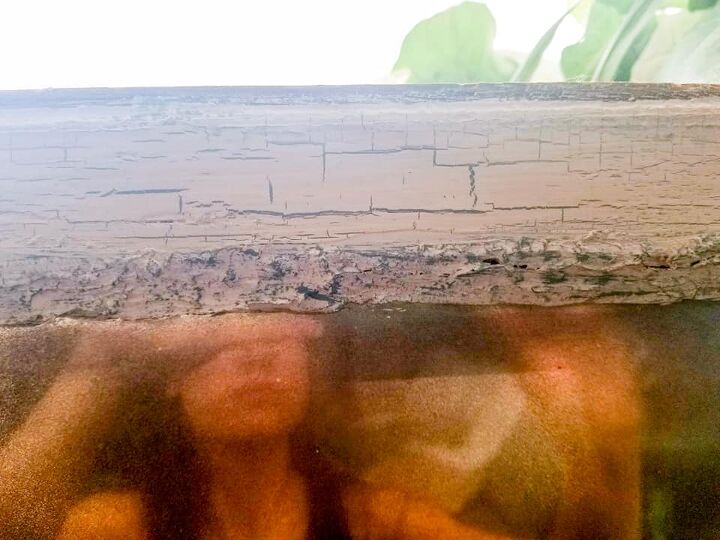
First step: the window. Old, antique or vintage windows often have the interior trim or caulking falling off. This is what holds the glass in the frame so, if it continues to fall off, your glass will have nothing to hold it in place and that can be a disaster. I had to peel off the old caulking and re-caulk.
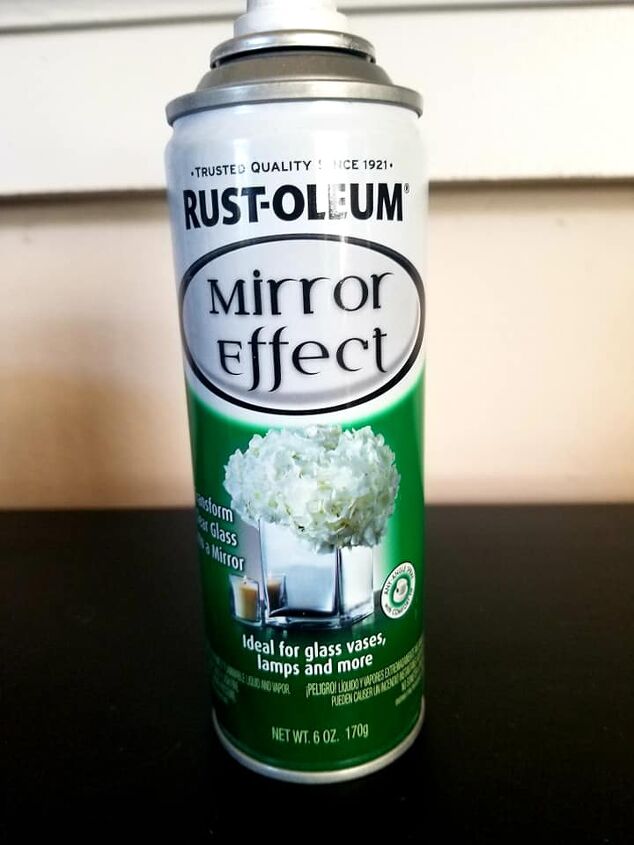
After it has dried for a day I used Rust-oleum’s mirror effect spray on the side opposite of where I want it to be a mirror; basically what will be the back of my mirror. Spray it a foot away from the surface, sweeping back and forth with your arm to coat evenly. Lie the window flat on the ground to prevent any dripping. I would advise wearing a mask while you spray. Once you’ve covered the surface evenly let it dry. It should only take 30 minutes at the most.
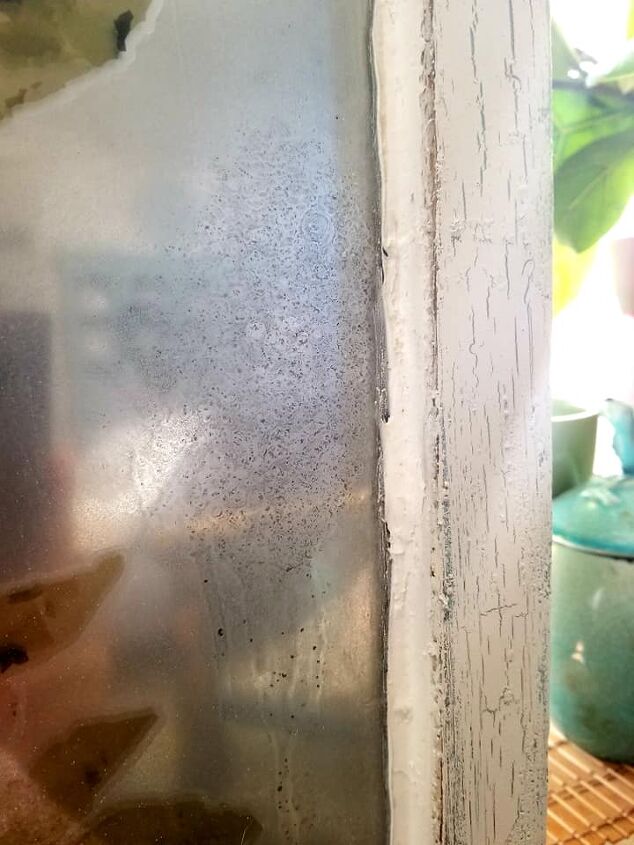
If you want an aged, antique mirror effect, which I did, spray some Windex while the mirror effect coating is still wet, erratically on the surface. The areas where the windex spots will be where you have the black little speckles you see on antique mirrors. After it is dry, I sprayed black paint over the silver surface of the mirror effect spray on the back. This will block out light from showing through the mirror from the back. For a fun colorful effect, try other colors.
Next, I painted the frame. I painted it in vintage duck egg first. I then applied a paint crackling solution over it once it is dry. I allowed it to dry for 30 minutes and then I painted it in dropcloth which is a shade of white. When it crackles you see the blue come through and it makes an interesting pattern. I distressed lightly by sanding to make the blue pop through a bit more.
Now that the mirror has been created, I apply the transfer. Prima transfers come in sections so that it’s easier to apply. You can also create your own design by piecing it together how you prefer. I opted to stay true to the original design. I put all of the three parts onto the mirror surface the way I wanted and then taped them down so that they won’t shift when I peel off the white backing on the transfer that keeps it from adhering onto another surface.
It’s important to peel the white backing off slowly because once the transfer touches the surface it’s pretty much stuck on there. A stick comes with each transfer and you use it to smooth the transfer so there are no wrinkles or air bubbles. I like to smooth it especially on the edges with my fingertips. If some of the design is still stuck on the clear part, just carefully stick it back in place and press on it until it rubs off and sticks.
This is why taping it down is so important, it will ensure that the transfer doesn’t accidentally adhere crooked while you are rubbing. I like using a brayer over the transfer once it is on the new surface to get rid of any air bubbles or wrinkling without damaging the transfer. See my transfer blog post for more detailed instructions.
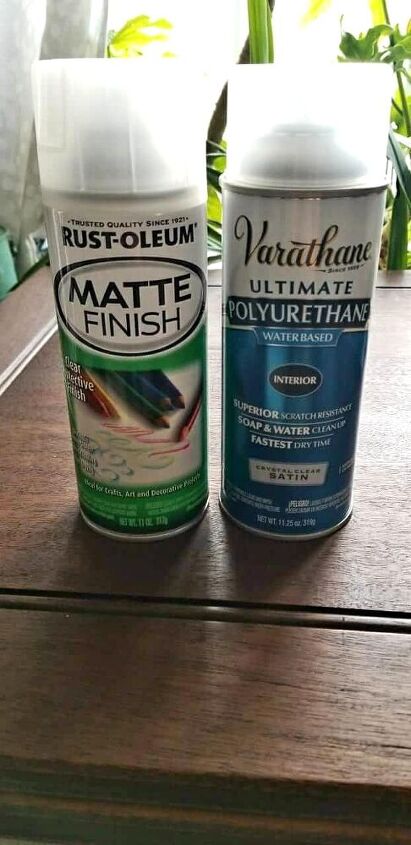
Now that the transfer has been applied, you have finished the most difficult part. Last comes the smoky, frosted mirror effect on the front. I used a matte, clear spray and sprayed it on the front surface, concentrating more on the areas I want less reflective. You can also wipe it off with Windex in areas and spray again for varying tones of frost.
I spray on a clear polyurethane after the matte spray so that the transfer is further protected from scratches as it can tear. This is optional and you don’t have to add the spray on poly to achieve the frosted effect though it does enhance it. There are also specialty frosted effect sprays you can use as well. I had the matte spray on hand and it worked for me on this project.
You can now clean the mirror if you need to and not worry about the transfer peeling or the frosted effect coming off. Whew. That was a lot of instruction but that’s all there is to it. I added some D rings and attached a wire on the back so that it can be hung easily. I love up-cycling old windows with transfers. It’s an easy way to create wall decor you can personalize for your home.
Resources for this project:
See all materials


Comments
Join the conversation
-
🙀🙀🙀What a beautiful work of art!
-
So pretty!


Frequently asked questions
Have a question about this project?
This is truly gorgeous! I do have a question, could you have put the transfer on the back of the glass then sprayed the mirror finish on (I realize with the Writing that would not have been possible but without writing, would it work? I am thinking it would be much easier to clean if the transfer was behind the glass. : ) Where do you find your transfers? I really like your idea!!