


How to Use a Sandbox as a Vegetable Planter

This project is sponsored by Gardena, however, the thoughts & opinions are my own.
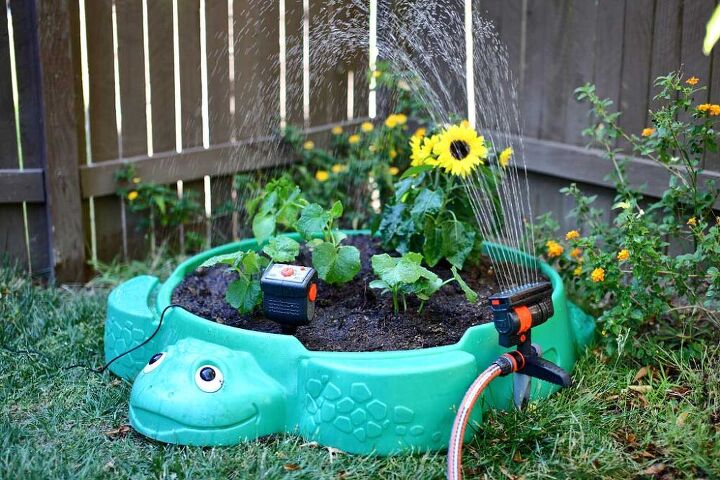
In our backyards, we have lots of different pots and pans with vegetable and herb plants. Some of the plants have been planted by our kids. They love to take care of them and see how they grow. To add more plants, we decided to convert an old turtle sandbox into a vegetable planter. We also installed a Gardena Sprinkler System to take care of the watering. With an automatic timer, these plants will get their water in a timely manner.
Below are the steps on how to plant your vegetable plants in a sandbox planter and install a Gardena Sprinkler System.
You also might be interested in another planter that I’ve built for our backyards, a DIY planter box on wheels.
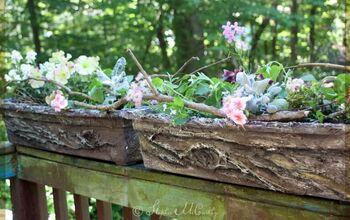
Step 1 – Fill Your Planter with Soil
When planting your vegetable plants, it’s very important to consider the sunlight. Some plants need full sunlight and some partial or half a day.
Once you determine how much sunlight your plants need, find a good location in your backyard to install your planter.
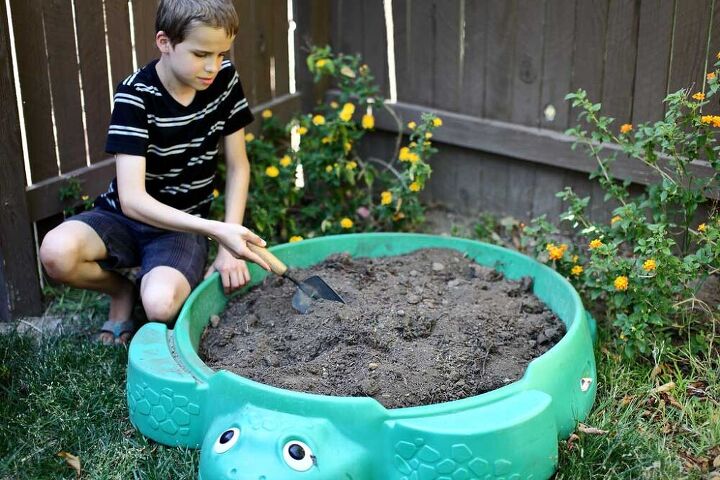
There are many different planters out there. You could build one out of wood or a combination of wood and metal. But for this project, we’re going to use an old turtle sandbox. This is an excellent project for kids to learn how to plant vegetables and have hands-on experience. Our kids helped us fill the planter with soil for planting.
Make sure the turtle sandbox is completely filled with soil. Then add some fertilization to keep the plants strong and healthy. Mix the fertilization and soil with a small shovel. Then sprinkler some water on the soil to make it moist before planting the vegetables.
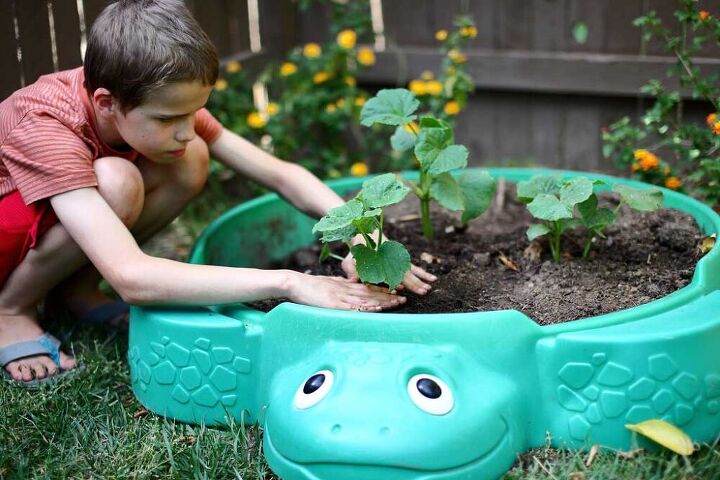
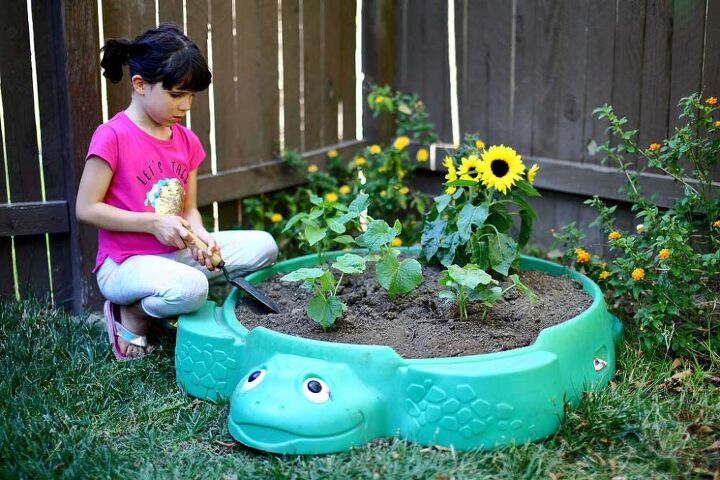
Step 2 – Plant your Vegetable Plants
We decided to plant a few cucumber plants, a pepper plant, and some sunflowers. Cucumbers are very easy to take care of, but they require good watering. If you don’t water the cucumber daily, they start to shrivel under the heat of the sun. Having an automated watering timer takes care of this problem.
When planting the plants, you want to make sure you have an adequate distance between each plant.
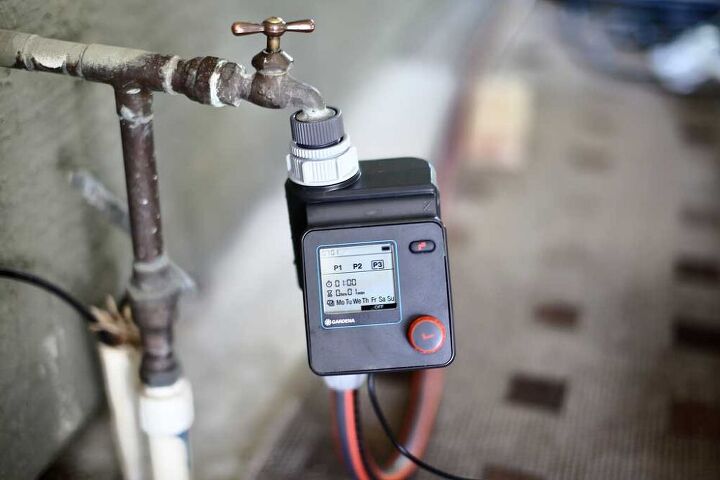
Step 3 – Install a Timer and Configure the Settings
Now it’s time to install the sprinkler system. First, take your water controller and insert a 9v battery. Then go through all the settings and set up when you want to have the water turn on and off.
Now attach the water controller to your water valve.
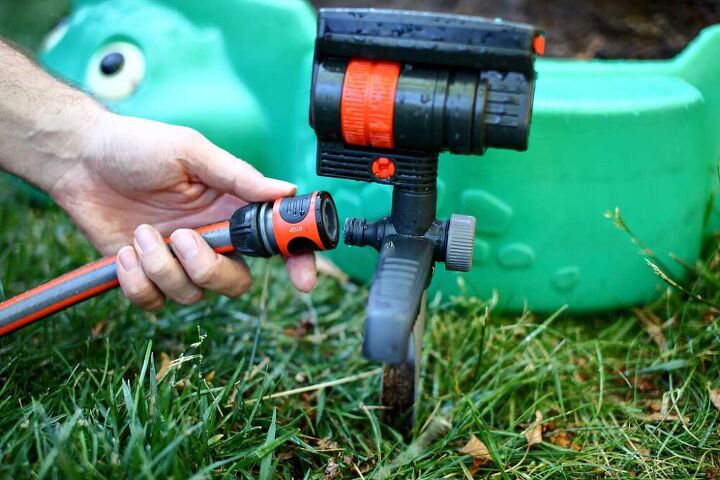
Step 4 – Run a Hose from the Controller to Sprinkler
Attach the hose to the controller and then run it to the location of your garden. Place the sprinkler next to your vegetable plans so it would water the entire garden.
Connect the hose to the sprinkler.
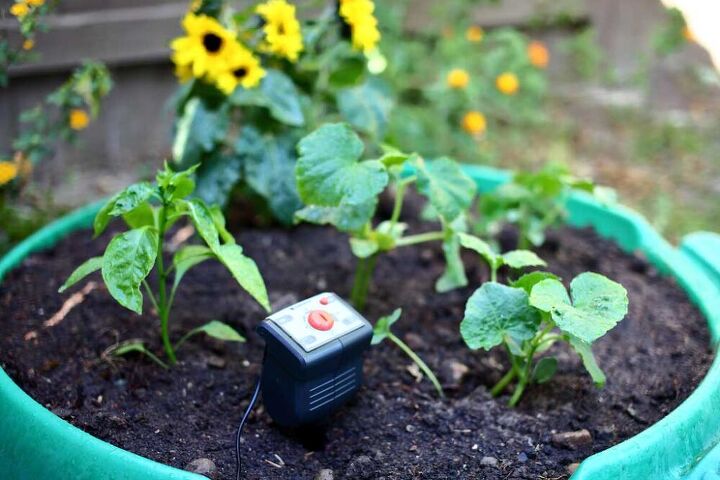
Step 5 – Connect a Soil Moisture Sensor
Connect the soil moisture sensor to the controller. Then insert the Gardena soil sensor into the soil in the middle of your garden.
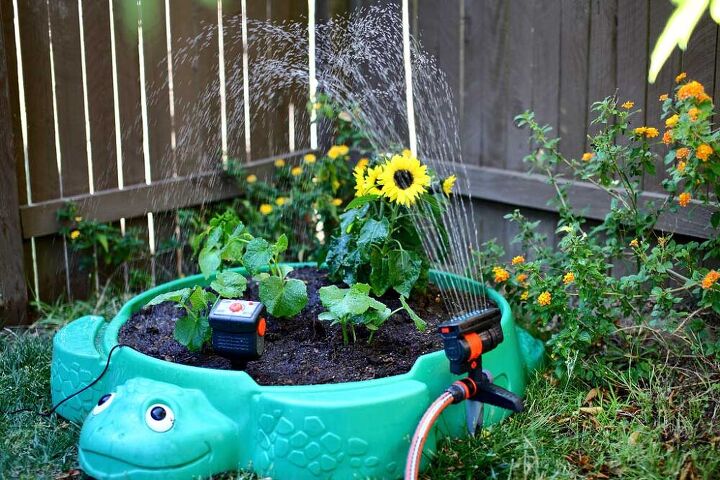
Step 6 – Turn on the Water Valve to Water Vegetables
Now that everything is connected, turn on the water valve. Adjust the setting to your needs.
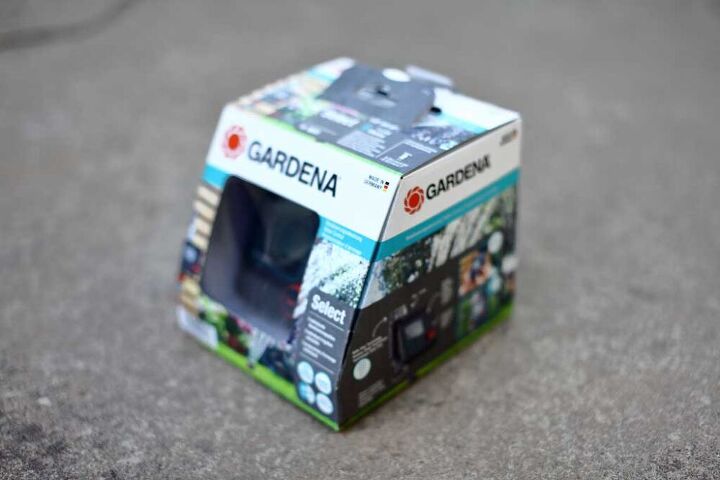
What is the Gardena Sprinkler System?
The Gardena sprinkler system uses modern technology to give you an efficient, automatic watering system. You can set up the Gardena system for your garden, your lawn, or even your bed of flowers.
With the Gardena Moisture Sensor attached to your water supply, you can set the system to automatically start watering when the soil becomes dry. Or, if the soil becomes oversaturated, the moisture sensor will shut the water off – saving water and protecting your plants.
The Gardena water control select is the brains behind the operation. You can set this water control to regulate when and how your plants are watered.
The water control is a nifty tool to set up with a drip irrigation system. These systems work great for vegetable gardens that require a specific amount of water. That is one of the reasons I have selected the Gardena system for my plants – I can set the water supply to be nearly perfect.
Resources for this project:
See all materials


Comments
Join the conversation
-
I too was wondering about drainage. Looks great though, and a lot of fun.
-
Cute idea. We still have a turtle sandbox, used for garden tools, hoses, etc., after many years. They're indesructible! Maybe a flower garden someday...


Frequently asked questions
Have a question about this project?