


DIY Wine Cork Flag
We have a lot of wine corks around our house. 🍷😂 Any corks from bottles that were consumed on special or memorable occassions get labeled and saved in our Wine Cork Memory Box, but that still leaves me with quite a few corks that get tossed in a big vintage jar, just waiting for something exciting to happen to them. This DIY Wine Cork Flag allowed several of those lonely corks to make their patriotic debut.
How to Make a DIY Wine Cork Flag
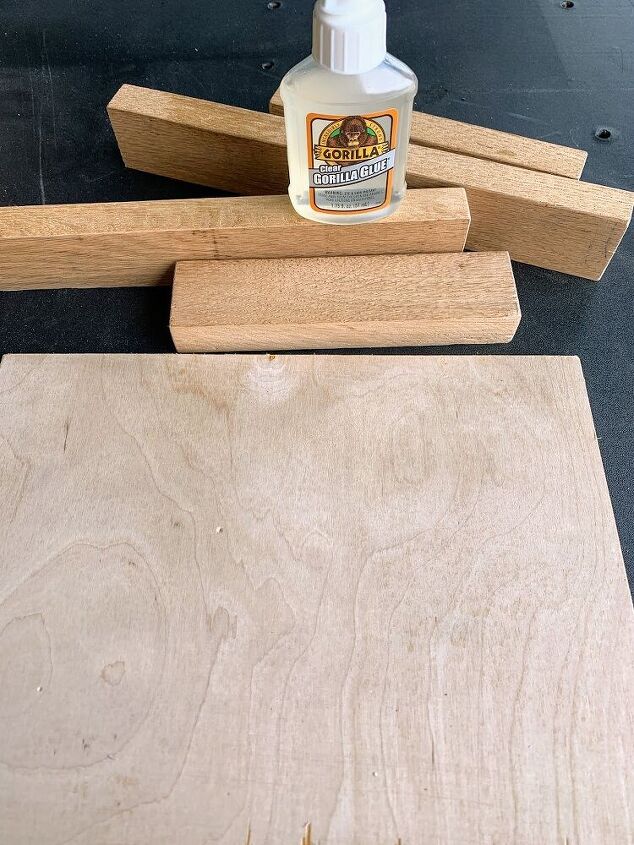
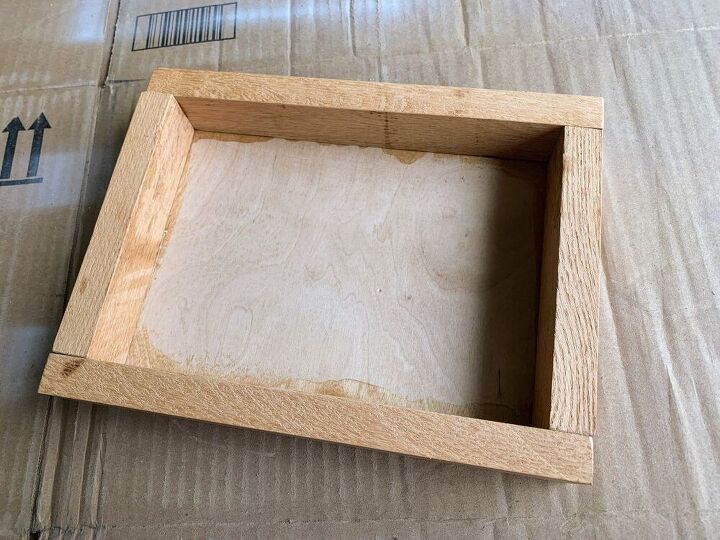
First, you need a frame to hold the corks. We used a sheet of 1/8″ thick plywood for the backing, and then more leftover oak scraps from my parents’ kitchen remodel 20+ years ago for the sides of the frame.
I have a stockpile of wood in the garage that I pick through for projects like this, but places like Home Depot, Lowes, and Menards usually have a scrapwood section where you can find cheap odds and ends pieces that would work well for this.
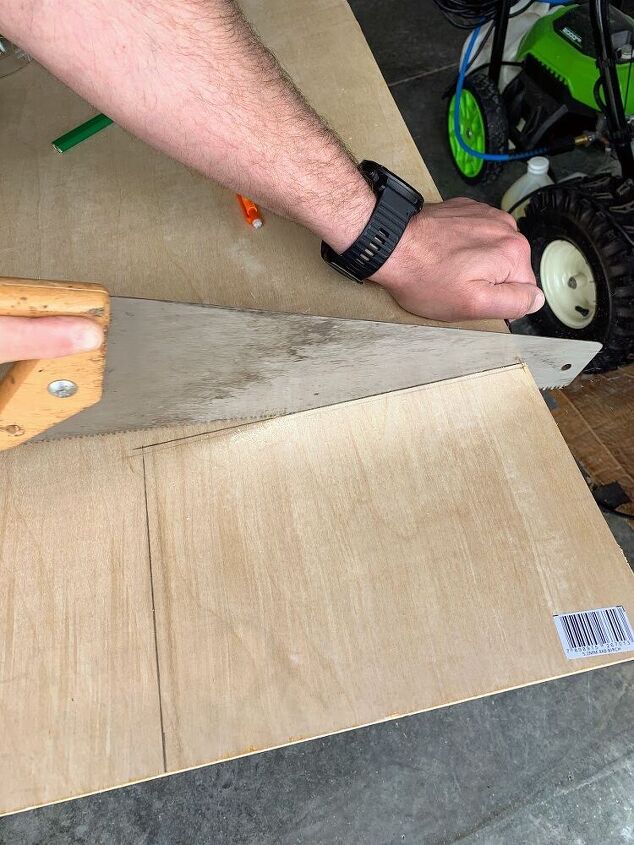
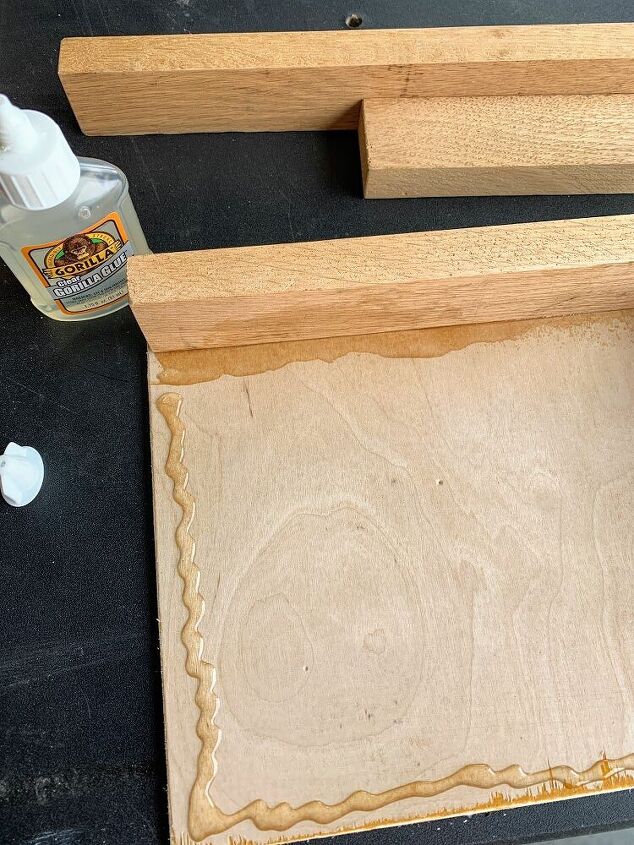
Measure, Cut, & Glue the Frame
The measuring and cutting part is very important on this project, because you want your frame to snuggly hold your pre-determined number of corks in place. You can make your DIY Wine Cork Flag be whatever size you want, but plan it out carefully with your corks first, and then measure what size the cork rectangle will be. Then, cut your frame to be exactly the right size.
My wine cork flag is 10 corks long, and 7 corks deep, so we made sure the interior of the frame was exactly the same measurement to hold this many corks.
Keep in mind that your measurements will vary depending on the size of your corks, and the thickness of the wood you use for the sides of your frame. You need to take this all into account.
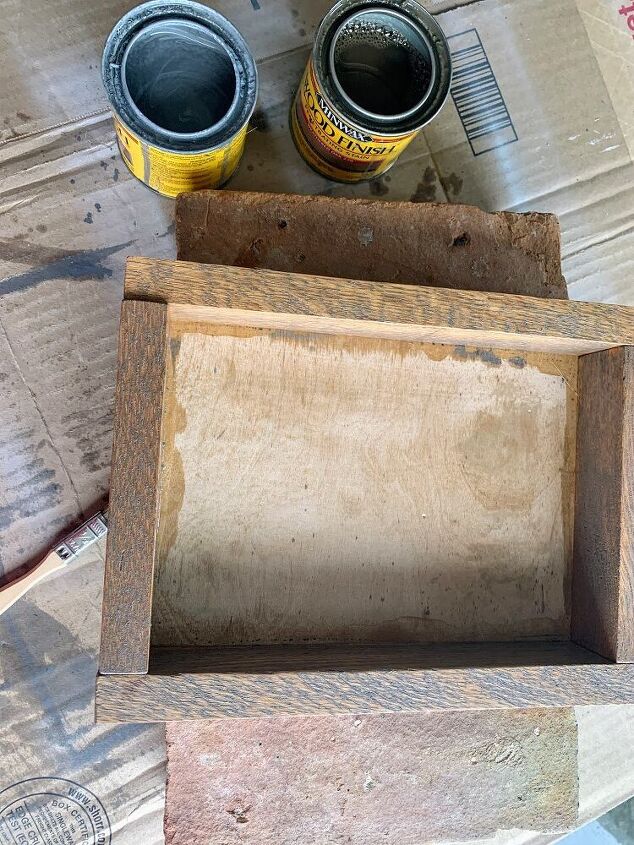
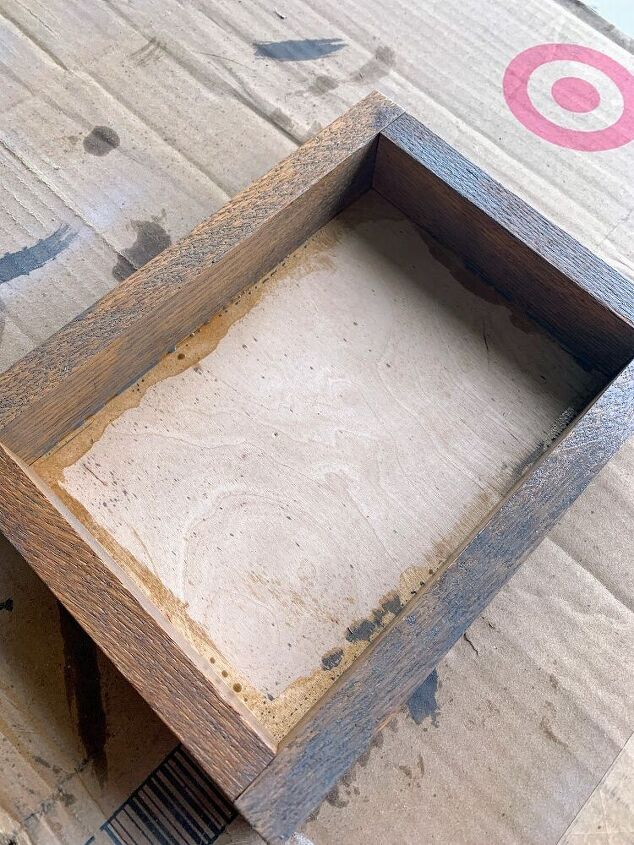
Stain
I used a couple of leftover cans of stains from other projects and just mixed and matched until I had the weathered color I wanted for the frame. I let the stain penentrate for just a minute, and then wiped it off with a cloth, so the wood grain showed through.
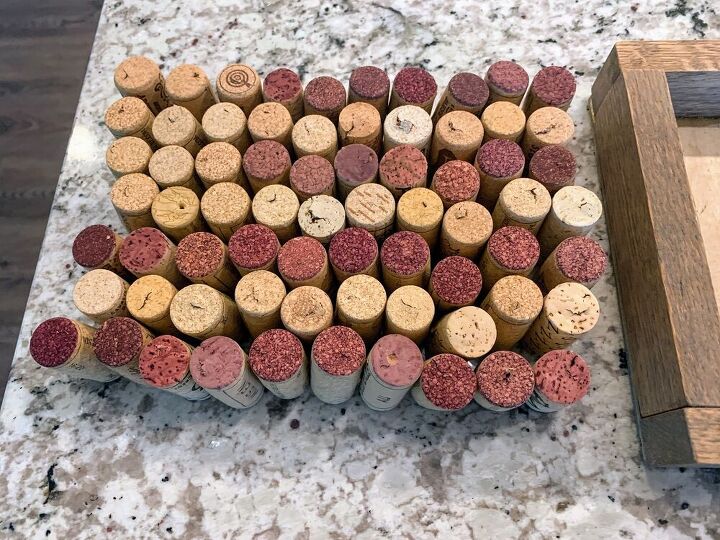
Select & Arrange the Corks
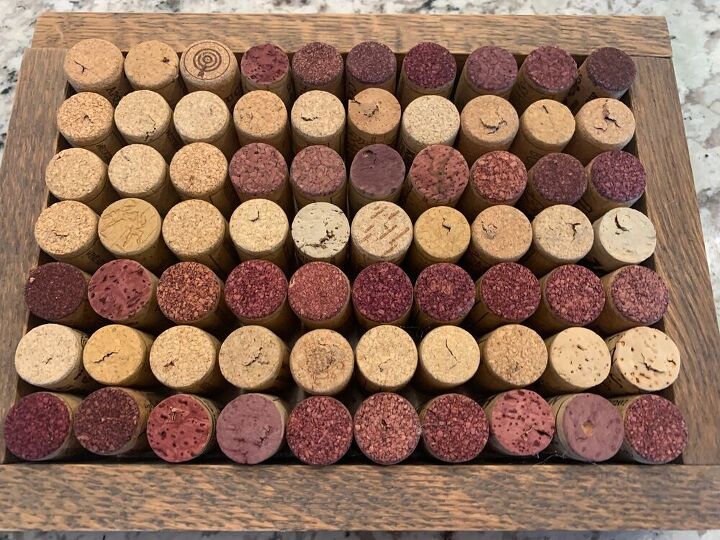
I counted out enough corks to get a rectangle the size I wanted: that ending 10 corks long by 7 corks wide. I chose red wine corks for the red stripes in the flag and used either white wine corks for the white flag stripes, or just turned them upside down, so that the red wine stain was on the bottom.
I also used the plain side of the corks to make the square that will eventually be the blue and white stars.
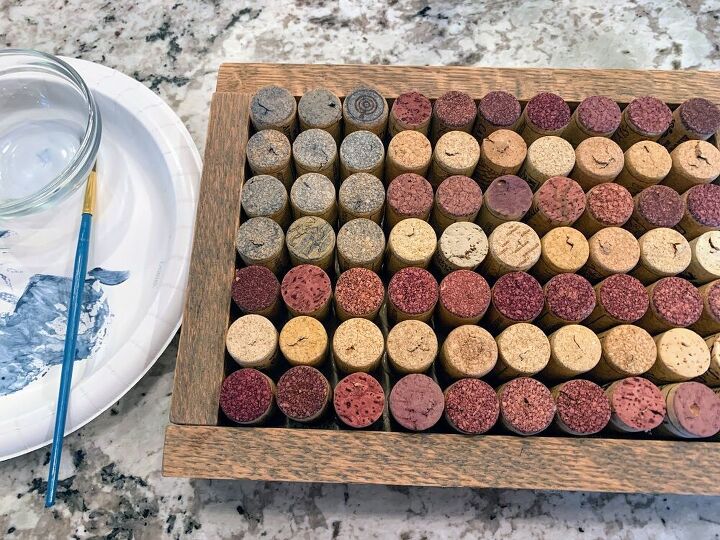
I lined them all up on my countertop before gluing anything into the frame, so I could make sure it looked how I wanted. Some of the corks have holes on the top from the wine opener and I didn’t worry about that. In fact, I like how that adds to the rustic quality.
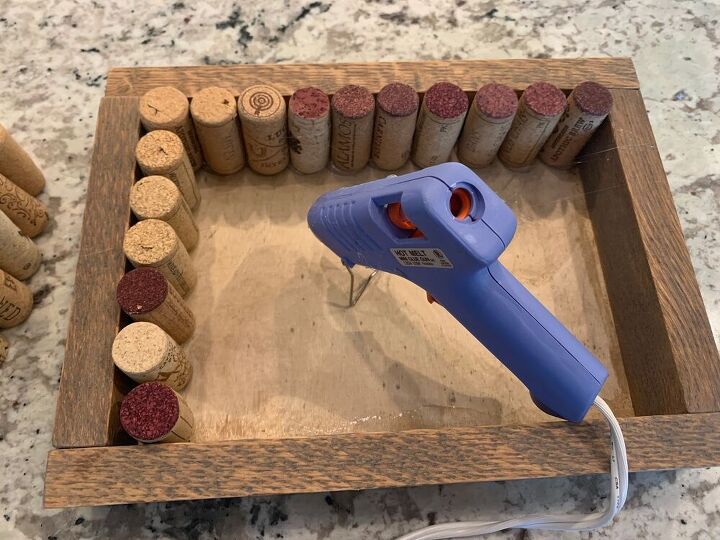
I used a generous amount of hot glue on the bottom of each cork, and just tucked them all into place inside the frame box.
Blue Paint
I love how the red strips come from the natural staining of the red wine, and the “white” strips are the natural cork color.
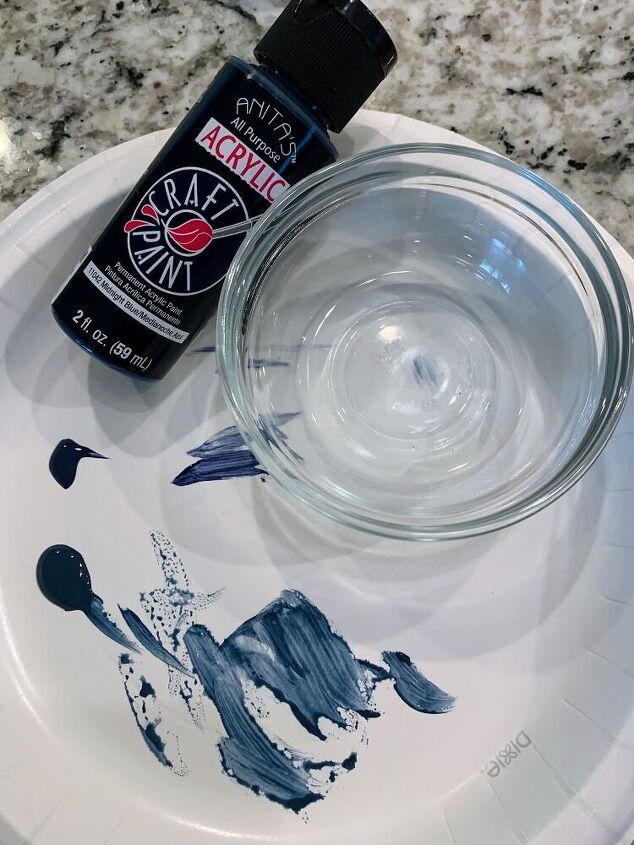
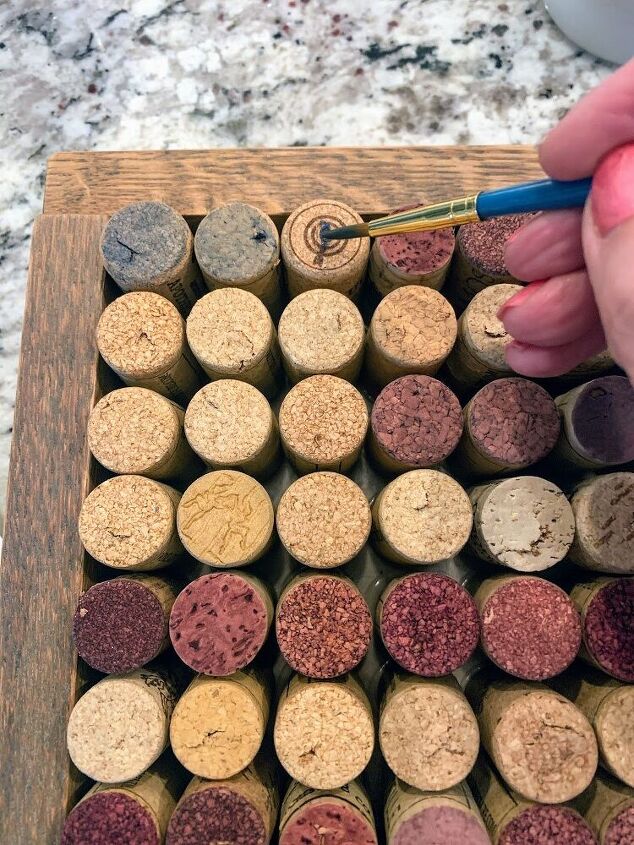
But for the blue section of the flag, I used blue craft paint thinned with water to just stain the tops of the corks, rather than applying a thick coat of paint. I wanted them to fit in with the other corks and not be too blue.
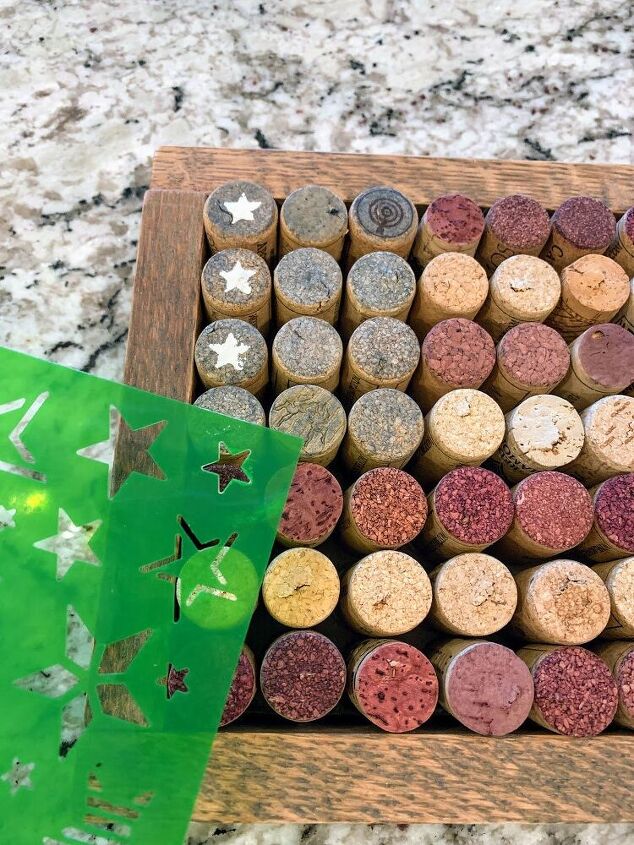
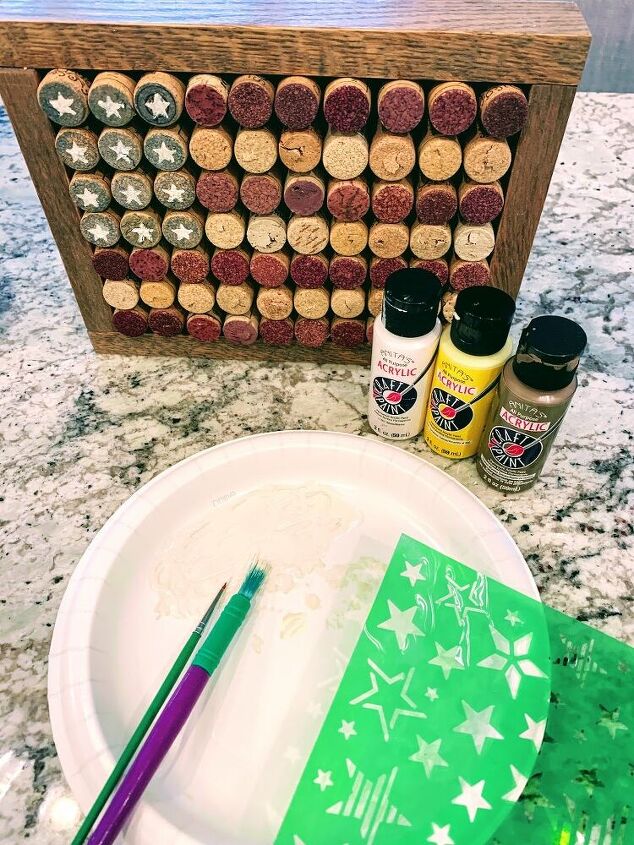
Star Stencil
I bought this star stencil at Dollar Tree, and it was perfect for this project. I used white craft paint and applied a star to each of the blue corks. I wasn’t too careful about making them “perfect”, because I wanted this project to look sort of aged and vintage.
Like most projects, sometimes you look at your “finished” project and realize it’s not quite right. In this case, I felt like once I had it “done”, the blue and white star section was too small. Fortunately, it was an easy fix, and I just plucked out two of the red adjoining corks, turned them over, reglued them, and then painted this extra row blue. It looks more proportional now. Problem solved.

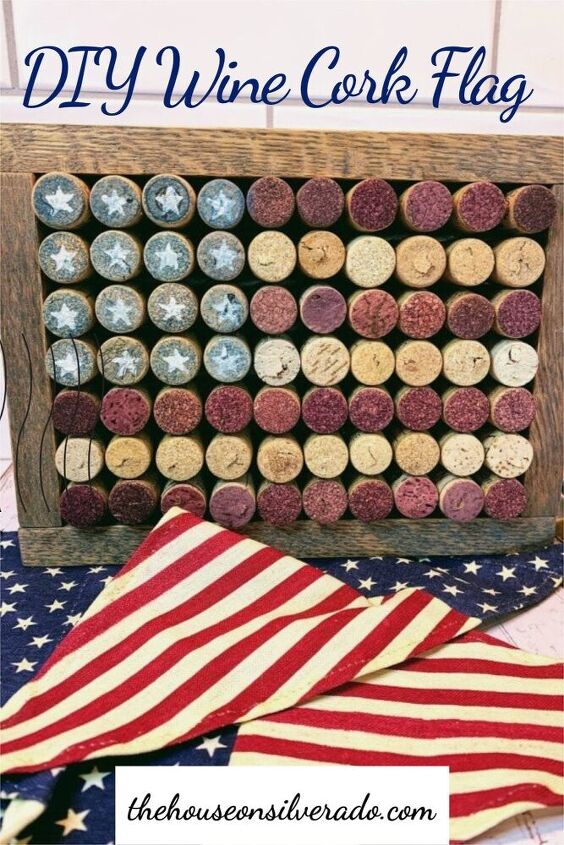
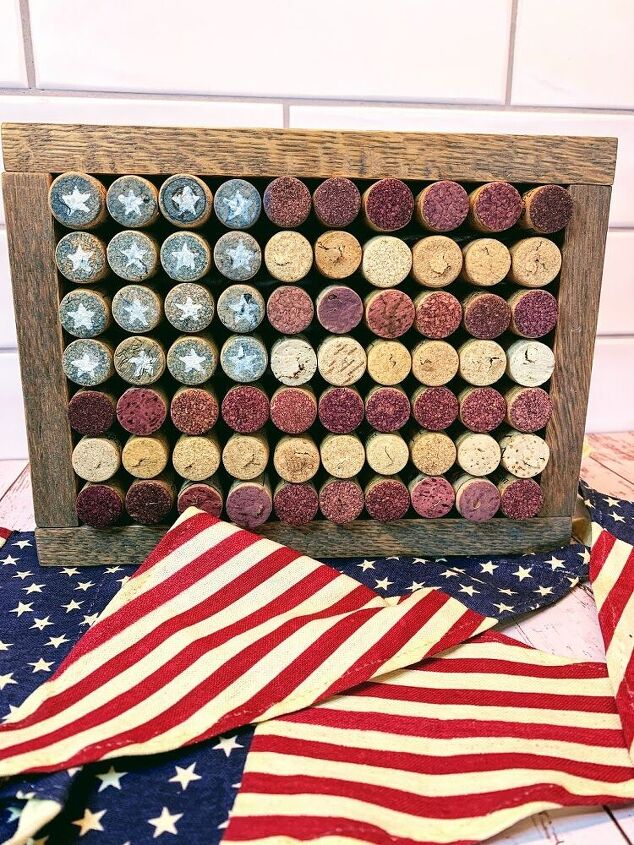
I’m so happy with my finished DIY Wine Cork Flag! It’s not a mass-produced piece from Hobby Lobby–it’s a one-of-kind creation. I especially love that the wood has sentimental value because it came from my dad’s projects of long ago, and that each cork in the frame came from bottles enjoyed with my family. This is the perfect way to keep some of those memories intact for a long time.

For more fun projects like this, visit me at The House on Silverado.
Resources for this project:
See all materials


Comments
Join the conversation
-
I really like this. This would be neat to do for a coffee table with a glass top perhaps. Very cool. Thanks
-
Well done and looks fantastic! I think I have all the products to make one!


Frequently asked questions
Have a question about this project?