


15 Minute DIY Pot Lid Storage Rack
So ahhh crap, I broke my metal store-bought rack. Now what?! In a bind, I discovered you can DIY your own from scrap wood!
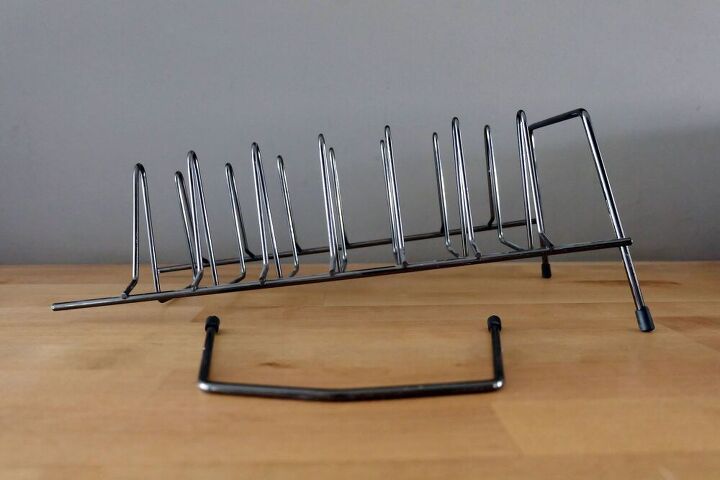
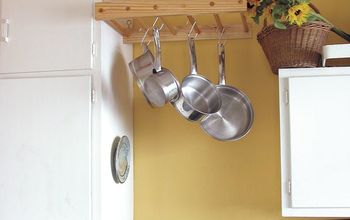
We all know these, these pot lid racks, right? Like a letter holder, if you're old enough to know what a letter is, haha, just teasing.
Handy enough these, until you break it and your pot and pan lids scatter messily like roaches when the light flips on.
After taking a few measurements of the corner cabinet this rack had previously lived in, I headed downstairs and hit up my stash of scrap wood.
No worries if you don't have a stash -- home improvement stores typically have small pieces of scrap for sale for pennies.
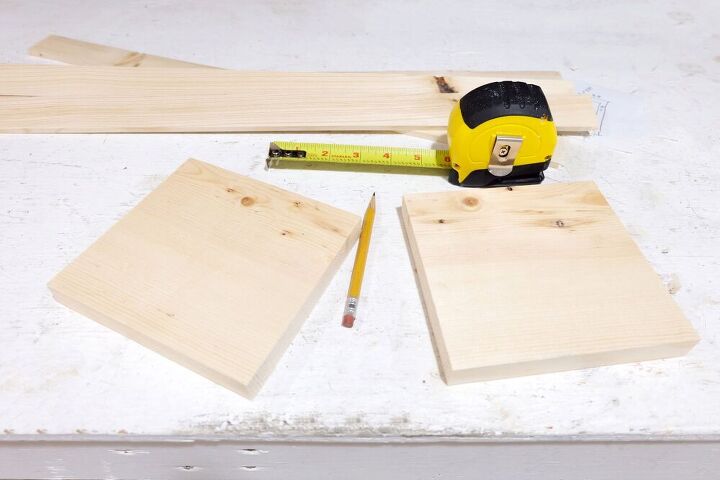
Here I grabbed a piece of 1x6 and cut 2 pieces at 6". I also grabbed some wood lath (seriously, I am not trying to be the Crazy Wood Lath chick at all, I'm trying to use it up!).
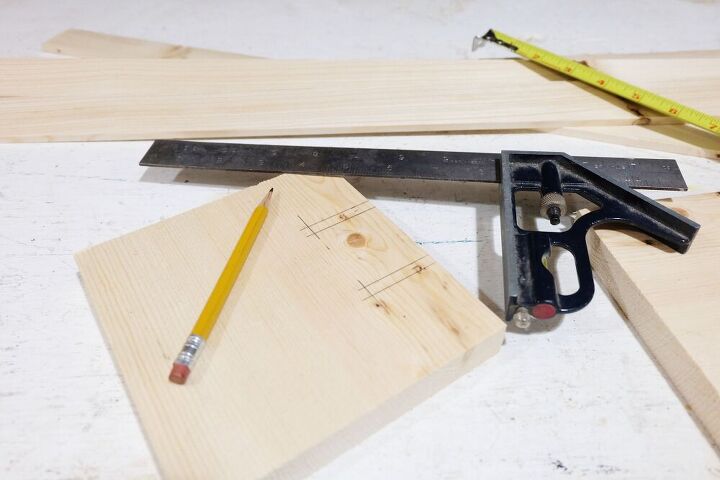
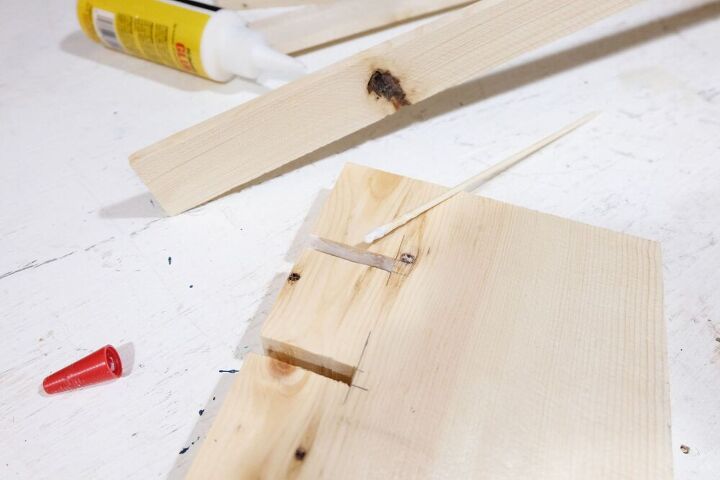
I measured in 2" from one side, then an 1/8" on either side of the 2" mark then 1 1/2" down from the top to create a slot. Measured 2" over again and repeated for a second slot.
The 6" is the width while the 5 1/2" is the height, so the spacing is even for the slots.
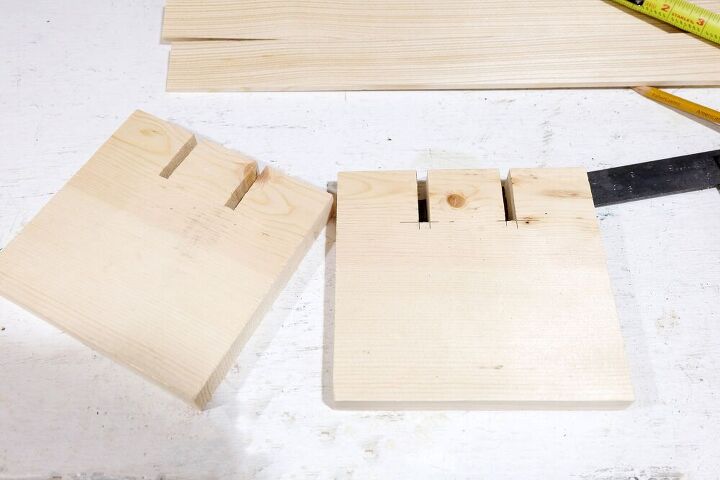
Heading over to my band saw, I snipped the slots out. Maybe not perfectly but they work.
Be sure to head over to Flipping the Flip for more on this project along with loads of other cool things you can make and do!
After trimming the wood lath to 22 1/2" long (your dimensions may vary), I dribbled some glue in the slots.
Tuck one piece of lath in there, then on the other piece of 1x6, and repeat with the other slot.
For details, swing on by the blog post here!
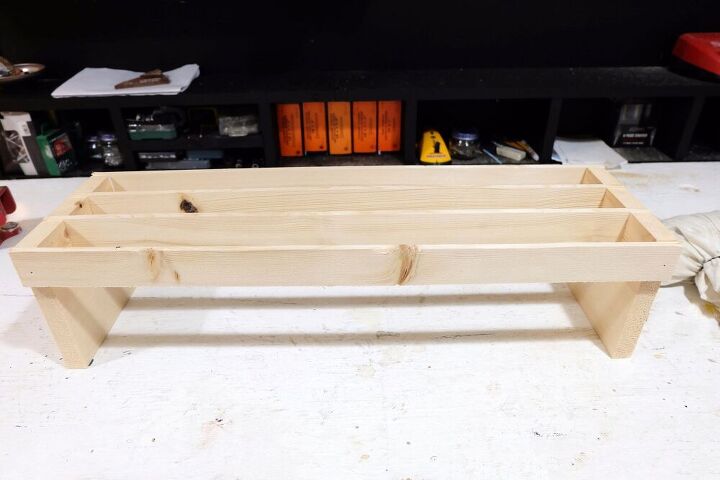
Since I'm not winning a design contest with this look, I tacked on pieces of lath on either side at the top on the outsides too using wood glue and a nail gun.
And tada! Wow, that was a fast project!
Feel free to seal it, stain it, paint it, whatever you'd like.
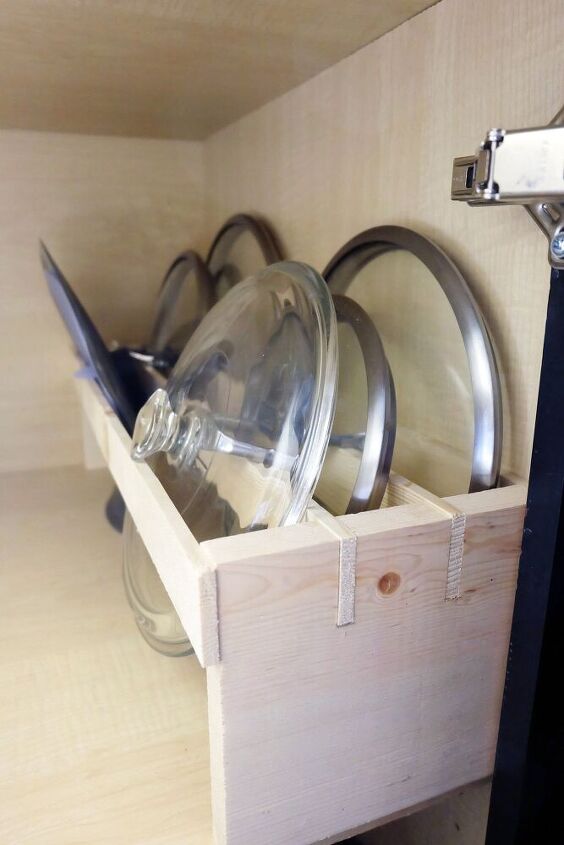
And voila, lids stored again, whew!
The nice thing about this rack is that the lids are parallel in line with the rack, rather than sticking out the sides of the old rack. As such, this bought me a bunch of cabinet space back!
Don't forget to swing by Flipping the Flip for more on this project and so much more!


Comments
Join the conversation
-
I really like the design and the fact it’s adaptable. I also appreciate that you built it from scrap wood and that you were not overly fussy. Your rack is simple, practical and good looking.
-
Wow! I like your wooden version even better than the store-bought one. Good for you and thanks for sharing!


Frequently asked questions
Have a question about this project?