


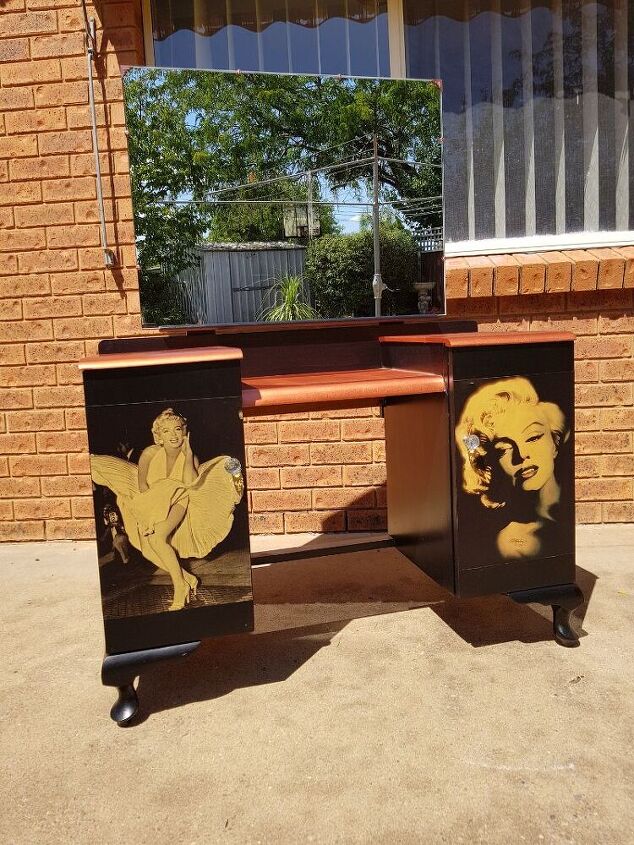
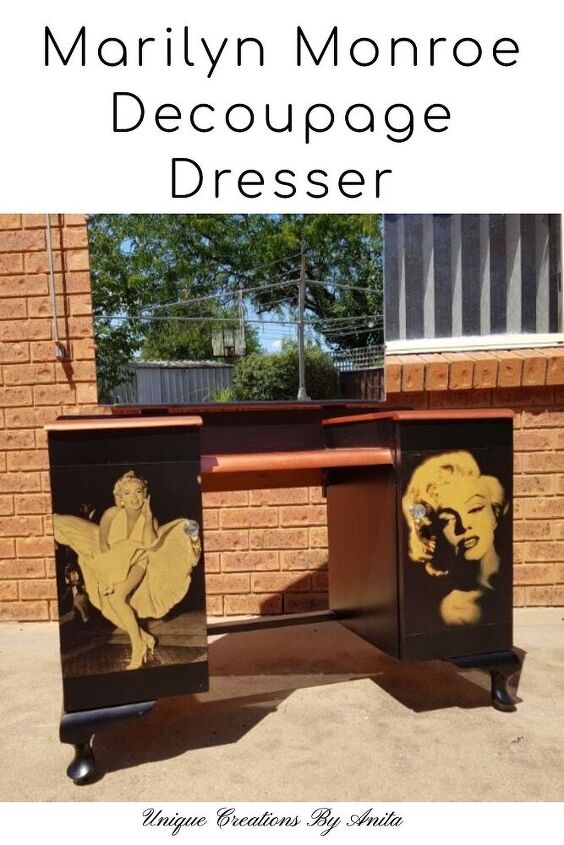
Marilyn Monroe Decoupage Dresser
I have always been a big fan of Marylin Monroe and I have also wanted to try decoupage on a piece of furniture. So this dresser allowed me to kill two birds with one stone.
I am not a huge fan of painting over wood but this project was my entry in a painted furniture blogger challenge.
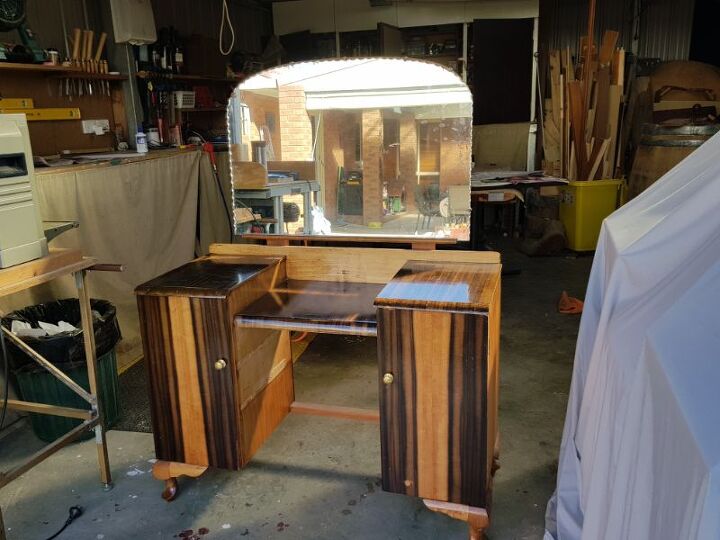
This was the dresser that I started with, It was very old fashioned and outdated. It was also in very poor shape once I took a closer look at it.

I started by sanding the surface to smooth out all the loose veneer.
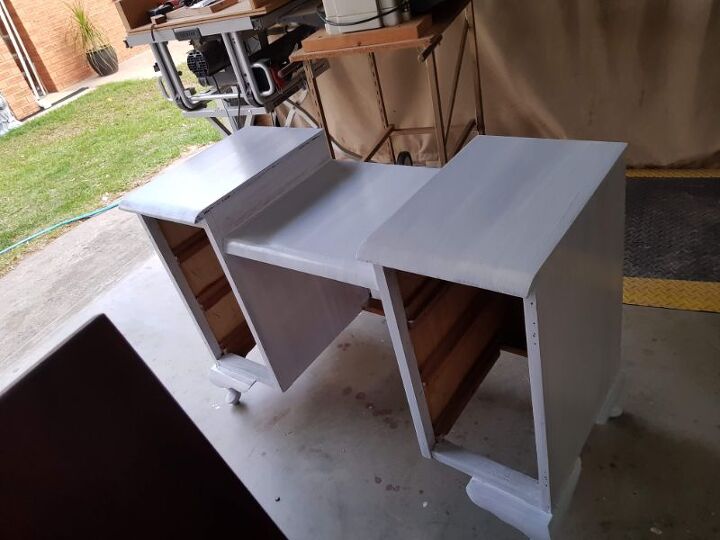
Next, I added a coat of primer to smooth out the surface and to give the paint something to adhere to.
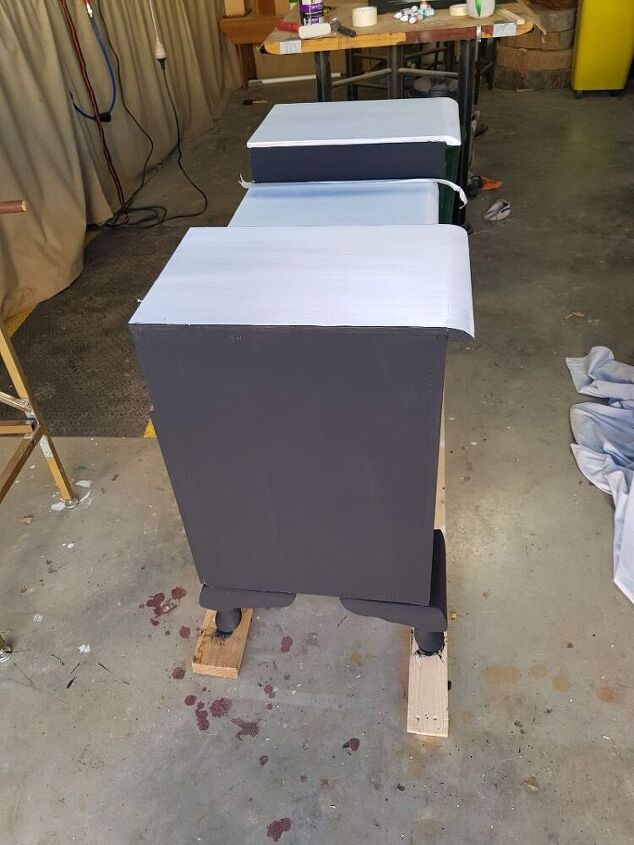
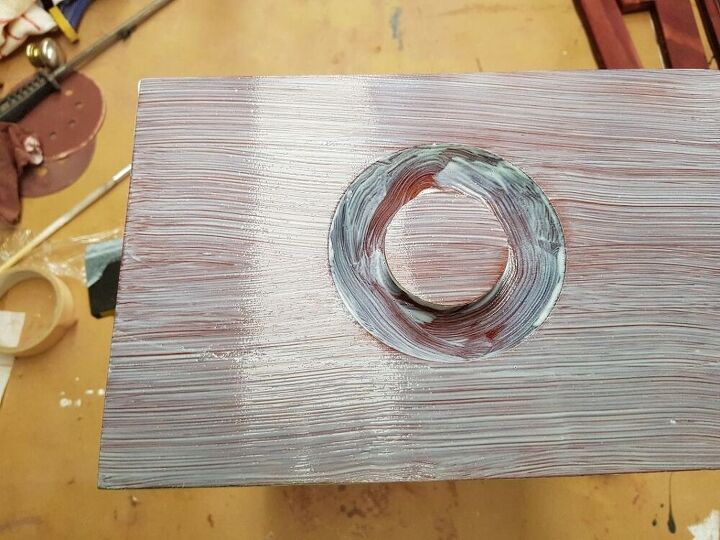
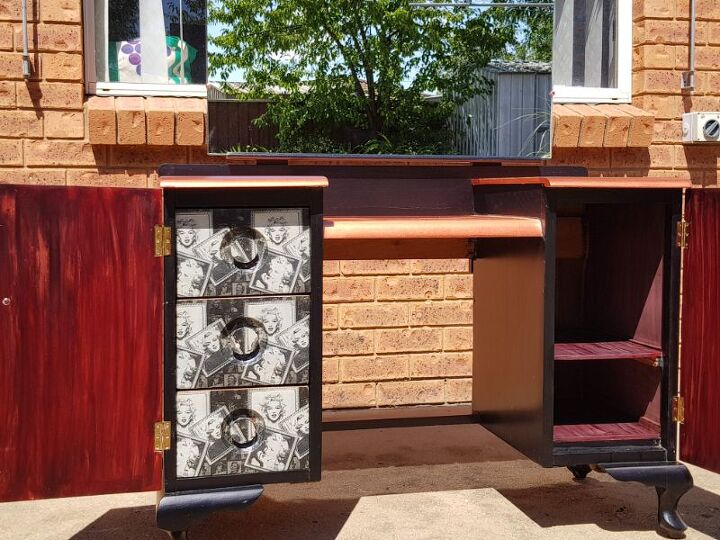
I painted the base with 2 coats of black acrylic paint. I had this idea in my head that I wanted to top to be a copper colour. But this was not an easy colour to get hold of.
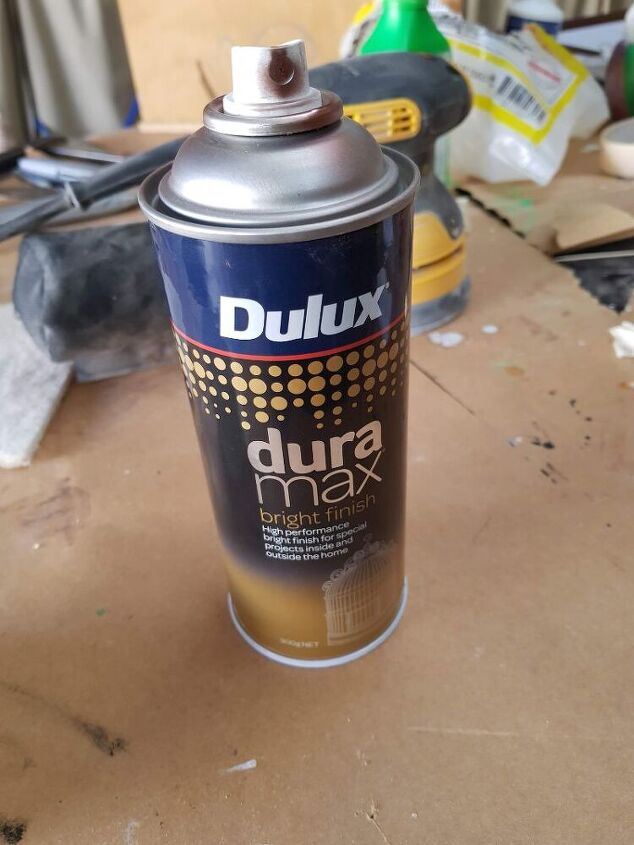
After some searching, I found this metallic copper spray paint from Dulux.
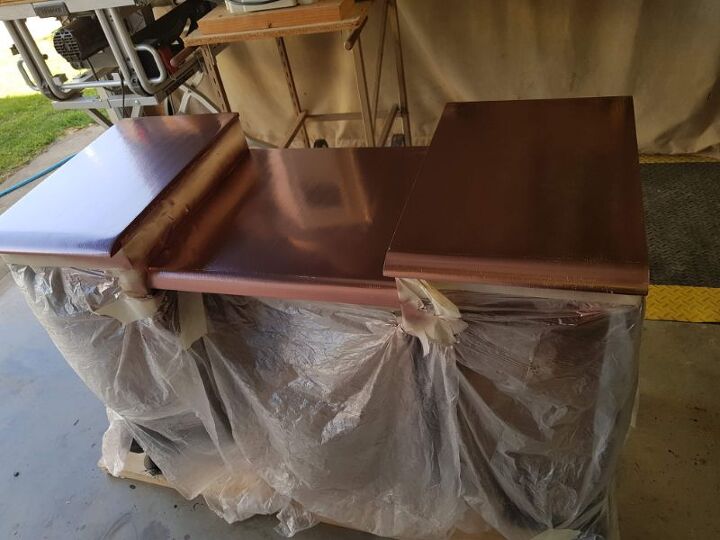
I taped some plastic to the dresser base to protect it from any overspray. A tip I can offer here is to use a low grip tape. In some areas, I lost some paint when I removed the tape. But it was easy enough to touch up.
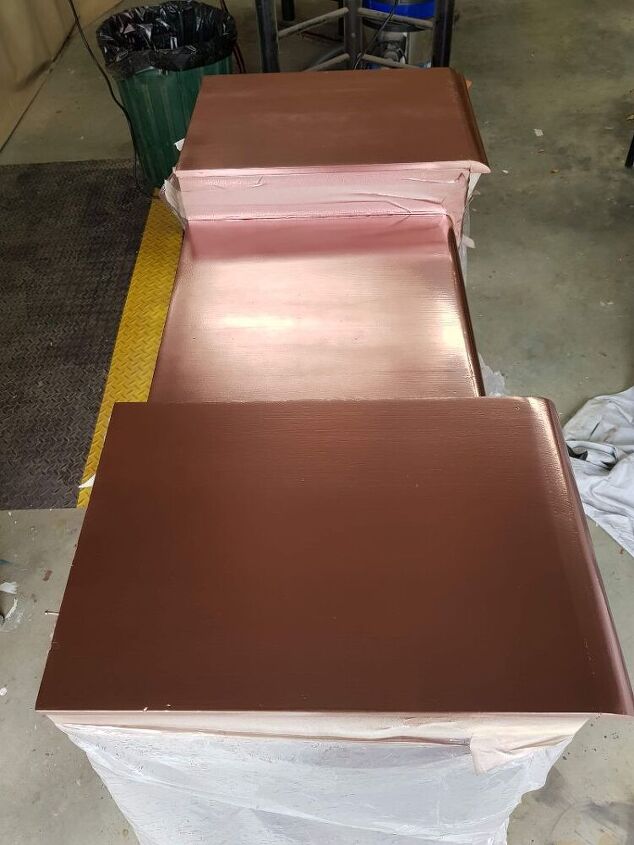
I added three thin coats to the surface, waiting for each layer to dry properly before I added the next. I left the last coat to dry for 24 hours and added a topcoat. The hardware store said it was not necessary, but being a dresser I wanted added protection. He recommended adding 2 coats of Rust-Oleum Clear Gloss Spray Paint.
Decoupaging the dresser drawers
In the end, I was only able to save 3 of the drawers, the others were beyond repair. One of the good ones still had to be repaired but I knew I would be able to hide the damage with some decoupage on the front.
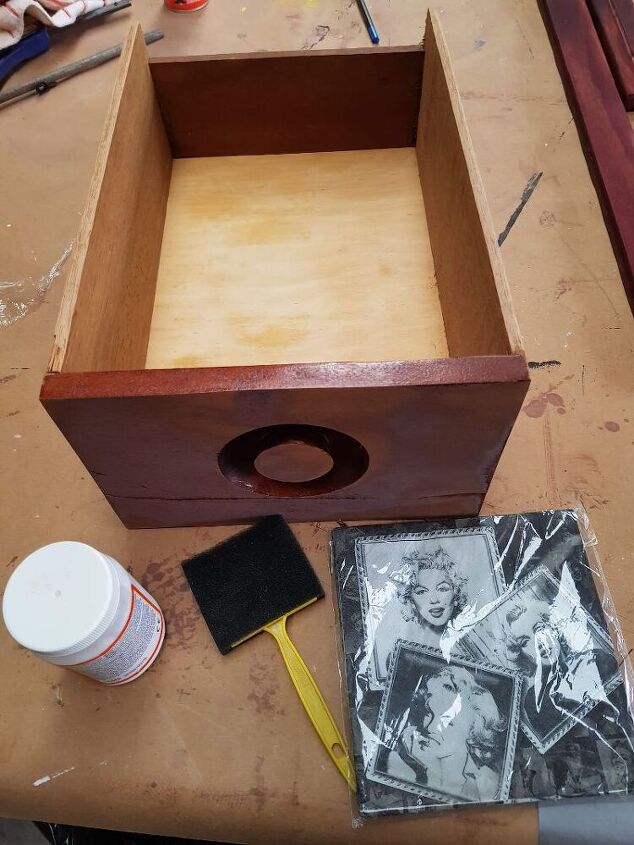
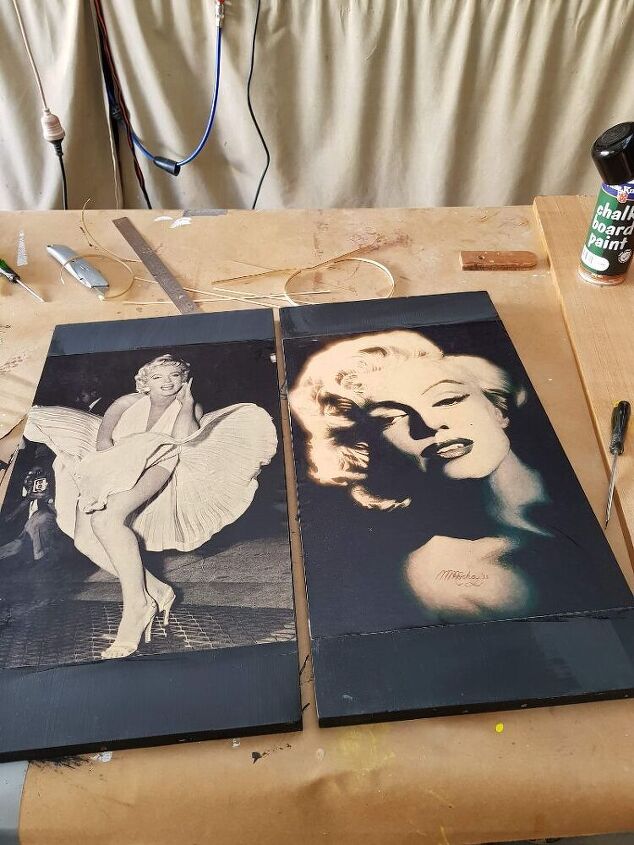
I have never done decoupage before and straight away I ran into trouble. I added I thick even layer of mod podge over the drawer and lay the Marilyn Monroe paper napkins over the top.
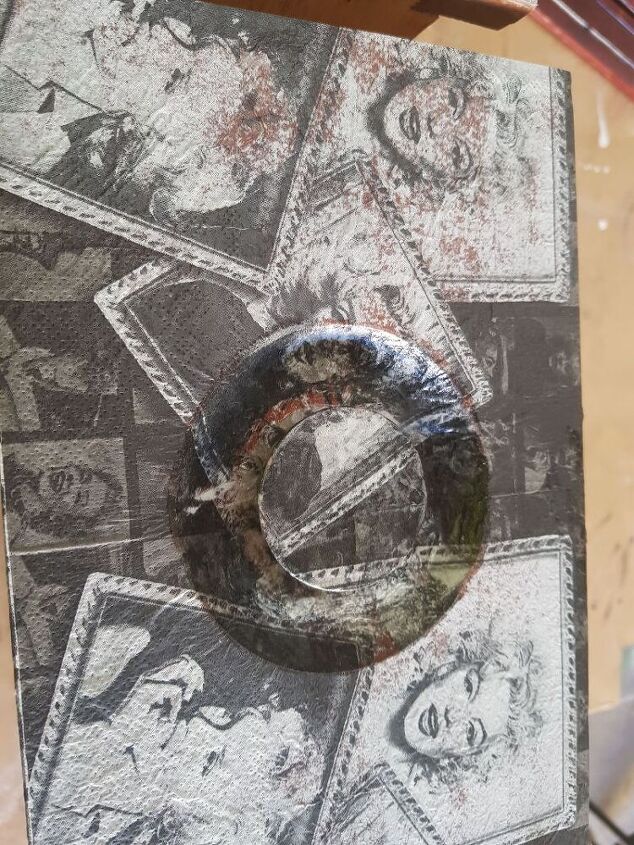
The brown from the wood could be seen through the napkin and spoilt the look. I waited until it dried to see if it would improve but it did not.

To remove the Marilyn Monroe napkins I tried using my orbital sander but that failed miserably. The heat from the sander soften up the mod podge and it clogged up my sanding disc and made a sticky mess. I lay a hot wet cloth over the surface and left it for a few minutes and then rubbed the napkins off with a sponge scourer, this worked great.
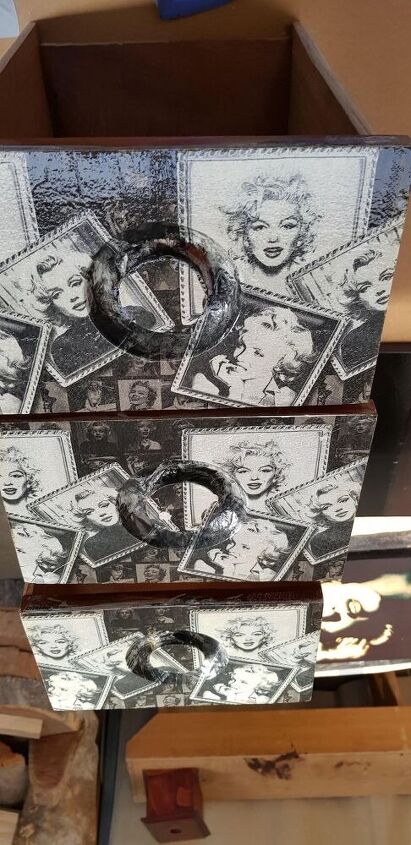
To hide the wood colour I added the white primer I used on the dresser. Once dry I added an even layer of the mod podge and added the Marilyn Monroe napkins. Once they were dry I added 2 coats of clear water-based polyurethane over the surface for protection.
Marilyn Monroe dresser doors
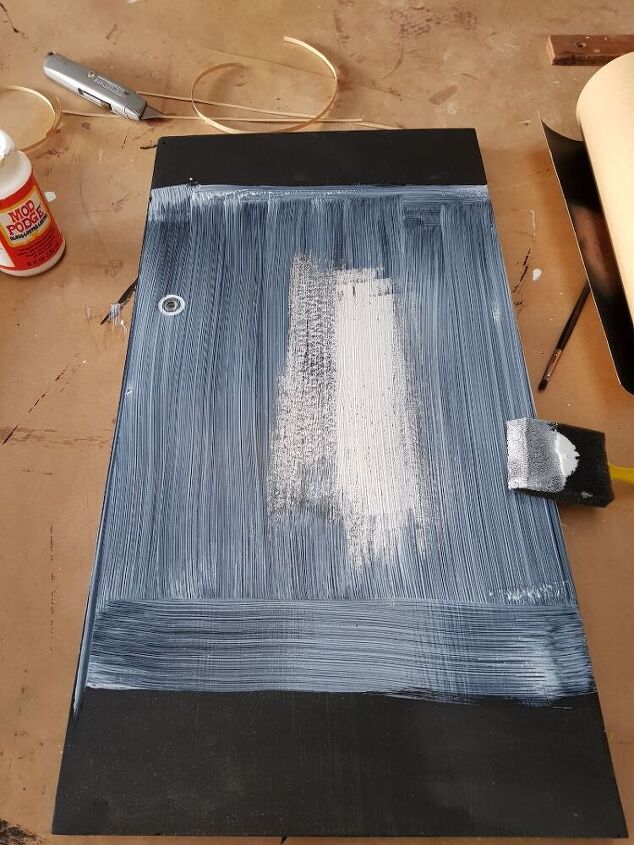
To get Marilyn Monroe on the dresser doors I used some cheap posters I found on eBay. I follow the same method as the drawers.
To add some protection to the doors and the posters, I added 2 coats of clear water-based polyurethane. I was a bit disappointed that I did not think to blend in the edges of the posters, but it is something I will definitely do next time.
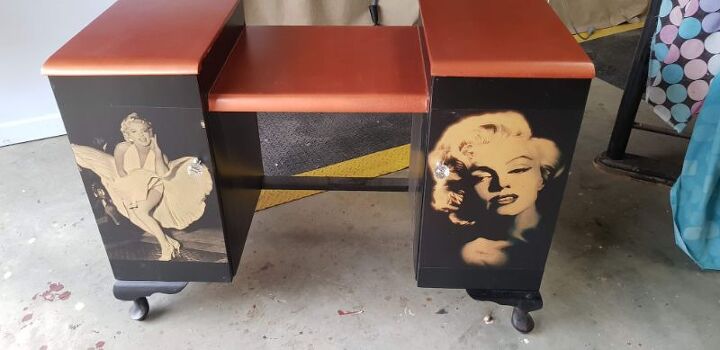
To finish off the look I added “ Diamond” doorknobs, because diamonds are a girl’s best friend.
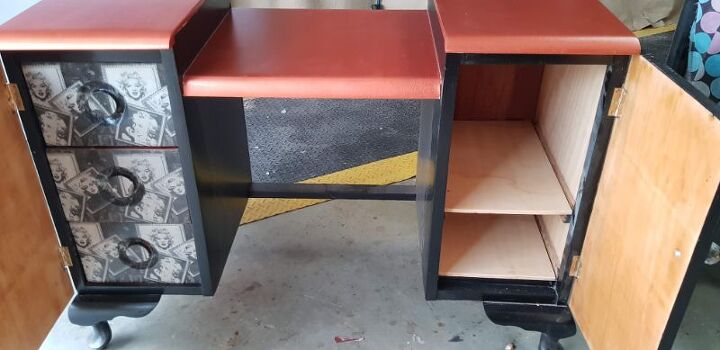
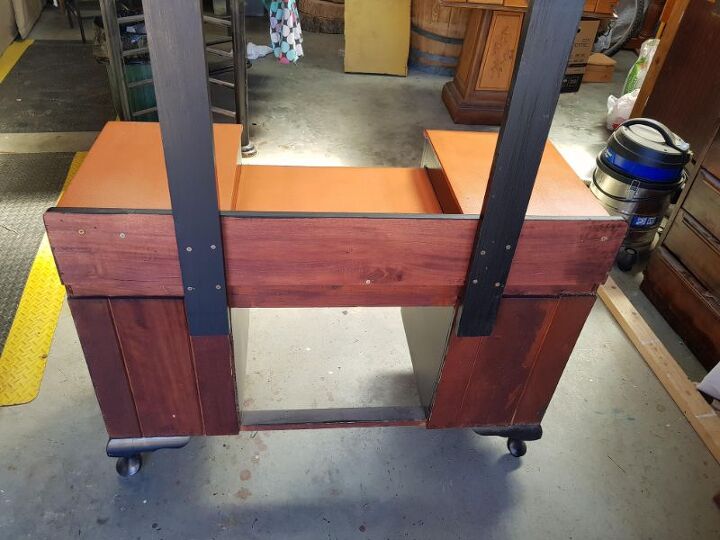
Adding shelves
For the right side of the dresser, I added some plywood shelves. I glued them in place and used a nail gun to keep them secure. I did stain the inside and the shelves which did spoil the look a little. But I secured them so well I could not get them out again to replace them. lol
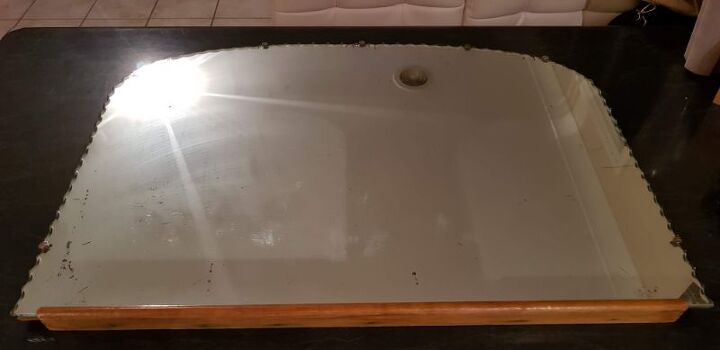
Replacing the mirror
The old mirror had lots of wear and damage on it and I felt it spoilt the look.
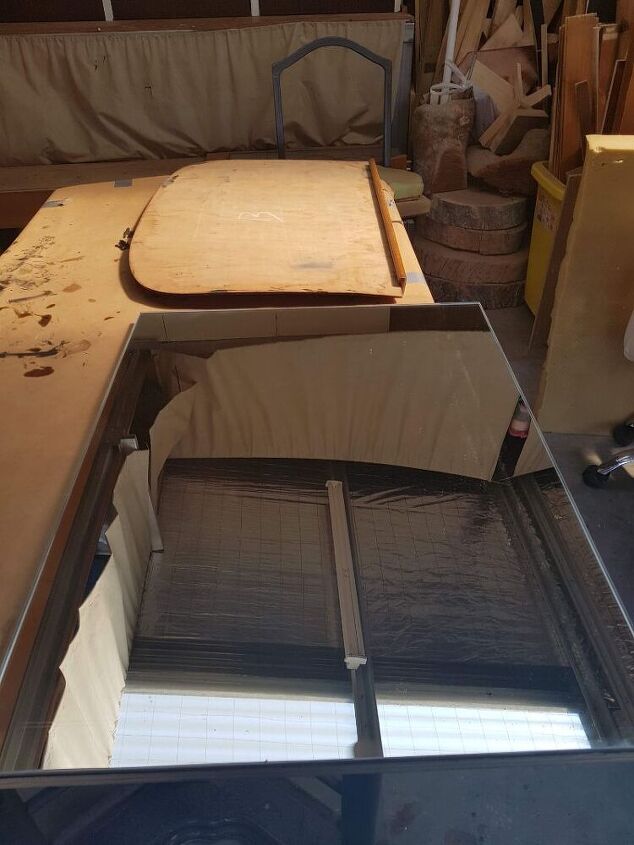
I had an old mirror from a previous dresser I had stripped down for spare parts.
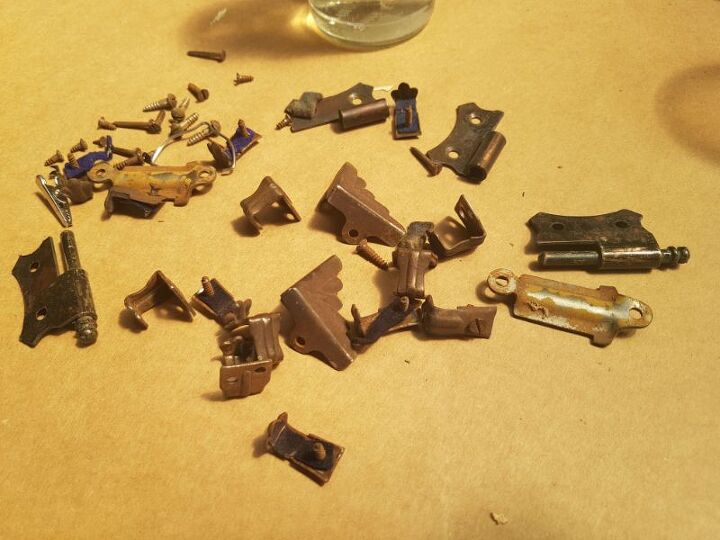
I cut a new piece of plywood to the size of the mirror and mounted it back onto the dresser. I cleaned up all the hardware and reused them.
I stained the back because my OCD would not let me leave it as it was. ha ha
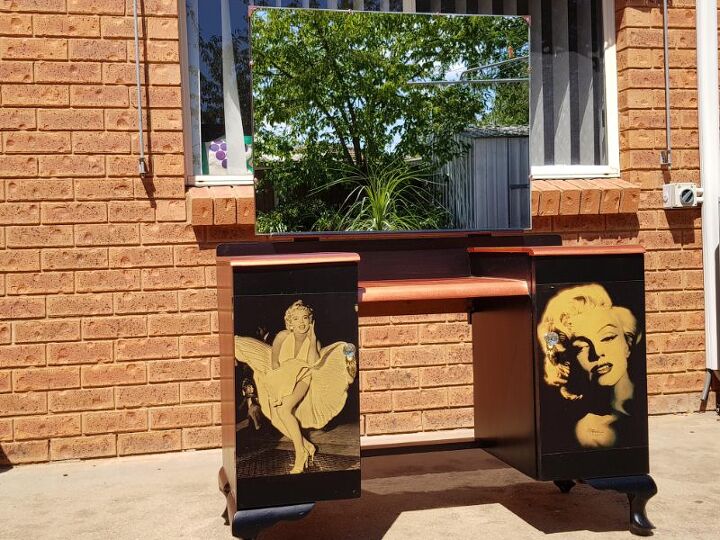
Completed Marilyn Monroe decoupage dresser
This Marilyn Monroe dresser went to a huge fan who loved her. I must apologise for the photo quality, my home is too full to take photos of large furniture inside and my garden was died due to the drought. So my tree and washing line was the best I had. Haha
This dresser took about 8 hours to complete, excluding paint drying times.
Here are some more project ideas. This unique wall hanging was made from recycled aluminium drink cans. This tutorial will show you have to recycle them into wall art that can be moved around to create different designs.

I repurposed an old book into a jewellery box and decorated the cover using items I found around my craft room.
Resources for this project:
See all materials


Comments
Join the conversation
-
OMG, I thought the mirror was a picture of trees! Great job!
-
Technically, this piece is not a dresser. This is a vanity. Bedroom furniture was sold a group of pieces. The grouping would include, the double bed, 2 bedside tables a bureau ( for the lady, a high boy (chest for the man, a vanity for the lady, and possibly a wardrobe (closet). Older sets from the early 1900’s would also have a wash stand/Commode. Extras available were a dressing chair for the man, and a cedar chest/hope chest/blanket chest. A retiring chaise for the lady could be available. The style here is possibly Craftsman, or Frank Loyd Wright. From the same period at least. Vanities are still widely because most people now they don’t have enough storage space, and are more difficult to upcycle to a new use. I would give a ton for that mirror, though. Plus the bureau would have had a matching mirror. Nice job.


Frequently asked questions
Have a question about this project?