


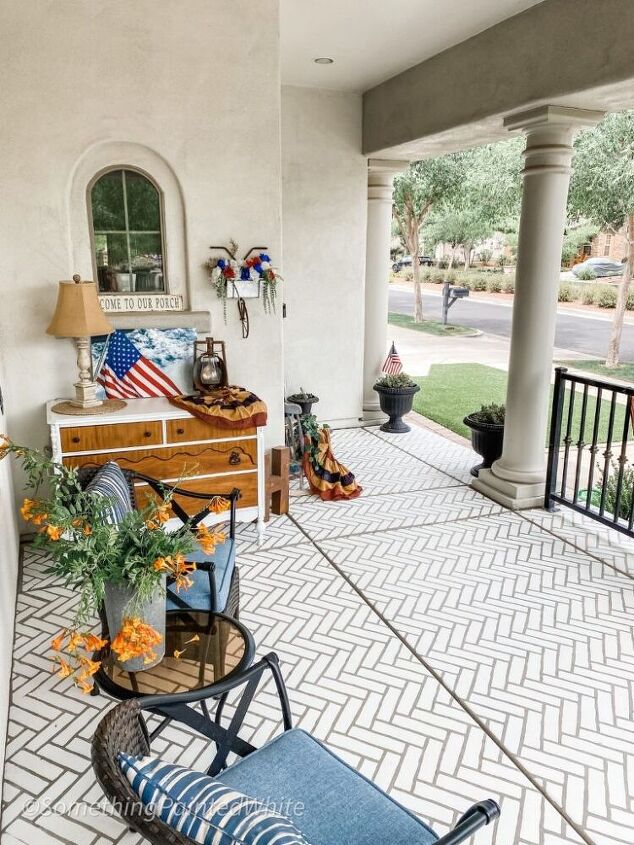
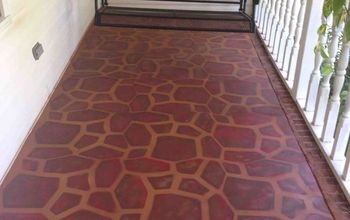
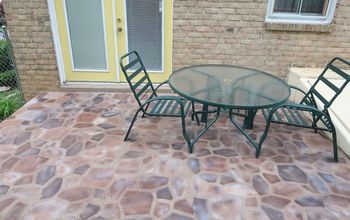
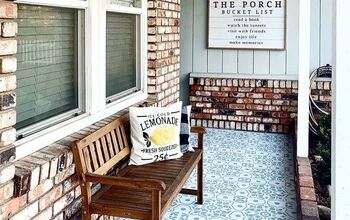
A Beautiful Brick Porch in One Weekend

I stenciled my front porch to make it look like brick and I love it! It took one weekend and it was totally worth it!
(for the in-depth tutorial please visit my blog www.somethingpaintedwhite.com)
I’ve always been drawn to brick, brick floors, brick roads, brick walls, brick houses...the list goes on! I just love brick so I decided to make my own brick porch! (No bricklayers were hired for the making of my brick front porch!) 🙂
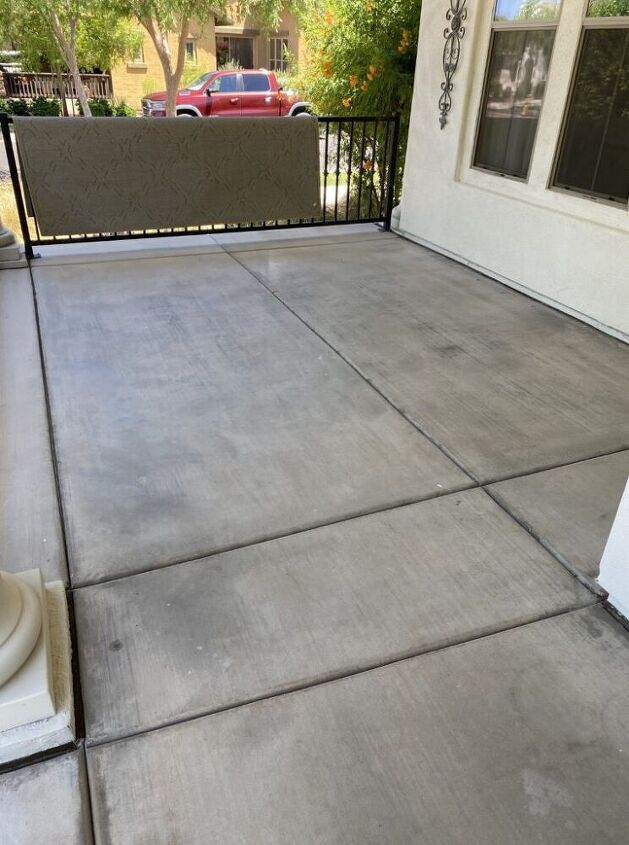
The first thing I did was give it a good cleaning…and by that I mean I hosed it off. No scrubbing, no concrete cleaner, none of that, just an inexpensive power sprayer and a long hose!
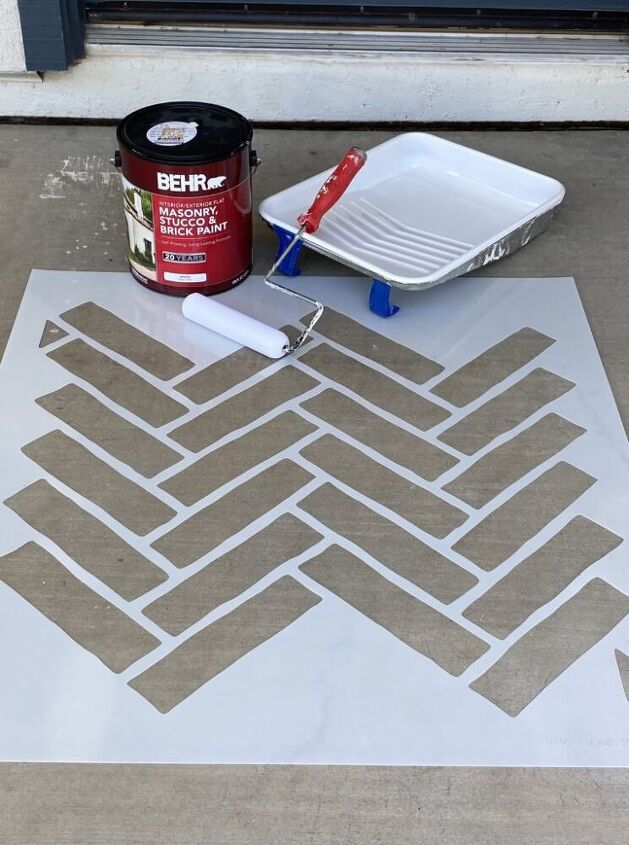
The only supplies I used were
- paint
- foam roller
- stencil.
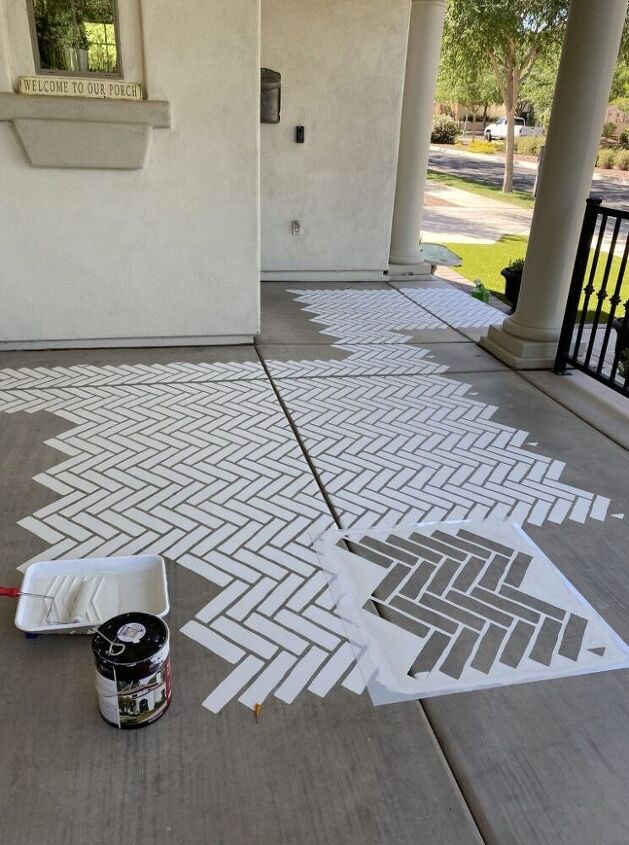
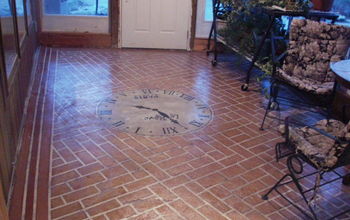
The first place I laid the stencil was straight out from the front door in the center of the walkway as you enter my front porch. I suppose it doesn’t really matter but I thought that way I would be sure to walk out and see a full pattern, now that I type the words I’m not sure what I was thinking. But I’m going to stand by it. 🙂
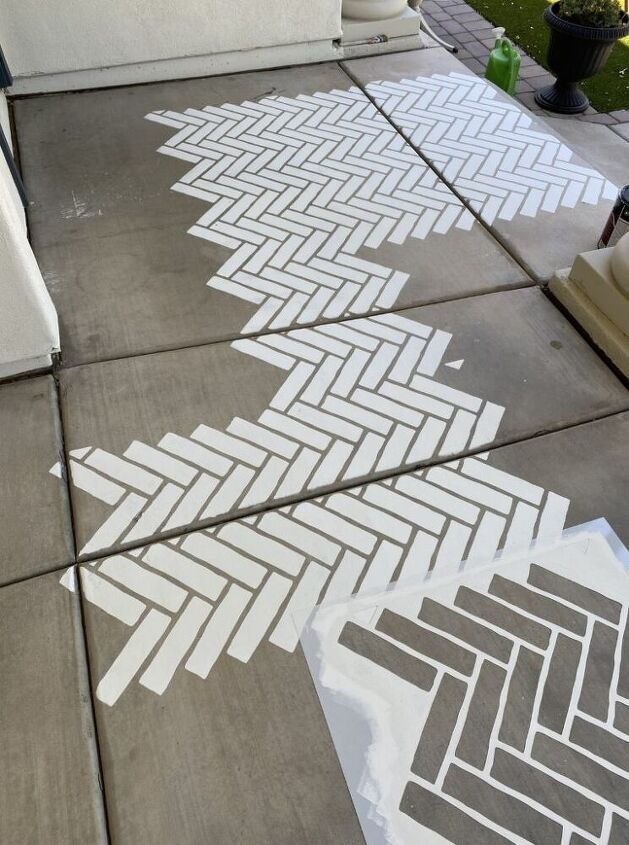
Using my foam roller I rolled it into the paint and then rolled as much off of it as I could on the bumpy part of the paint tray. I’ve learned the hard way that too much paint on a roller causes bleeding under the stencil. It’s better to do light coats. Once I got started it really went pretty fast. It was a very warm day (most days are, it’s Phoenix!) and the paint was dry enough to just pick up the stencil, line it up with the guidelines, and start on the next section. The above photo shows what I had done in only about 15 minutes, I focused only on areas where I could get a full stencil pattern in without worrying about bumping into walls!
We’re probably at about 45 minutes here, once you factor in my age you realize that things start off great but then begin to slow down. But I kept going. I didn’t worry about the joints in the concrete I just painted over them. (my joints were a different story)
If you follow me over on Instagram @somethingpaintedwhite you know that I’m not a perfectionist. I try not to sweat the small stuff. Work smarter, not harder is my policy! 🙂
The rest of the story is really just a matter of lather, rinse, repeat! I think I spent a total of 4 hours on a Saturday afternoon working on this brick porch. That included the time I spent hosing off the porch too!
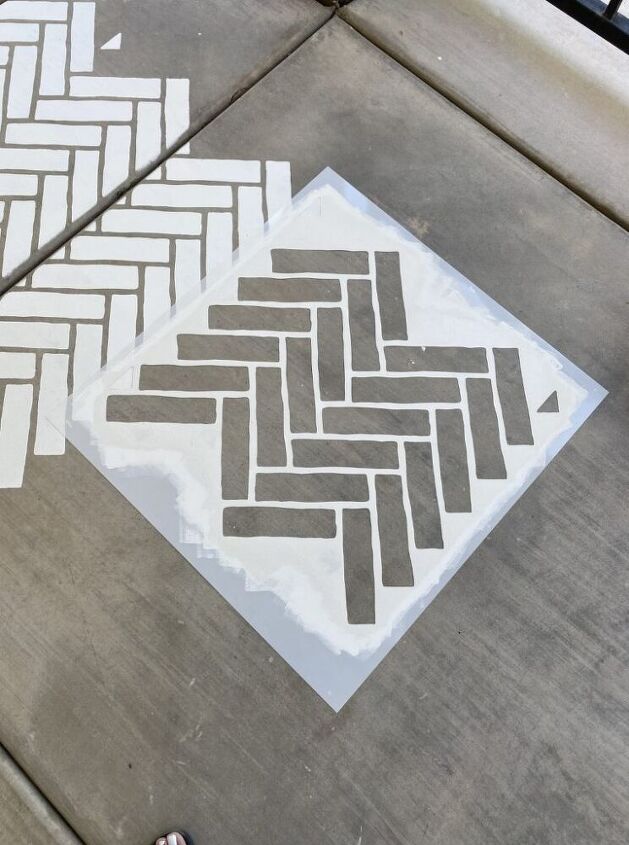
The next day I got back at it and it was a bit more work as I now had to do all the edges. In some cases, you can sort of roll the stencil up the wall and then try to hold it down flat against the floor with one hand, while you roll the paint on with the other hand. That was not THIS case!
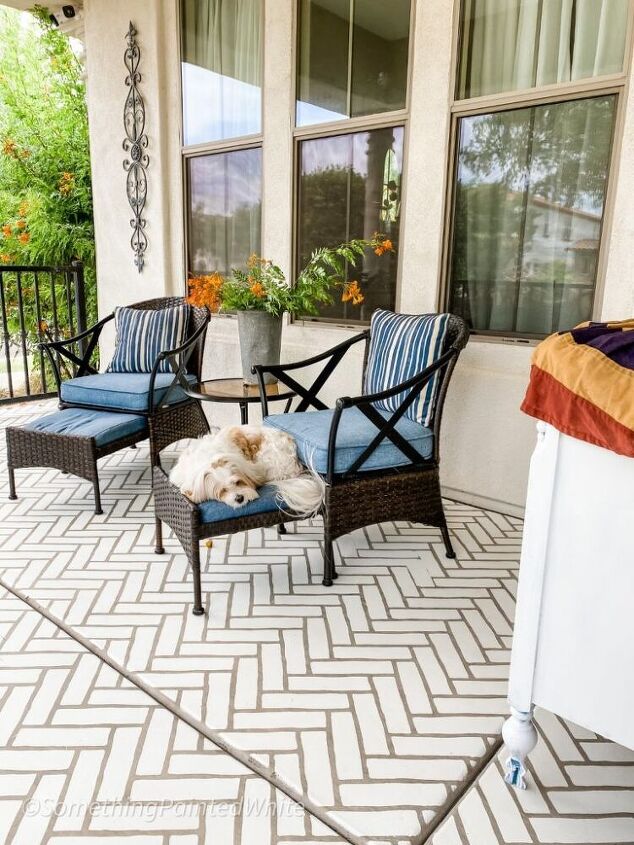
My stencil was in pieces by the time I was done but that’s ok…I now have a gorgeous brick porch so it was totally worth it. All in all, it took me about 8 hours and I’d do it all over again because it’s so amazing!
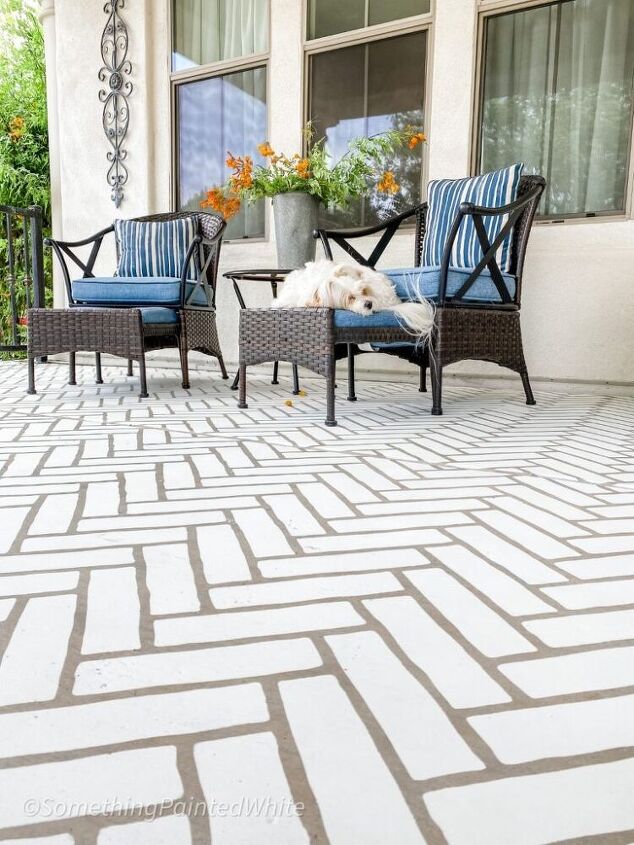
I cannot even get over the difference. I love it so much! People walking by with their kids and dogs stopped to comment on it and everyone approved! Yay!
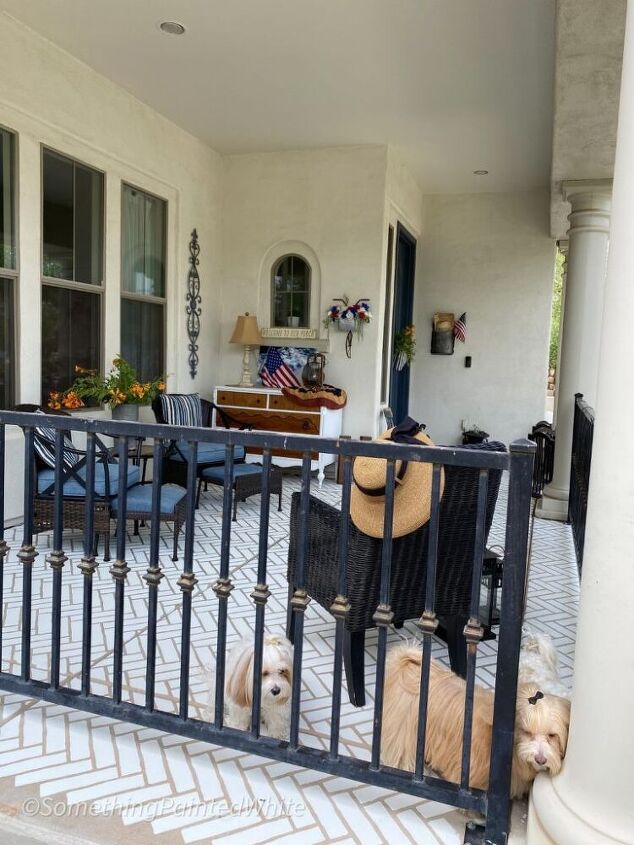

I’ll admit, I’ve noticed a few shoe marks here and there from my shoes, his shoes, the UPS man’s shoes….no big deal, they clean right off…and, may I remind you…don’t sweat the small stuff, it’s a porch! 🙂
I am absolutely in love with my NEW BRICK PORCH and if you’ve been considering it I highly recommend you just jump in and do it. You will be so glad you did!!!!
Happy Painting, ~Cindy~
Resources for this project:


Comments
Join the conversation
-
How has your paint held up? I am concerned that foot traffic would wear it down and it would need re-painting in a year or two?
-
I would seal mine, to help look nice longer. What would you suggest using?


![Faking It [brick Paver Edition]](https://cdn-fastly.hometalk.com/media/2017/04/05/3806609/faking-it-brick-paver-edition-animals-appliance-repair-appliances.jpg?size=350x220)


Frequently asked questions
Have a question about this project?
where did you get the big stencil??? I have an Office/art & craft room off the kitchen and have been trying to figure out what to put down for understandable flooring, this may be it. If it doesn't work a little peel and stick vinyl tiles will cover it up.
Would it be helpful to put a clear sealant on as a last step? Seems like it would wear longer and be easier to keep clean.
Just a quick question, What's our fur babies names? so cute!