


Slate-ish Accent Wall- It's Not Really Slate?

This project was sponsored by Slate-ish. All opinions are my own.
Creating accent walls are my jam. I love a good central focus point in a room that creates dimension in a space. I've always known that I wanted to add an accent wall in our dining room, I just didn't know how or with what. I figured it would be a wood accent wall. Then I was introduced to a really cool product called Slate-ish. Let me show you how I turned a blank boring wall into a beautiful accent wall.
Want to know something interesting? I've been DIYing for years and I've never installed tile. It's on my list of things to do but honestly the thought of using a tile saw is just plain intimidating. When I first heard of this product I didn't immediately jump on board because I figured you needed tile or slate installing experience to use it. NOPE! That's the beauty of this product.
Slate-ish is made from layered paper/resin composite sheets. Because it's not made of stone materials it can be cut with a wood saw. SCORE!

Here's the wall in my dining room that I want to makeover with Slate-ish. I wanted to add a bold color to really make this space "pop." Let me show you how easy it is to install this product!
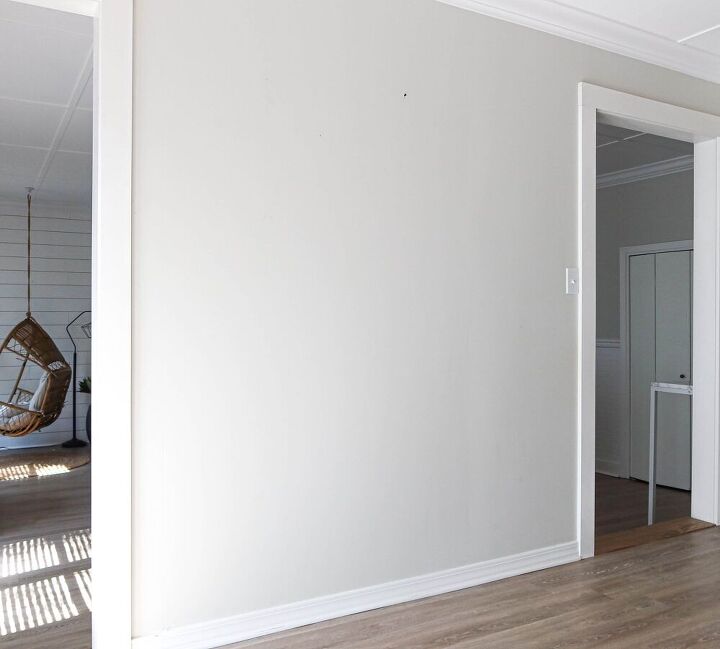
First things first; remove everything from the wall and make sure it's clean and smooth. They do recommend a painted drywall surface.
There are two ways to apply this product. They create a peel and stick product where you peel the adhesive off of the back surface and apply it to the wall. If you don't use the peel and stick type product, you can apply a clear 100% silicone adhesive to the back of the product and apply it to the wall.
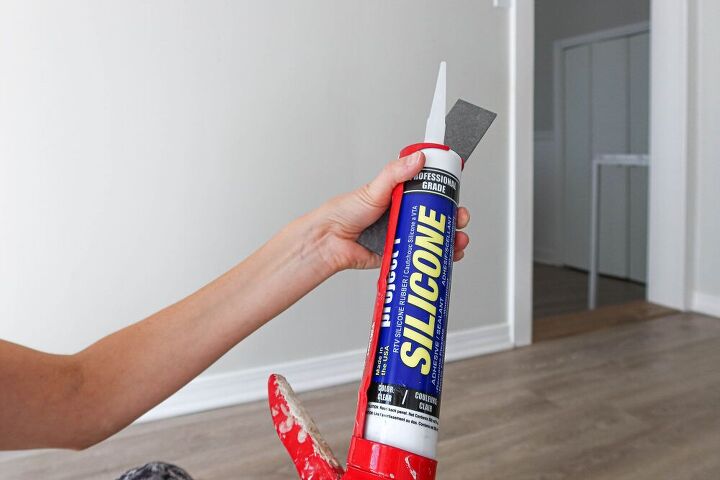
I'll be using a silicone adhesive to apply the product to my dining room wall.
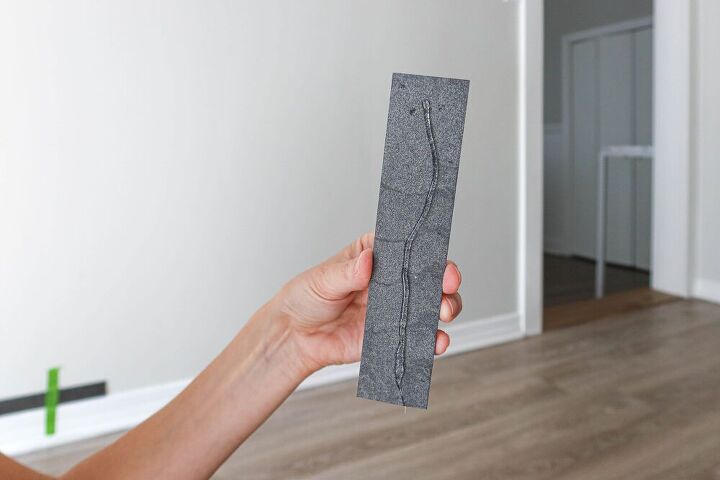
Apply a dab of Silicone to the back of the product and start by installing it to the bottom of the wall and work your way up. Use painters tape to hold tiles in place until dry if necessary.
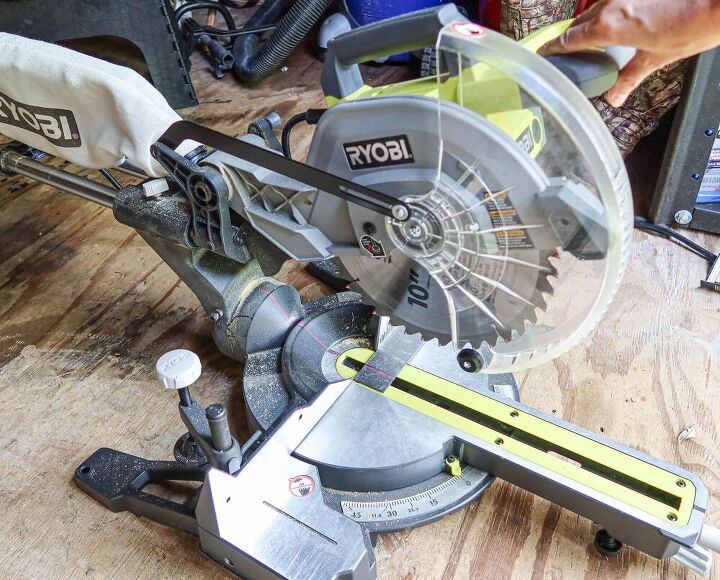
When you reach the other end of the wall and need to make a cut, make a mark on your Slate-ish product and use a miter saw to make the cut.
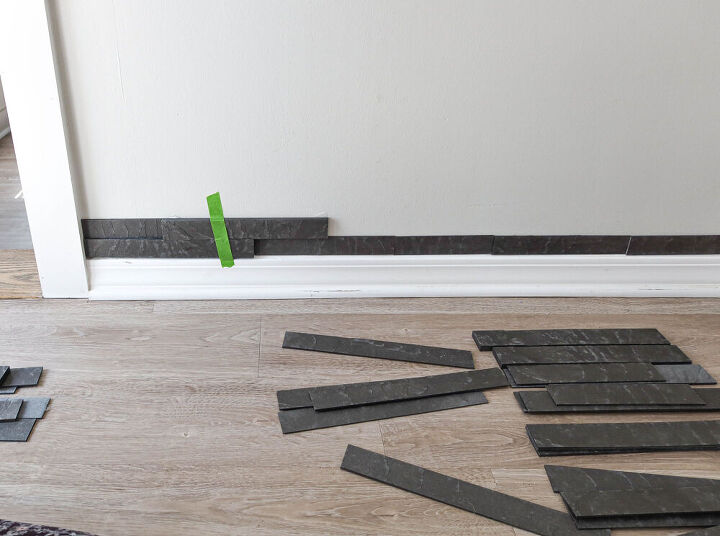
Continue to work your way up the wall and make sure to alternate thicknesses of tiles as you go.
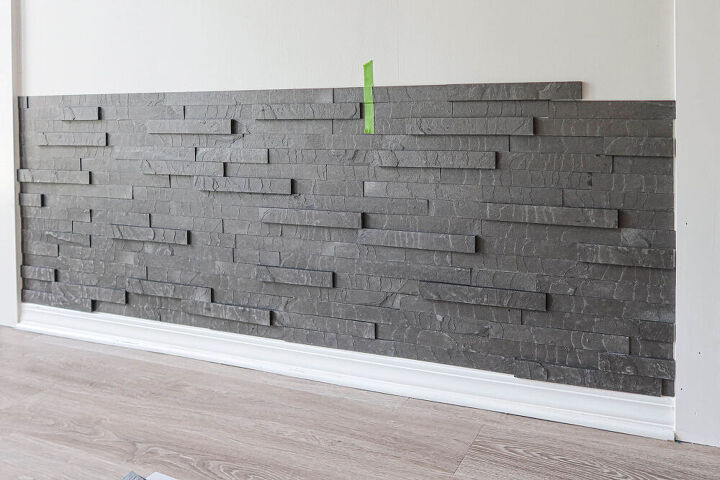
Progress!
Make cuts around electrical switches and outlets as necessary with the miter saw or jig saw.
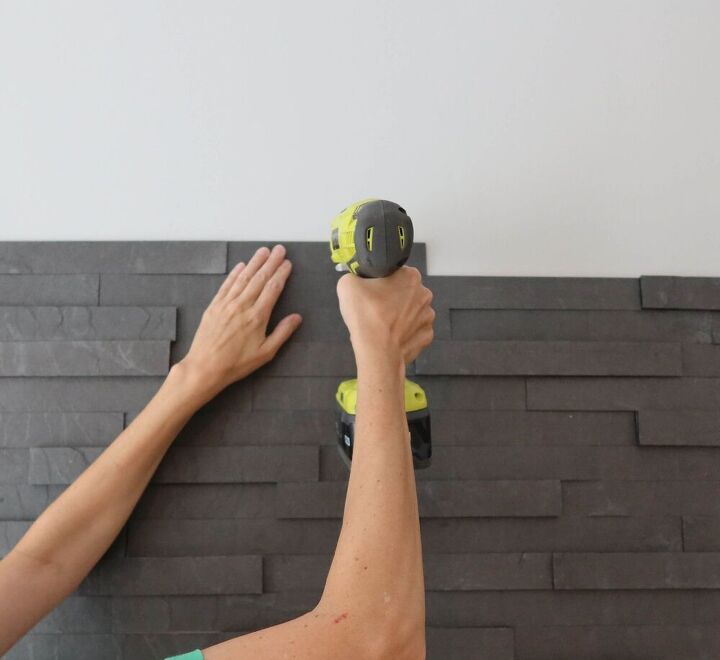
Use a drill bit to drill into the tiles to the back of the wall so screws and nails aren't supported by the tiles, but by the wall.
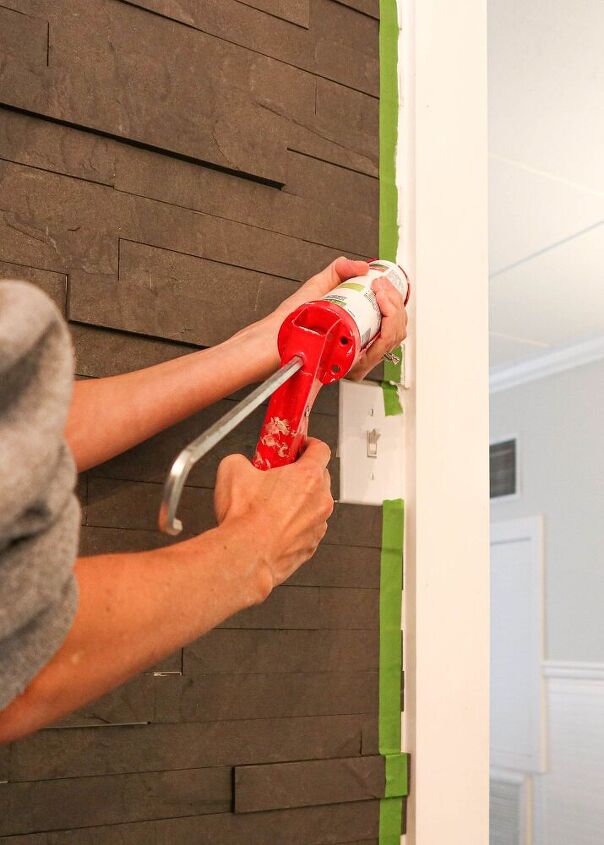
I applied caulk to the edges of the wall to give it a finished look.
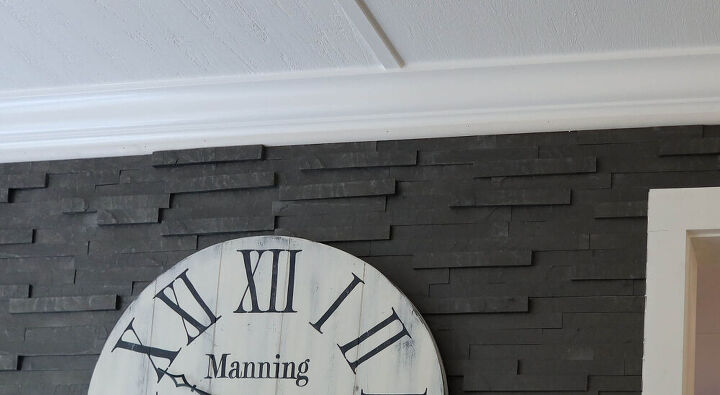
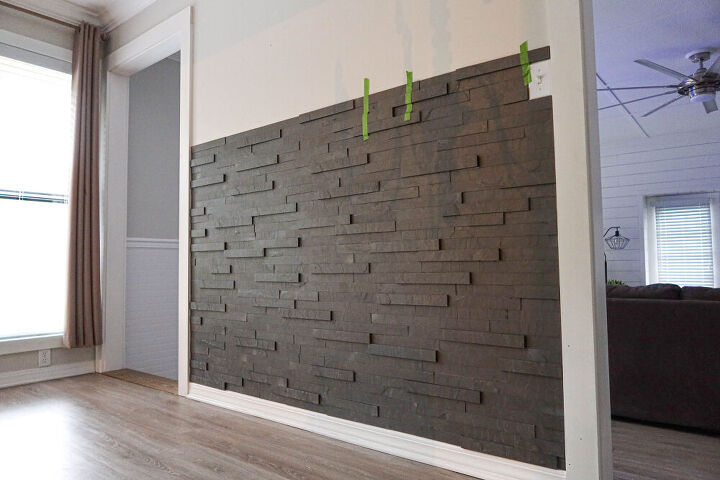
I also installed a piece of quarter round to the top so I didn't have to make long cuts in the tiles.
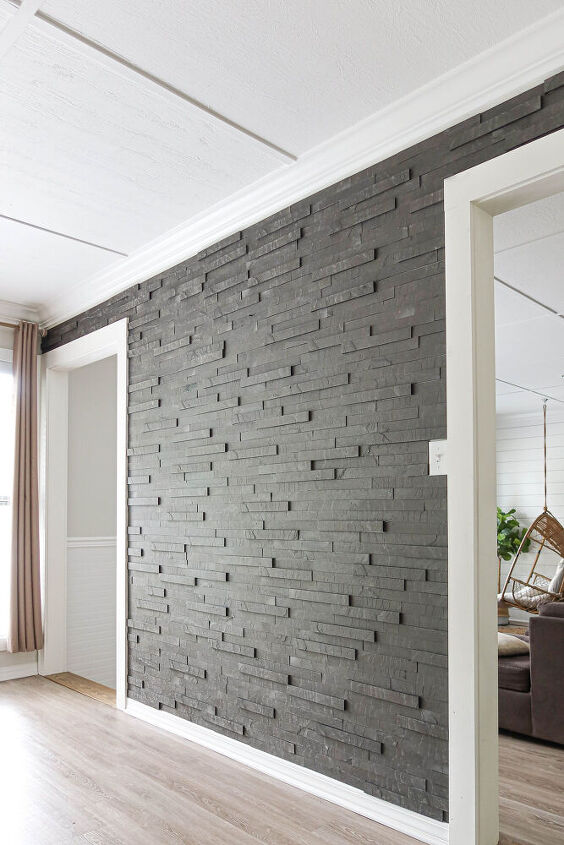
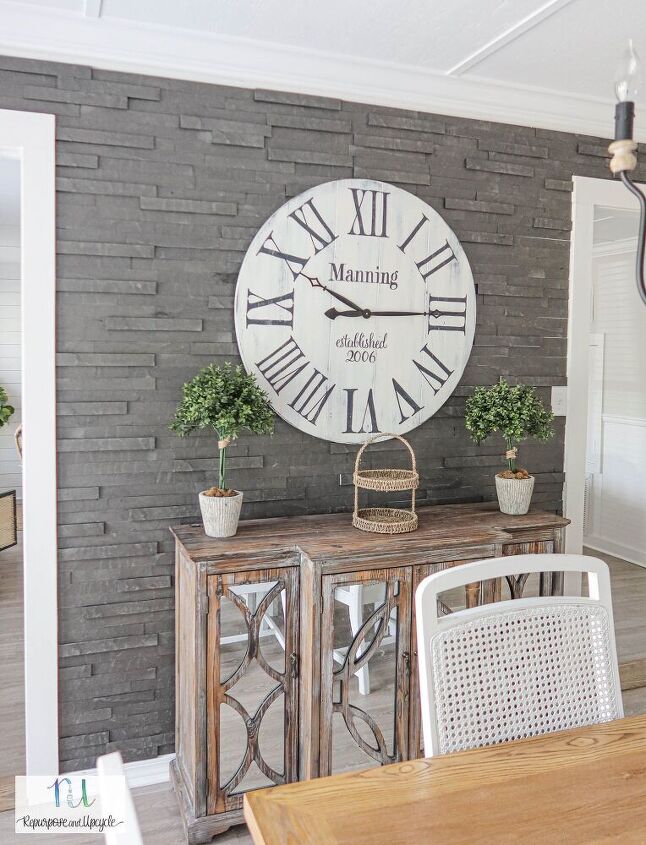
Ta-dah! I'm finished and I'm so pleased with how this accent wall looks.
This space finally looks finished now.
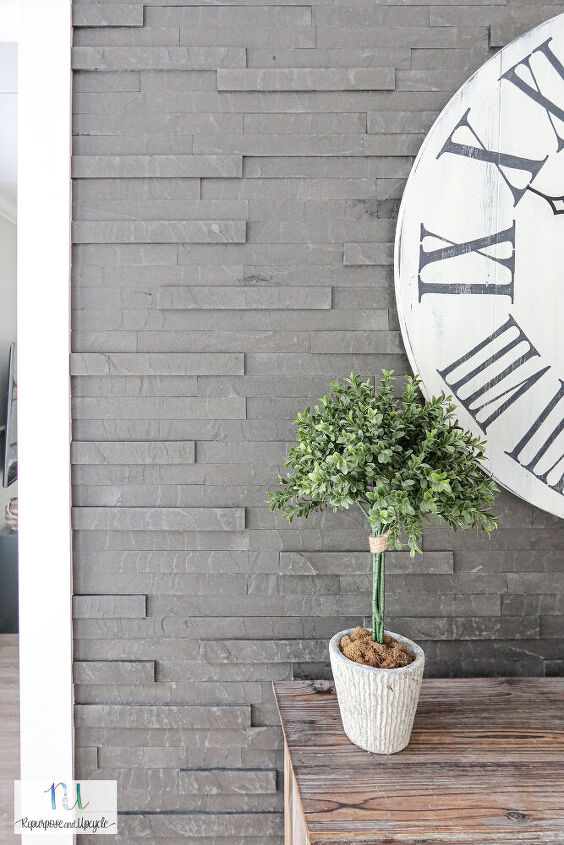
I can't believe how easy it was to create this beautiful wall.
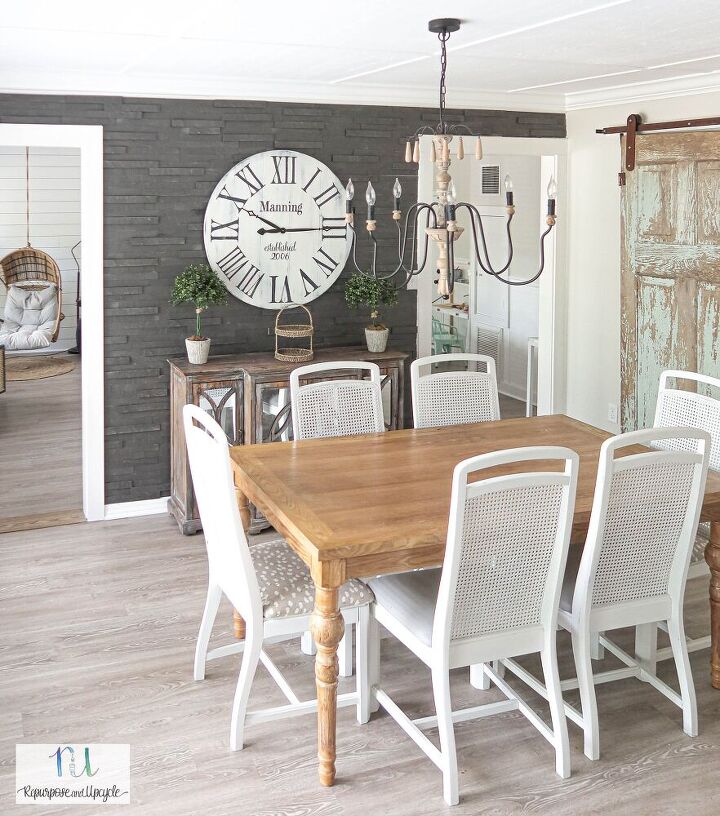
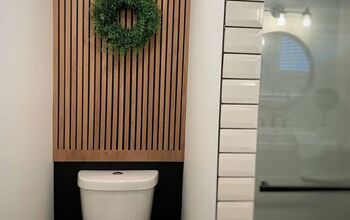
Where would YOU install this product?
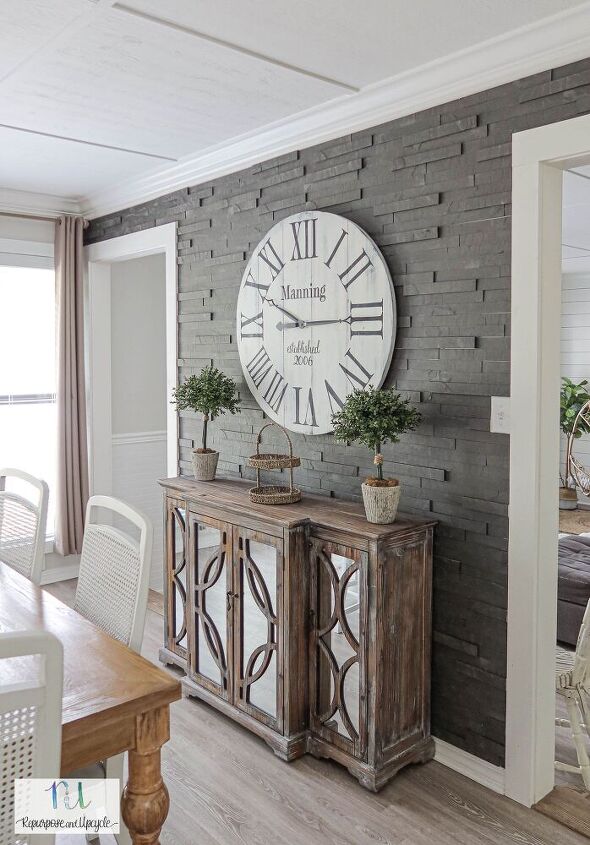
I can finally call this space done!
Thanks for following along guys.
Lindsey**
Resources for this project:
See all materials


Comments
Join the conversation
-
It looks very nice and is very similar to a wall I did back in 1971 with 1/4" bricks. While I liked the look, when I finally got tired of it and took them all off, the residue from both the brick shapes and 'grout' lines were near impossible to remove despite much sanding. Ultimately, I had to leave it as it was and just panted over ot. Covered it with photos so it wasn't as obvious. Hope you will enjoy it forever.
-
Beautiful job!


Frequently asked questions
Have a question about this project?
Just wondering if this could be used as a backsplash. Do you know if it is waterproof? I couldn't find anything on their website. Thank you.
plied with just silicone or do you also need to screw it in? I got confused when it talked about the drill bit!
Do the pieces sticking out get dusty and, if so, how do you clean it? I loved the look!