


Under-The-Stairs Creativity Nook
My kids are 4 and 6 and always seem to be crafting, coloring, and creating. They've taken over several areas of our home but I wanted to give them a cute, functional, and dedicated space. So, I decided to transform the space under our stairs!
I'm so in love with how this space turned out!
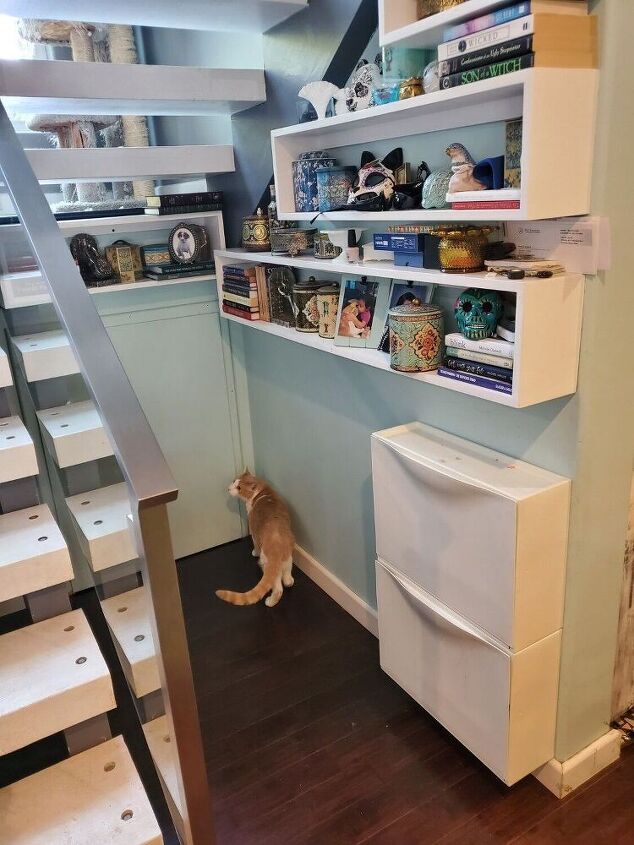
Here's what it looked like before. (Well, after I cleared all the boxes and random junk we always stuff in there to get it out of the way! 😂 I'm not quite ready to share THOSE pictures though. 😉) I had originally built the custom shelves to store my DVD collection but they have since evolved to be book, decor, and catch all shelving.
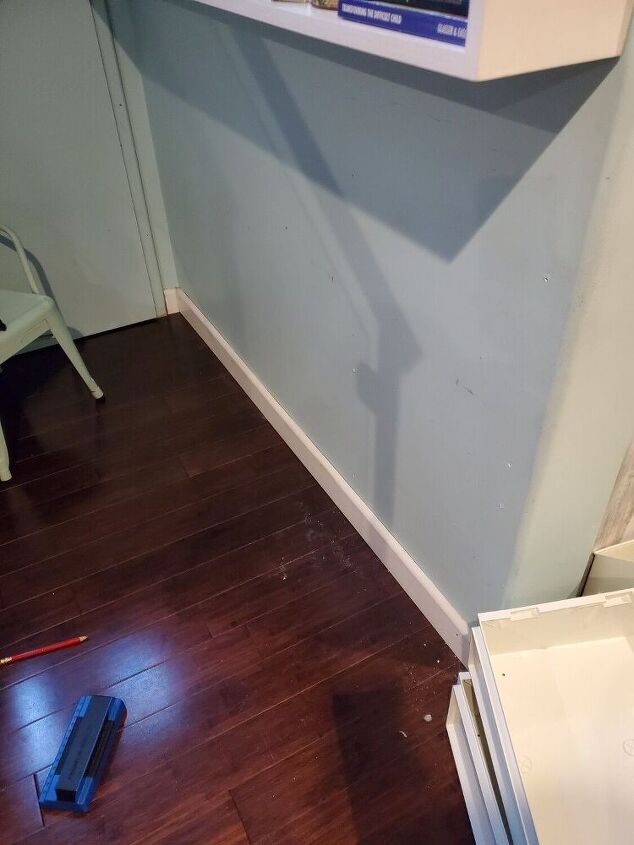
Once we cleared everything out I patched any holes in the drywall and sanded smooth to repaint.
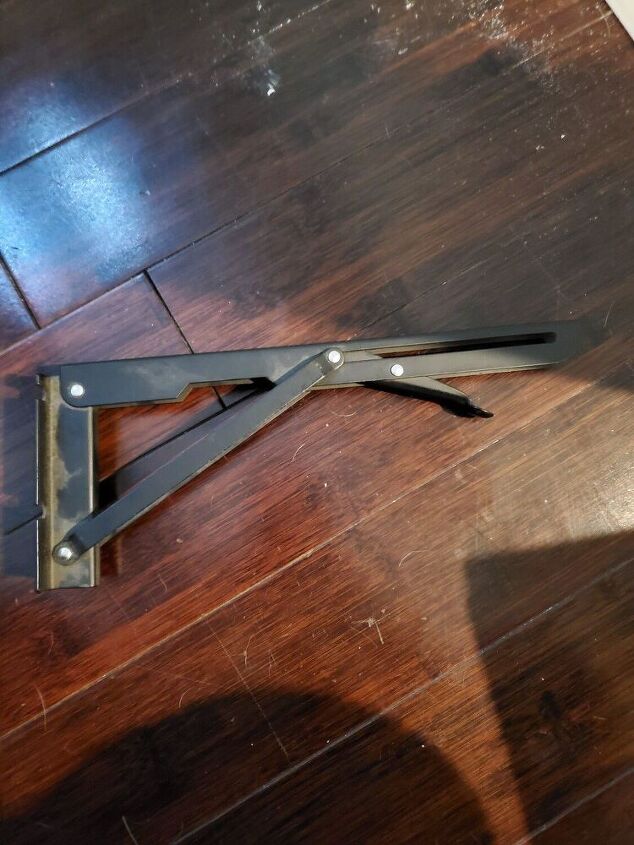
I was trying to figure out a design plan to install a desk that could drop down so we would still have access to our little storage room under the landing. My dad had these drop down brackets and they ended up being the perfect solution! I checked on Amazon and they also sell the same thing and they're pretty reasonable!
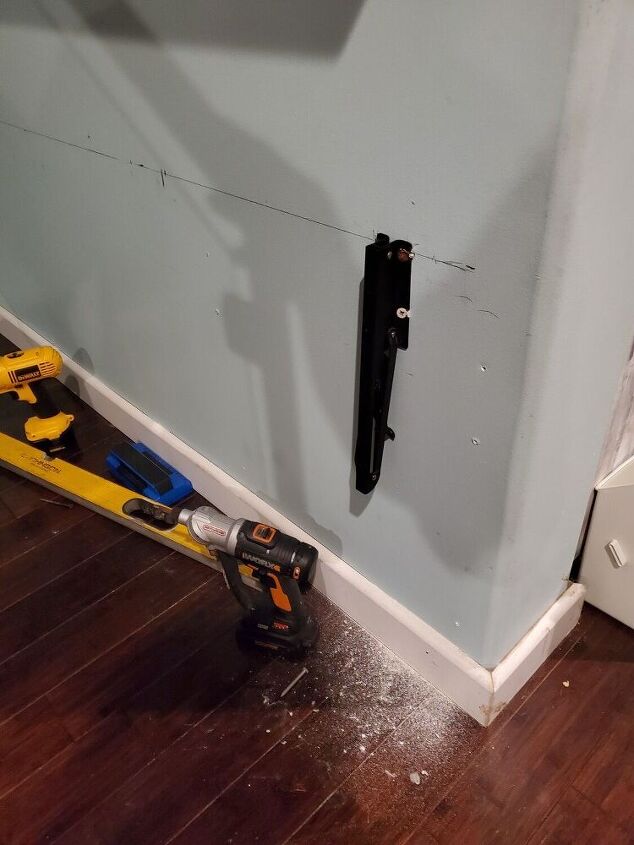
I located and marked all of the studs in the wall. Then I decided which two studs I wanted to use. I wanted to make sure they were close enough where I could reach and release both brackets myself to drop the desk and also far enough apart to support the weight of the desk well.
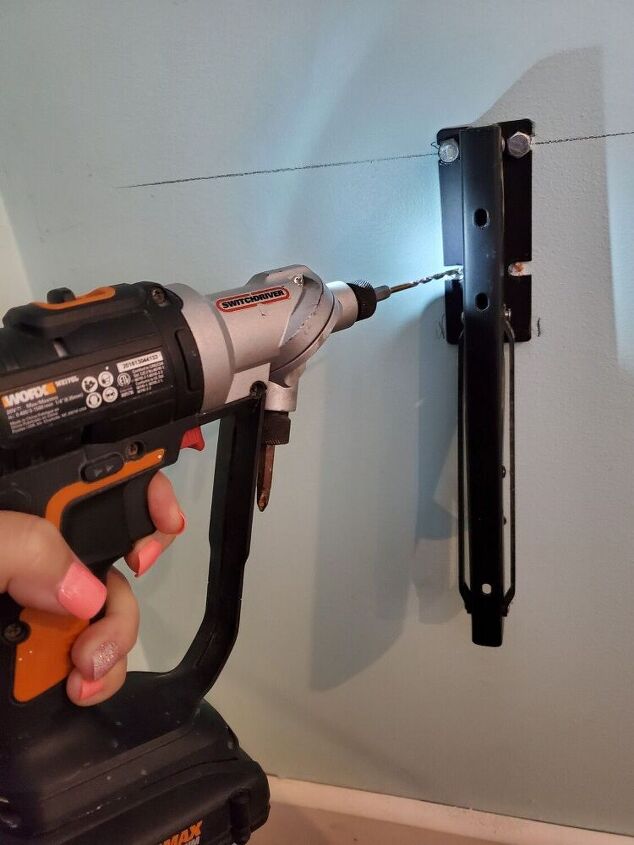
I used lag bolts in the top two holes and drywall screws in the bottom two. I marked and drilled pilot holes before securing the brackets with the hardware. I felt that the lag bolts would provide extra strength.
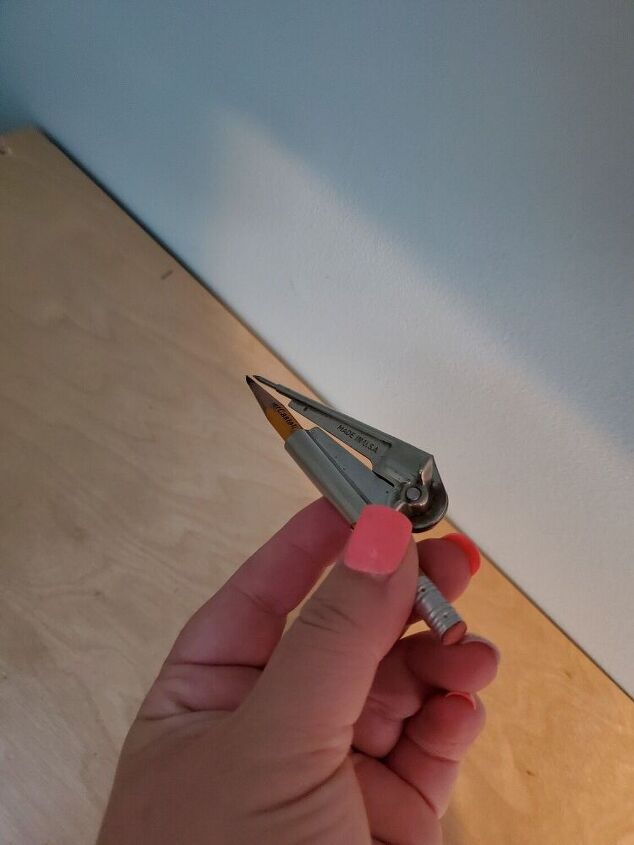
I had a scrap piece of plywood that was actually the perfect size. (I love when that happens!) When I set it up on the brackets, I realized the wall was not perfectly straight so I decided to scribe the plywood. Once I cut along the scribed line with my skill saw, the plywood fit much better to the wall and gave it a cleaner look with no gap.
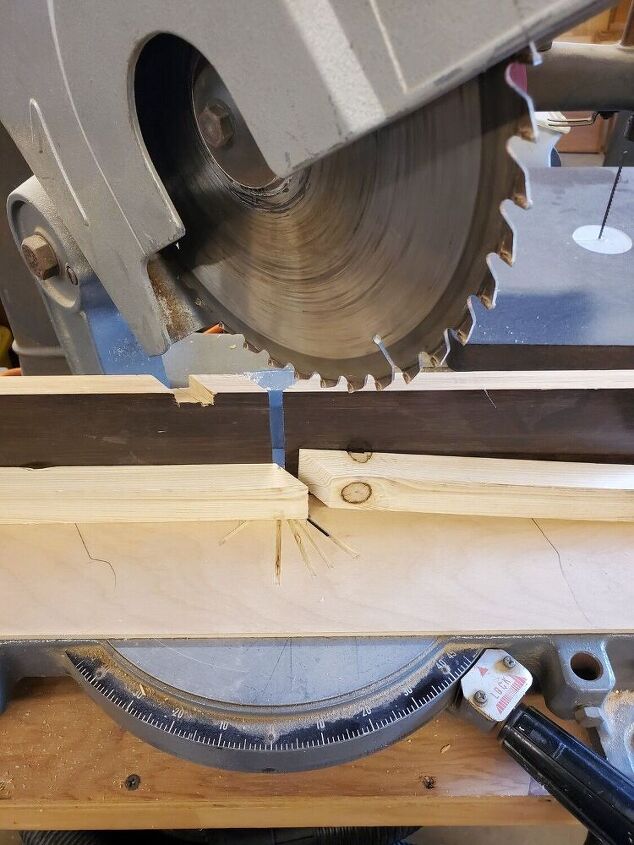
I decided to add some pine trim around the front and one edge of the desk that would be showing. I measured and cut my pieces with a miter saw.
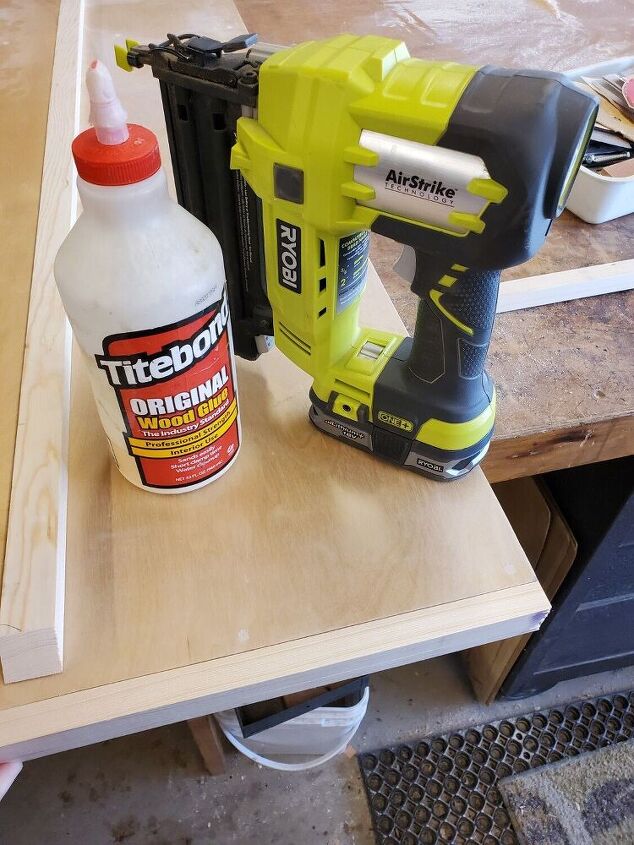
I glued and nailed my pieces to the desk. This not only gives it a cleaner look but also helps stiffen the plywood.
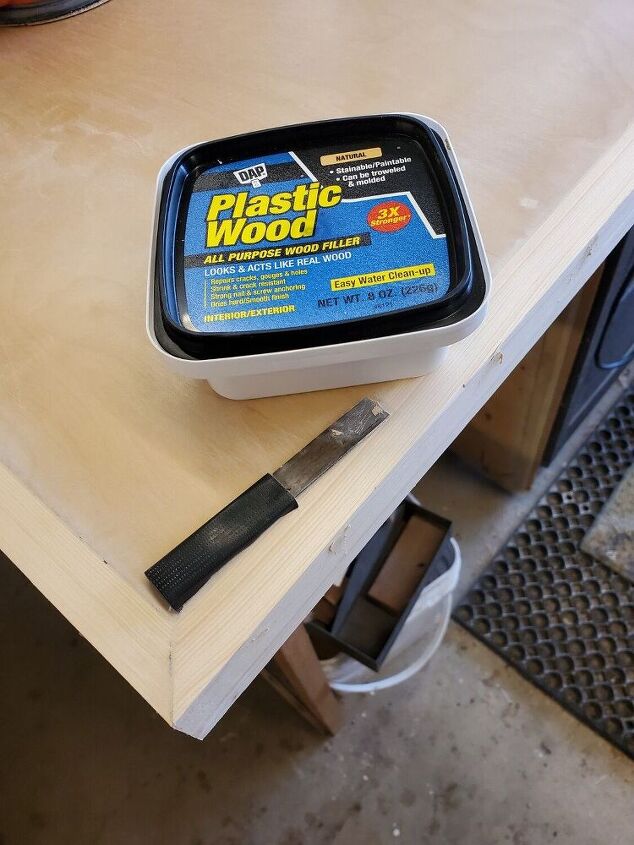
Next I filled the nail holes and cracks with plastic wood. I allowed that to dry and then sanded everything smooth.
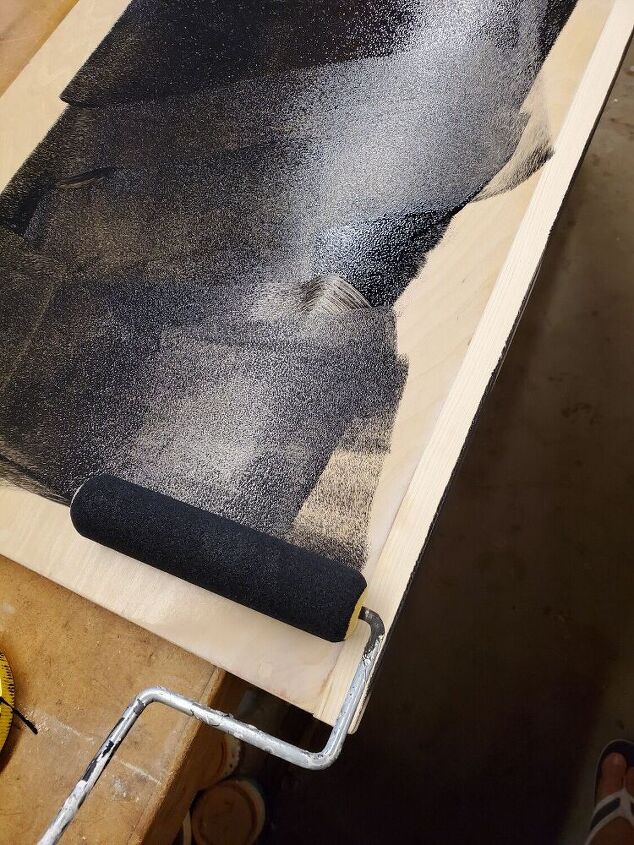
I painted the desk with 3 coats of black paint. (Even though the paint claims to be primer plus paint in one, I probably should have used a proper primer first. The kids have been using the desk for a few days now and there are already several scratches. This doesn't bother me too much because I want them to put it to good use but if you want a more durable finish, it's worth it to take a few extra steps.)
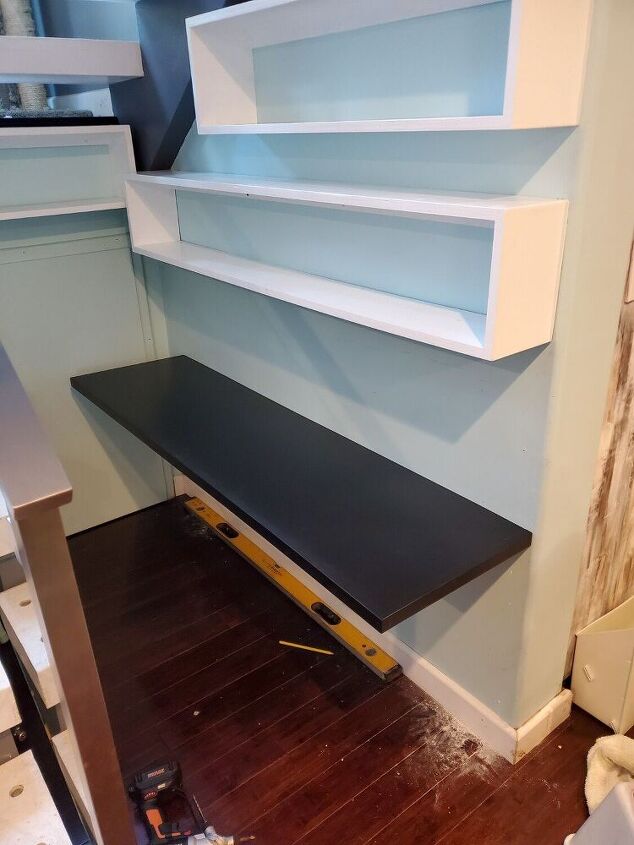
Here is the desk! It is secured with several short screws through the bottom of the brackets, just like you would secure a shelf. Super easy!
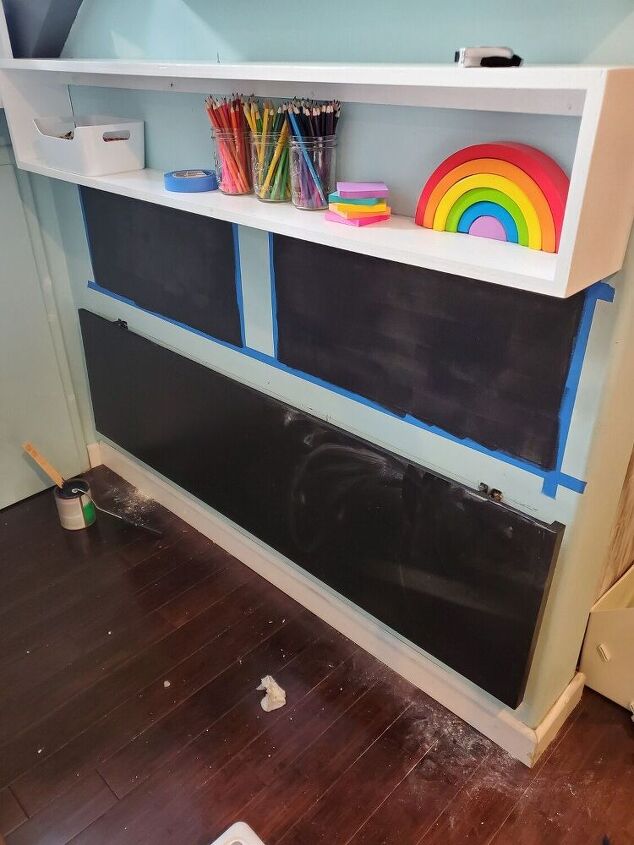
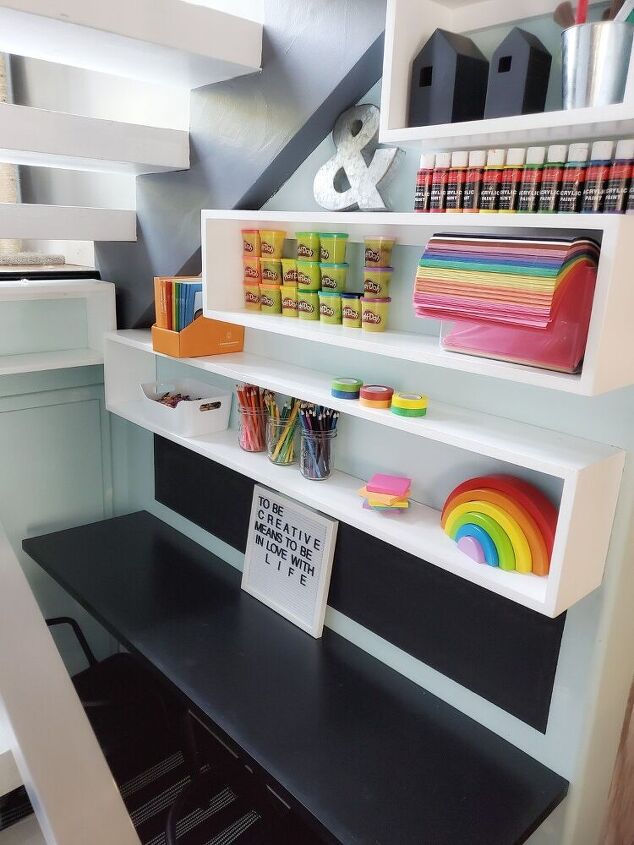
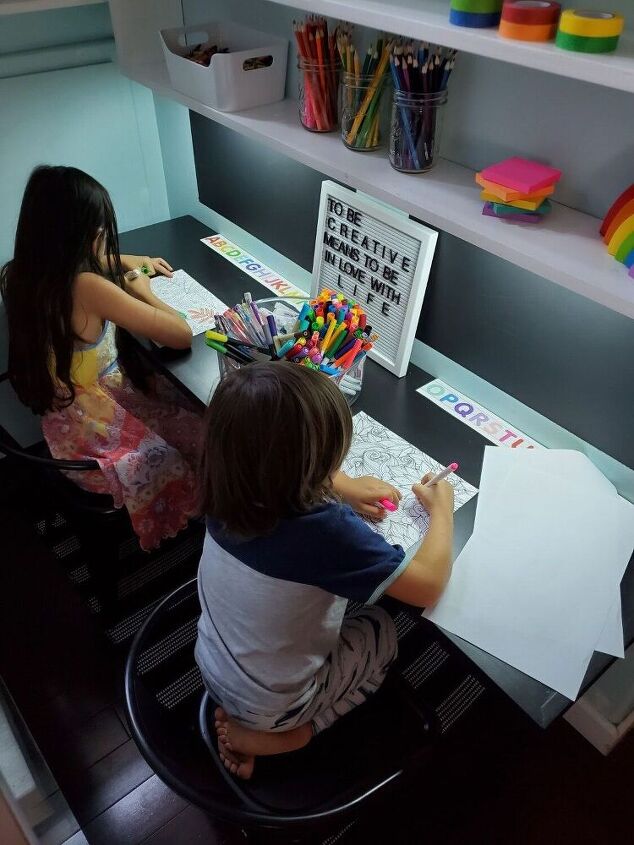
Next, I decided to use chalkboard paint and give each of my kids their own chalk board. You can also see how the desk folds down in this photo. One note about the chalk boards... They're very messy! If you're not a fan of cleaning up chalk dust all the time I'd probably skip this step lol. My kids love it though so it's worth the mess for us.
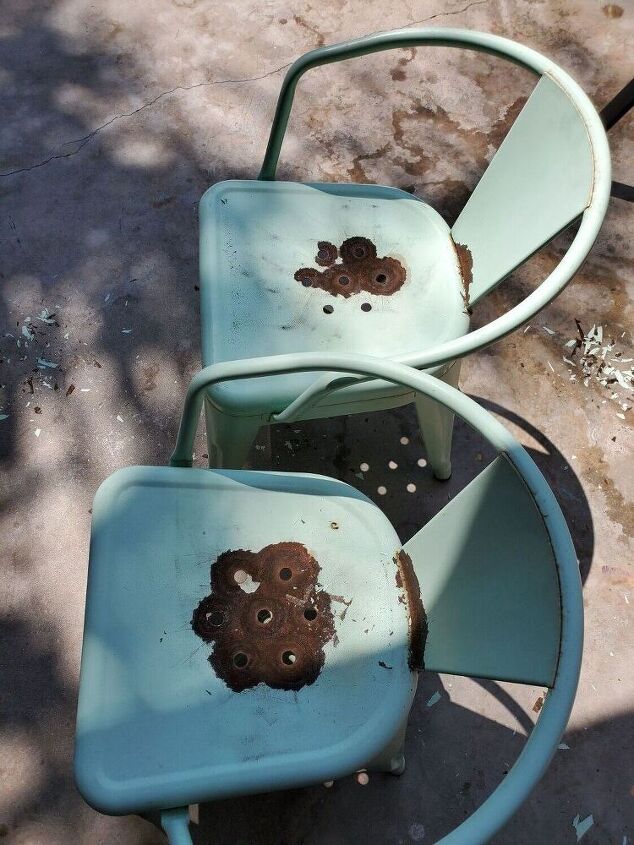
I bought some used chairs that needed to be scraped and repainted. This process definitely took some extra time but was SO worth the cost savings! I used a scraper to get off the loose paint and my husband also used a drill motor with a sander attachment to go over those rusty areas.
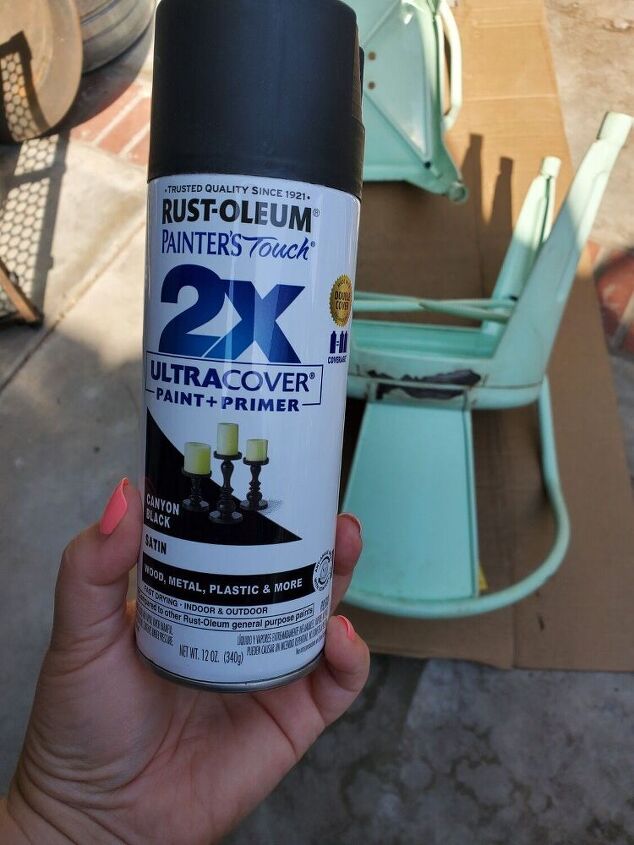
Next up, paint!!
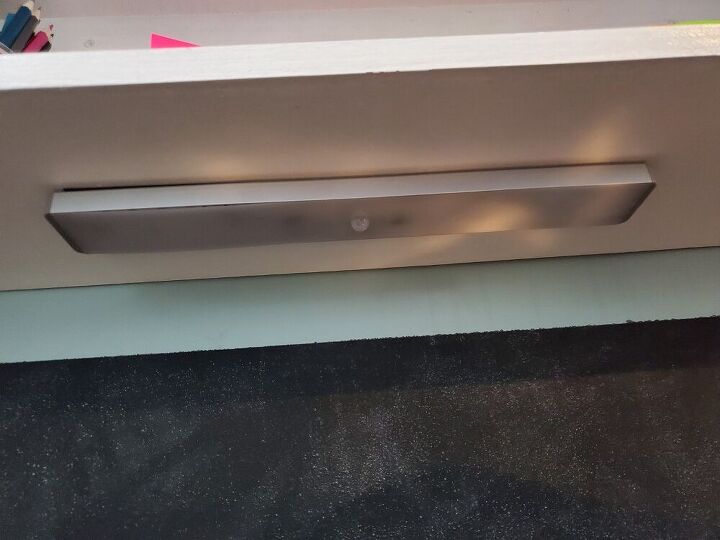
We don't have an electrical outlet in this space so we found some rechargeable remote control lights on Amazon. These come with an adhesive magnetic strip that the lights stick to. They also have a motion sensor and several different settings / timers so they're perfect!
There is plenty of light in this space for the kids to work, even at night time!
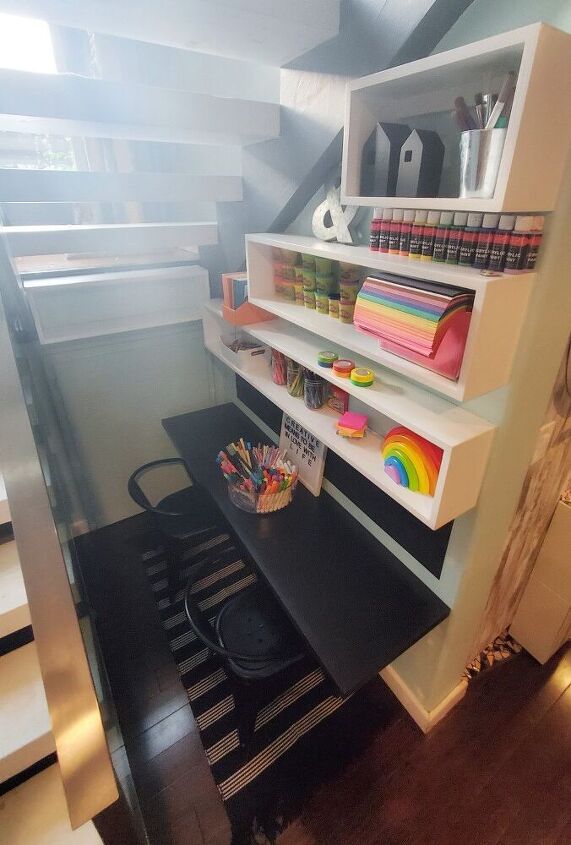
I added some fun rainbow craft items and decor and an inexpensive black and white rug to tie the space together. I hope you enjoyed following along and I really hope this inspires you to use and transform spaces in your home that might have some hidden potential!
Resources for this project:
See all materials


Comments
Join the conversation
-
wow that's so cool. Great ideal.
-
It's hard to improve on a Perfect Project, but I think, after repainting the desk surface, I'd consider adding a piece of clear lucite or other rigid clear plastic...


Frequently asked questions
Have a question about this project?