


Outdoor Dining Table With Framing Lumber

Like many things in our home, we hashed over ideas for this outdoor table for quite a while. We did a lot of searching but couldn’t find exactly what we were looking for to purchase. We should've known and just made this table ourselves a long time ago! Eventually, I decided to combine a few different designs I’d seen online and create my own. Once I got to it, it was a pretty quick process.
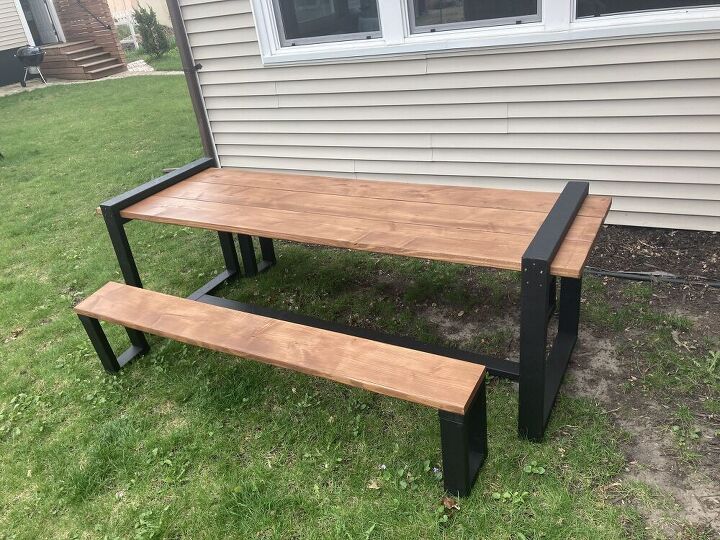
The table is made entirely of 2x4 and 2x10 framing lumber - and it's been a game-changer for our family!!
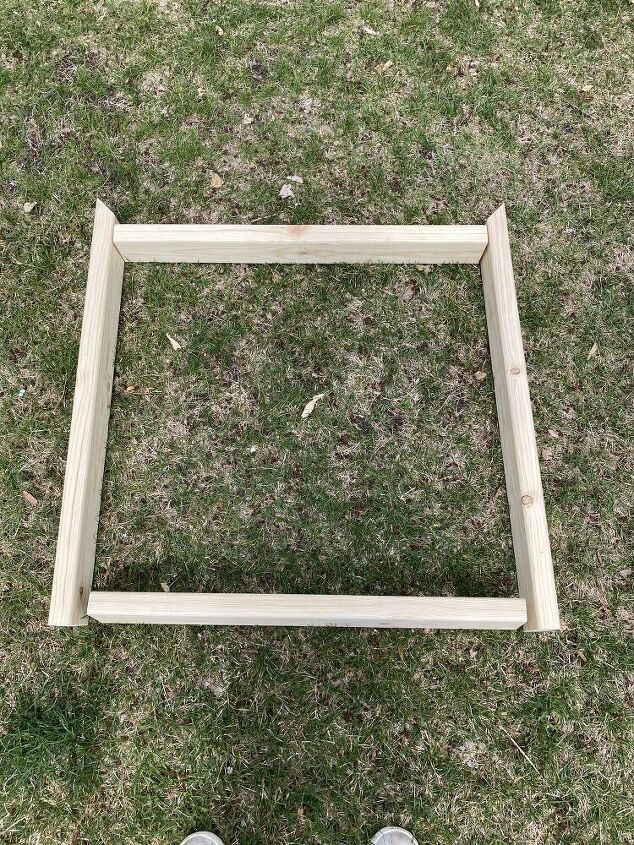
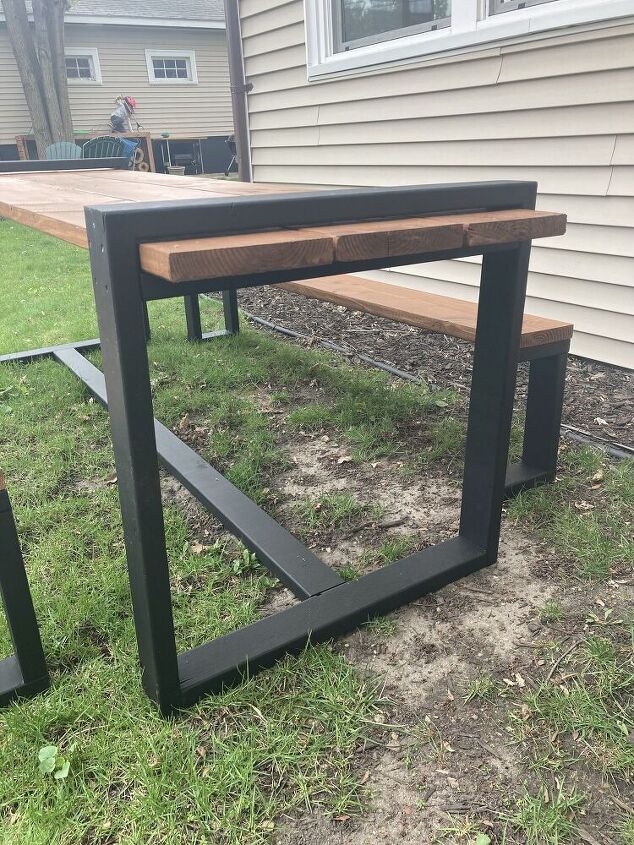
My first step was to build the legs out of 2x4s
Each leg piece is 31" wide, 31 1/2" tall with mitered corners at the top, and the top of the cross brace that will actually hold the tabletop is at a 28 1/2" height.
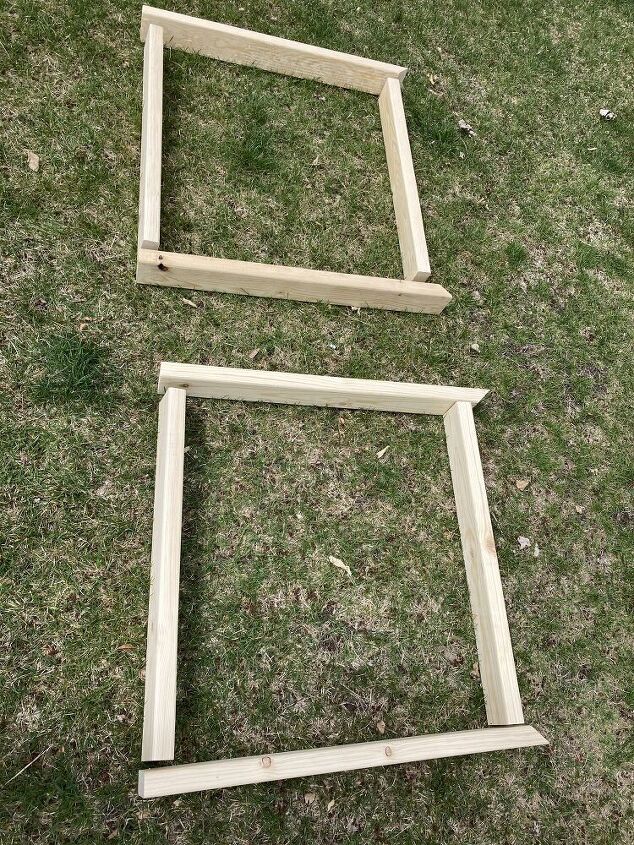
I cut pieces for both sides right off the bat.
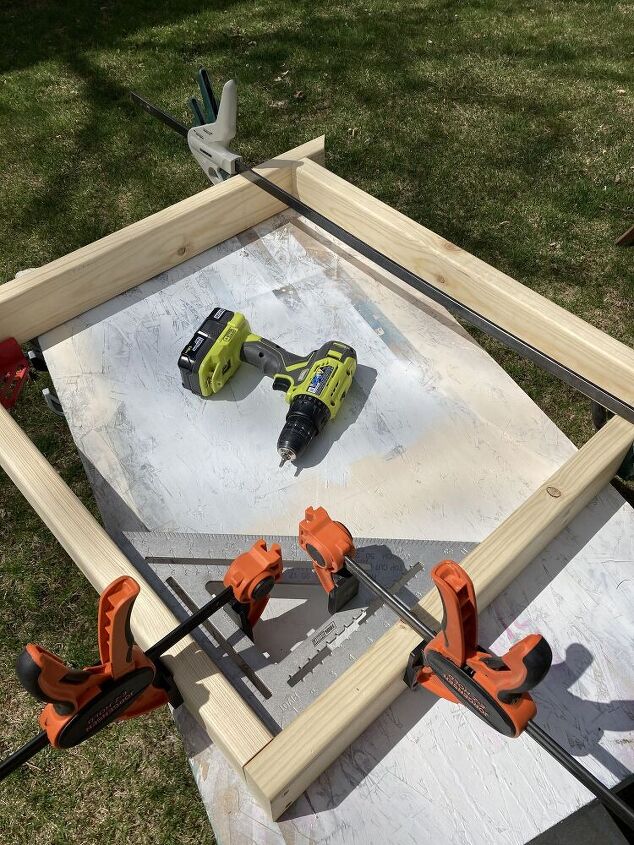
I used 2 1/2" construction screws to assemble the legs and made sure to use plenty of squares and clamps to keep things square.
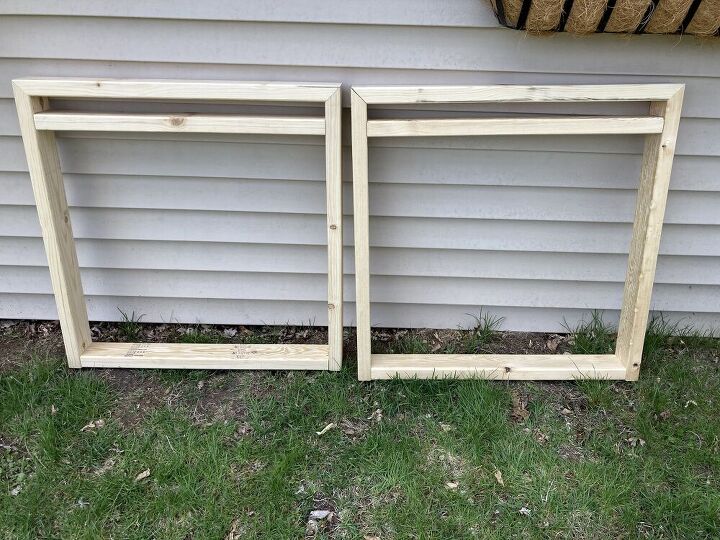
After assembling the lower part of the legs, I cut the final top crosspiece with mitered ends. Don't attach it yet. In this photo, it is just resting on top of the legs.

While I was working with the 2x4s, I decided to go ahead and cut and assemble the legs for the benches. The top and bottom pieces are 9" long and each side piece is 12 1/2" long.

You'll need to cut and assemble four legs for the benches.
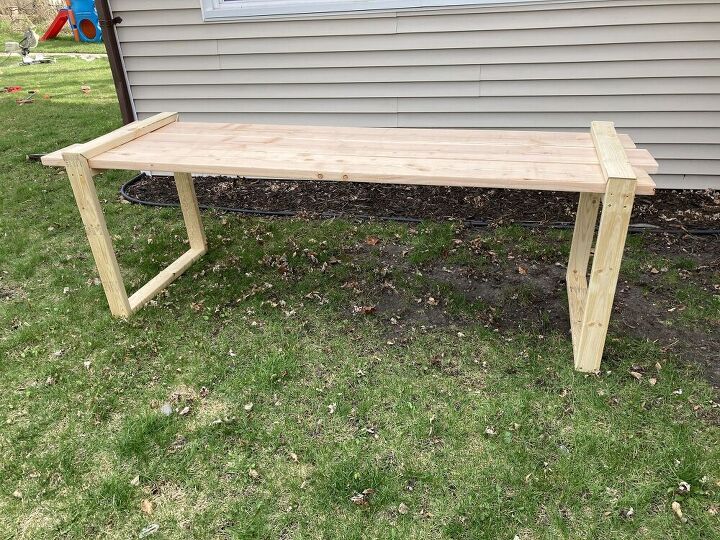
At this point, I dry-fit the table. I did this partially because I wanted to be sure it all fit right and partially because I couldn't wait to see what it would look like! We decided to keep the 2x10s for the top at their full 10' length. After this dry-fit, it was time to paint and stain. I used a deck sealer and stain for the 2x10s and black paint for the legs.
As I was painting, I realized I'd also need a support at the bottom of the table to run perpendicular to the legs. I cut this right away, at 81 1/2" long, so I could paint it when I was doing the rest of the legs. Then, it was time for assembly! I first attached this perpendicular support with wood glue and pocket holes underneath so no holes or screws would be visible.
Now, it's time to place the 2x10s on the legs. Make sure the legs are perfectly vertical (with a level or square) so they are square to the tabletop. When everything was properly in place, I screwed the 2x10 tabletop pieces down onto the legs.
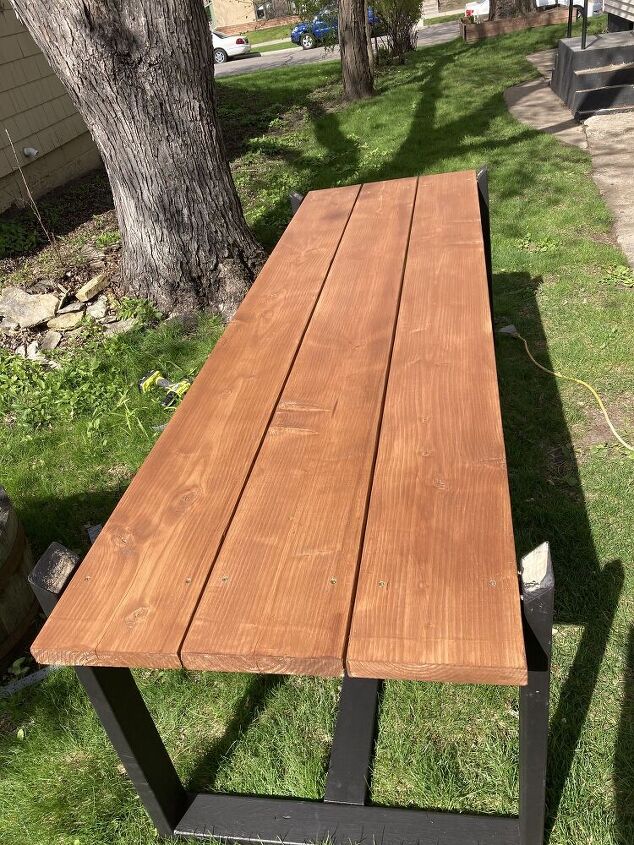
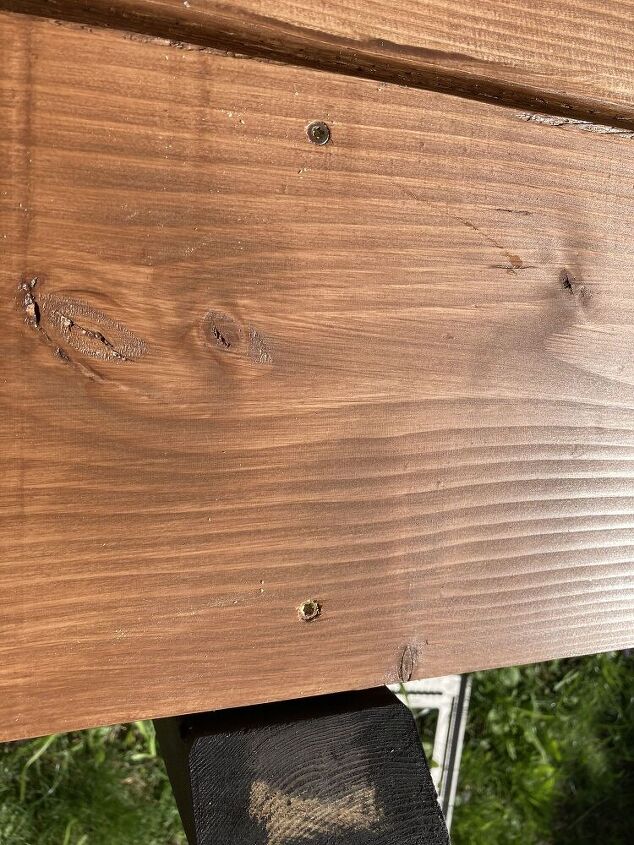
The last step for the table was to attach the decorative top pieces. I used wood glue and then put in 1 small trim head screw on each one.
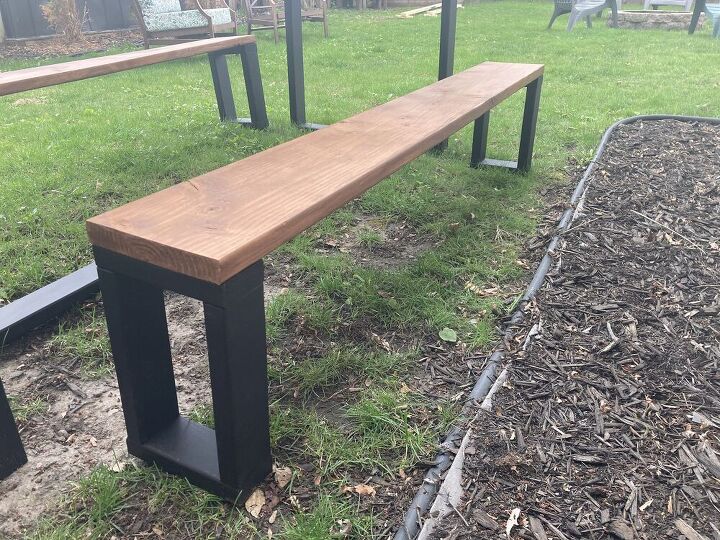
Bench assembly was pretty basic. I just used the same 2 1/2" construction screws and drove two of those in for each leg - from the bottom up.
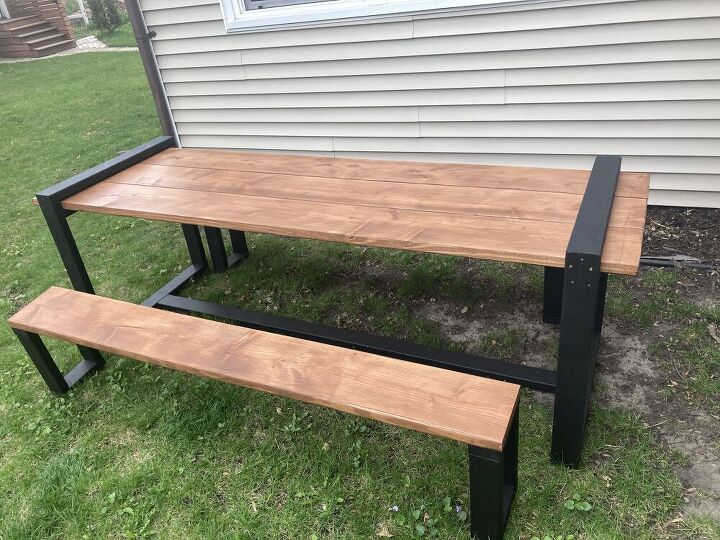
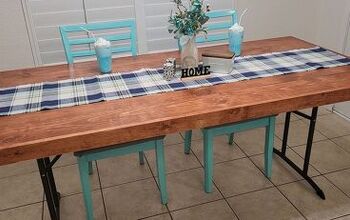
Here is the finished product!
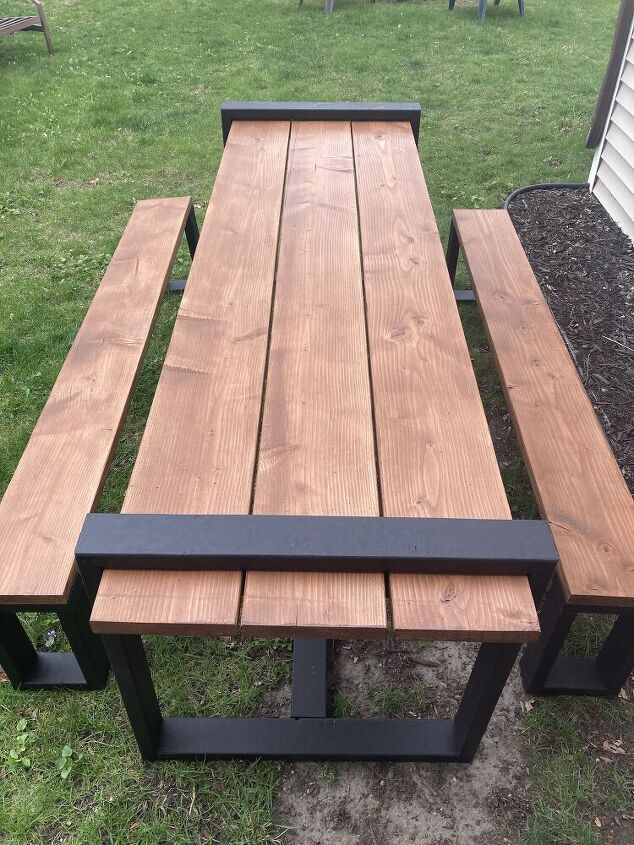
We absolutely love how it turned out and have been using it almost every day.
Here is a different look so you get another idea of how all the legs are attached.

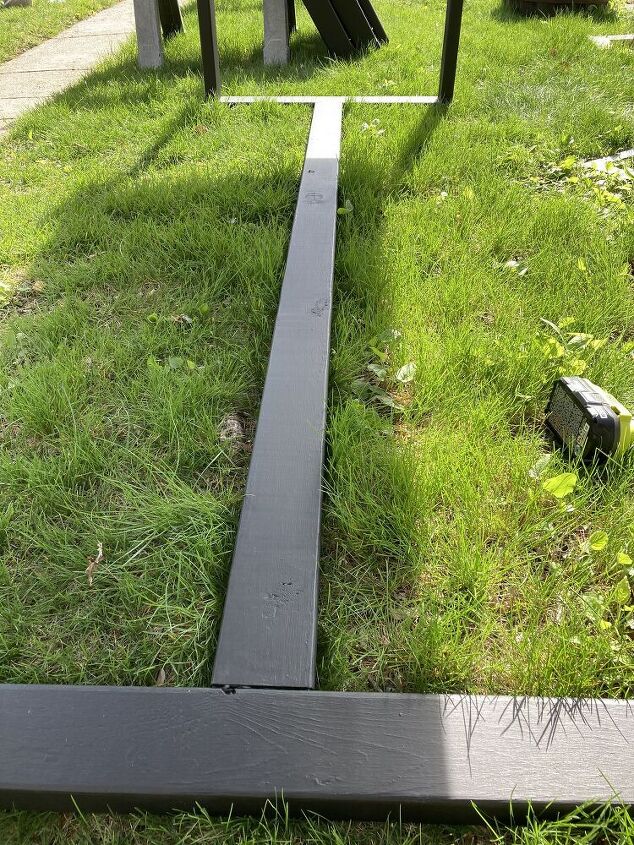
And it was all SO much better when we put down a patio for the table. You'll also notice a little change on the benches here. This was a classic case of learning as you go. I had worried those benches might warp, and sure enough, one of the two really started twisting about 2 weeks after I finished the table. So, my solution was to cut a knot out of the middle where the board was really twisting and make two new legs. So, now we have one long bench and two short benches.
Follow me on Instagram at @woodyworking for more woodworking DIY or home improvement projects. Happy building!


Comments
Join the conversation
-
This is great! Nicely done!
-
You may see simple framing lumber but I see very very nice table with nice style and design. Congratulations on a job well done


Frequently asked questions
Have a question about this project?
Nice design!
It appears you didn’t use treated lumber, correct?
It also appears the 2x10’s top is an un-supported span. Do you think it will sag or warp, like the bench, due to weathering?