


Easy DIY Bathroom Countertop Cabinet
Find out how to build a custom bathroom cabinet to maximize your storage space with just a few supplies and a little DIY imagination.
This post may contain affiliate links. Please see my full disclosure policy for more details.
Confession…I didn’t have any original plans to build this bathroom wall cabinet for our vanity when I first started painting for our master bathroom makeover last month. In fact, we were on a really tight budget. But, what began with just a simple coat of paint on the walls quickly spiraled out of control as my champagne taste on a beer budget style got the best of me.
Lucky for us though, I always find a way to DIY in style and still manage to save.
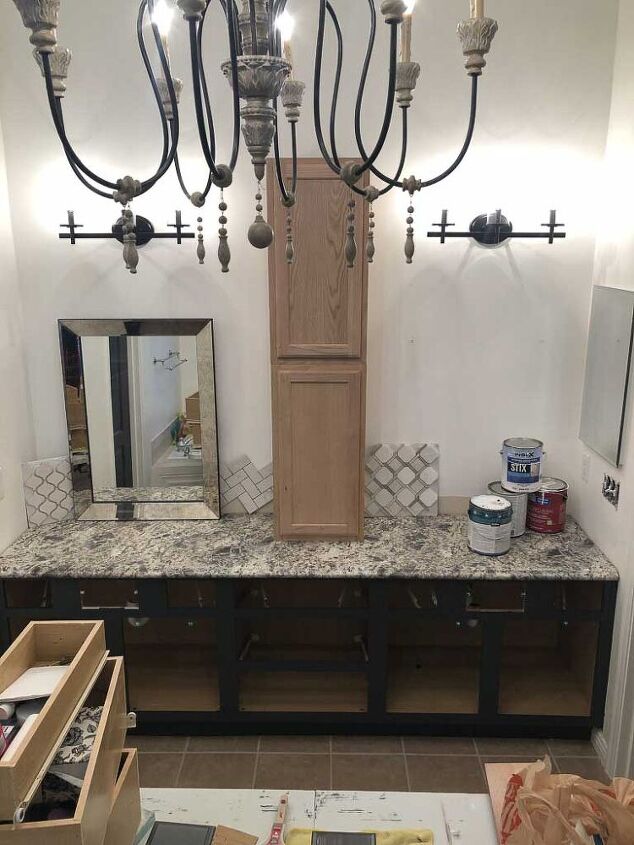
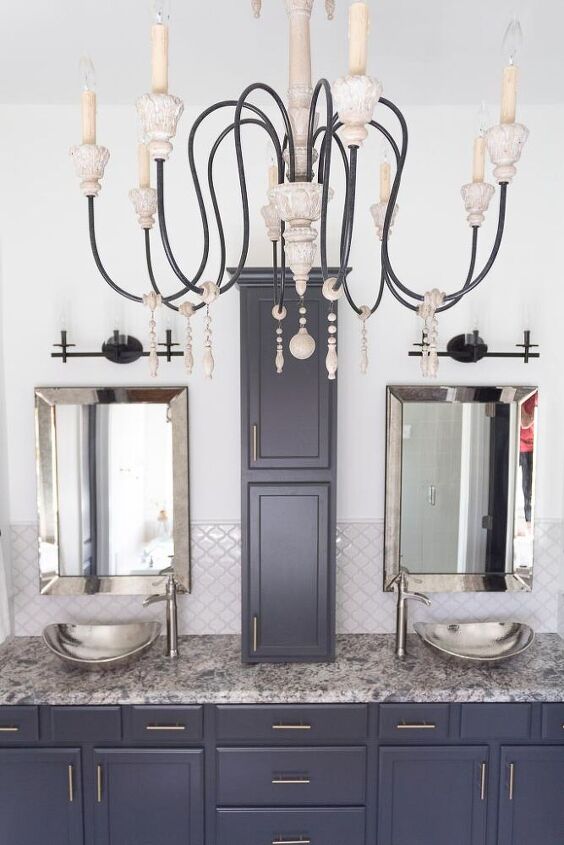
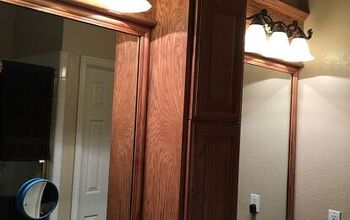
My original plans for the big empty space where our wall-to-wall mirror used to be called for some simple open shelving.

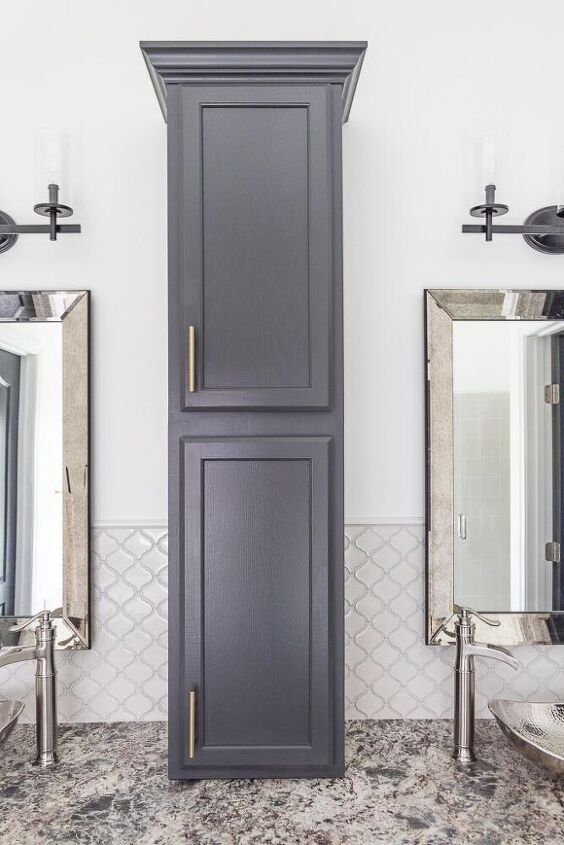
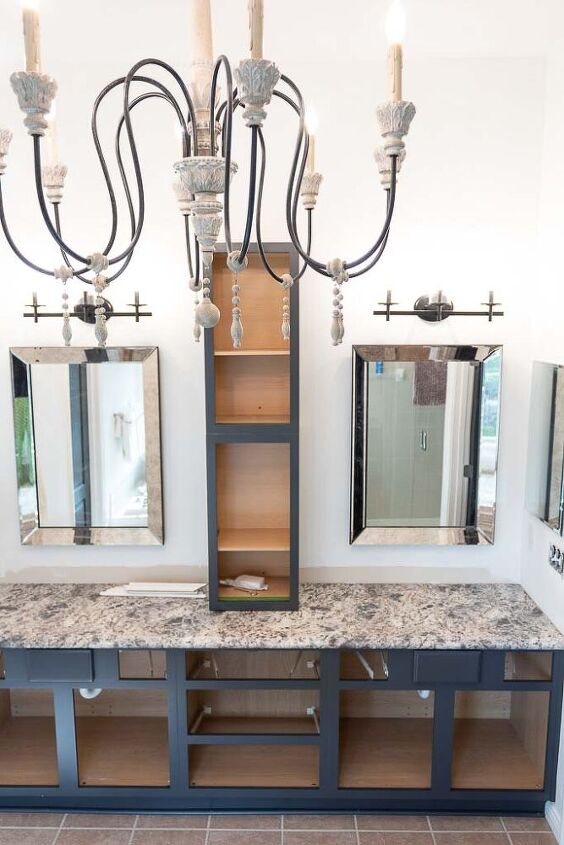
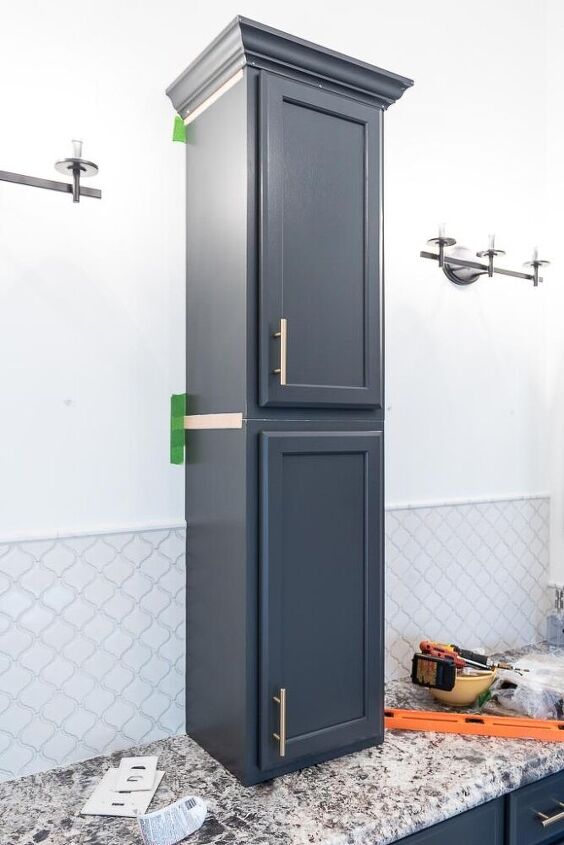
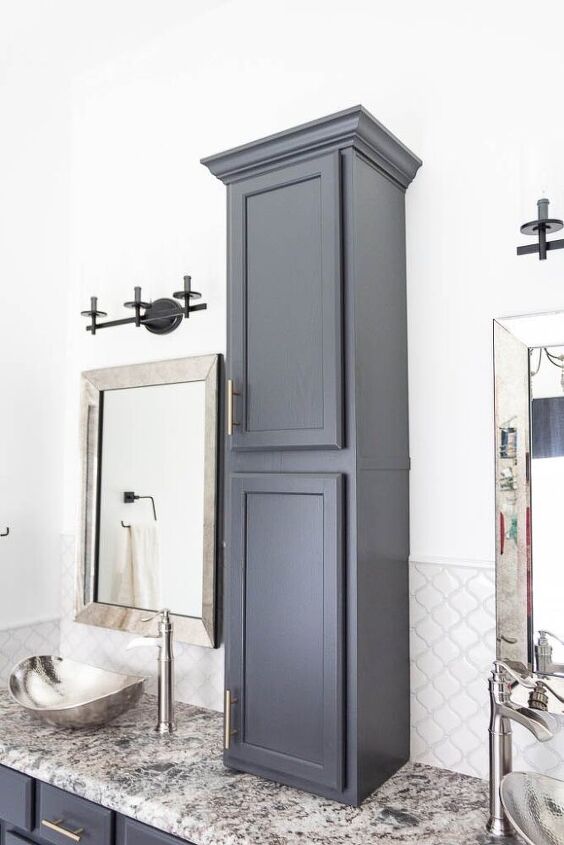
But I am so much happier with our DIY bathroom wall cabinet. And I dare say, it looks like it was meant to be there the whole time. I’m pretty darn proud of this little space.
I’ve gotten so many questions when sharing our progress on Instagram that I figured it was probably time to put together a post on how to create your own bathroom cabinets, so let’s dive in.
diy bathroom cabinet supplies
- 2 Unfinished Stock Wall Cabinets size 18” W x 30” H x 12” D *Depending on your space, you may need to size down the width to 12” W or even opt for just one cabinet over two stacked
- 4 feet of crown molding
- 3 feet of Lattice Trim
- Wood Filler
- Caulk
- Construction adhesive
- Wall screws
- Level
- Drill
- Nail gun
- Miter saw
- Tape measure
- Paint of your choice
- Door pulls
Total Cost for our DIY Built in bathroom cabinets
$200
(We already had all tools and basic supplies on hand so this cost only includes the actual cabinets, trim, door pulls and paint)
Bathroom cabinet plans
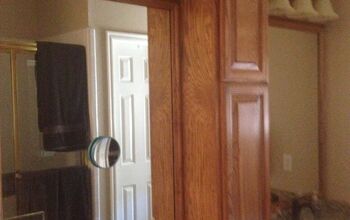
First things first. Make sure you have enough room on and around your bathroom vanity to install a wall cabinet.
how to plan for your bathroom cabinet
There’s a few key considerations you need to keep in mind when planning to install wall cabinets on top of your bathroom vanity.
1) How much wall height do you have to work with?
We’re fortunate to have some pretty high ceilings in our bathroom, so height for us was really a non-issue. Which meant we were able to use two wall cabinets stacked on top of each other with room for crown molding on top.
But for most standard ceiling heights, which are around 8-9 feet, you’ll need to calculate just how tall you can build your DIY bathroom cabinet.
I did a rough estimate in my head though had we been working with 8 foot ceilings and I think we still could’ve gotten away with using both cabinets due to the lower height of our vanity.
Our vanity is a bit older, standing at around 30 inches high, but most of the standard ones built today are around 34. Just something to keep in mind. Remember, measure twice, cut one J.
2) How much counter space do you have in between your sinks?
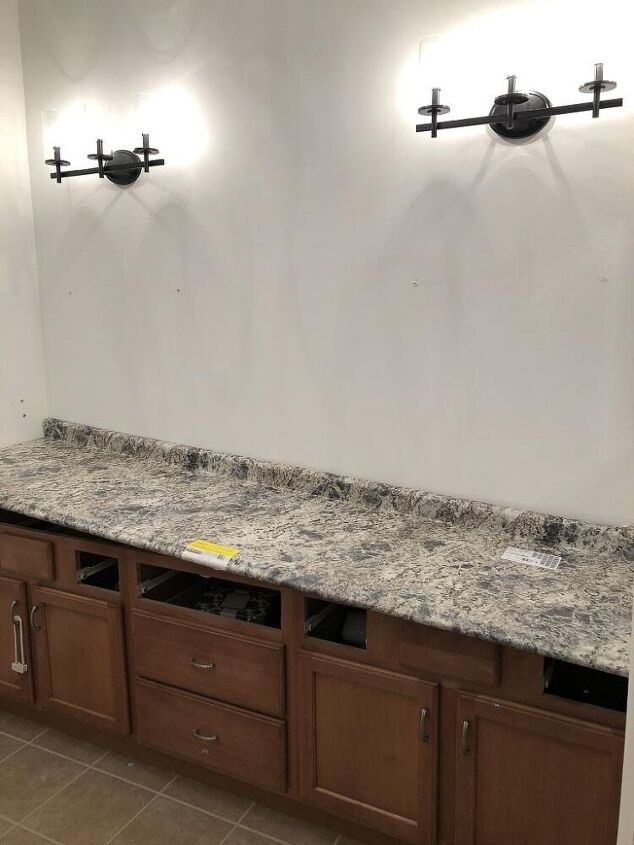
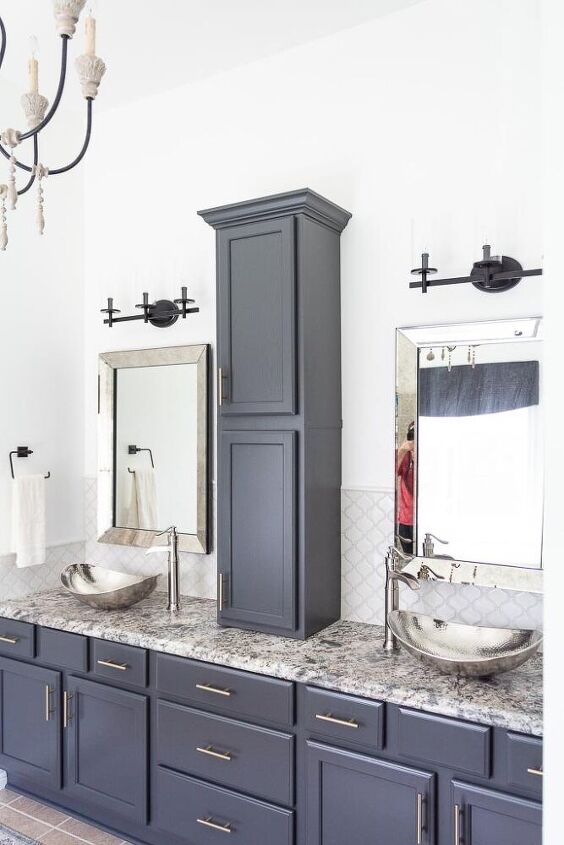
At 8 feet wide, we had a massive amount of countertop to work with. So much so, that it felt like a complete waste of space and always ended up a dumping ground for cosmetics and hair products. Which is exactly why I knew my DIY built in bathroom cabinets were a genius storage solution.
If you don’t have dual sinks, you can also flank a single sink with cabinets on either or both sides. for a beautiful custom look.
3) does your countertop allow for a cabinet to sit on top?
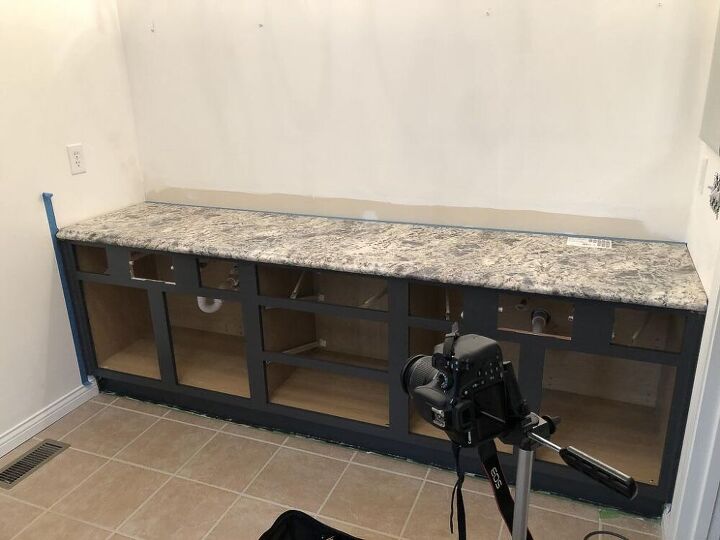
Installing a bathroom countertop cabinet requires that the cabinets sit flush against the wall. This means you won’t want any backsplash behind them, which means you won’t be able to achieve this look with typical cultured marble bathroom countertops that have built-in backsplash.
how to build a bathroom storage cabinet
choose your location
Once you’ve selected the location to install your cabinets, make sure they’re level on your countertop. You may need to use wood shims underneath of the base before you screw them into the wall.
prep your cabinets
Remove your cabinet doors from their hinges. This makes it easier to handle and install the cabinet box frames.
installation
Attach your first cabinet as the base. By making the base cabinet level, you’re ensuring that the stacked cabinet on top will also be level.
Just like installing kitchen wall cabinets you’ll want to locate a stud(s) in your wall in order to secure them with screws. *I didn’t take step by step photos, because a) it’s pretty self-explanatory and b) I was busy in the garage painting cabinet doors while hubby was doing the actual install.
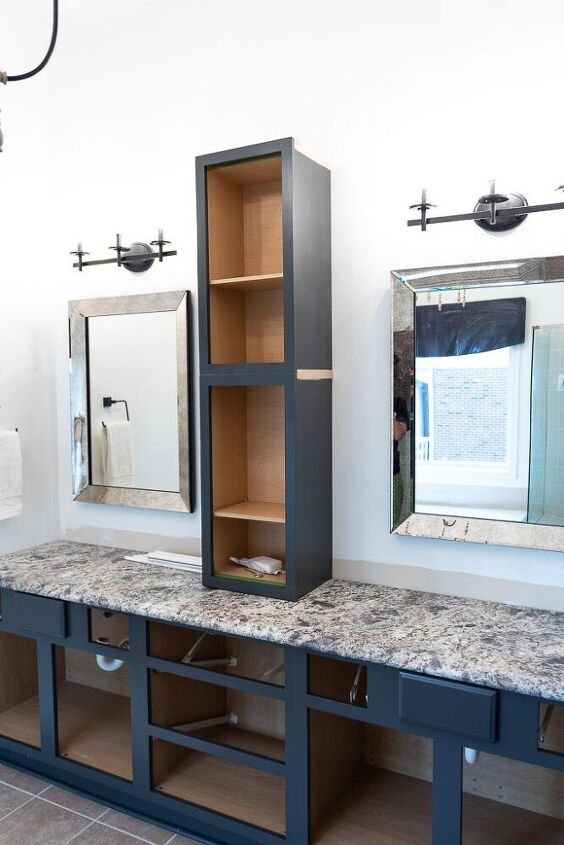
Stack your next cabinet on top and repeat the installation instructions by securing it into the wall studs with screws. *Don’t worry about any gaps, that’s where the lattice trim comes in handy.
trim it out
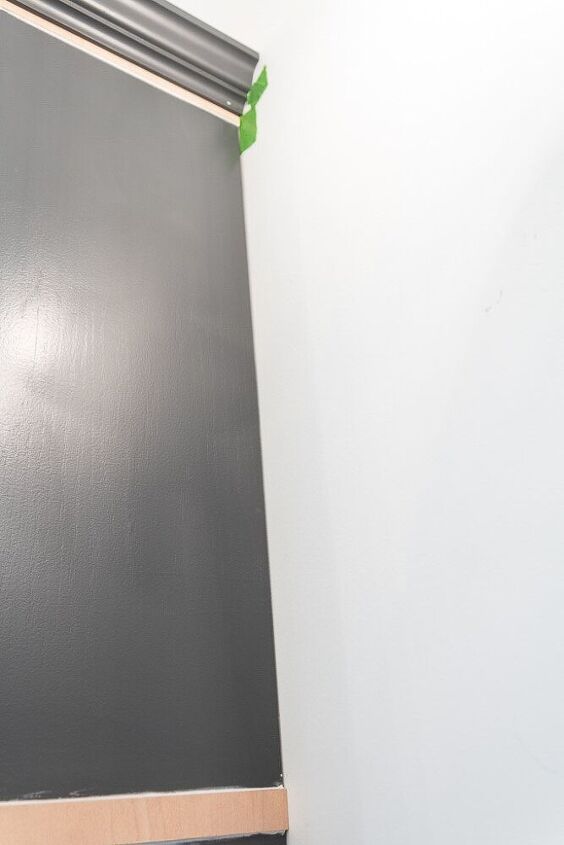
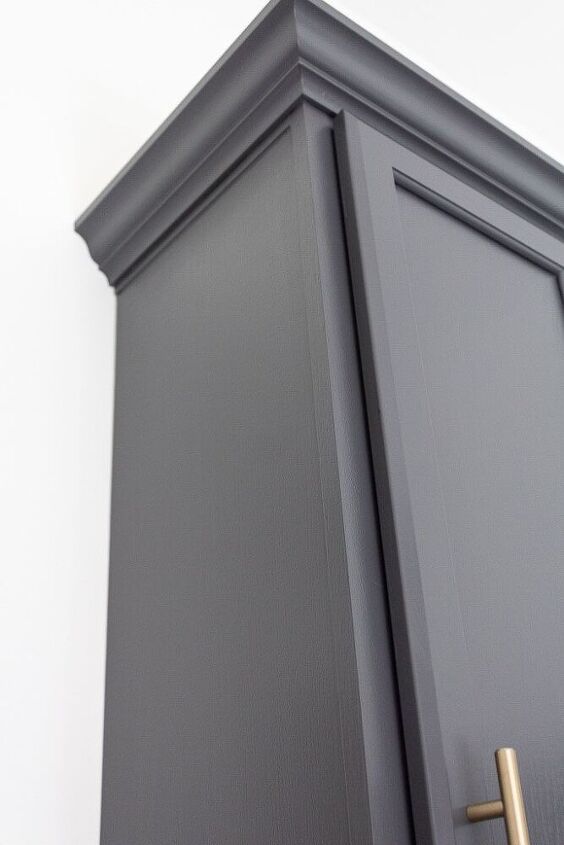
Attach your crown molding. I’ve yet to do a post on how to install crown molding, but in the meantime The Sawdust Girl has a great tutorial for how to add it to cabinets.
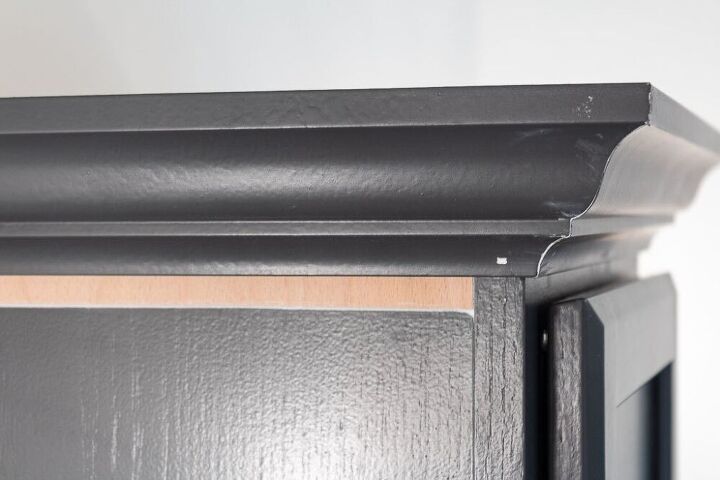
*We didn’t need to use any filler block in this step because there was plenty of cabinet face frame to install our crown directly to the cabinet.
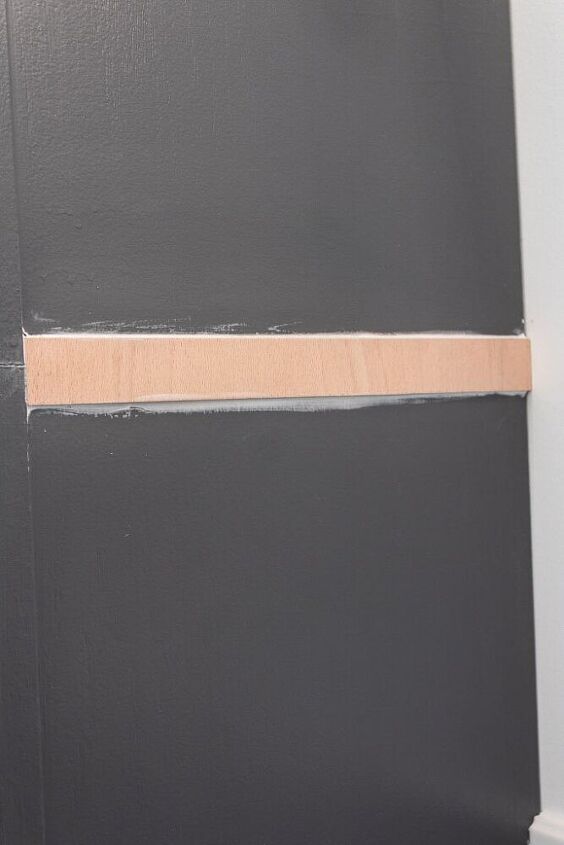
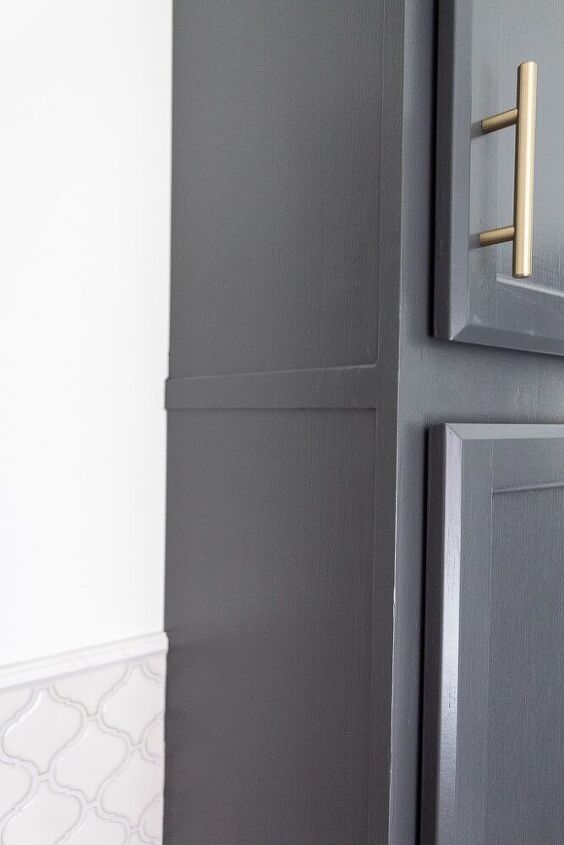
Cut 4 lattice strips to the appropriate length to cover both side seams where the cabinets join and attach them using construction adhesive.
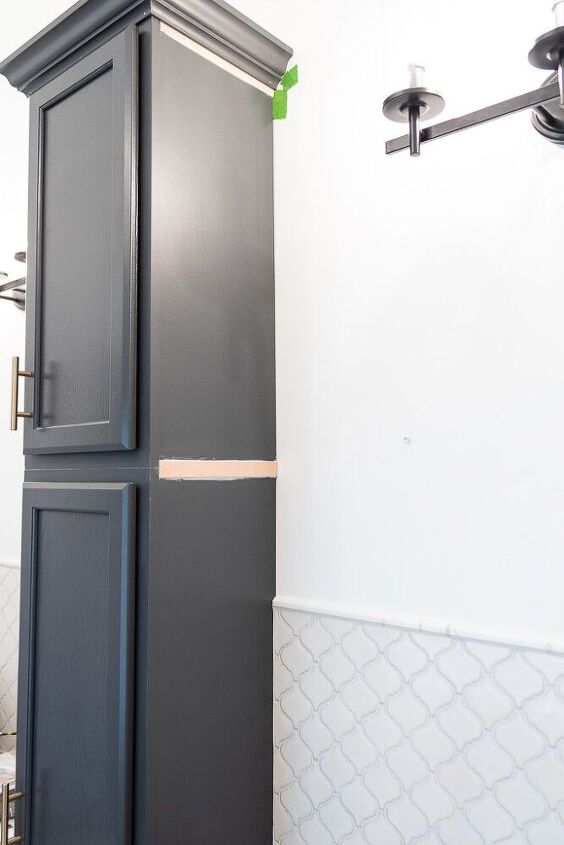
clean up the edges
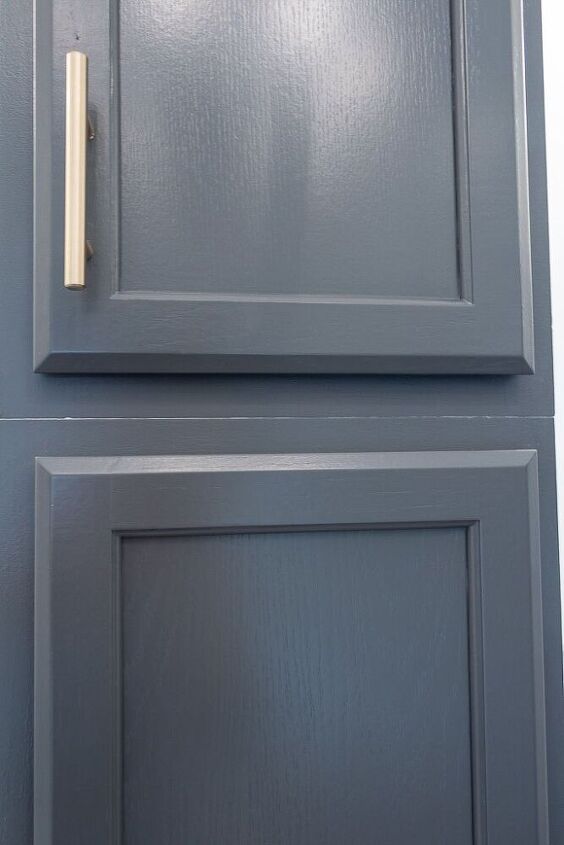
Use wood filler to cover the seam in front where both cabinets join and sand once dried.
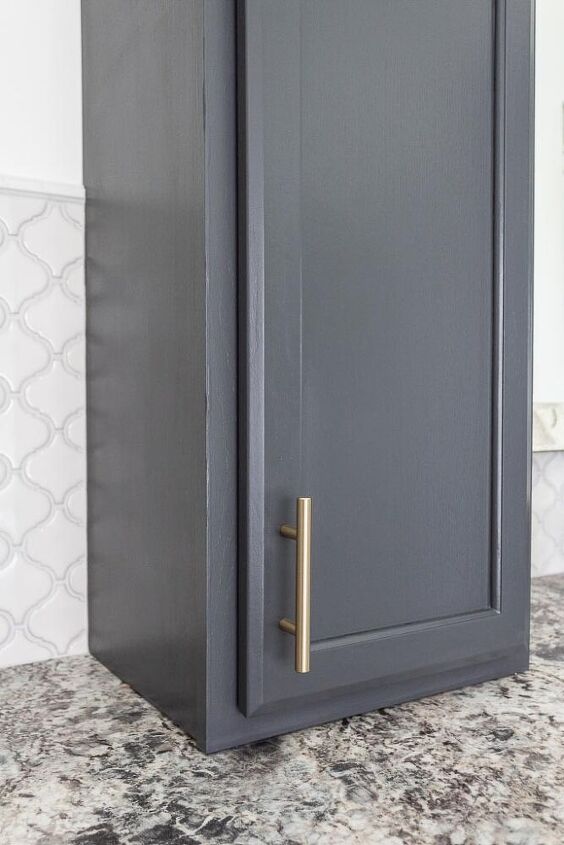
Caulk along all edges where the crown molding joins on the corners and along the edges, as well as the top, bottoms and sides of the lattice trim. This covers the seams and creates a more finished appearance.
Then, all that’s left is to touch up your new cabinet trim with paint along all caulk and wood filler seams. And finally, re-attach your doors and enjoy DIY bathroom cabinet.
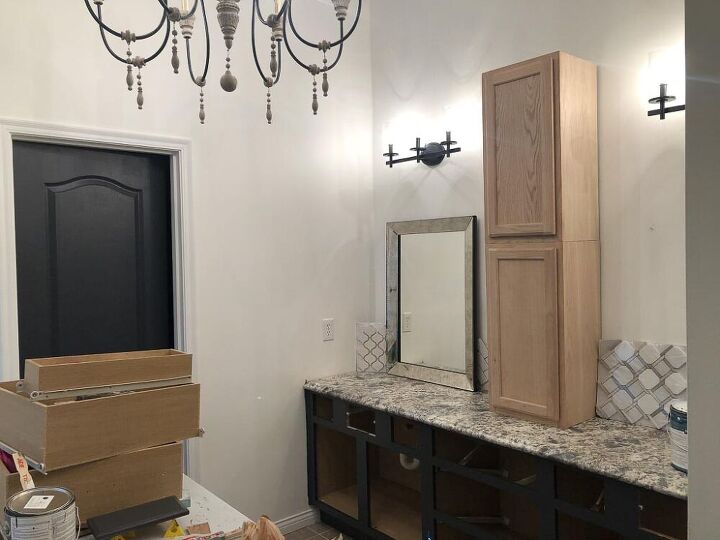
You’ll notice that I painted our cabinets and crown molding before we installed them, but then had to touch up the paint after the final finishing steps.
This was by design, because it’s much easier to paint cabinet frames when they’re not attached to the wall. I would definitely recommend this if you’re planning on using unfinished cabinets like we did here.
And if you need tips on cabinet painting, I share all the secrets I learned and my mistakes along the way.
I’m still blown away at this transformation and so glad I ditched the idea of open shelving in this space. Having the extra storage in our bathroom is a lifesaver and it really makes our builder grade vanity look like a custom piece. Be sure to check out the full bathroom reveal here!

Want to know some other budget friendly ways we’re transforming our master bathroom? Sign up for my newsletter below and I’ll spill all my DIY secrets along the way!

Resources for this project:
See all materials


Comments
Join the conversation
-
Had same space but instead of wasting mirror framed it and put cabinet in front.
-
Nice add but I would have put one door opening toward the right-hand sink and one toward the left-hand sink. That way each side could have easily accessible storage while standing at the sink.


Frequently asked questions
Have a question about this project?
I agree with Cari.....how many people did it take to get it down safely? What did you do with it? Why not cut it and frame it? Save money???? Nicely done!!!
Why is the handle so low to the counter top. wouldn't it look better to be raised?
Amazing job! Looks great! Any ideas for laundry rooms along the same idea as your bathroom ?