


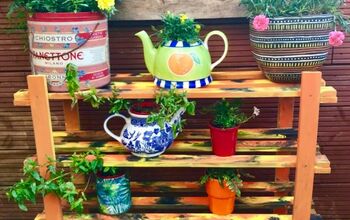
Tiered Plant Display

I'm allll about the plants this month. I have a really small garden so I really like to make the most of the space I have and fit as many pretty plants in as I can. Here I show you how to build a tiered plant display to make maximum use of your space.

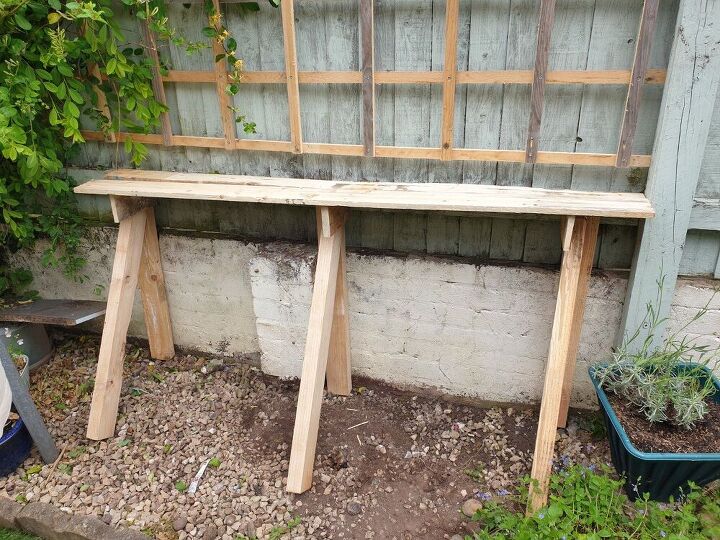
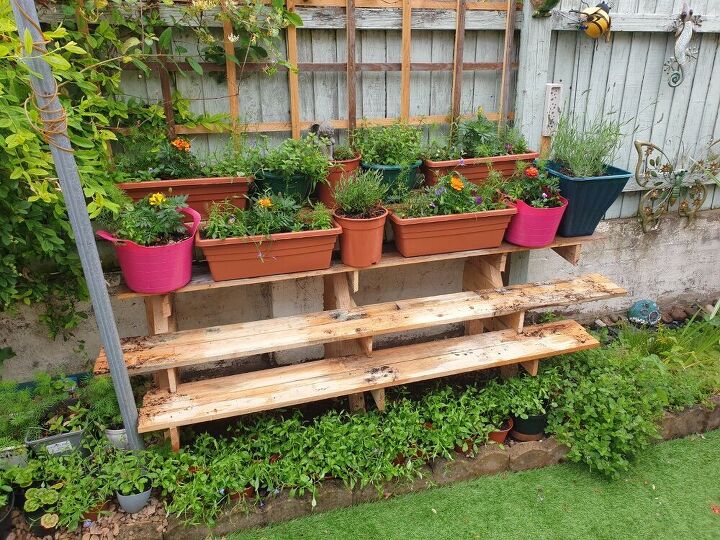
My dad helped me with this project and kinda went ahead without me, so this is the before pic. I'll be sure to explain what's been done so far in detail so it's easy to follow. You will need:
The space you want to build your display on, slim wooden planks and lengths of wooden baton, an electric screw driver, a saw, a tape measure, long screws and the plants you want to display on the shelves once complete.
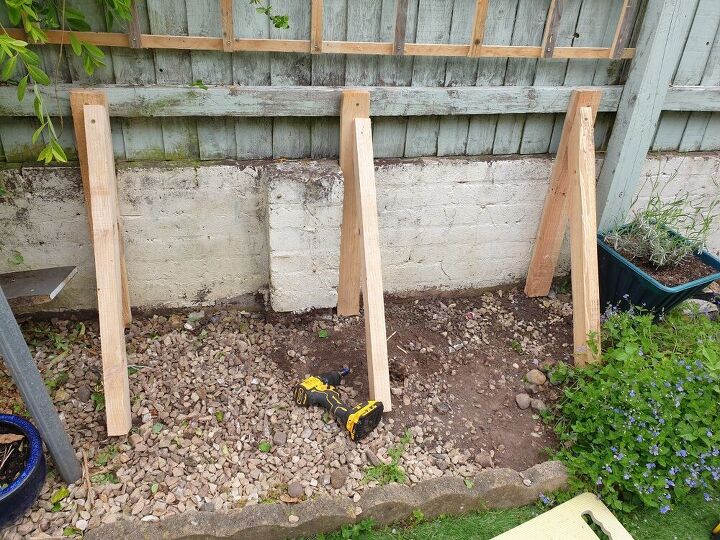
First you need to measure the height of your display. In this case it is the 3 vertical lengths of wood shown here. Cut the wood to size and secure them in position (I was lucky as I had the fence above the wall so I was able to screw them straight into that. If you need to screw into a wall obviously you'll need to drill a hole first and use a wall plug). Next you need to establish your angle. Allow for the depth of each shelf when deciding your angle. Measure and cut wood to size and secure at an angle as shown. This will require an angle being cut at the top end of each piece. This angle can be marked by leaning the wood alongside the vertical pieces of wood at the desired angle and making a pencil mark along the angled piece.
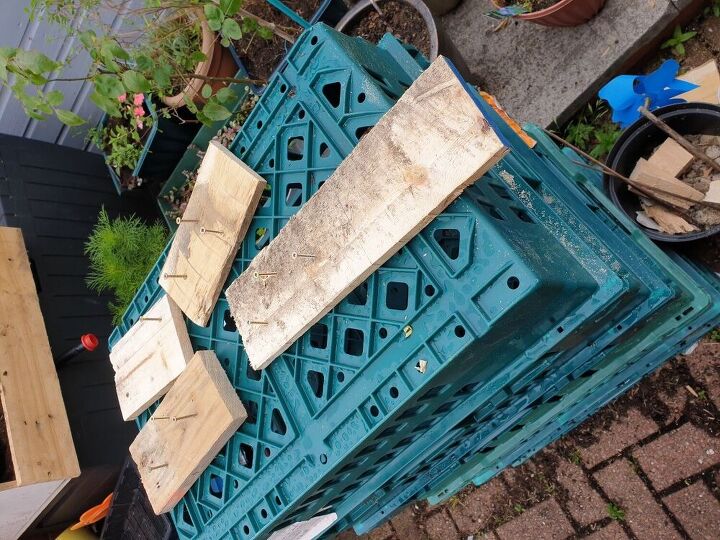
Next you need your horizontal shelf supports. You need slim planks as shown, which you need to measure and cut to whatever size is appropriate for your display.
These pieces will all need to be roughly the same size, so that should save some time in measuring as once you've measured one it's essentially a case of making duplicates.

Secure these pieces in position as shown here.
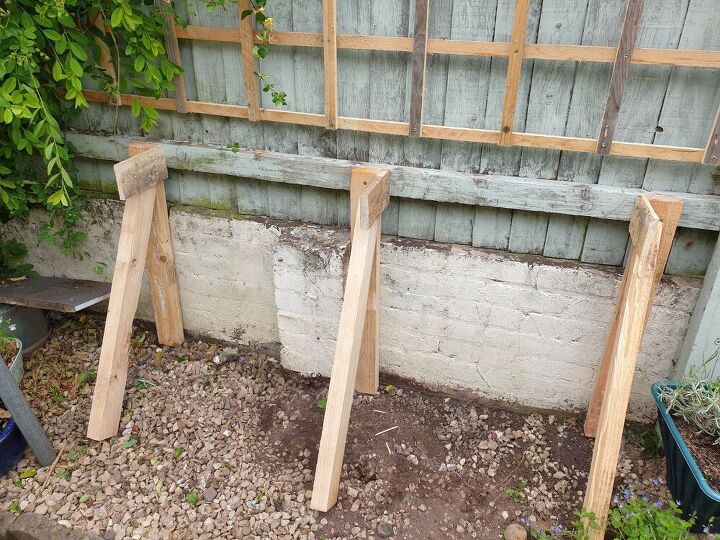
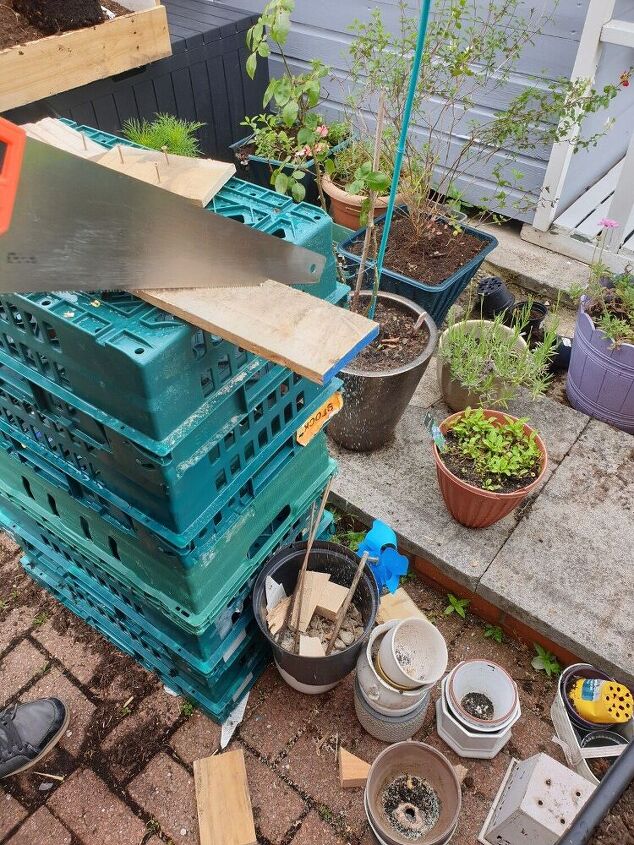
As above but shown from a different angle for clarity.
Now you're ready for your first shelf! Measure and cut to size and rest it on top of the horizontal supports as shown.
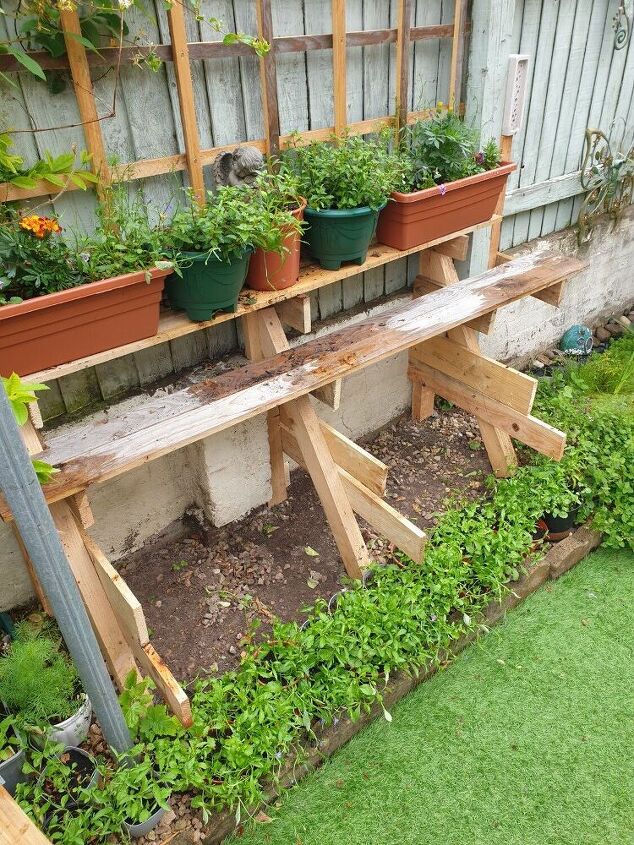
You can now position plants onto your top shelf and prepare the next shelf. It is a good idea to position the top shelf of plant pots before deciding on the position of the next shelf down because space needs to be allowed for the size of the pots and any overhang, etc. Repeat the steps of creating horizontal supports for the remainder of your shelves and screw into position as shown.

Same stage as above but from a different angle for clarity.
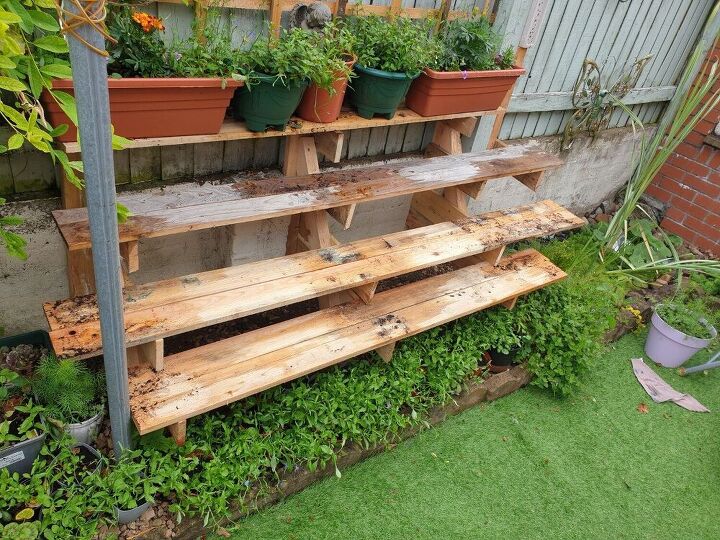
Position the rest of your shelves once cut, to create your display.
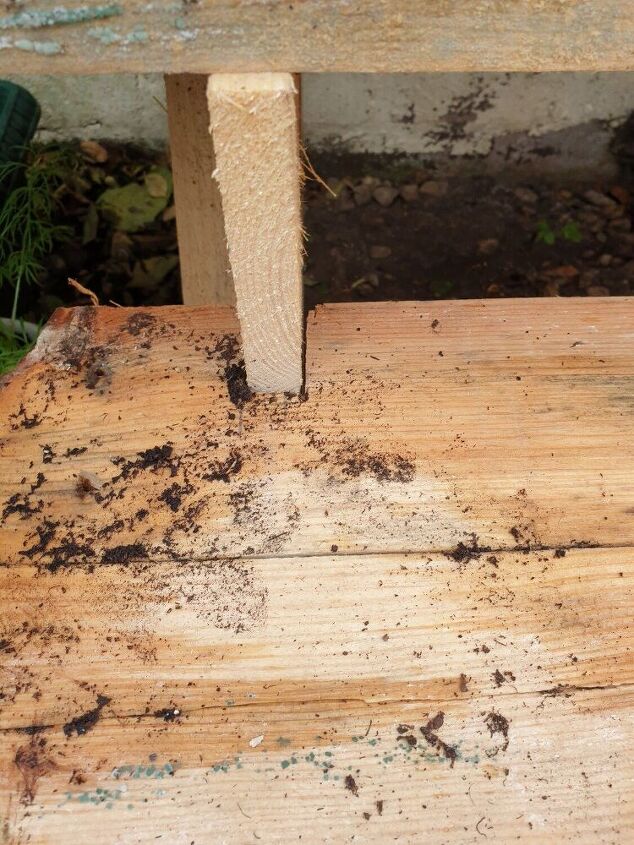
For additional stability, you can cut nicks like this out of your shelves so that they can sit further back on the horizontal supports.
Shelf by shelf, add your plants. I like to achieve reasonable symmetry with my displays, but this is personal choice.
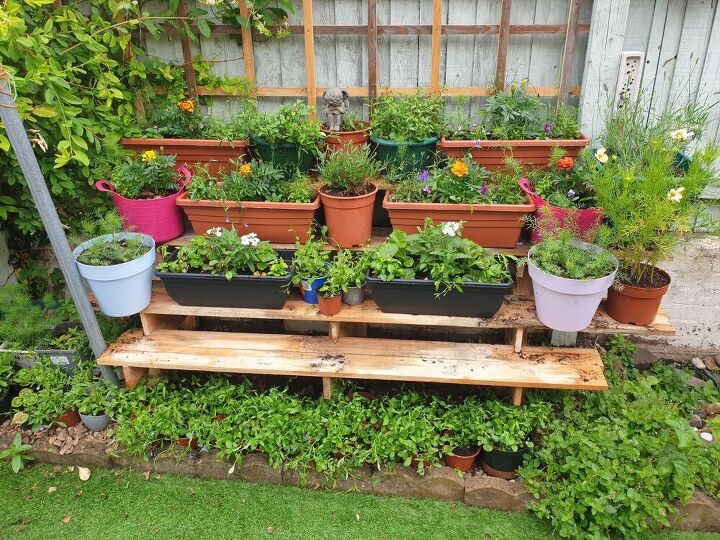
Next shelf.
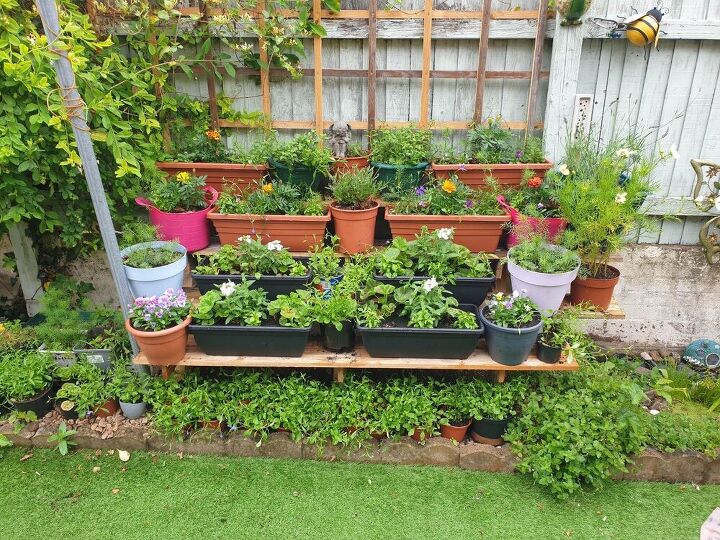
There you have it! A tiered flower display making the most of a very limited space.
Resources for this project:
See all materials


Comments
Join the conversation
-
Wow! I have a nice space in my backyard. Definitely gonna try! Thank you for sharing.
-
Very interesting .Thanks for sharing .


Frequently asked questions
Have a question about this project?
What did you use the baton for?