


Build and Design Chinoiserie Canvas Panels

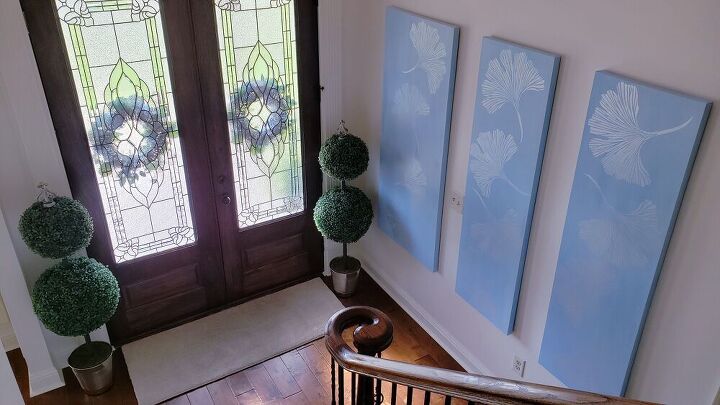
I decided to build my own canvas to create my own Chinoiserie Panels. Secretly there was a another objective. I have a narrow entryway. And I wanted to take a more minimalistic approach to styling it. This time I decided to focus on the walls.
This was an easy project. On the first day I assembled the canvas. On day two I painted the canvas. And on the third day I stenciled and hung the panels.
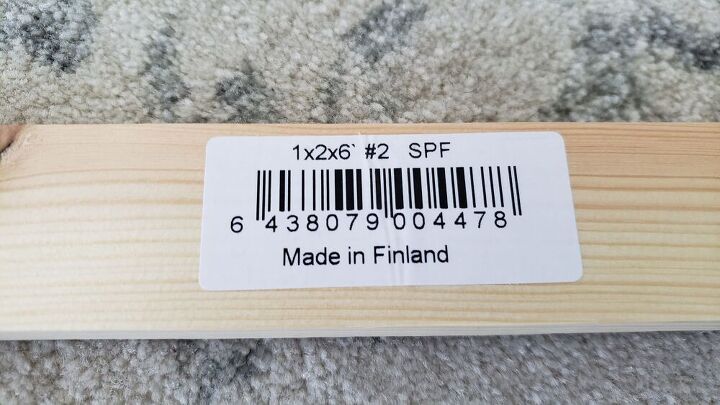
To insure that you get the correct size boards, I had to share this barcode.
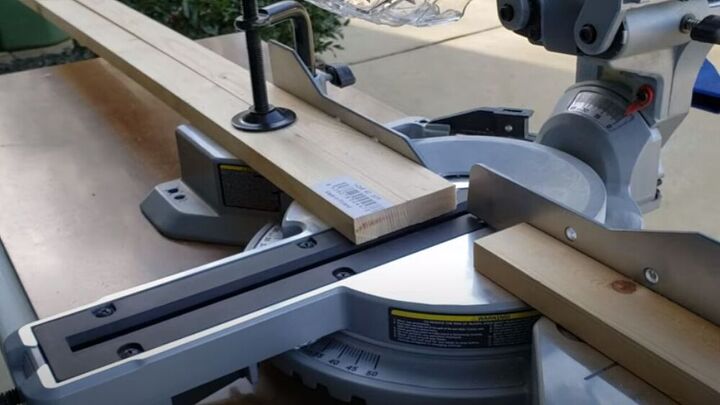
To cut your labor time have the boards cut at the store. Or do it yourself. Cut your boards to the desired length and width for your canvas. I purchased 8 boards. You will need 5 cut pieces per canvas panel - top, bottom, 2 sides and 1 board for the middle supporting brace. The top, bottom, and middle support brace should be the same length. That is what I call keeping it simple.
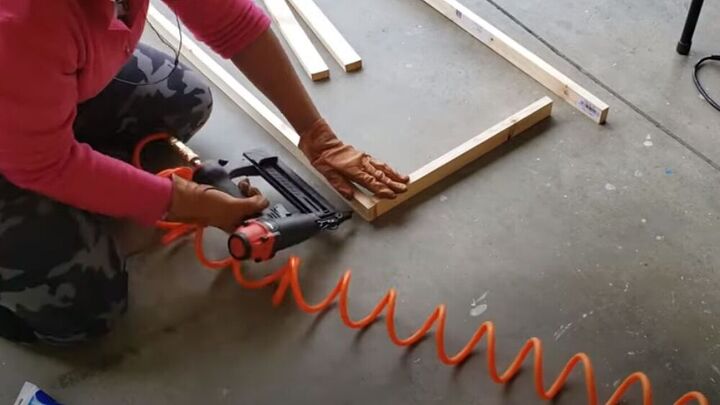
I used my nail gun along with 1 1/2 inch nails to assemble the frames. As an option, you can use the a drill and 1 1/2 inch wood screws.
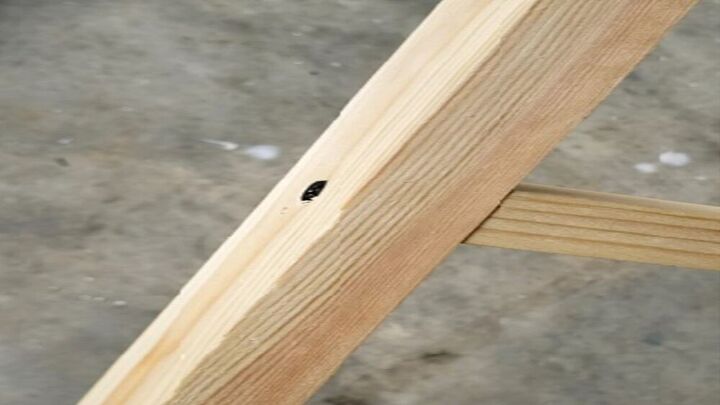
If you are going to use a drill and wood screws make sure the top of the screw is below the service of the boards.
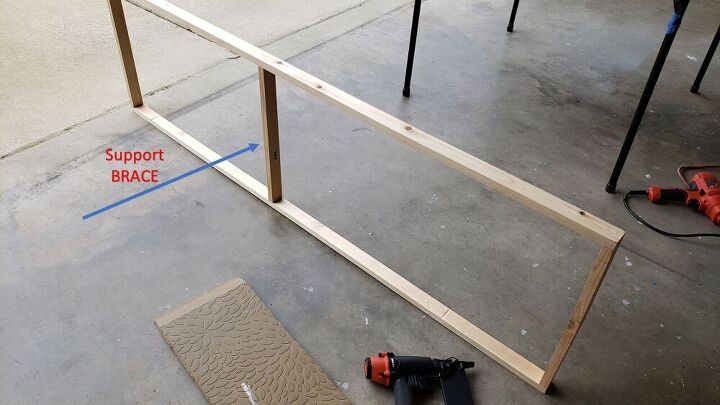
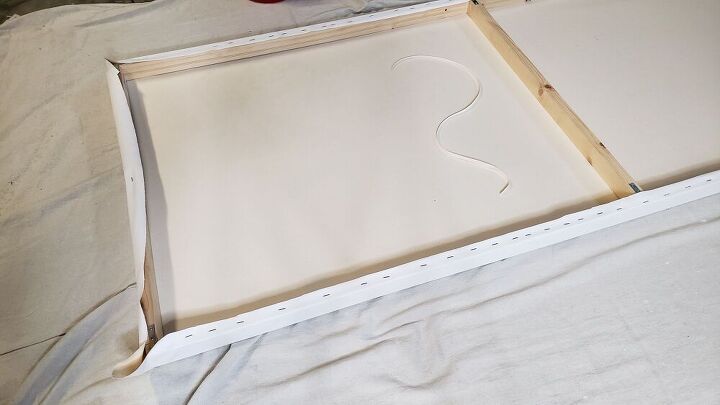
You are going to p-u-l-l and s-t-r-e-t-c-h the canvas so having a supporting brace is vital.
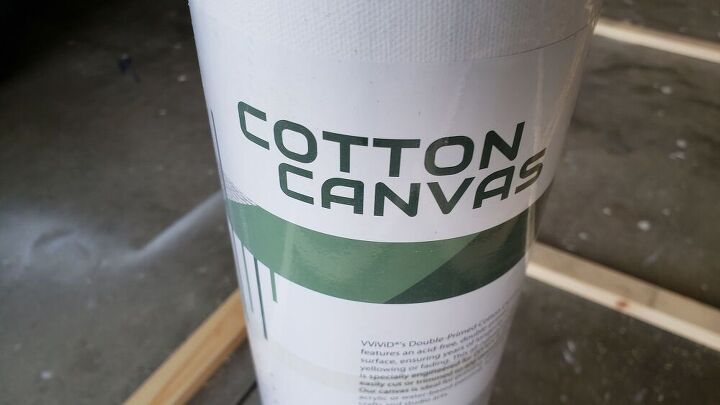
I purchased this canvas on Amazon. It measures 5 ft x 36". The cost was $29.99. Cut the canvas 4" away from the frame's outer edge. Since your frame is 2" thick, you want to make sure that there is enough canvas to fold over the edge for stapling.
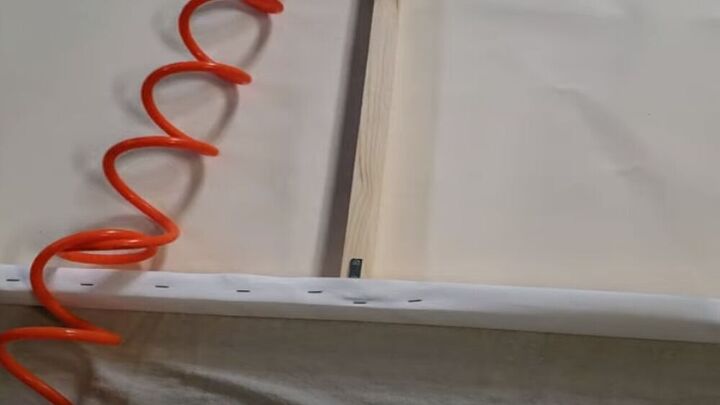
Start working on one of the long sides of the canvas. Start in the middle and staple toward the top. Then on that same side start in the middle again and staple toward the bottom.
Move to the opposite side (the other side) of the frame and complete the same steps.
Use the pliers to grip the canvas while you staple it to the canvas. You are stretching the canvas as you staple it.
Don't stress about the corners. Just make a pleat and staple. I pretended I was wrapping a present.
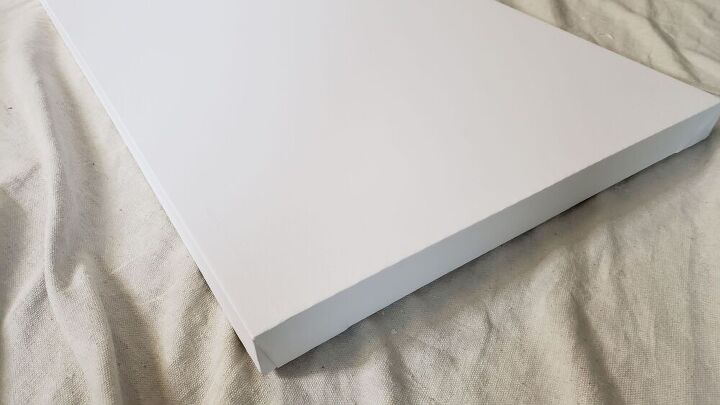
Here is how my corners looked.
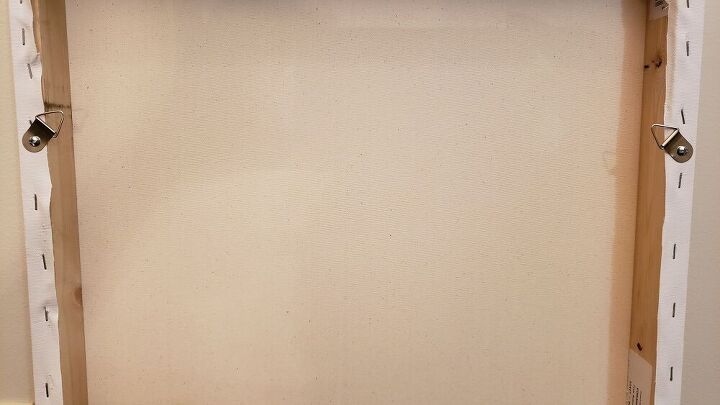
I attached 2 D-Rings to the back of each canvas. You can also add picture hanging wire.
They look great. They are large and in charge!
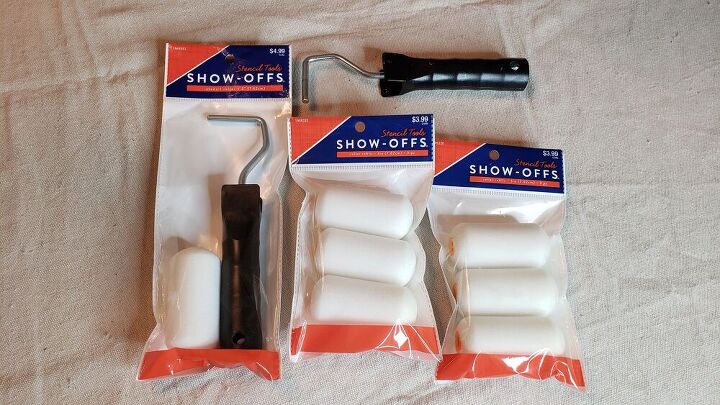
These are the perfect foam rollers to stenciling your canvas. I purchased them from Hobby Lobby.
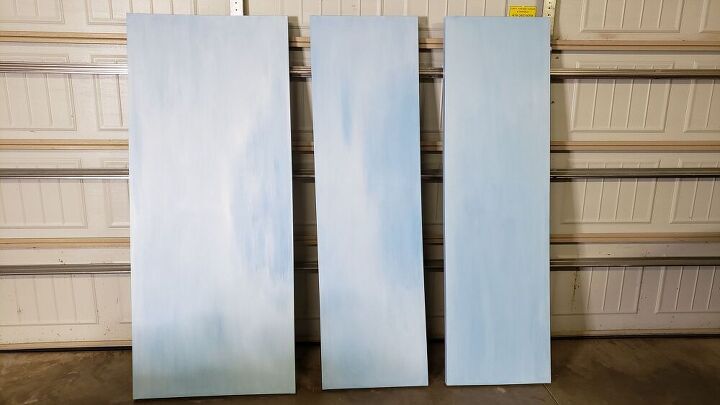
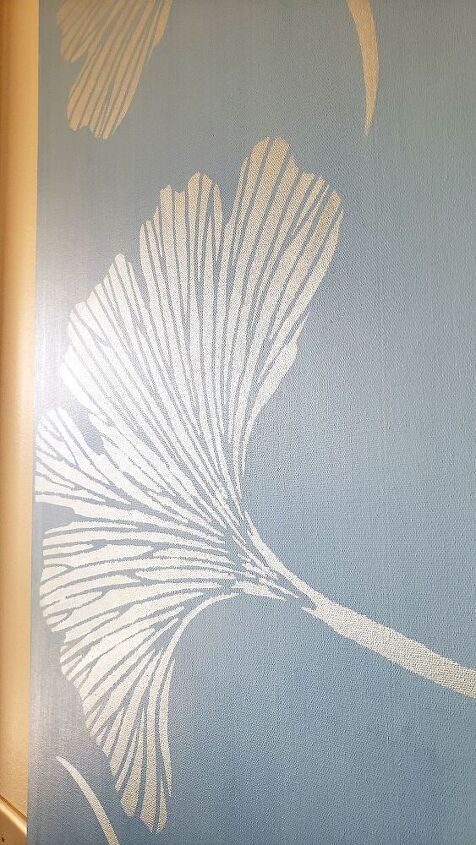
I mixed several shades of blue paint to achieve this beautiful color.
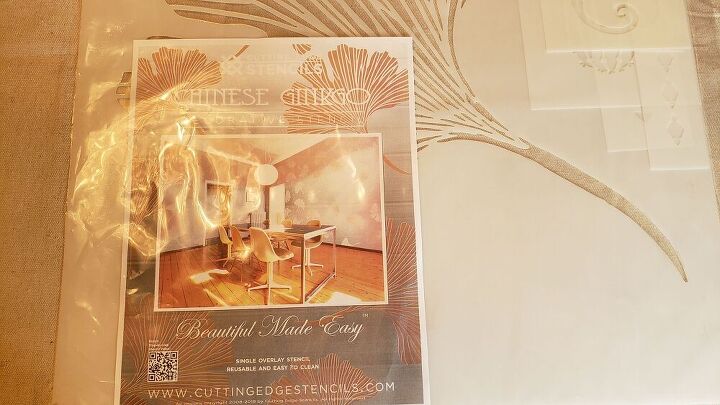
Here is the stencil that I ordered from Etsy. It took a while to get them so order early.
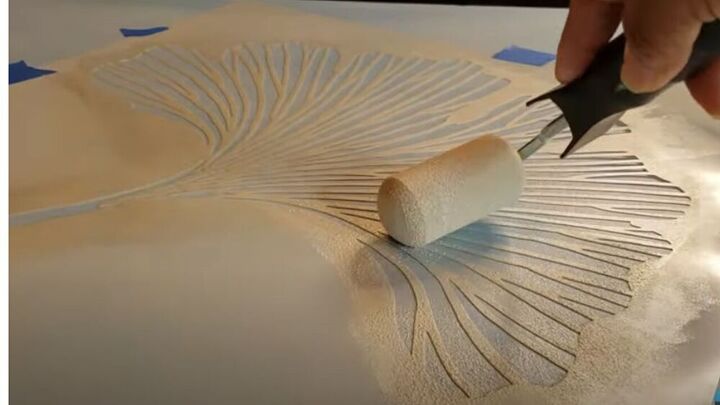
I poured the paint on a paper plate so it would evenly cover the roller. I used the Rustoleum Metallic Seashell Finish. It looks like silver on top the blue paint. Place large books or towels underneath the canvas before you paint the stencil.
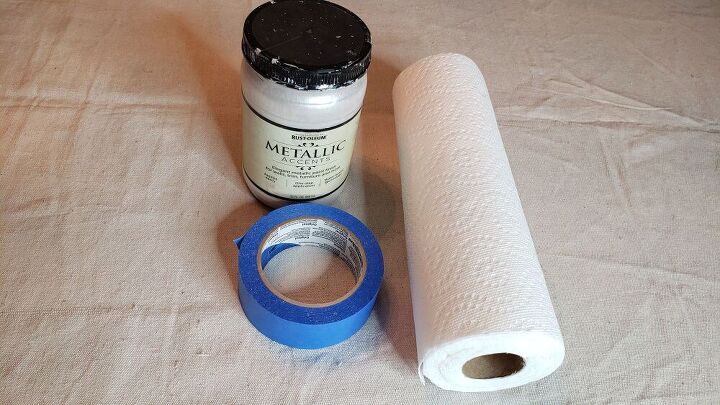
The stenciling supplies were very basic. They included a paper plate, sponge rollers, paint, paper towels and painter's tape to hold the stencil in place. Most of these supplies I already had.
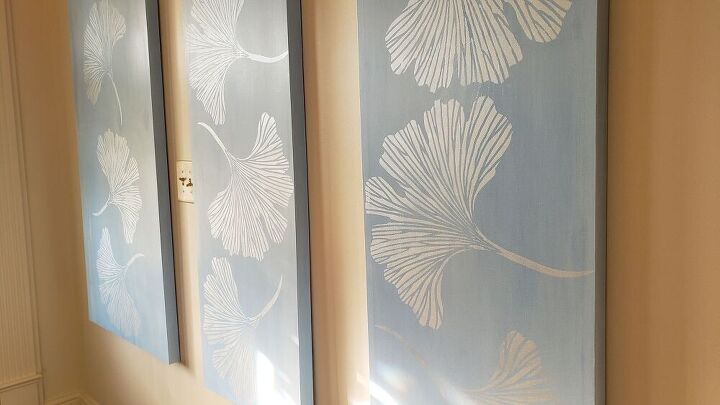
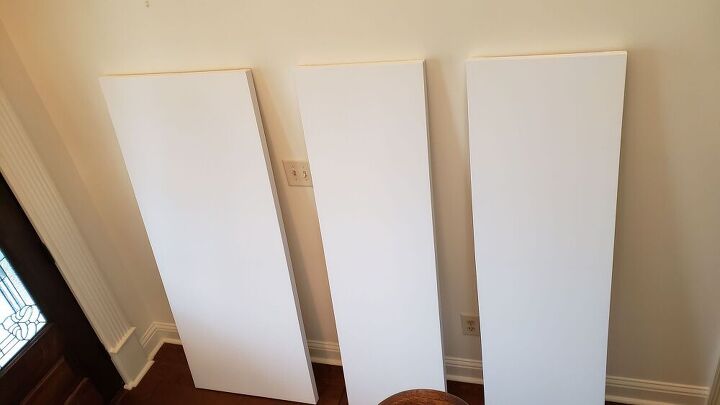
Here are my 3 panels. I still have plenty of canvas left over for a new project. I can build the frames later. For now, I will just admire their nature beauty!

What colors would you paint your panels? Black and White? Green and White? Gold and Black? I'd love to see them.
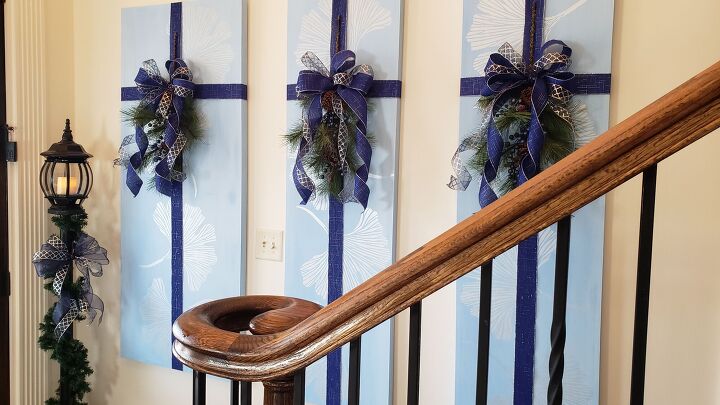
Here is a video on how the Canvas Panels were decorated for Christmas.
The Links Are Here!
Where to shop? Click here to order this cotton canvas on Amazon. These are the beautiful stencils that I found on Etsy. I just love these Medium Sized Gingko Leave Stencil. Click here to order these stencils. It took around two weeks for my order to arrive. So order early. I painted the stencils with a Metallic Sea Shell Finish by Rustoleum. Click here to order the metallic paint on Amazon. There is also a Pearl Finish that would have been an excellent choice as well. Click here to order the metallic paint in Pearl on Amazon. OMG! If you love black and white, this would be an amazing Chinoiserie project. The sponge rollers sell-out pretty fast. Click here to order the sponge paint rollers on Amazon.
Finally, I had to share a staging photo. The topiaries are too large, but I had to see what a touch of greenery would do in this space. In the meantime allow me to be my worse critic and continue shopping for supplies. Smaller topiaries would be a great DIY project. What do you think about the addition of the greenery and not necessarily the size?
I wonder how many times you smiled when you read this post. There is also a full tutorial video below on my Youtube Channel. Thank you for stopping by.
Resources for this project:
See all materials


Comments
Join the conversation
-
They're beautiful!!
-
Gorgeous, so classy, they look like professionally made decor, absolutely lovely.😊


Frequently asked questions
Have a question about this project?
ab beautiful! Can u please tell me what colors you used. These colors are perfect fir my hallway
thank you