


DIY Drawer Pull Tutorial

Have you been in the market for cabinet hardware or drawer pulls and you just can’t find exactly what you’re looking for?
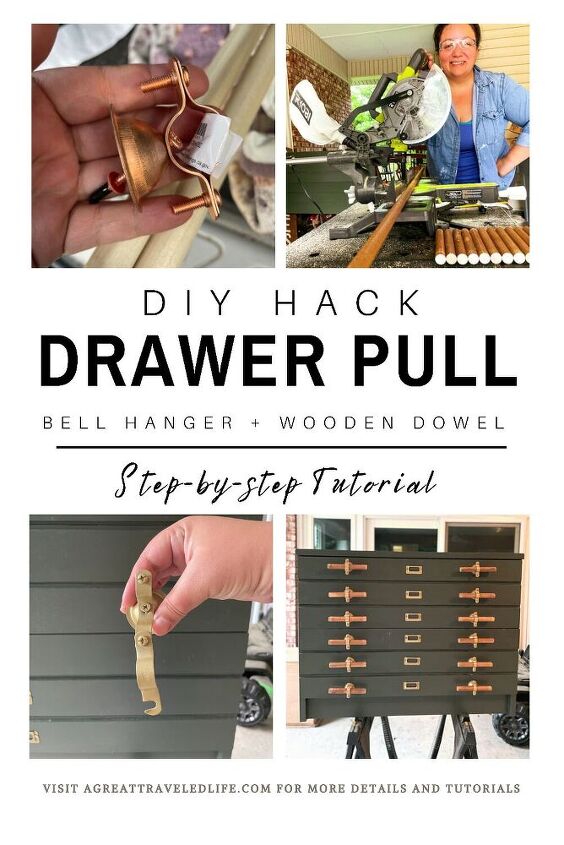
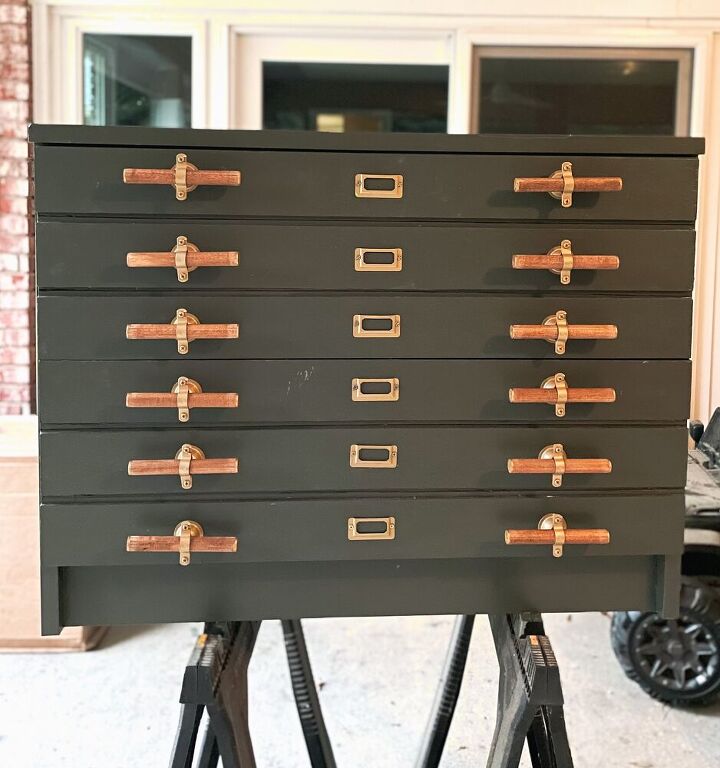
This tutorial will show you step-by-step how I created these unique drawer pulls from copper bell hanger pipe fittings and wooden dowels.
What You’ll Need
For this project, don’t be afraid to look in unexpected places! I found most of the supplies in the plumbing section of the hardware store.
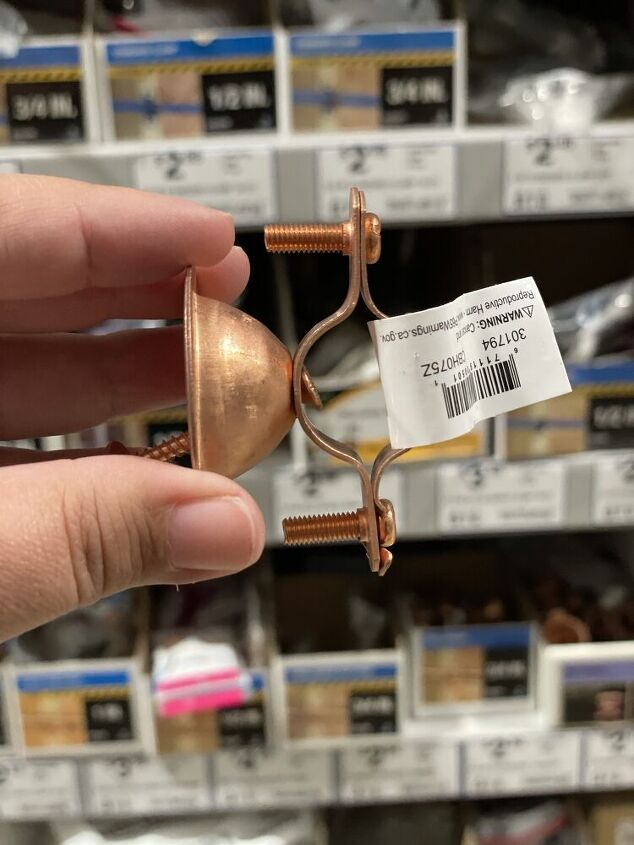
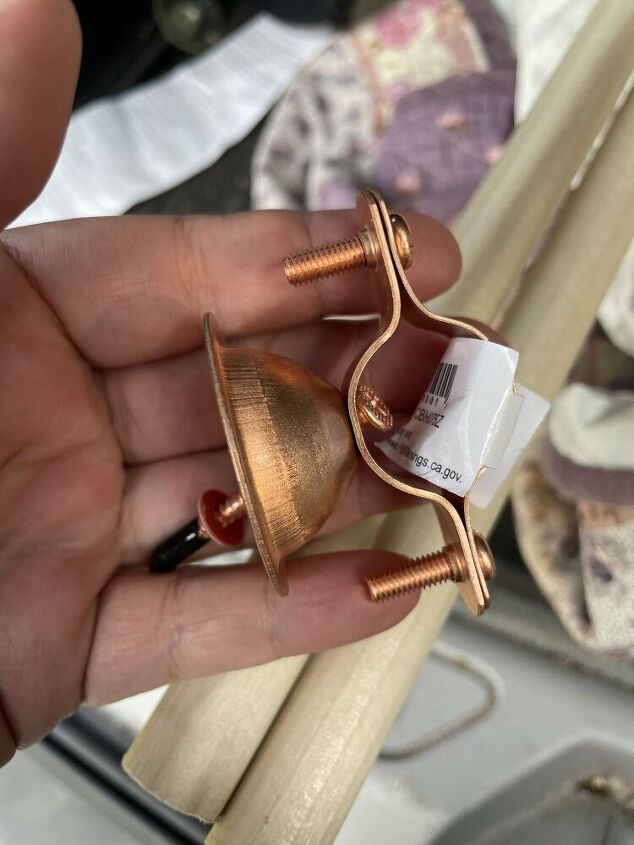
- Copper Bell Hangers (screws are included)- 3/4”-1”
- Wooden Dowels– 3/4”-1” (depending on size of bell hanger)
- Wood Stain– I’m using Early American
- Gold Spray Paint (Optional)
- Rubb’n Buff (Optional)
- Sandpaper– 220 Grit
- Drill– with bits
- Tape Measure
- Speed Square
- Small Level
- DAP RapidFuse (Optional)
Step Bell Hanger
I had never heard of a bell hanger before this project. I did some Pinterest research and I found a few amazing tutorials on copper drawer pulls using the bell hangers. I knew that I liked the idea of the bell hanger for the main mechanism but I wanted something a little different…
Here is one of the tutorials that I used as an example…
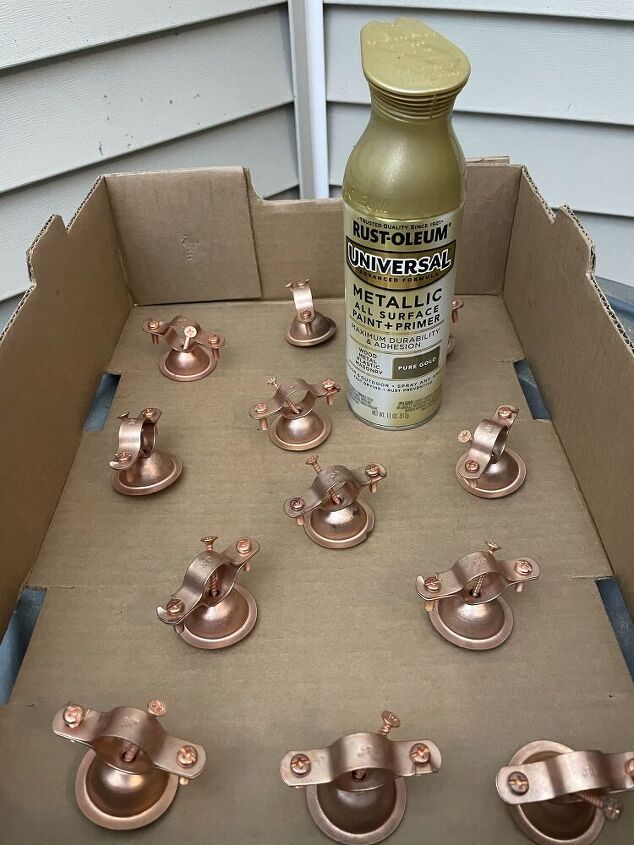
You will find the Bell Hangers in the copper pipe fitting section of the hardware store near all of the plumbing supplies. They come in 3/4” and 1 inch pieces. For this project I chose the three-quarter inch diameter bell hanger.
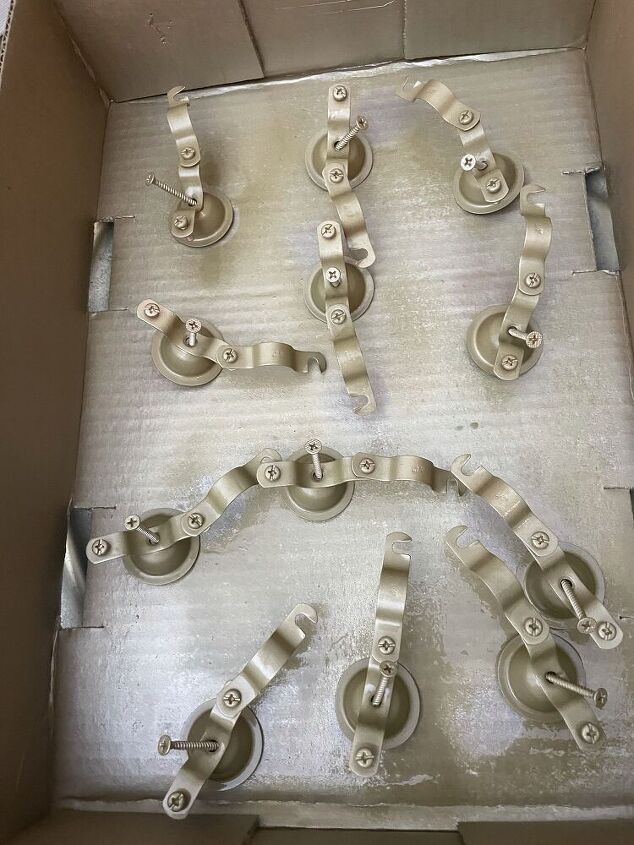
*Optional Step* I decided to spray paint my bell hangers gold to match the other metallics in my space. I have also seen where the copper finish is left as is and it’s beautiful.
Step Wooden Dowel
The addition of the wooden dowel is where I put my own unique spin on the design. I have seen these drawer pulls made with copper piping but I do not believe that I’ve seen them with the wood dowel.
For this project I used a three-quarter inch wood dowel and I probably could have used a 1 inch dowel. Check the fitting before purchasing the dowel.
Simple Prep:
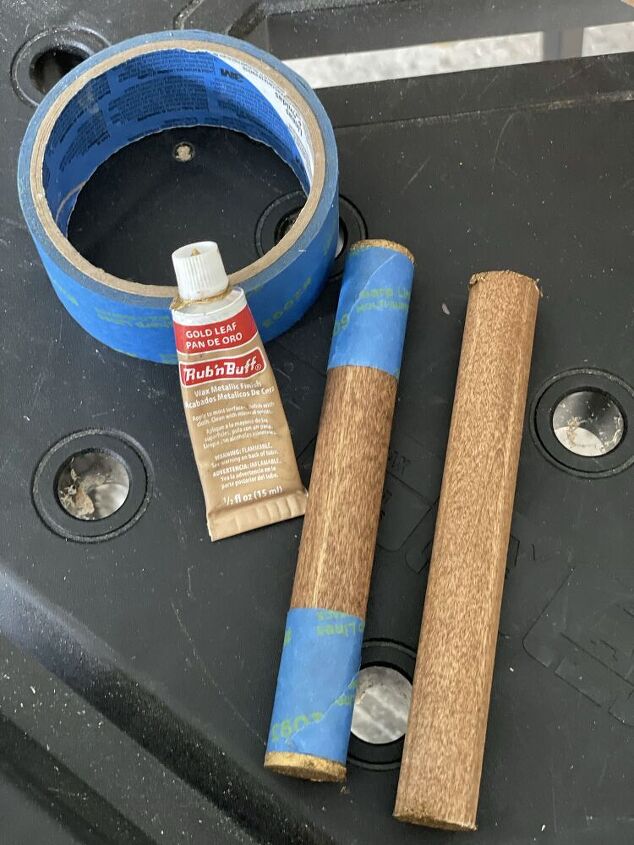
I used 220 grit sandpaper to quickly sand out any imperfections and I stained the dowel using Early American from Varathane.
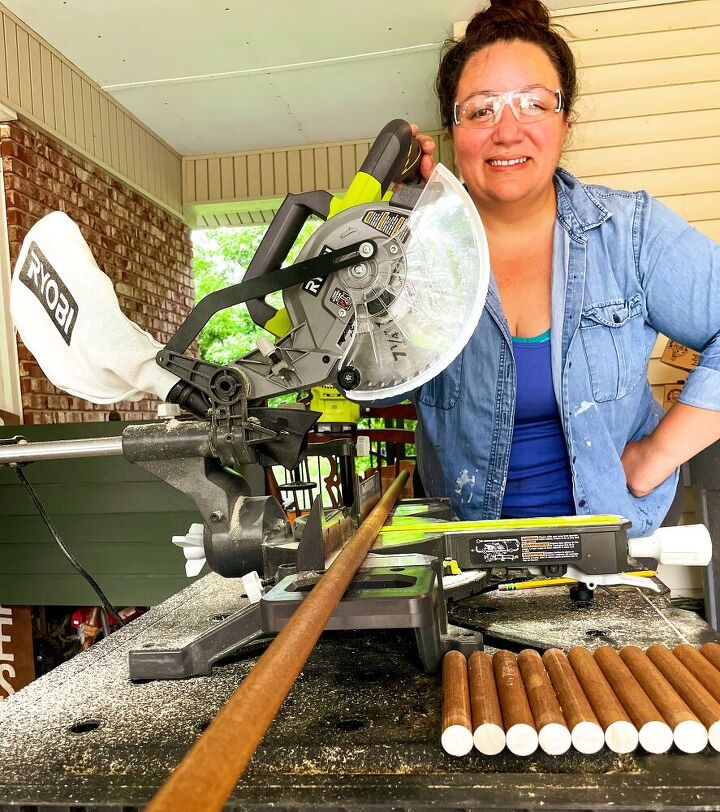
Cut to Size:
Next, I cut the dowels into 6” sections. This dimension can change to fit your project, just be mindful if you go too small the fitting may not work or if you go too big you may need two fittings.
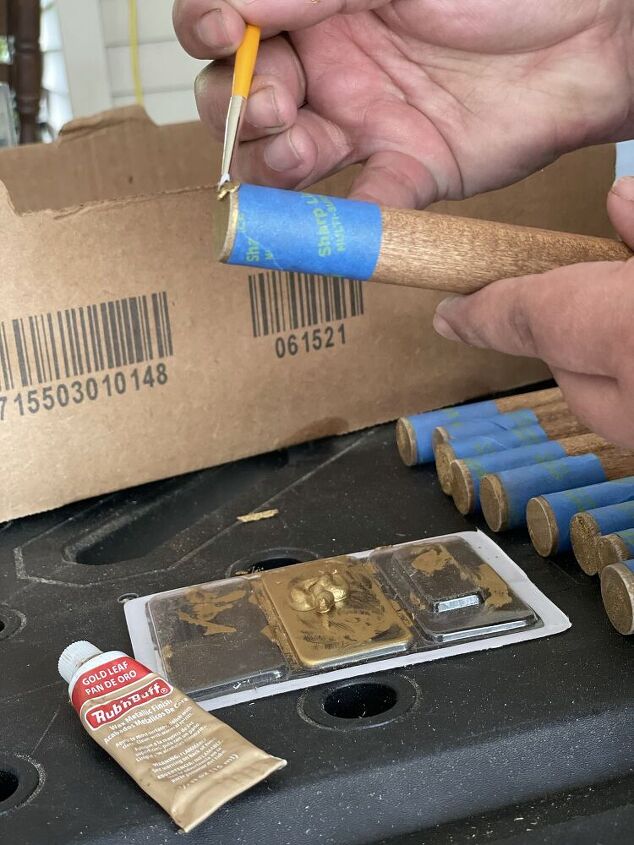
To finish off the handle, I used my sandpaper to sand the edges down.
*Optional* The ends of the handles were a little lackluster so I decided to amp up the look by adding a small strip of gold Rubb’n Buff.
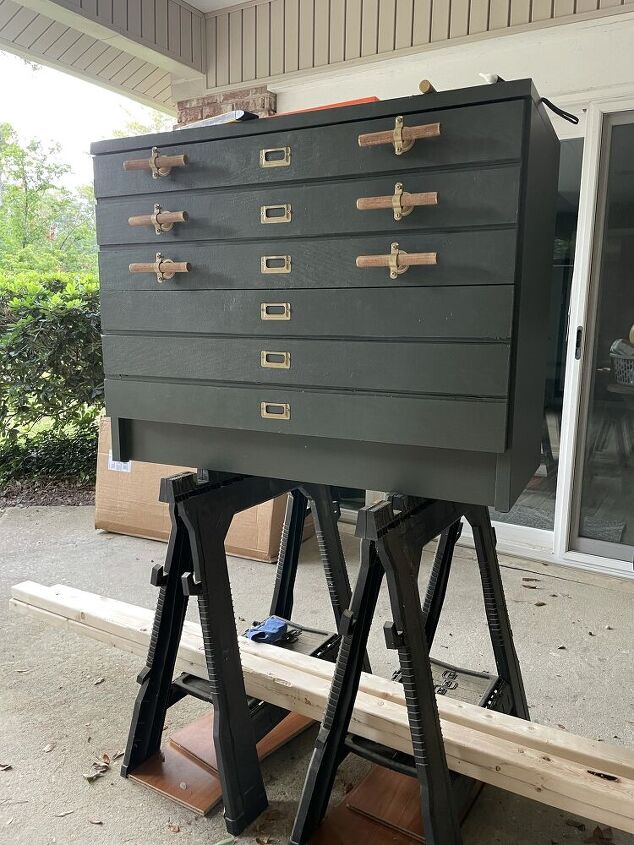
Step Assemble
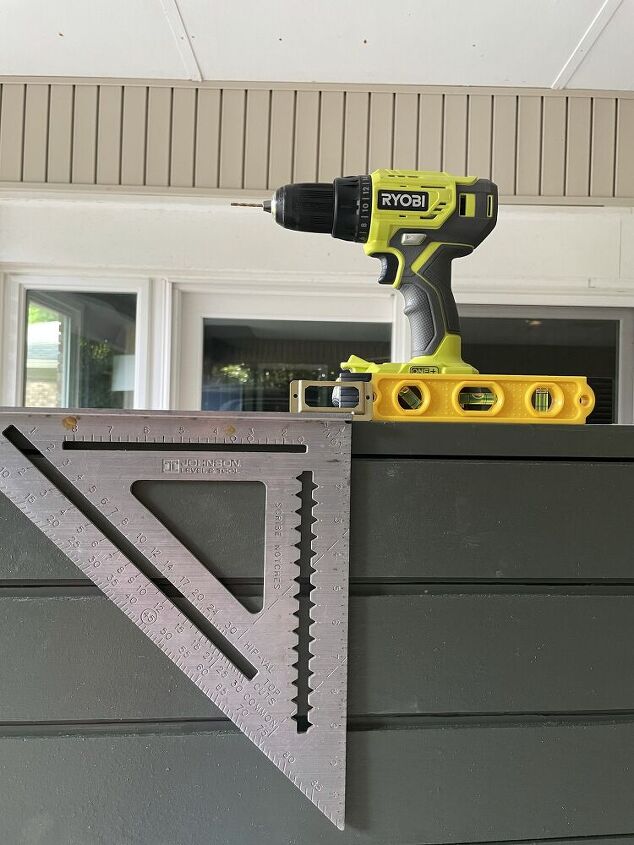
The key to this faux flat file is to line up the hardware and it’s easier that you think. I used a large speed square, a level, and a tape measurer. Start by adding the first column of metal frame name plates. I centered them on the piece and centered on each file front.
See my tutorial about the Faux Flat File for more information on how I made the base cabinet.
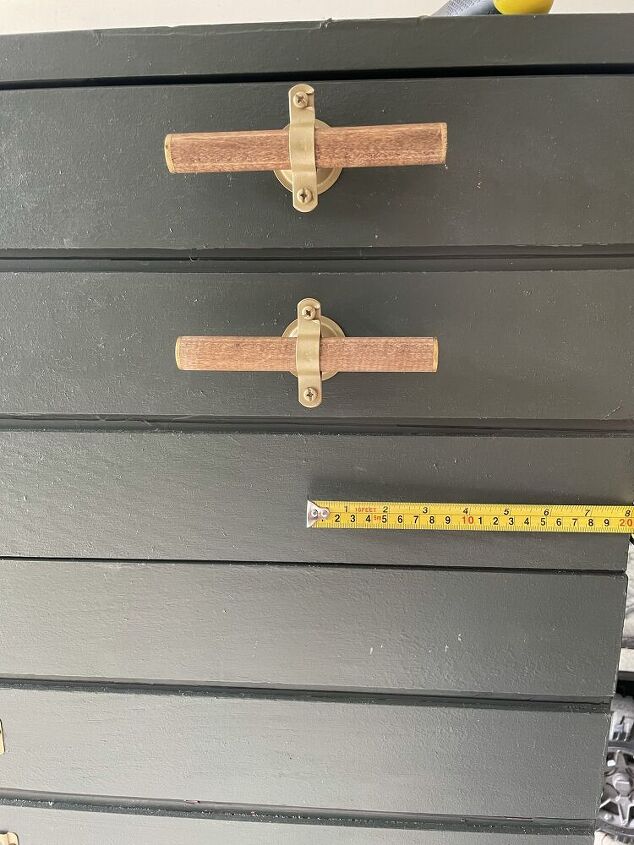
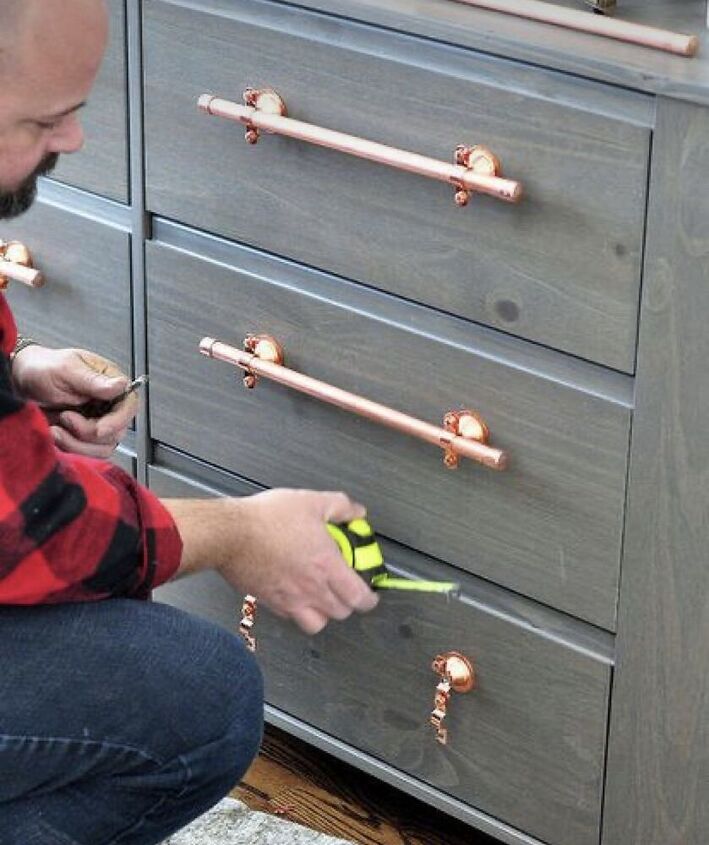
Next, measure the center point for the bell hanger. I chose to do 8” on center from the side of the cabinet, and mark
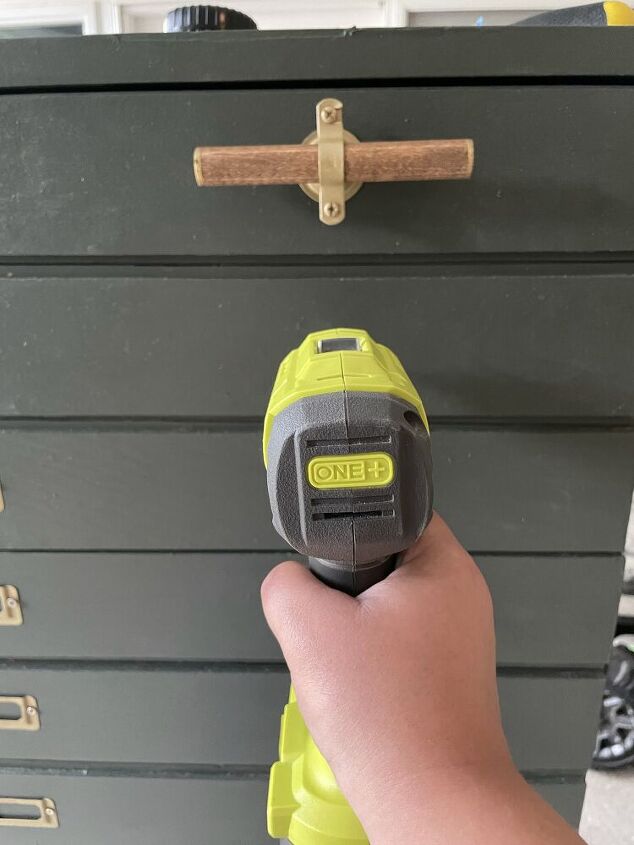
The bell hanger needs to be secured first. It has its own hardware and only needs a small pilot hole to start. Center the hanger on your mark and secure. Leave the clasp open for now (see below).
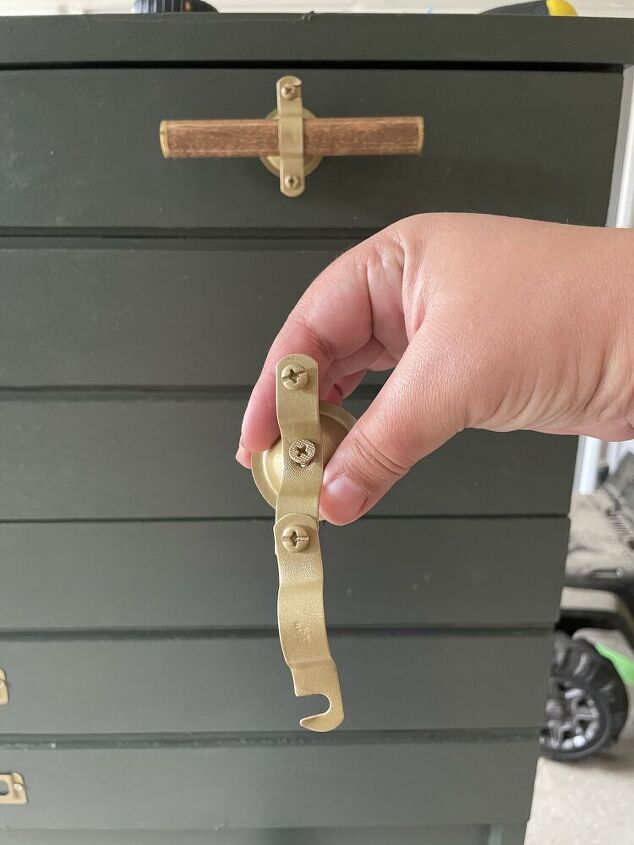

Lastly, we need to secure the wooden dowel. Centered on the bell hanger. At this point, twist the clasp , and secure it over the dowel. ***It may be a little loose so you can add a dab of glue and even a small cardboard splint to secure it.***
Repeat this step until you have all the hardware secured. Now, step back and admire your great work!
The Reveal
See my tutorial about the Faux Flat File for more information on how I made the base cabinet.
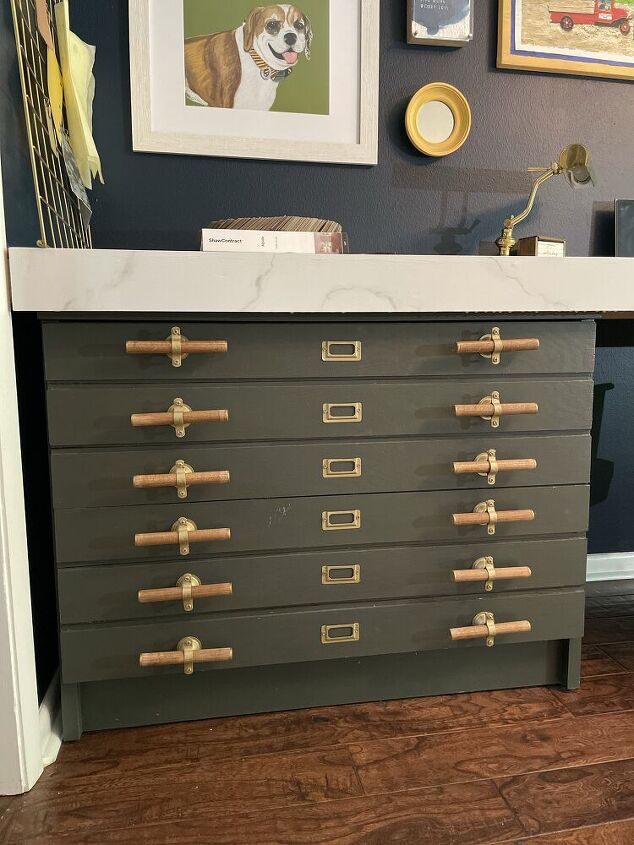
If you are interested to see this process check out my One Room Challenge highlights!

Resources for this project:
See all materials


Comments
Join the conversation
-
Very nice job! It looks so nice now. Love the dowel rods👍😊
-
Nice thinking. Looks beautiful.


Frequently asked questions
Have a question about this project?
Very clever.. and I hadn't seen this done before! Brava!!