


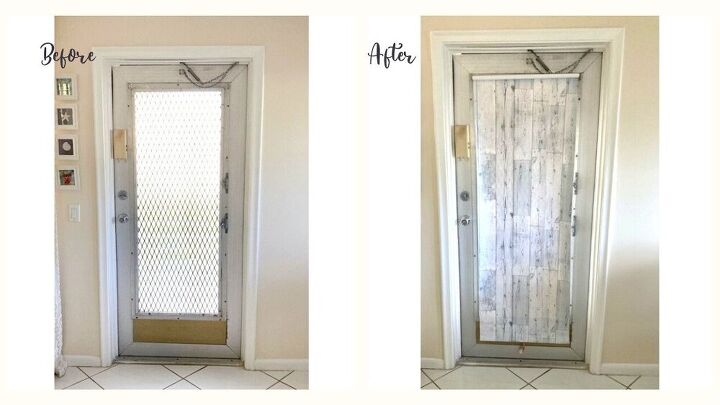
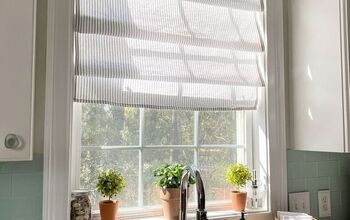
Create a Decorative Window Shade With Contact Paper

Have you priced out a decorative window shade lately?
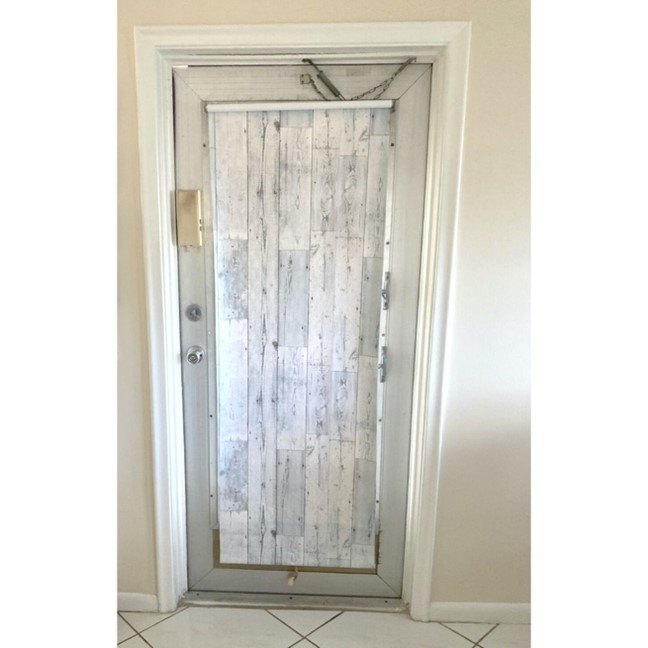
I did and they are quite pricy. So, I decided to do my DIY magic and create my own with contact paper.
YUP! And it came out beautiful and saved me a lot of money.
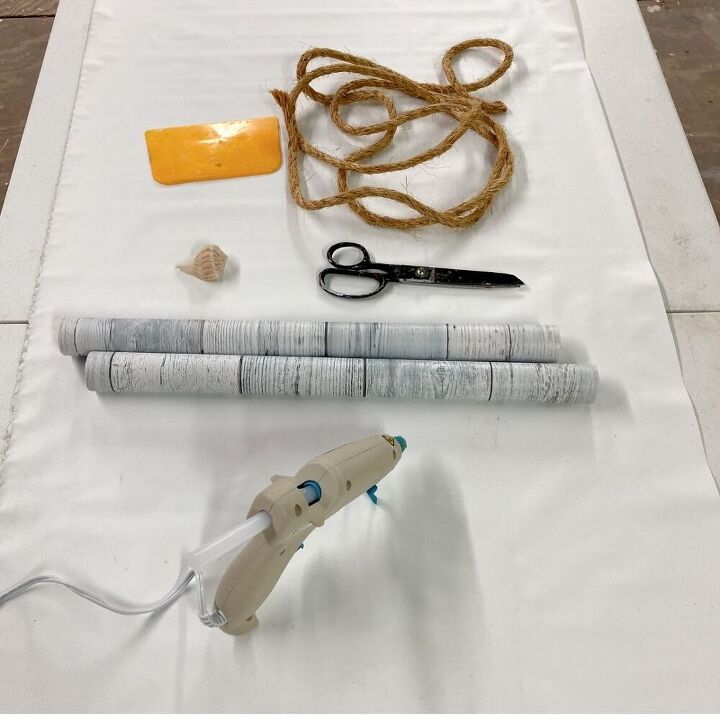
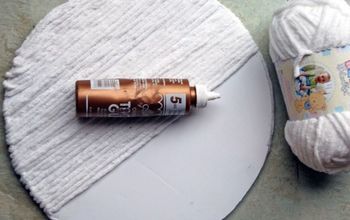
Here’s what I used: My old shade, 2- rolls of contact paper, glue gun, twine, a shell, and a plastic spatula.
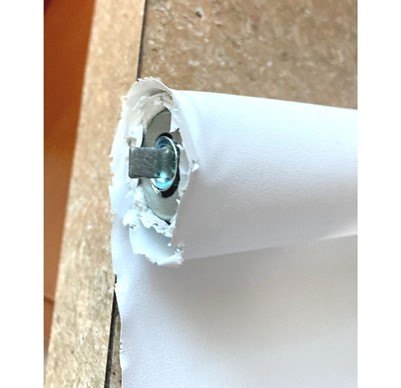
Truth be told my roller shade was damage because it was cut to size at the local hardware store. When you can’t find the size, you need they will cut it down for you, but you run the risk of this happening.
I really wanted a decorative shade but after a little research, I found them to be more than I was willing to spend. Most of them were over $50.
So, I decided to fix the one I had. Here’s how I did it.
First step:
Remove the sticker on the bottom
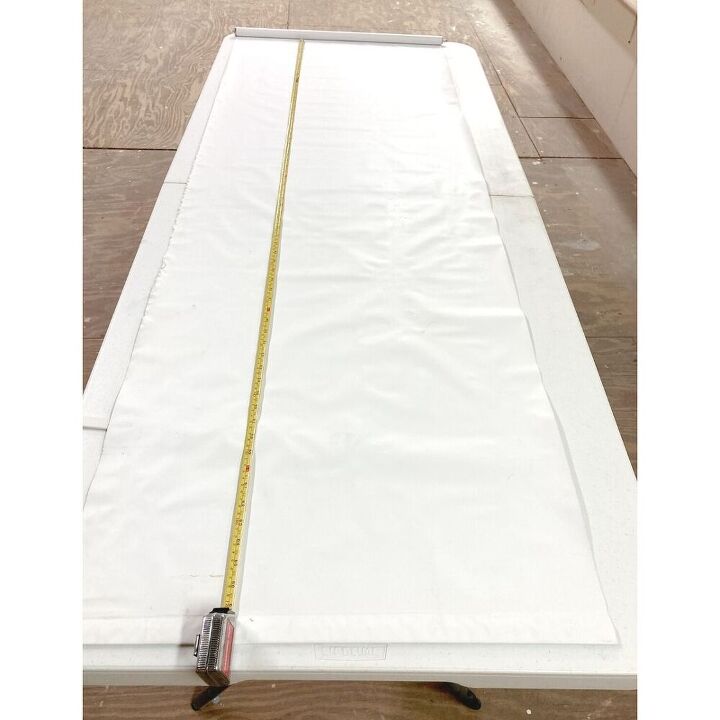
Measure the length of your shade. I only covered the part that would be showing and added an extra 4” inches.
You’re probably going to need 2 rolls of contact paper if your shade is over 17” wide.
Cut the contact paper to the length you need and not the width. Most contact paper comes about 17” wide and my shade was 24” wide. I’ll show you how I fixed that as you read on
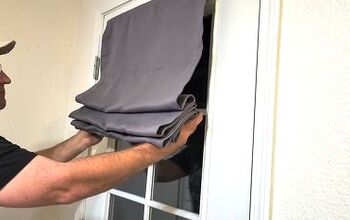
Lay the shade down on a smooth surface and roll it out.
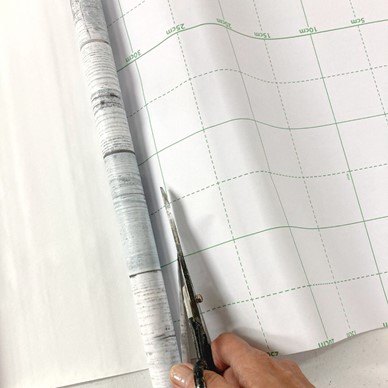
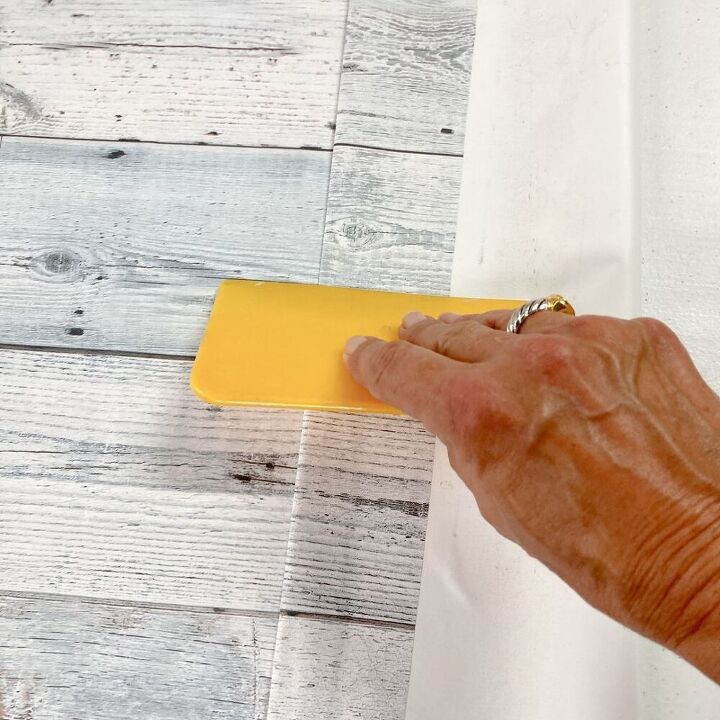
IMPORTANT: Remove ONLY 3-4 inches of the paperback and apply the contact paper to the top of the shade. DON’T remove all the paper in the back at one time. It’s too difficult to manage.
Slowly roll back the paper as you are applying it.
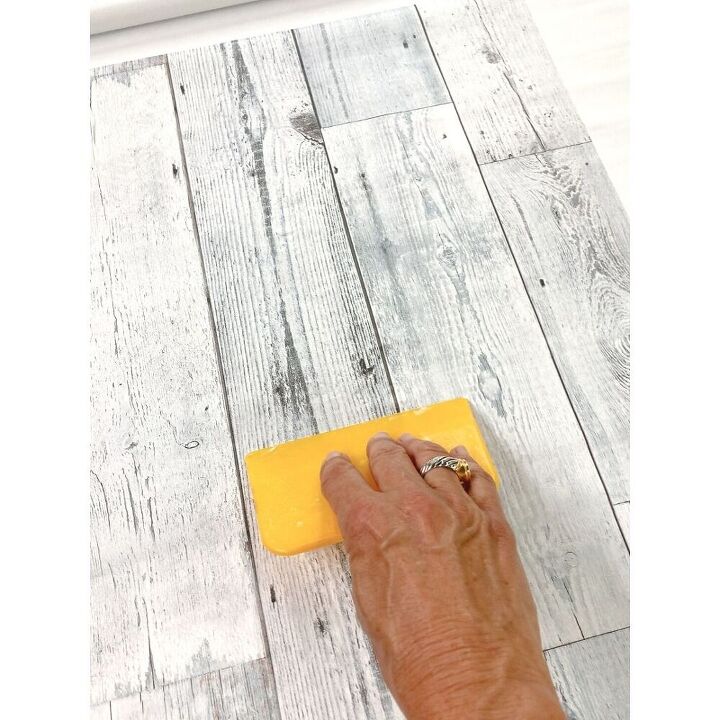
Use a plastic spatula to smooth it out. Press down and pull to the sides to remove any air bubbles.
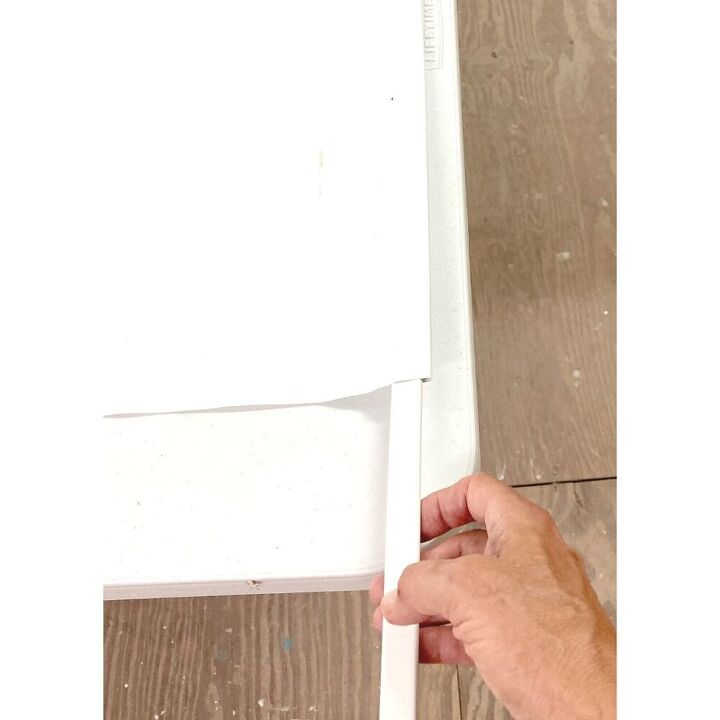
When you get to the end, fold it to the back side and use the spatula to smooth it out.
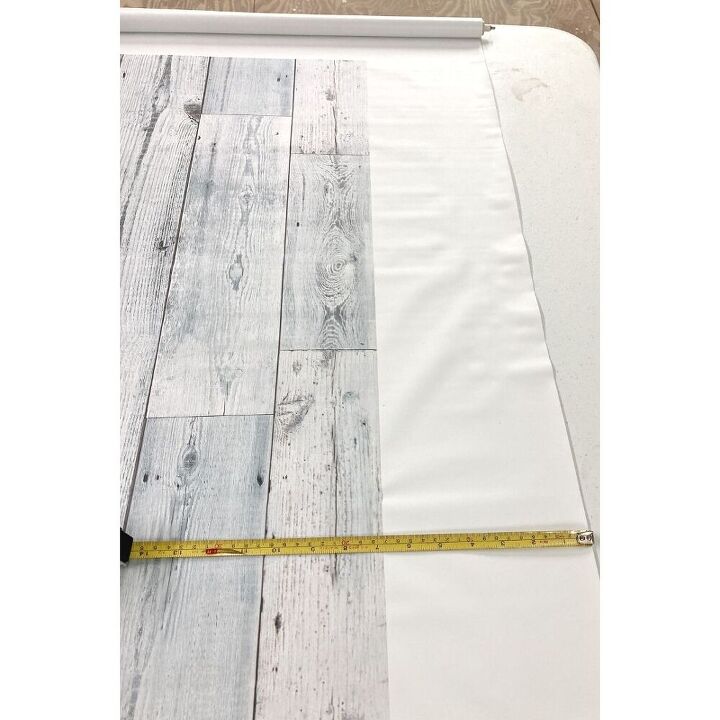
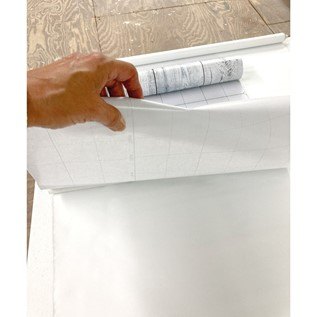
If your shade is wider than the contact paper, measure the width and length you need and cut it about 2” wider. It’s Ok if it runs off the side.
If you’re working with a pattern, make sure you line it up before you apply it.
What I liked about this design was; I didn’t have to worry about matching anything up. I just butted it up to the first one.
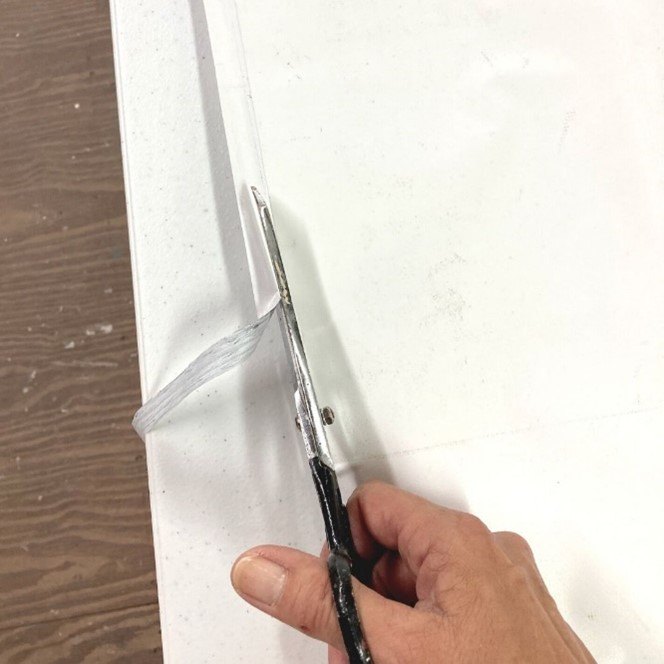
Turn the shade over and cut off the excess.
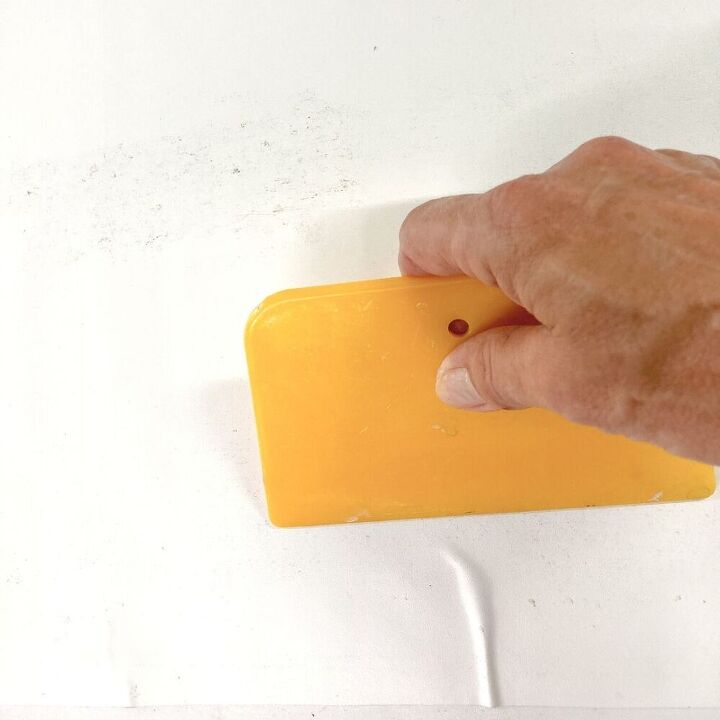
Use your spatula and smooth out any wrinkles you may see.
Don’t forget to put the stick back in the bottom.
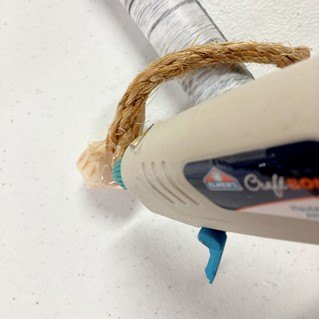
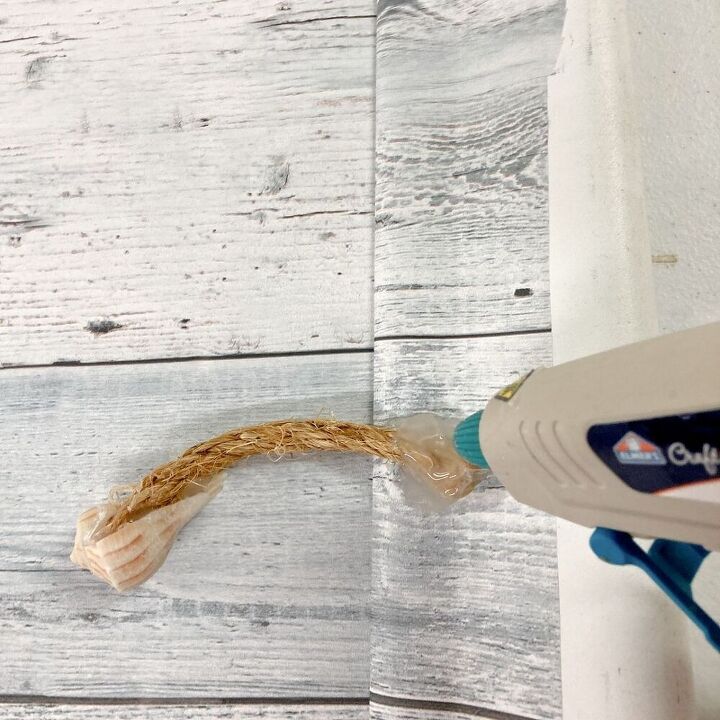
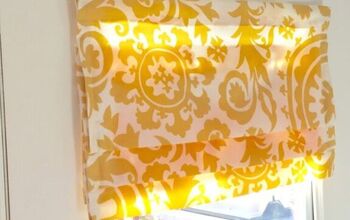
If you want to make a pull like this, cut a small piece of twine and add hot glue to the inside of a shell. Place the twine in the shell and let it sit for a few minutes until it cools down and is secure.
Turn the shade to the back side and glue the other end of the twine to the shade. Let it cool until it is secure.
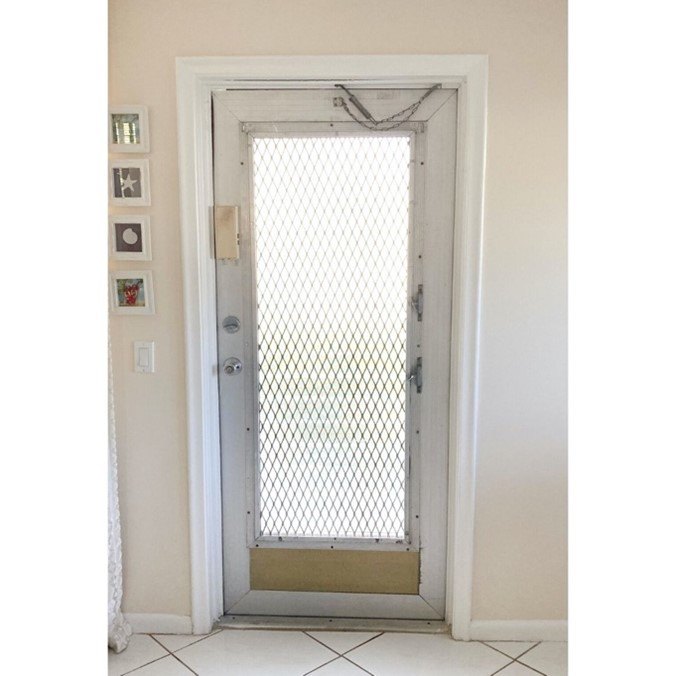
Yes, I know the first door is ugly. That’s why it needed to be covered.
Unfortunately, my landlord wouldn’t let me paint the door. UGH!
I hope you enjoyed this decorative window shade tutorial and found some inspiration. If you have any questions or need help join my FREE Facebook Group “ Ask Cheryl Phan”.
If you want to learn more Tricks and Tips get my weekly blog HERE.
Blessings,
Cheryl


Resources for this project:
See all materials


Comments
Join the conversation
-
I love this thank you for sharing
-
This is really a cool idea! I love it


Frequently asked questions
Have a question about this project?