


How I Made My Basement Steps Look Like a MILLION Bucks!

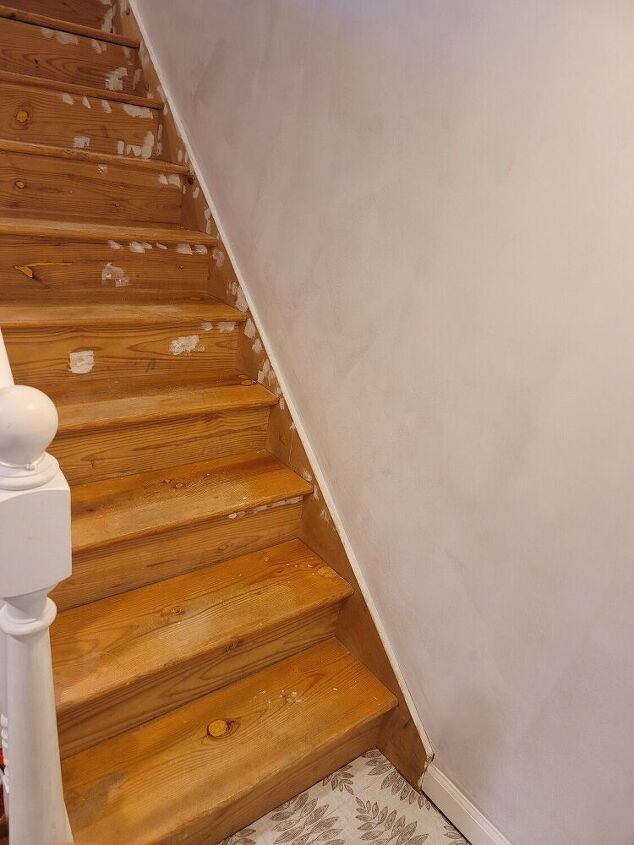
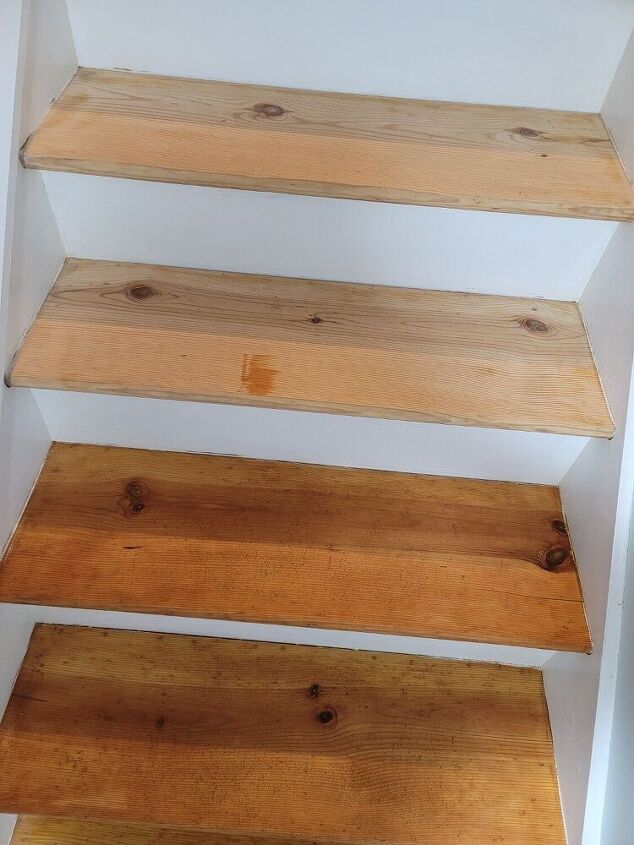
I have a finished basement with one of the ugliest/dirty rugs I ever did see! Unfortunately, the basement itself has cement under the rug (I lifted up a corner) so that will have to stay for the time being. But the stairs, THE STAIRS, they had wood my friends!! So one random day when my plans fell through and I was board I ripped up that dirty carpet.

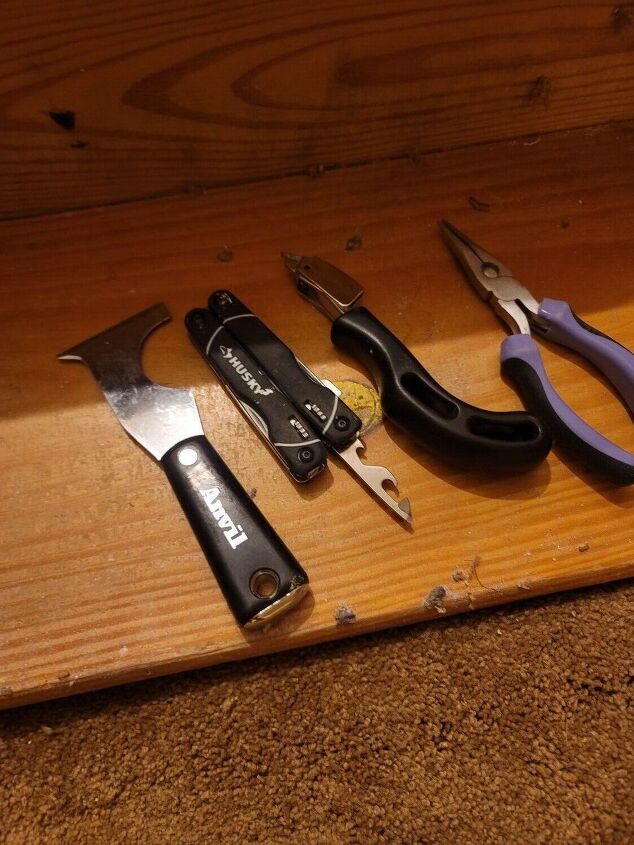
These are the tools I used, a scrapper, good pliers, a staple remover and a tool that has multiple functions but this pointy end is good for pulling up staples. You can also use a thin flat head screw driver.
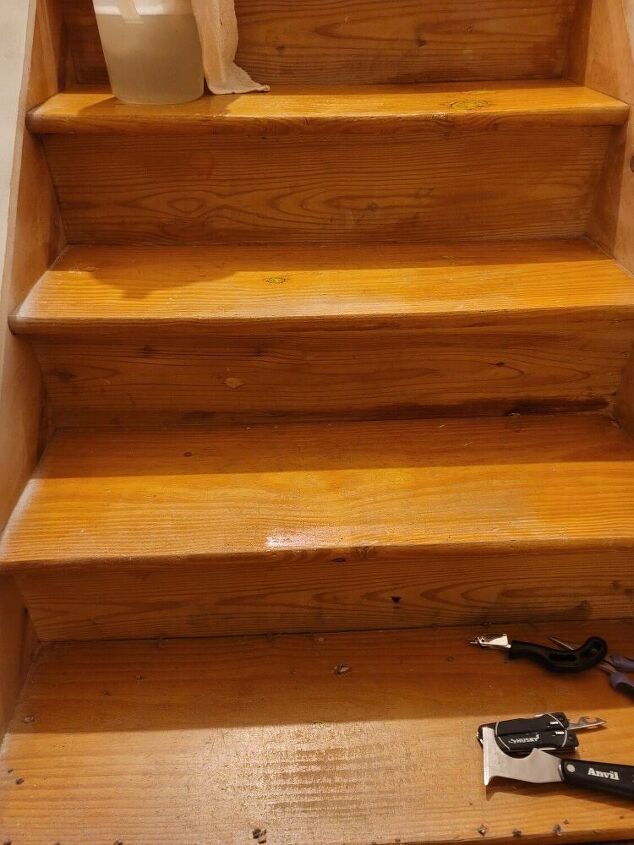
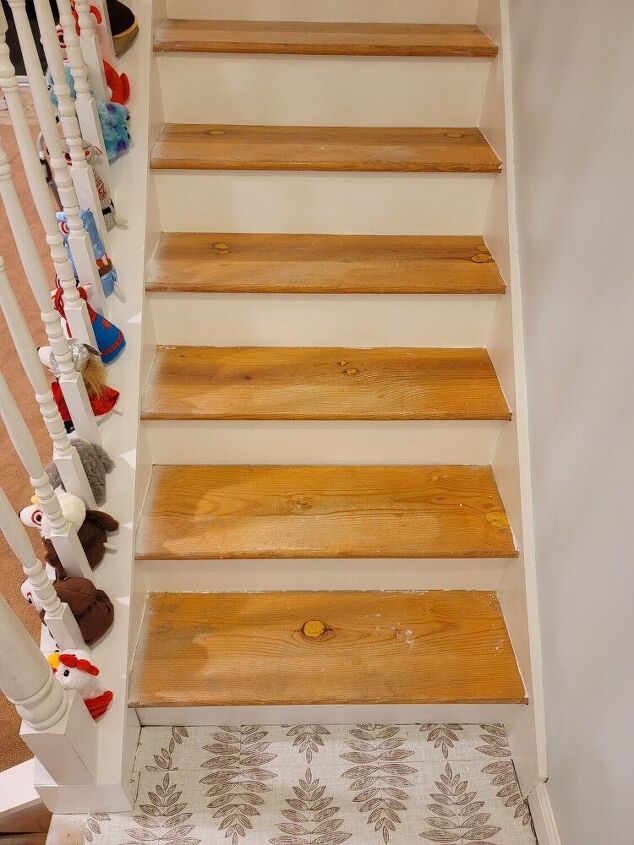
Once I removed all the staples, I cleaned the steps with some warm water and a wet rag.
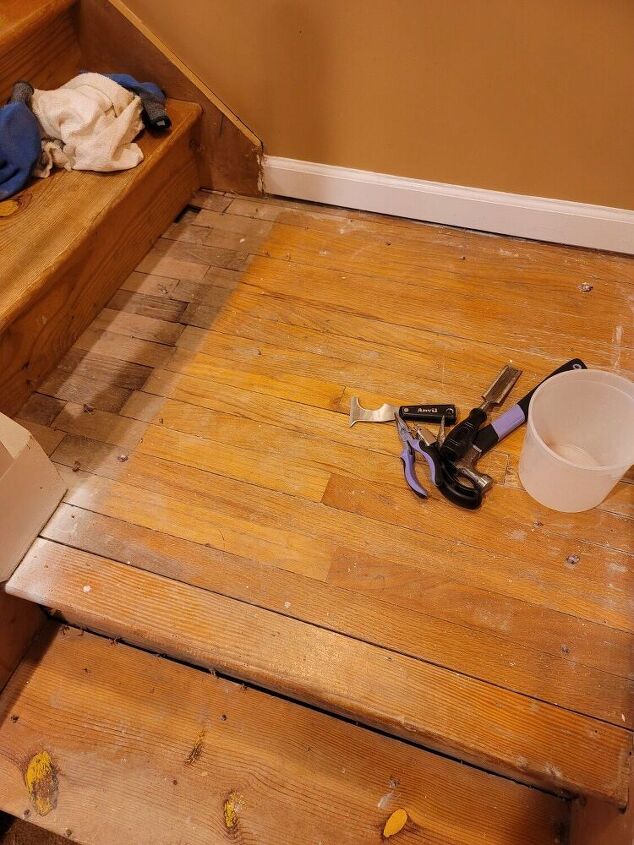
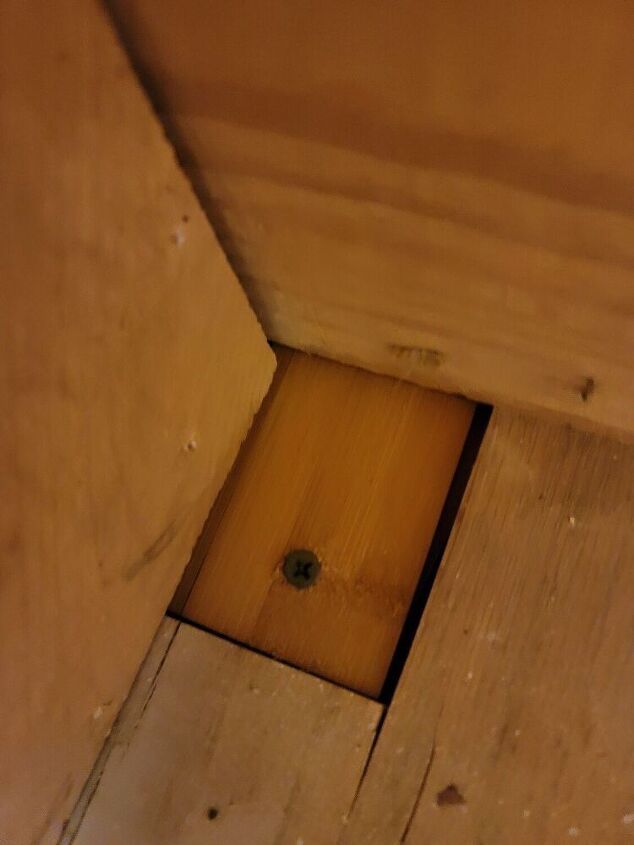
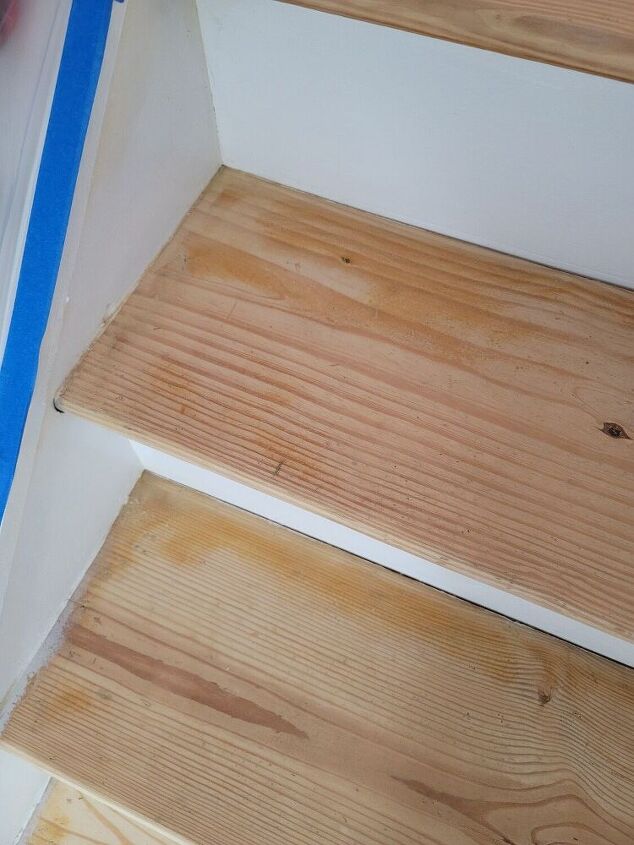
The landing was in a little bit more of rough shape especially close to the bottom step.
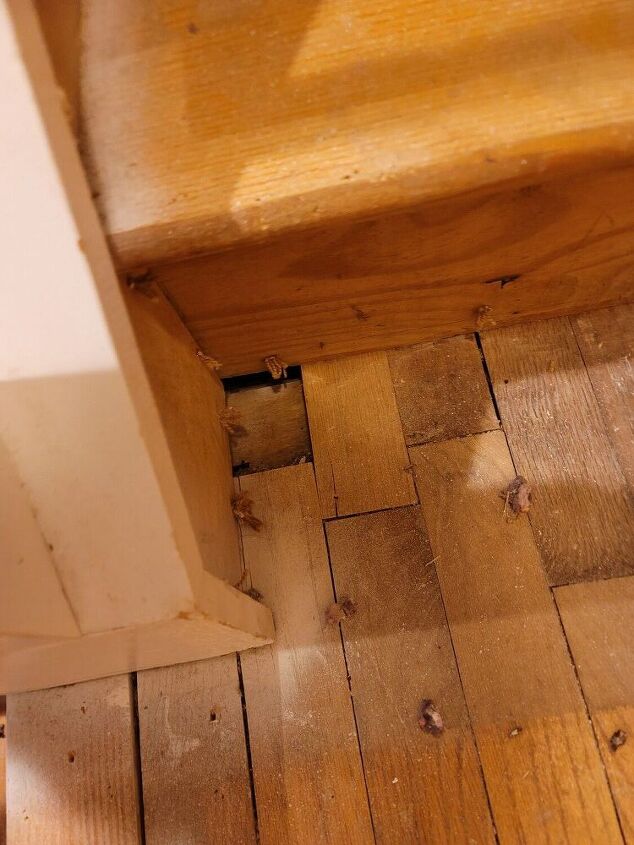
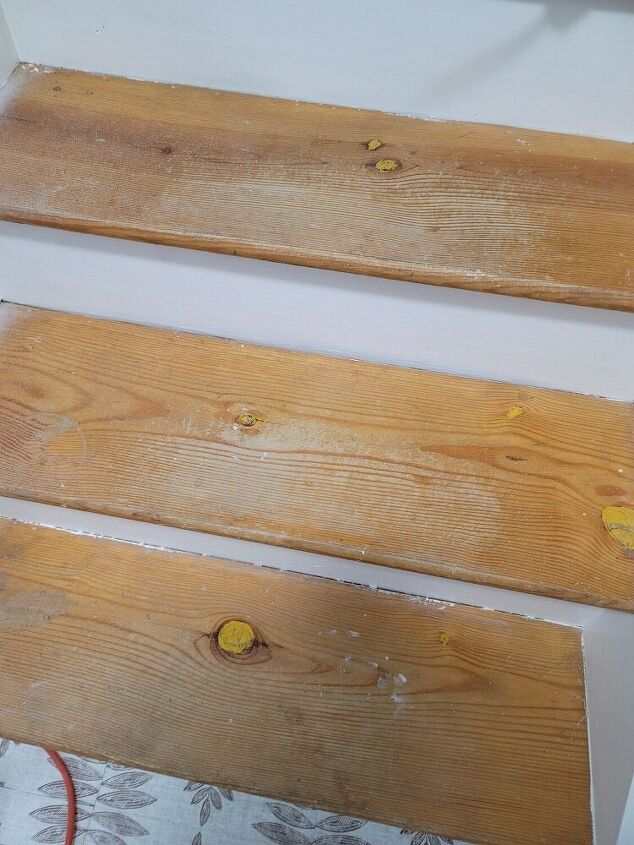
There were two patches that were missing wood.
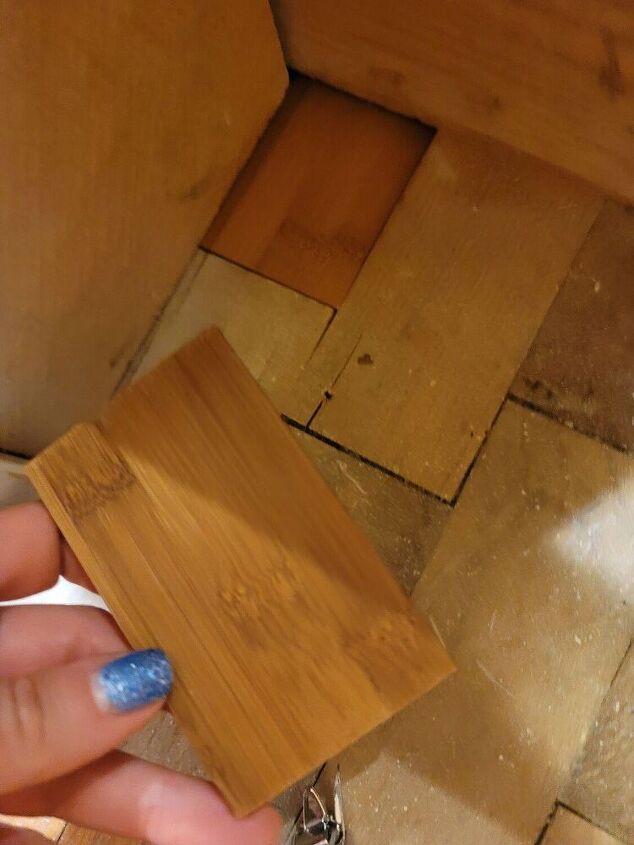
I used a few loose wood peices and secured with a screw.
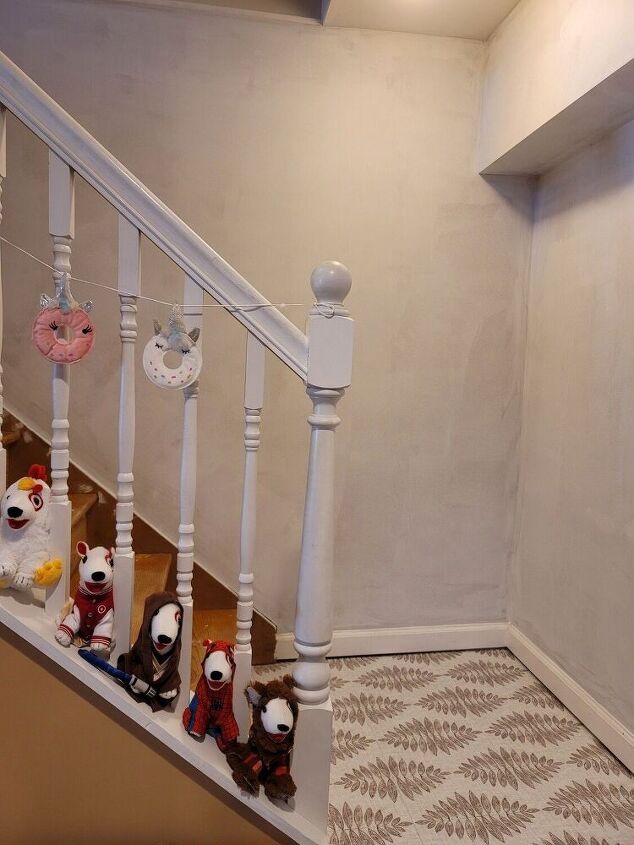
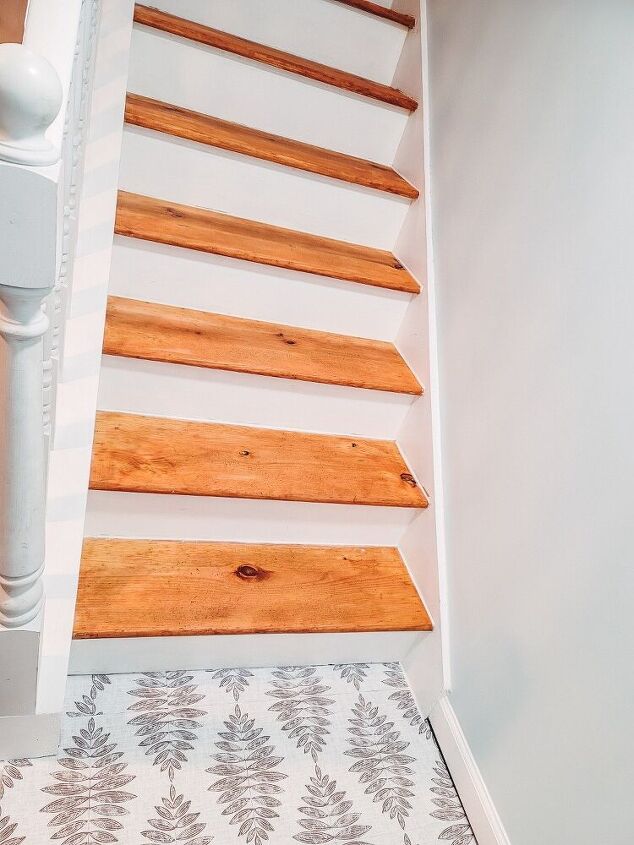
Since the landing wasn't looking too great, I decided to use the floor pop sticker tiles for this space.
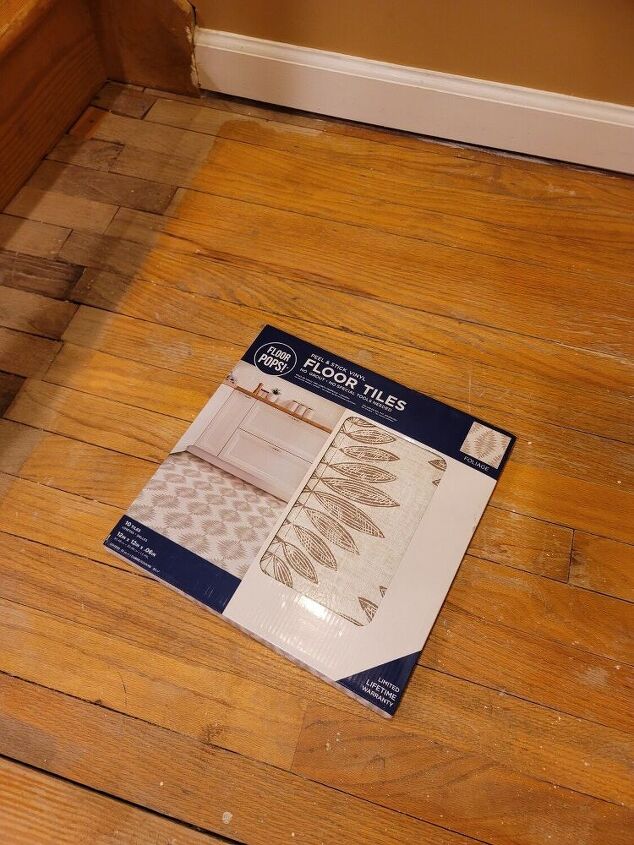
This is the first time I've used them and I absolutely love them! They are really easy to use (I may put them in my kitchen too! look out for future post on that).
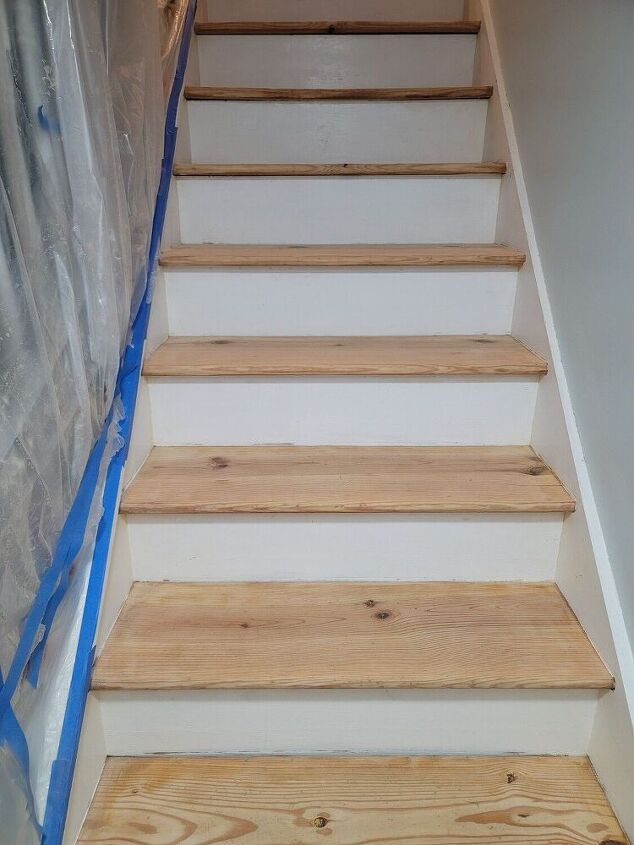
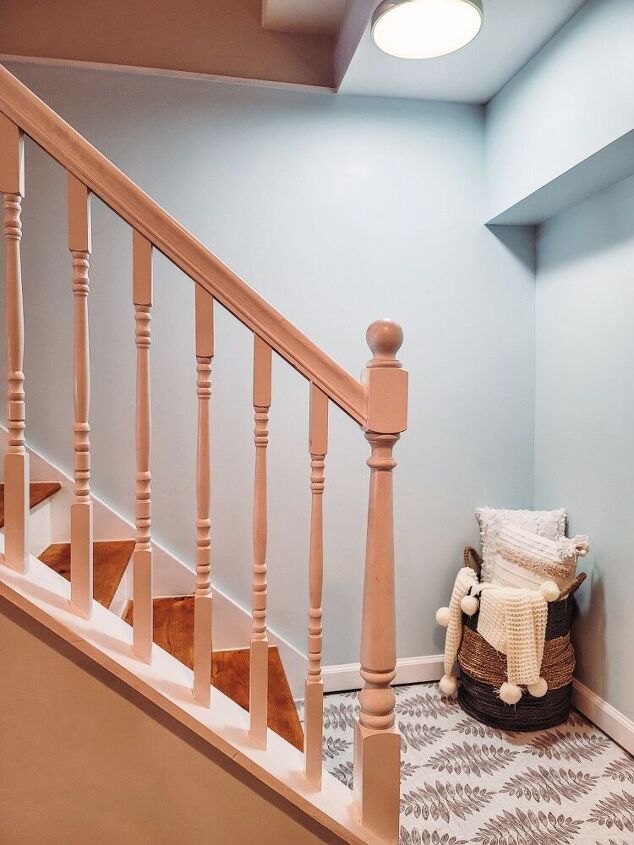
I also decided to paint the basement while l was at it, this is after a coat of primer.
Using some spackle, I filled some of the holes on the risers.
Then I painted the risers with high gloss white paint.
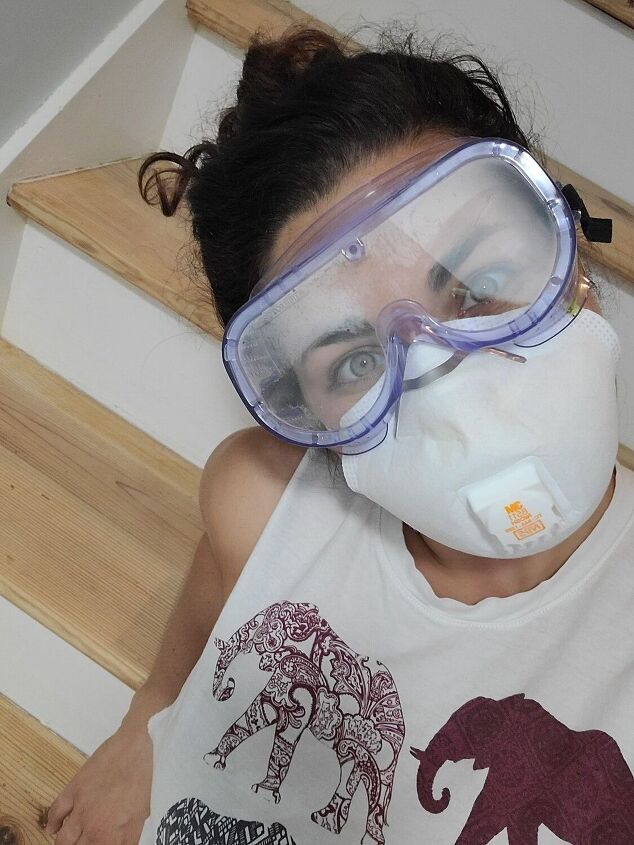
Now it was time to sand the steps. Make sure you wear protective gear and use plastic drop clothes and painters tape to secure the space as much as possible since there will be a lot of saw dust. N95 and goggles, not glasses! Trust me on this one the saw dust will get into every crevice and you don't want that stuff in your lungs or eyes.
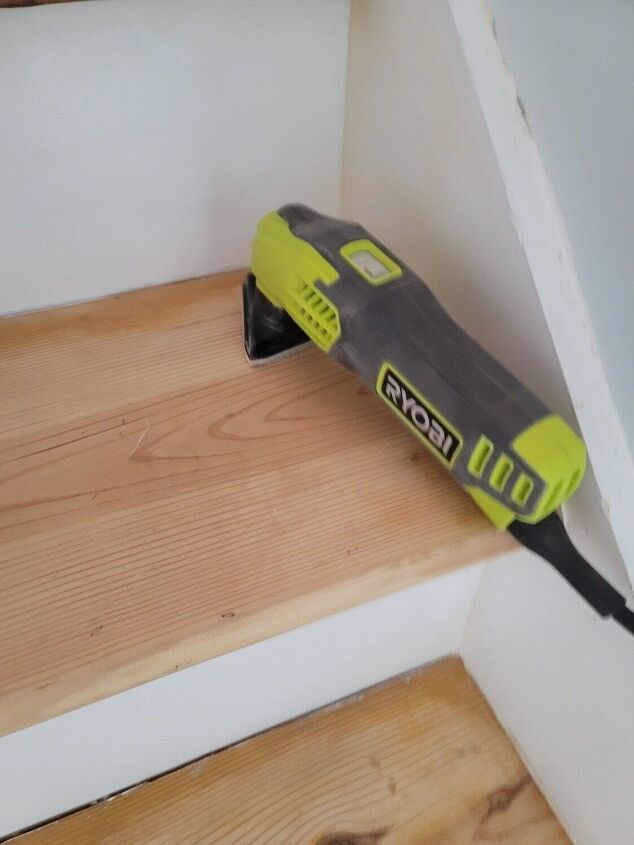
Then I used this corner sander for the edges since I couldn't get close with the circular tool.
Then I went over the steps again with 120 grit sand paper with the circular sander.
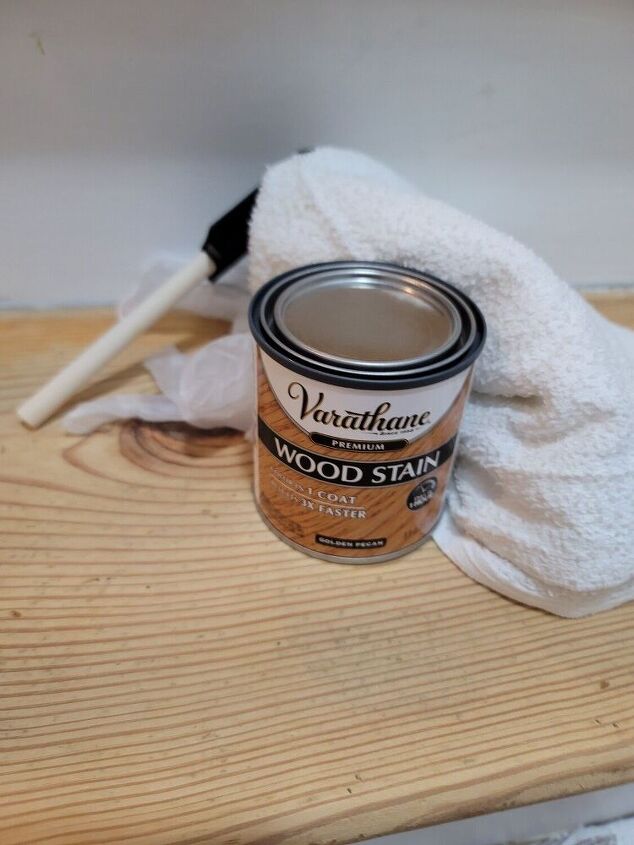
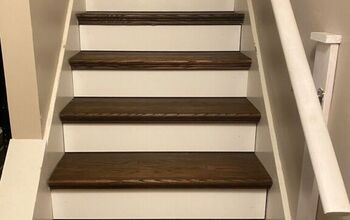
Now on to the stain.
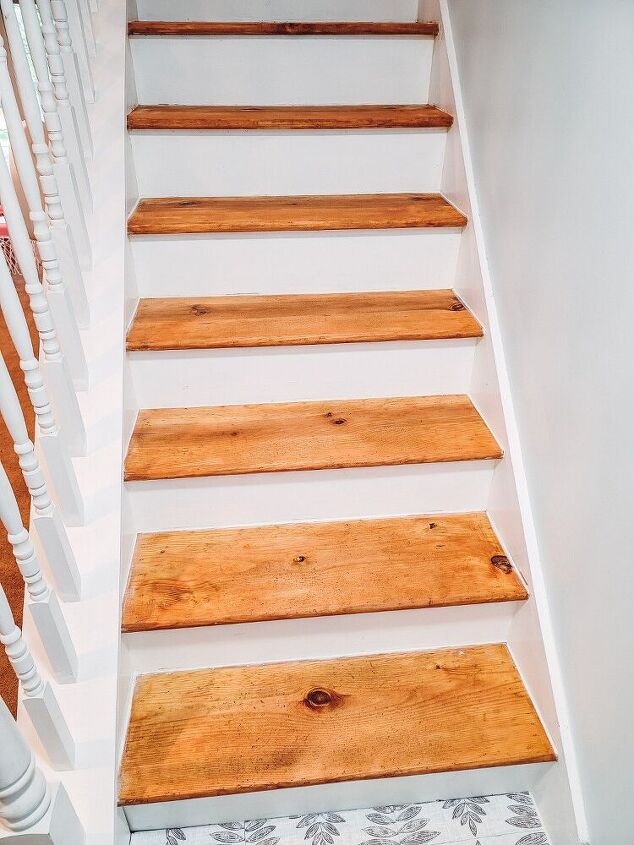
This is actually my first time using stain and it came out so well just by following the directions on the back!
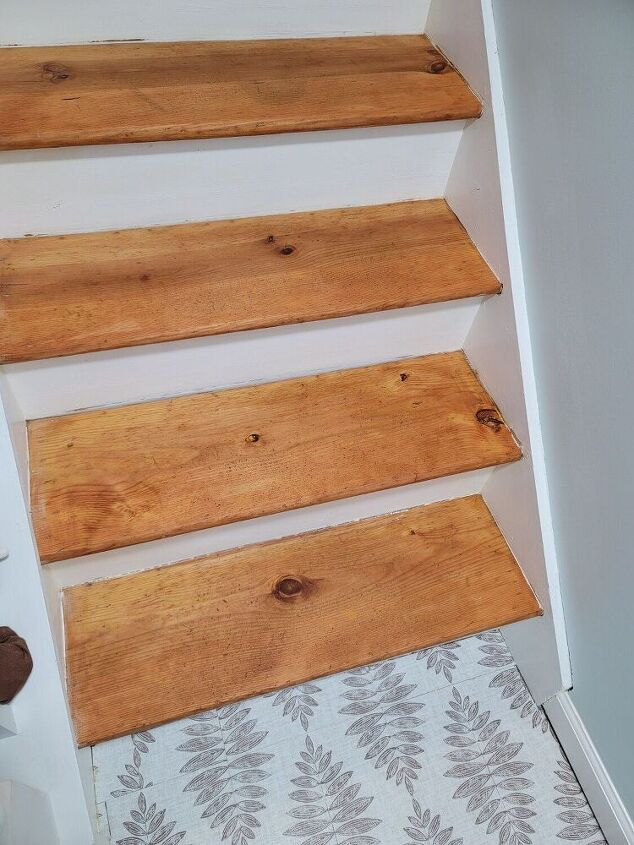
I love how it came out looking rustic!
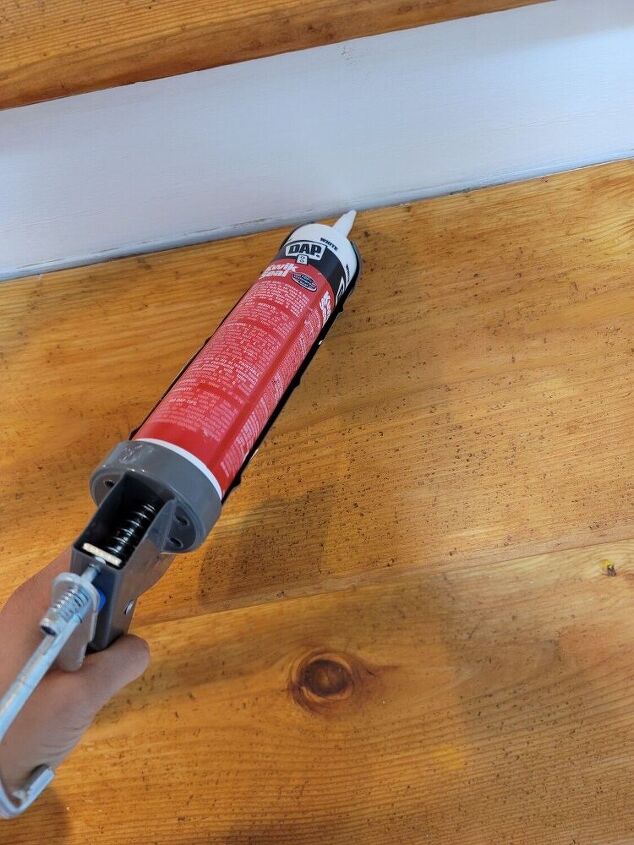
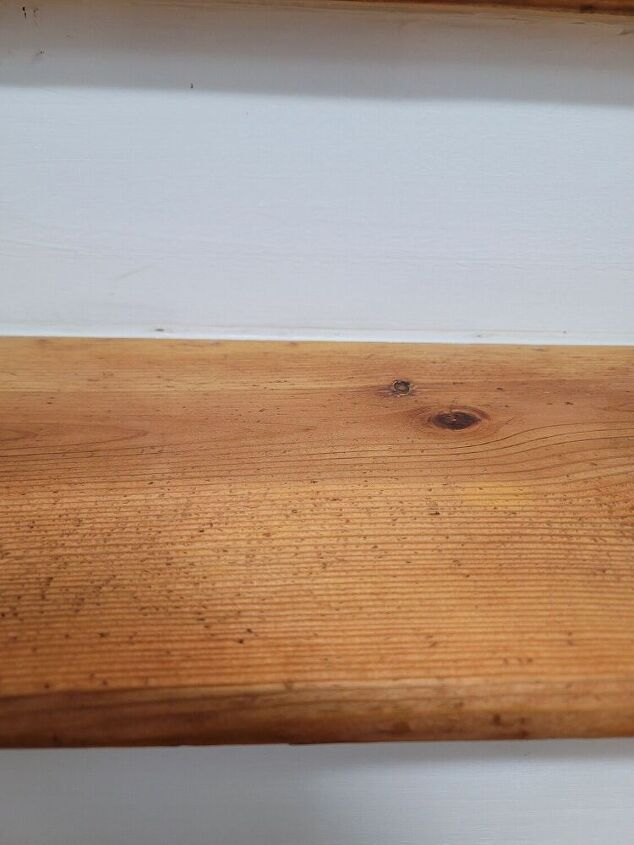
I used caulk to seal all the wholes and the steps were done!
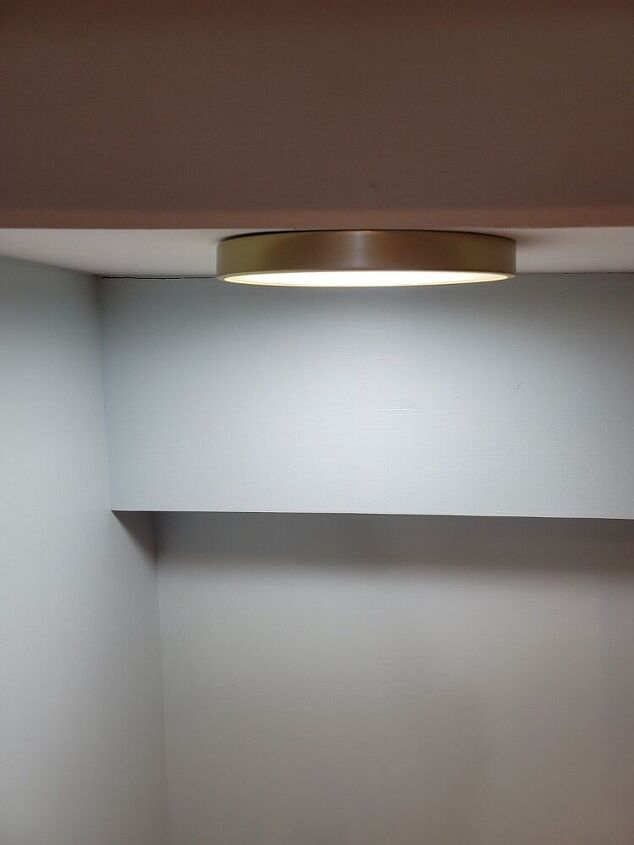
I also replaced this light fixture at the top of the stairs to complete the look :)
Are you as in love as I am?
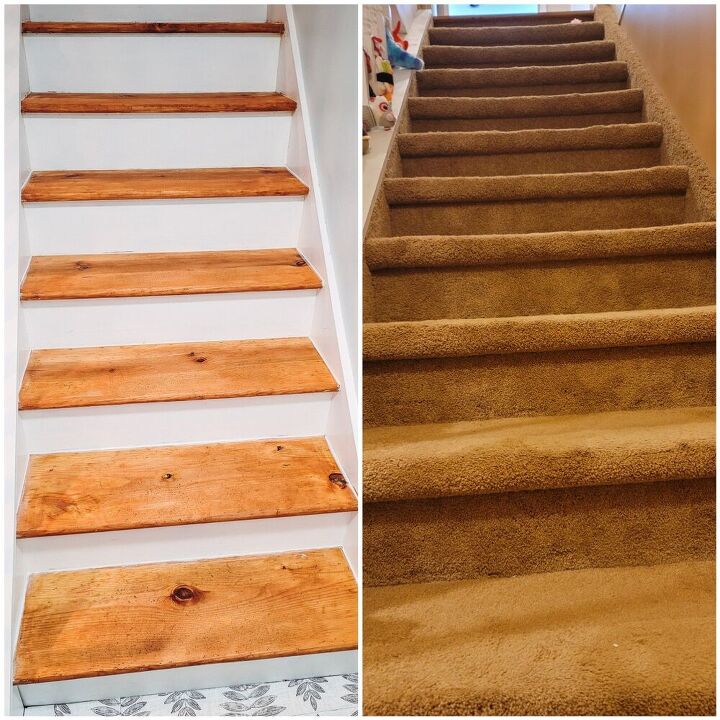
What a difference!
Comments
Join the conversation
-
It looks so much nicer I would have ripped that carpet out a long time ago.
-
Really turned out nice. I have taken carpet off our steps and it is tedious work pulling all the staples. Great job! My question is do you think you will add a runner at some time down the road. I would love to pull up our "now" carpet but have found that without- the steps tend to be slippery. "Landing" on the carpet does soften the fall.


Frequently asked questions
Have a question about this project?
What color is the stain?
Looks beautiful! You didn't mention it but did you seal the stair treads with poly?