


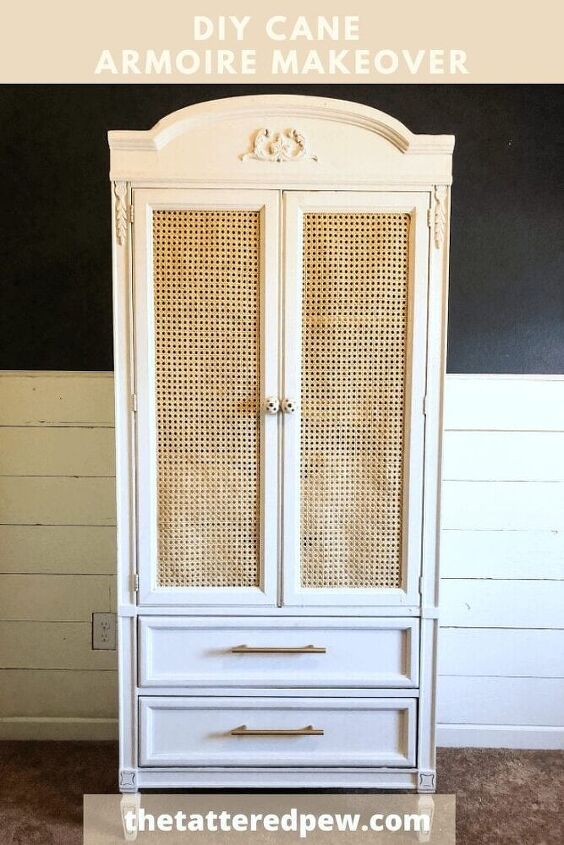
DIY Cane Armoire Makeover
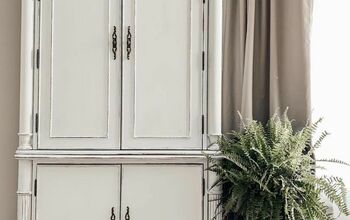
This $40 Facebook Marketplace armoire was dingy and missing pieces. We gave it new life with some paint, hardware and gorgeous cane webbing. This DIY cane armoire makeover will have you searching for your next project piece!
Check out more of my projects over on my blog, The Tattered Pew!
DIY Cane Armoire Makeover

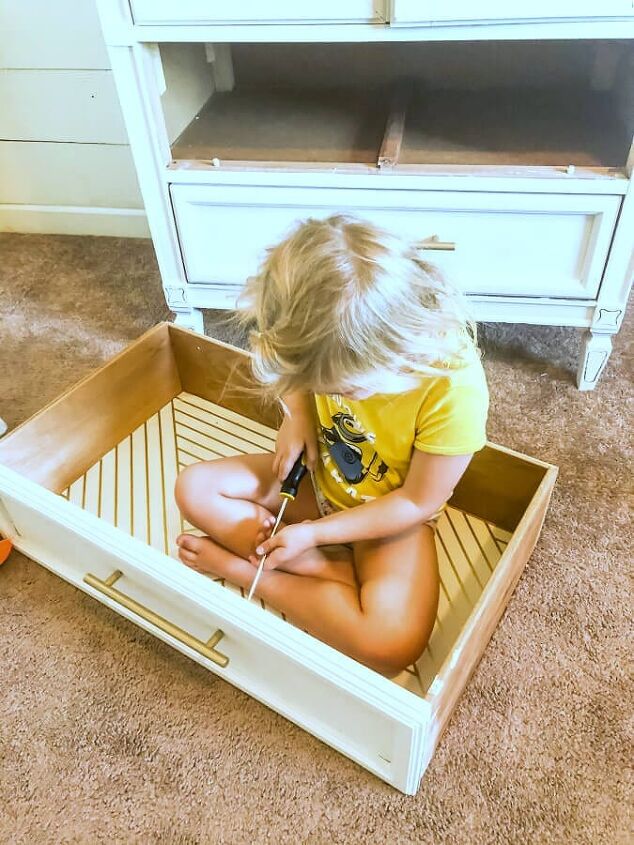
This month’s project was a fun because it was for a very special little girl, my niece Quinn. Quinn recently moved into her big girl bed so her mom, my sister, decided to add a few other special touches to her bedroom. This DIY cane armoire makeover was one of them! This makeover was a team effort between my mom, my sister and I!
The Armoire
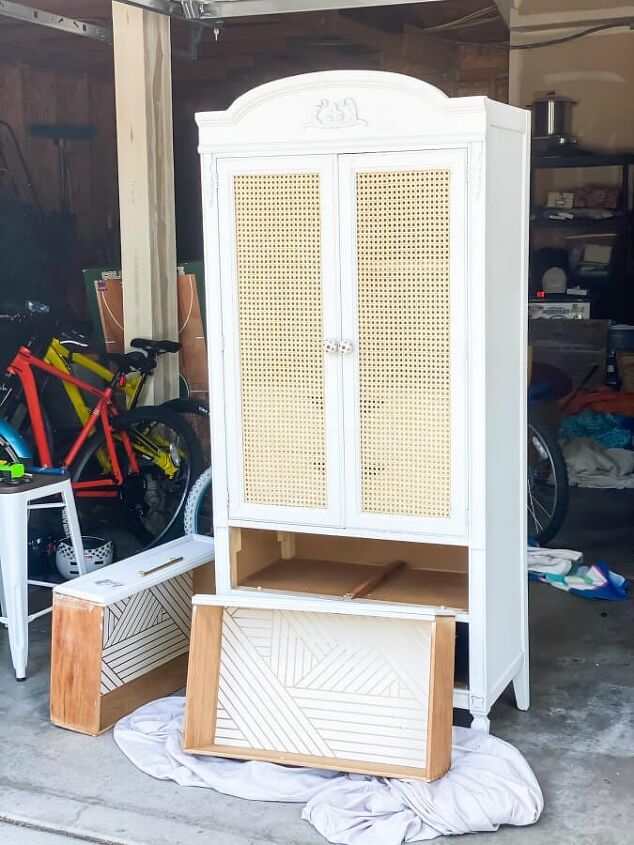
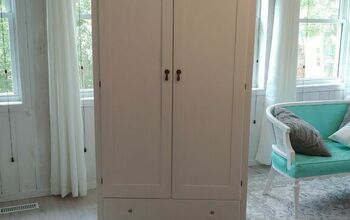
Here is the dingy armoire that we found on Facebook Marketplace for only $40! It’s hard to tell from the picture but there was random different paint all over this armoire and even some weird blue spray paint spots. She had definitely been neglected. But for only $40 we knew we could bring her back to life!
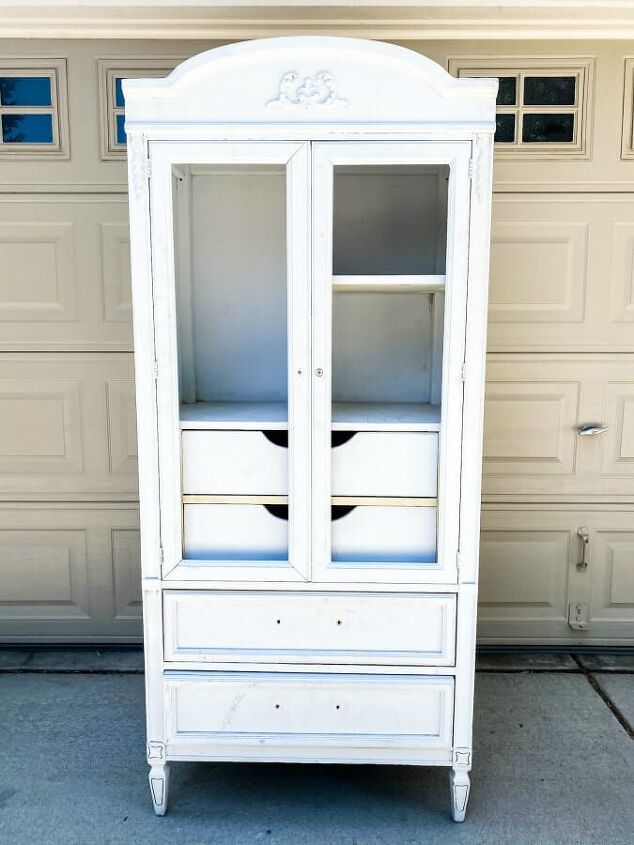
She had good bones but was missing hardware and the door insets. So we got to brainstorming and decided that cane webbing would be a beautiful feature for the doors rather than glass or curtains or any other idea.

Ordering the Cane Webbing
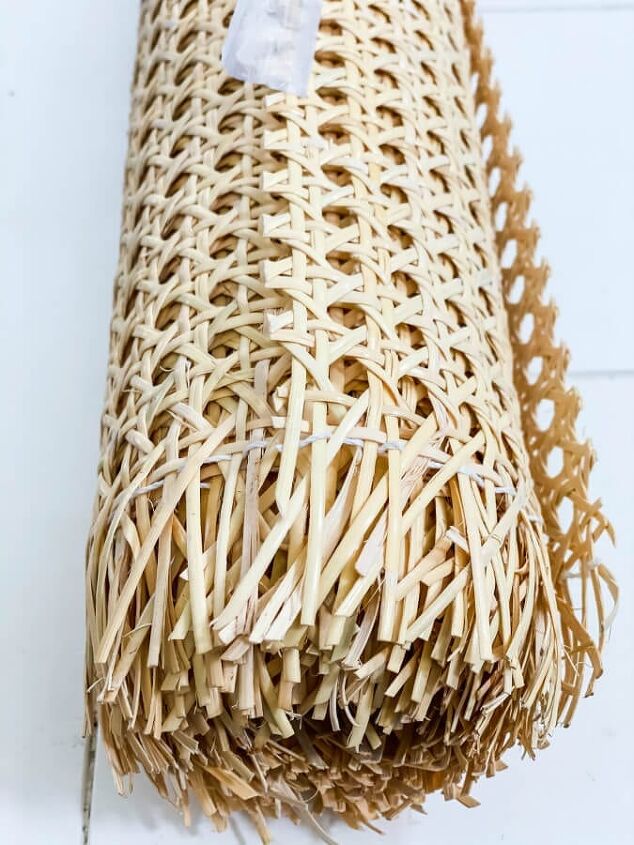
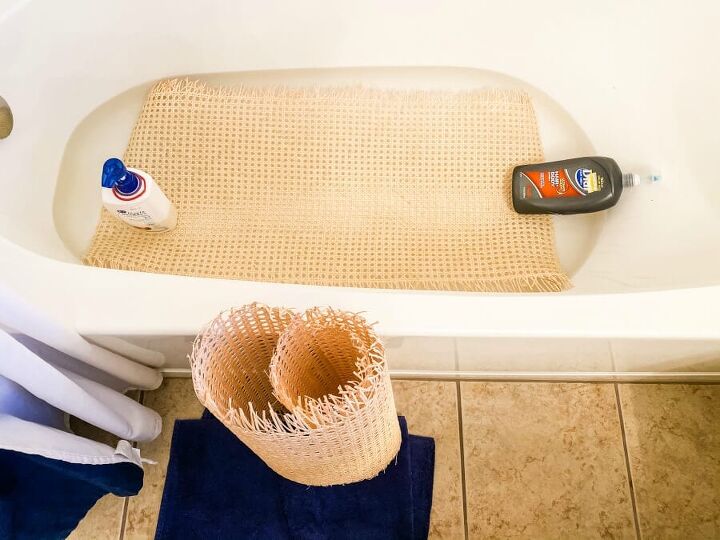
I found a lovely shop on line, Franks Cane and Rush Supply, to order our cane webbing for the doors. I measured the two doors and bought just enough to fit them perfectly. There were even a few scraps that I used to make this DIY cane wrapped IKEA vase!
Preparing The Cane Webbing
Once the cane arrived I opened it up and discovered that it came with directions for soaking it. It was advised to soak the cane anywhere from 6-24 hours in water. I soaked it for about 8. Soaking it allows for the cane to be more flexible and stretchy and not as fragile as you use it for projects. Then once it dries it becomes taut.
But I will add a disclaimer here…you may notice in some of the pictures that the cane in our doors has a bubbled effect. When we did this project we completed it outside in my garage in over 100 degree heat. Unfortunately the heat took a toll on our cane. So, learn from me and don’t make the mistake of working with wet cane in extreme heat.
Adding the Cane to The Doors
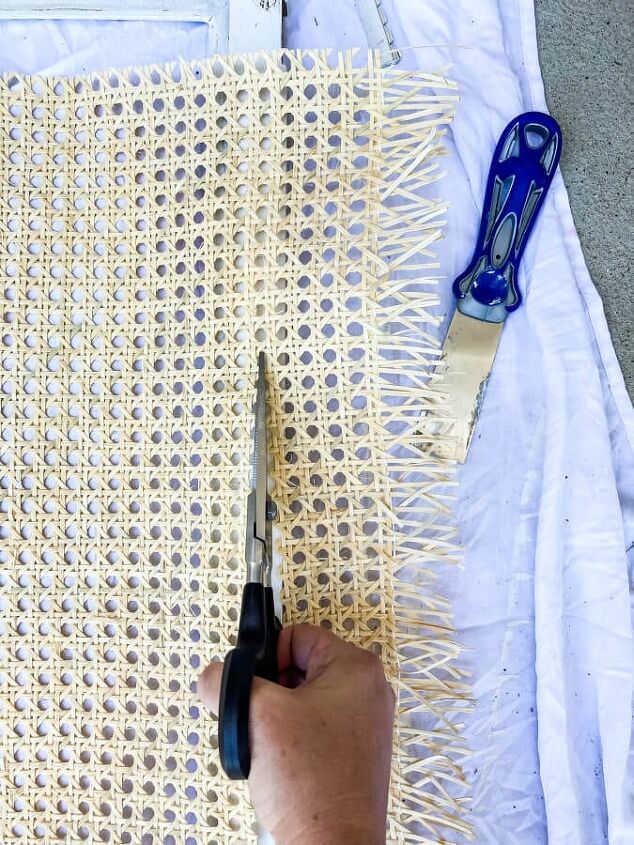
This first thing we did was remove the doors from the armoire. Next we stretched out the cane and cut it to size for both sides of the doors.
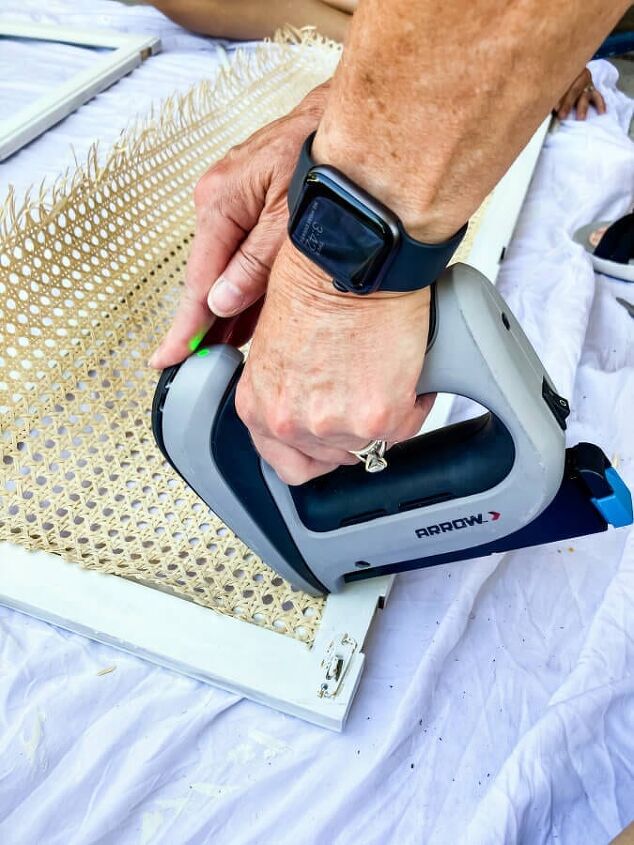
We used a scraper tool (shown with the blue handle in my pictures) to push the cane into the grooves of the doors where the glass would have gone.
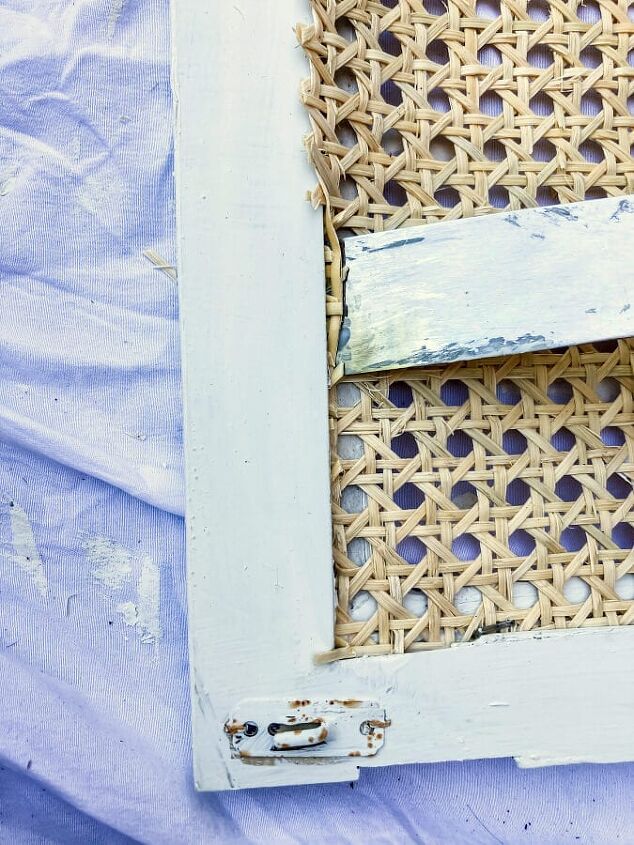
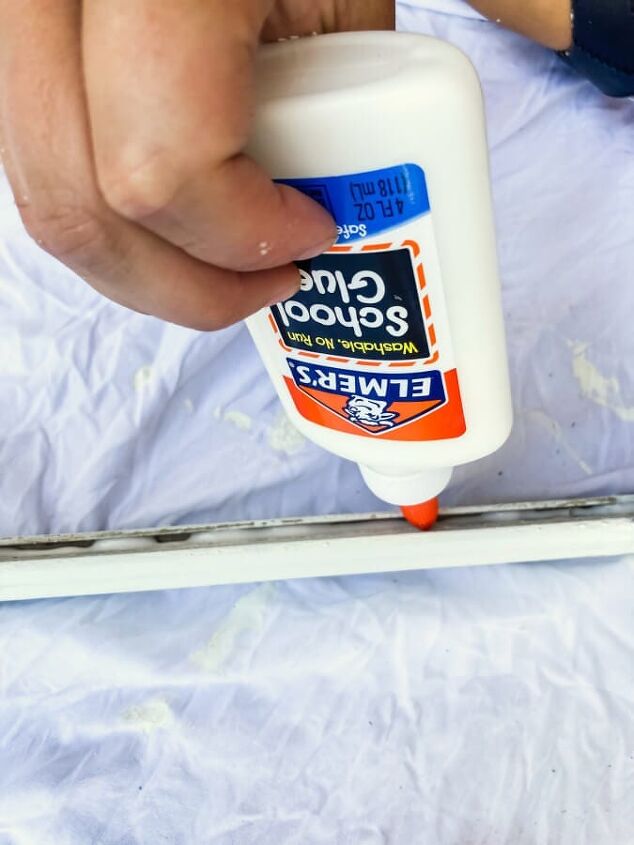
But before this step, we filled those little grooves with Elmer’s white glue. I know, weird huh? But apparently its the best type of glue to use with cane. Luckily I’m a teacher so we had plenty on hand! Between the glue and the scraper tool the cane was nicely secured into place.
Once the cane was completely pushed into place on the door we used a staple gun to staple the cane to the back of the doors to secure it. Our cane is nice and secure!

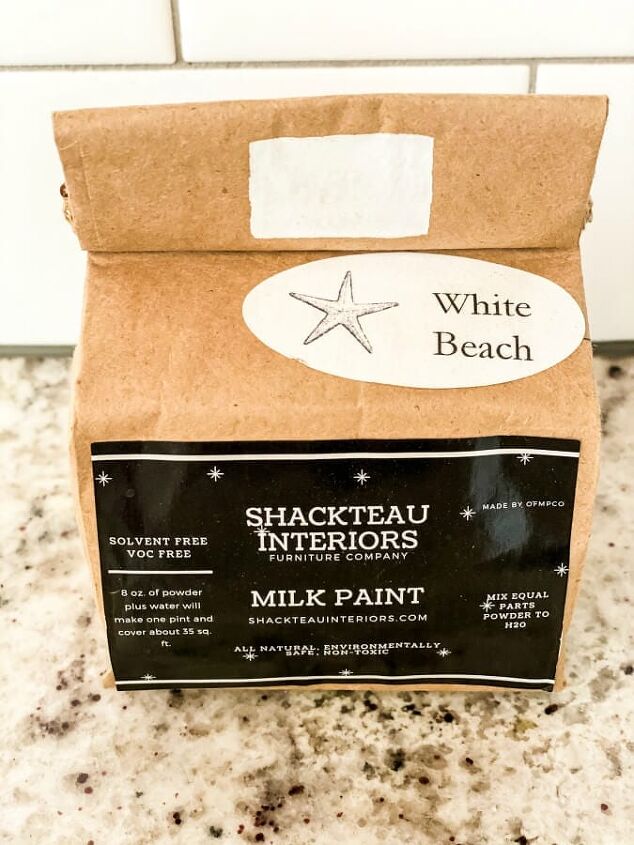
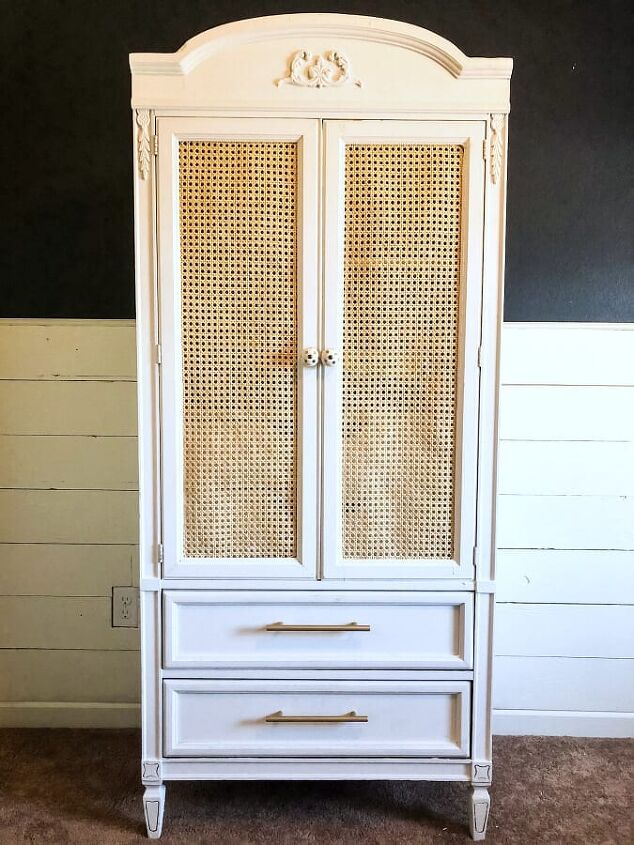
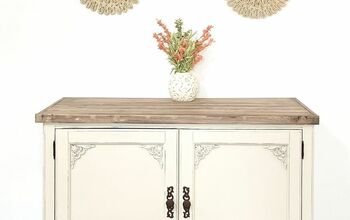
Milk Paint Makeover
Once the doors were done we worked on painting the armoire. We used Shackteau Interiors milk paint in Beach White. I love using milk paint because the prep work is very minimal. It’s the exact same color I used on the dresser that sits in our family room currently! Because of the heat the paint dried very quickly!
Adding The Details
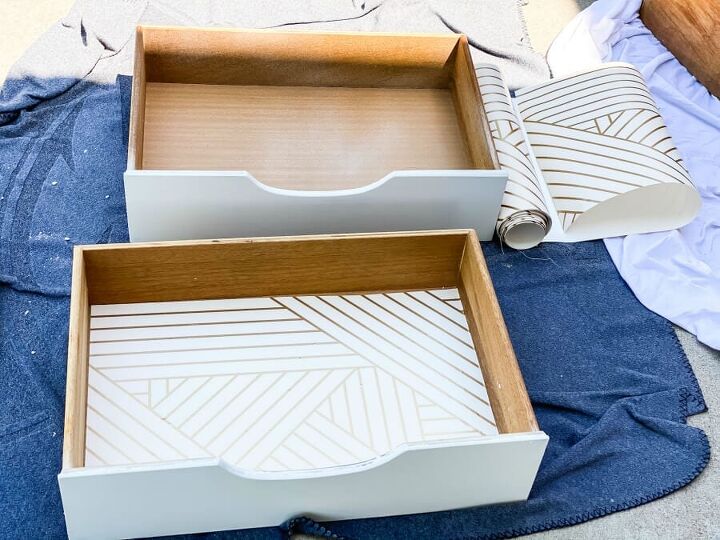
Our DIY cane armoire makeover was almost complete! It just needed a few finishing details. Luckily my sister had some left over peel and stick wallpaper from her bathroom so we thought it would be fun to add it to the drawers. The pretty gold and white geometric peel and stick wallpaper from Target, added such a fun touch to the armoire!
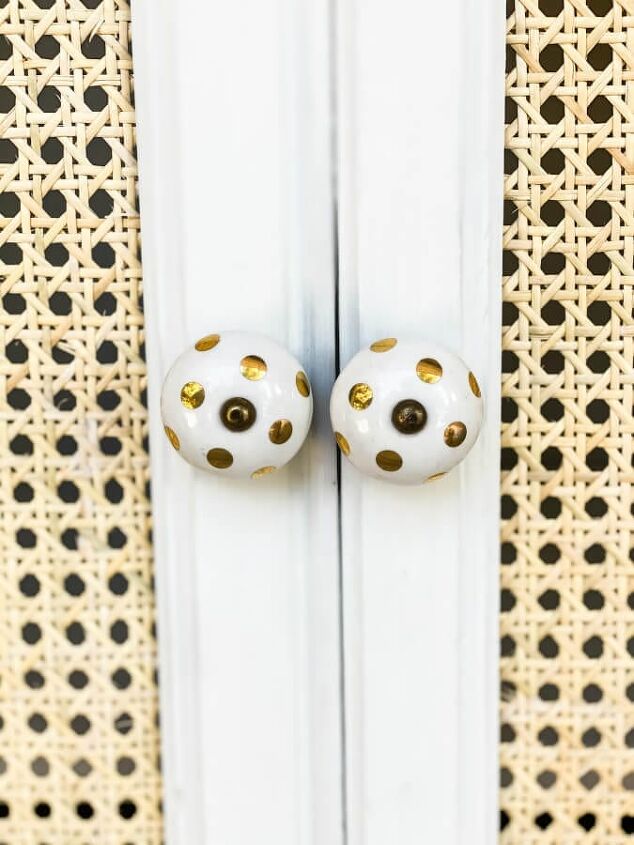
The final touches were the white and gold polka dot knobs from Hobby Lobby and the gold drawer pulls from Home Depot.

DIY Cane Armoire Makeover
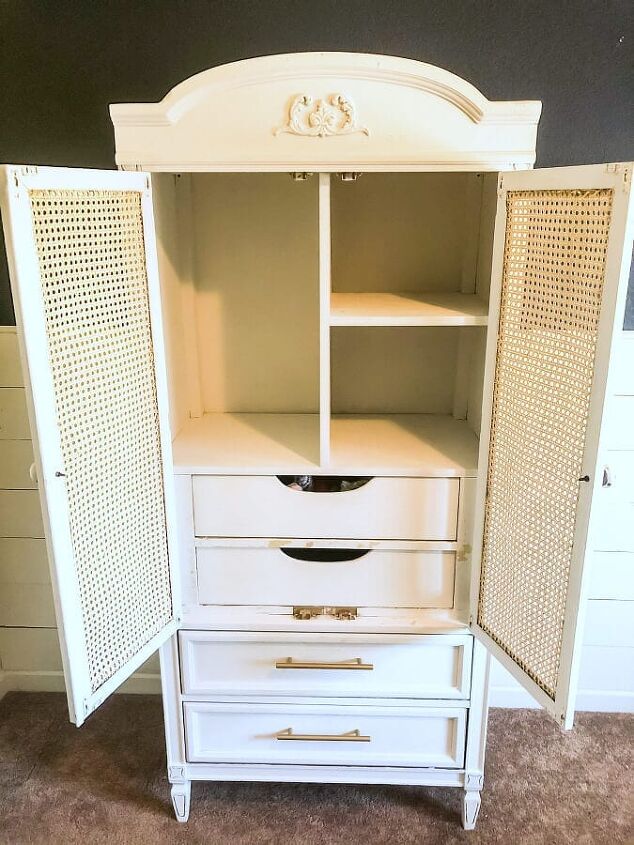
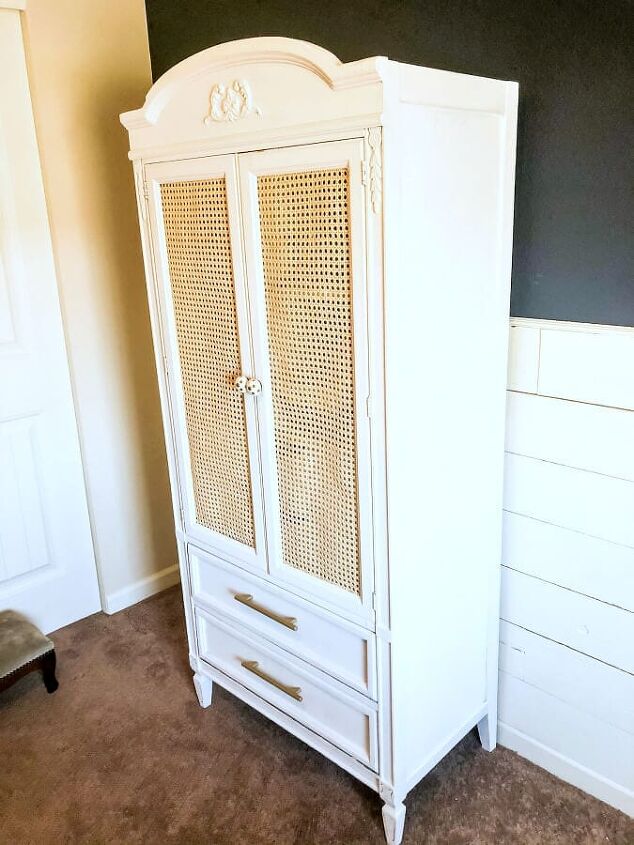
This beauty was a fun project and now it’s ready to make a sweet little girl very happy in her big girl room! Although we sweated our tushes off to get this cabinet done it was worth it. She is a special piece that will be treasured for years to come.
This DIY cane armoire makeover was a fun family project that cost us under $65 to complete.
Have you shopped on Facebook Marketplace lately? I always seem to find great treasures on there that need just a little TLC. Visit me over on my blog, The Tattered Pew, for more fun projects!
XOXO,
Kelly
Resources for this project:
See all materials


Comments
Join the conversation
-
Oh so a great idea! We will try it, thank you!
-
Thank you! Great idea. You can also find Milk Paint recipes online.


Frequently asked questions
Have a question about this project?
Where do you get the caning for this project
I too have an Arrow Staple gun. What size staples did you use with your arrow staple gun? I'm going to re-cane my daughter's dining chair backs and am not sure of the size to use. The details on the legs of her chairs look very similar to your Armoire. I hope I can come close to compare to your work. Beautiful.