


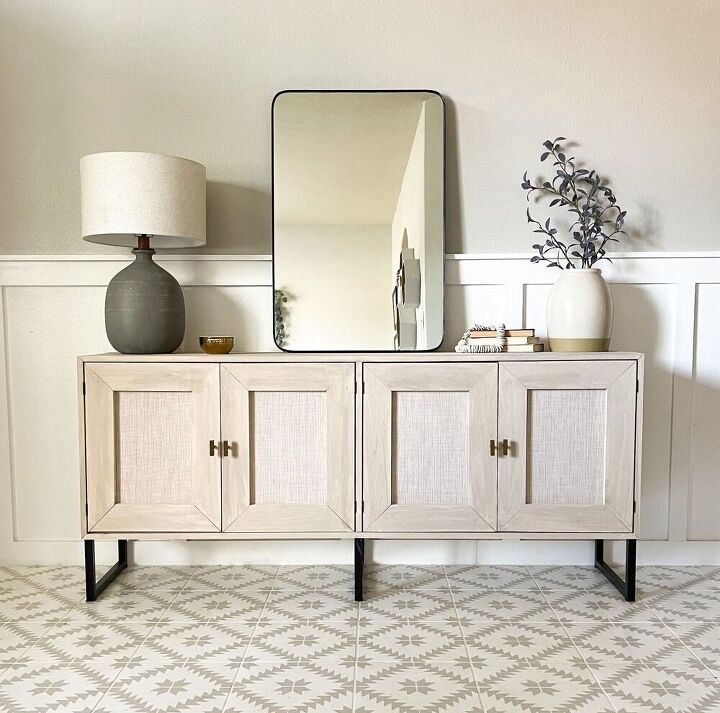
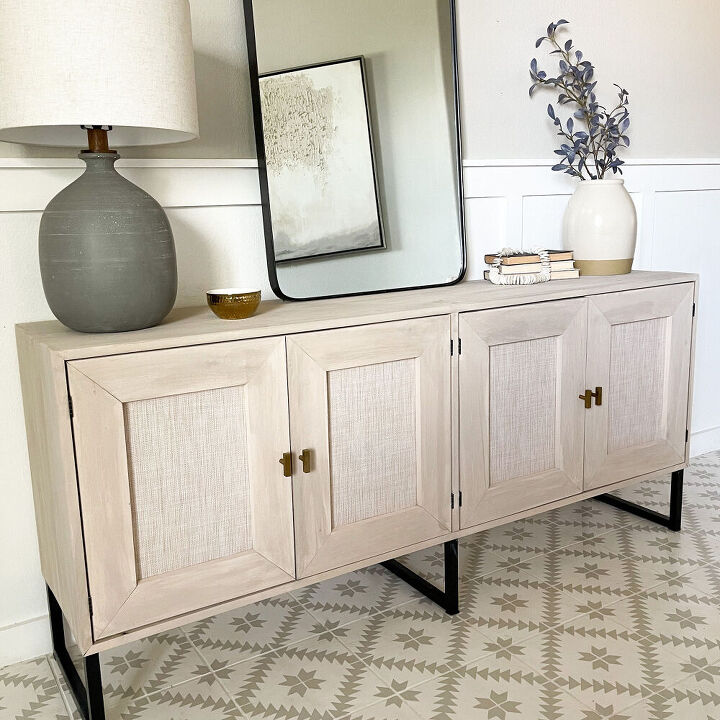
Console Build With Faux Caning Using Placemats!

You can DIY this console build with faux caning using placemats! I was so inspired by $2000 designer consoles that I set out to build my own. Boy, did it turn out GOOD. I’m particularly proud of this project and I used my favorite hack to create faux caning with PLACEMATS! You can’t get this kind of affordability, washability, and durability with real caning but you can still get the woven texture! Scroll down for stain details and the budget break down.
What You Will Need:
- Poplar Boards (7-1×6 and 4-1×4)
- Placemats (I used the table runner version)
- Hinges
- Magnet Cabinet Stops
- Cabinet Pulls
- Paint
- Wood Glue
- Screws and Clamps
- Safety Glasses
- Kreg Pocket Hole Jig
- Drill
- Miter Saw
- Staple Gun
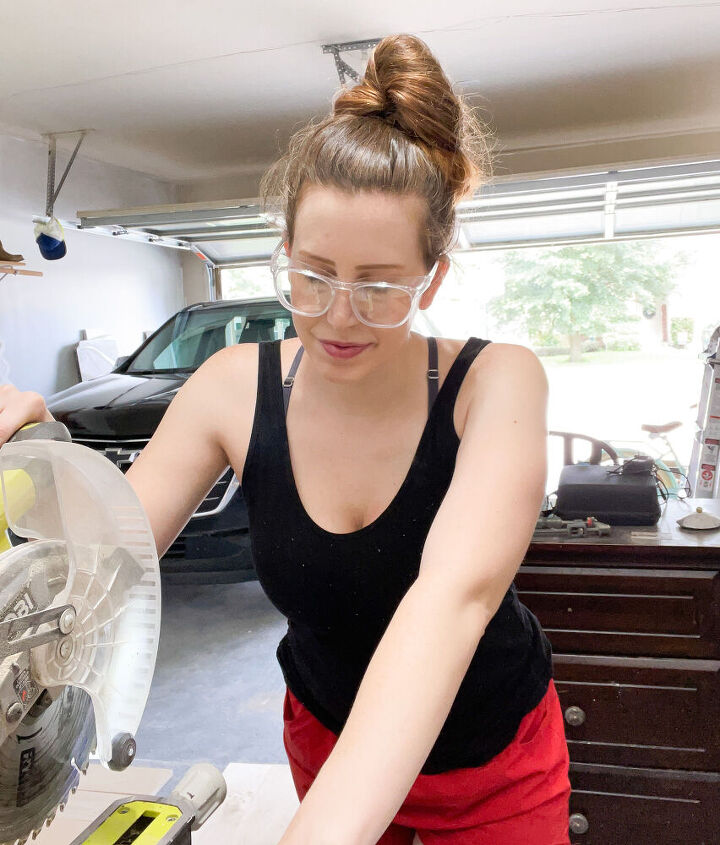
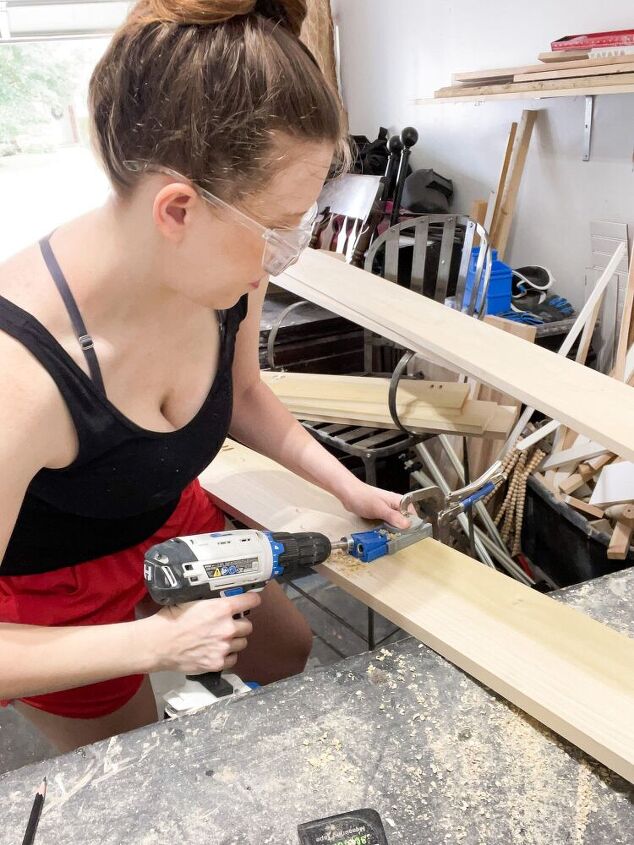
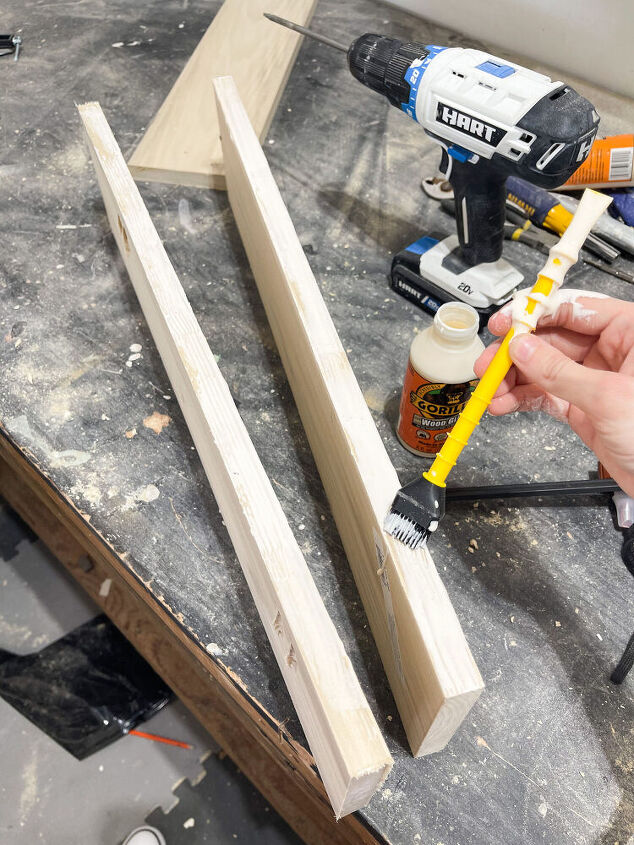
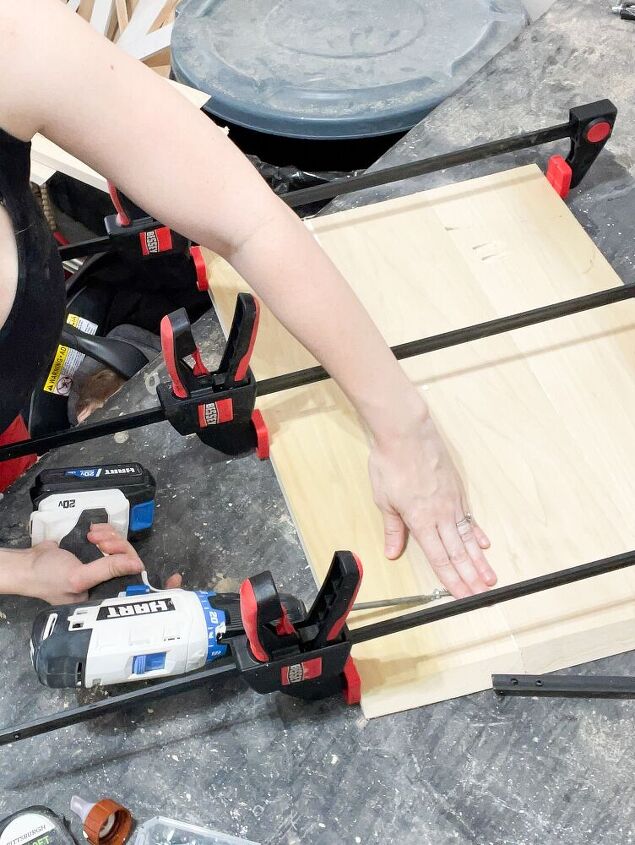
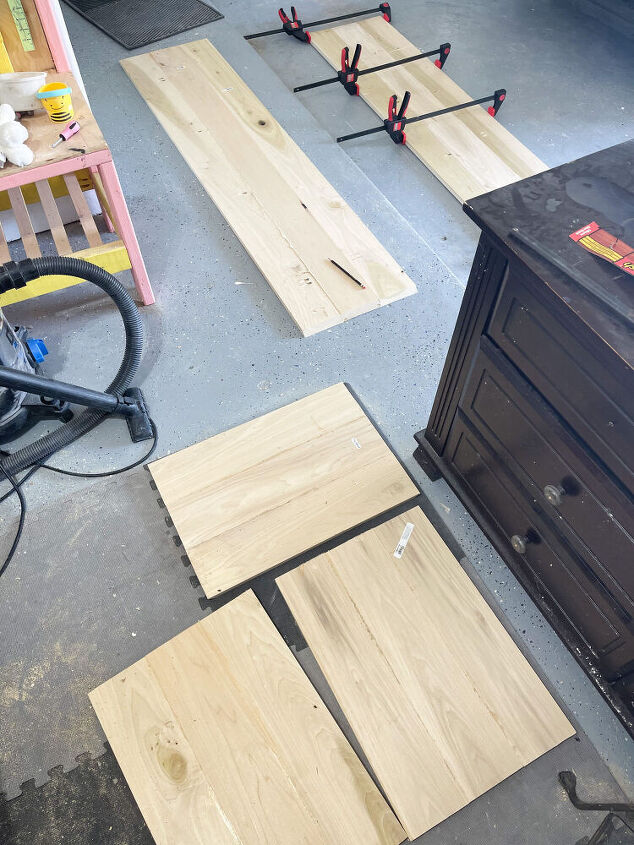
Getting Started on the Console Build with Faux Caning:
I started my console build by creating my cabinet box using Poplar. I chose this wood because its a cheaper hardwood. It tends to be green but I made sure to sift through the lumber to find the lightest colored boards The top, bottom, and sides were all 3 boards wide (1×6). I cut the top and bottom to be 72 inches long and the sides to be 24 inches long. Pocket holes and wood glue is how the boards were attached to achieve my desired 3 board width.


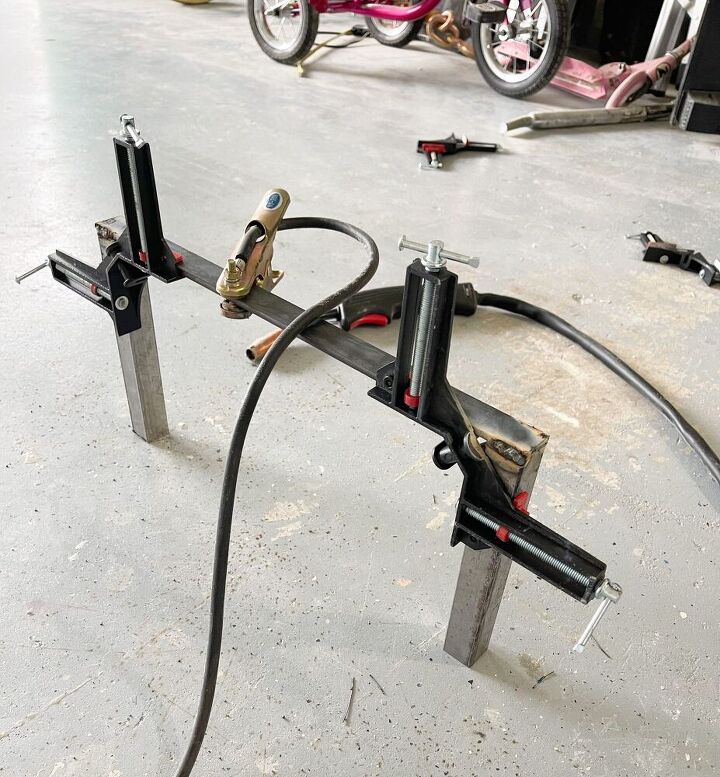
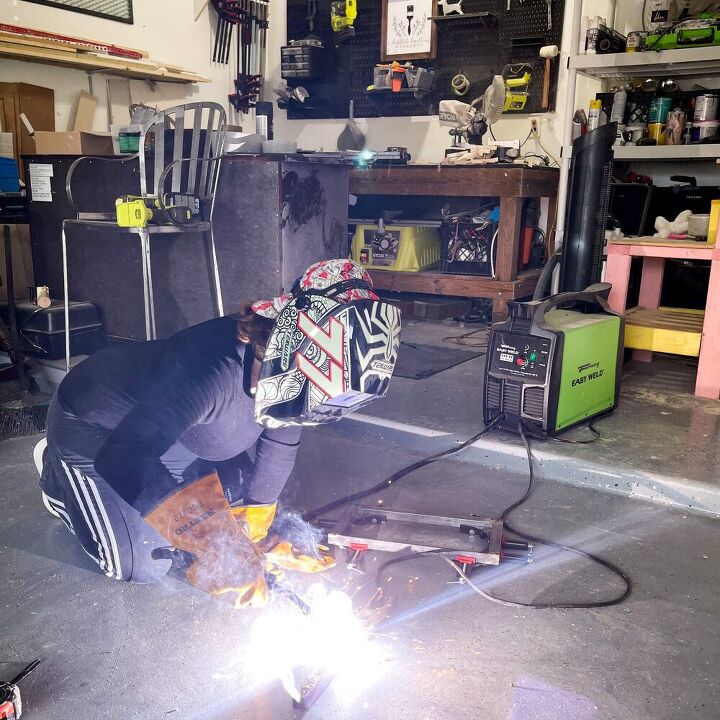
The Console Legs:
Originally I had made the legs out of 2x2s but quickly scrapped them. They were looking a little too rustic and because of my own inexperience- too wobbly. Instead, my husband helped me weld some out of a square tube and flat bar we found at Lowes. I spray painted it black and they were so much better! Learning to weld might have been my favorite part about this project!
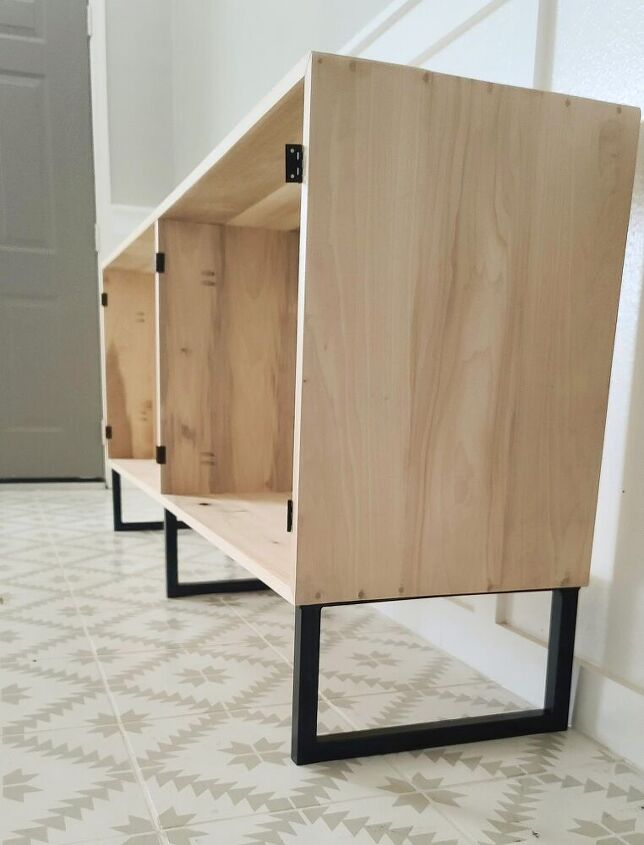
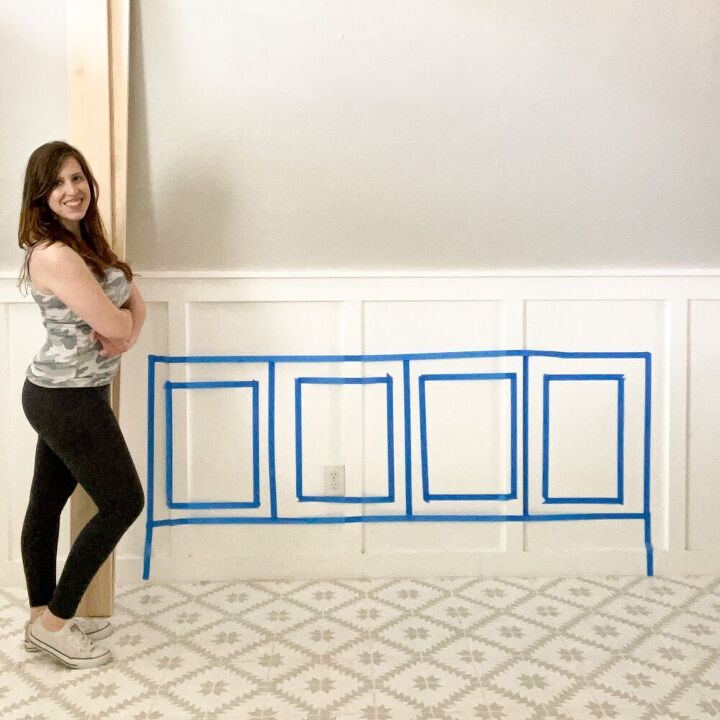
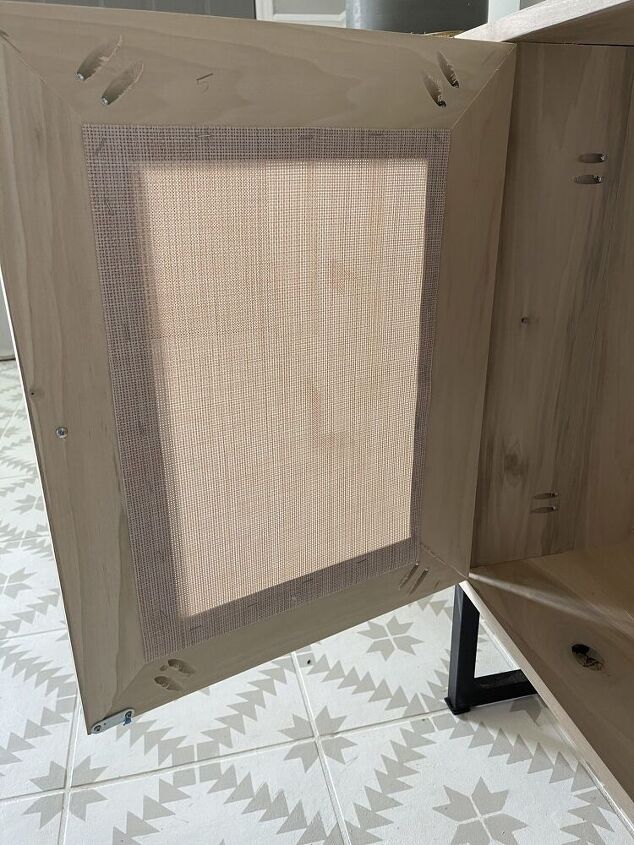
The Doors and Faux Caning Using Placemats:
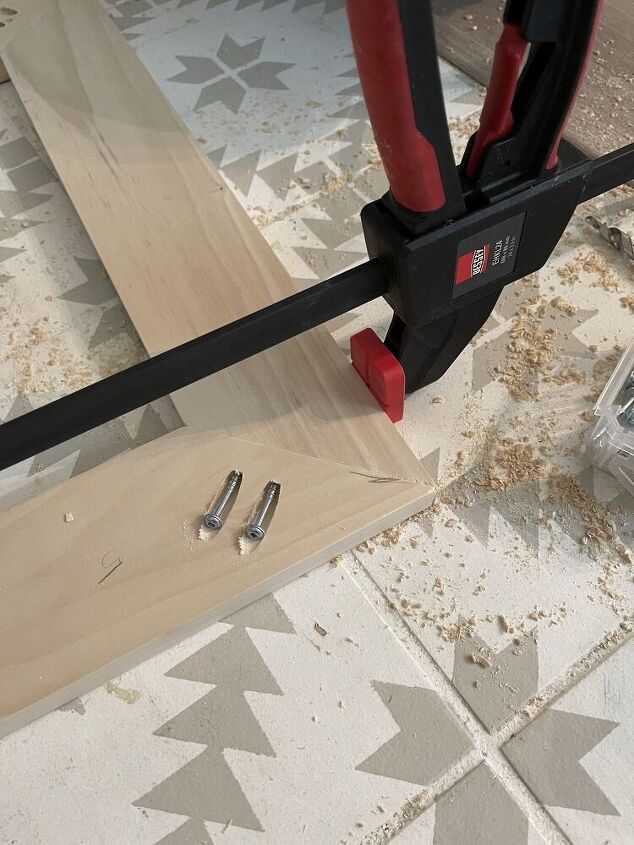
Surprisingly these doors were the easiest part of this console build project. Using Poplar 1x4s I mitered the corners and made 4 frames to be inset into my cabinet box. Admittedly I’m not great at measuring or math so either I’m a pro eye-baller or I got lucky that they fit so well. I used pocket holes once again to assemble my frame. *Make sure to account for your hinges!
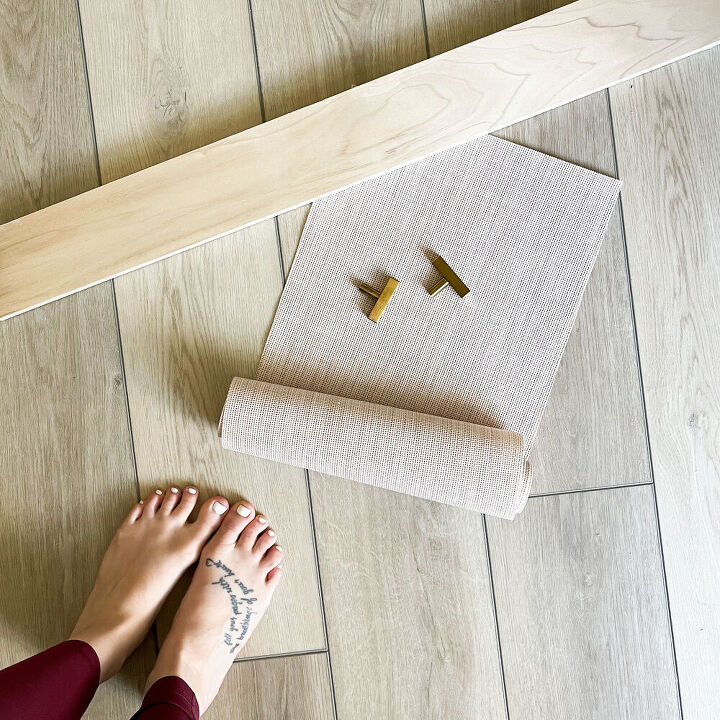
Now for the show stopper of this console project, the faux caning using placemats! I cut my placemat/table runner to size and stapled it to the back of the door frames. I made sure to pull it tight as I went. If the edging of the placemats bother you, you could always add a trim box around it to look more finishes. I left mine as is for now since it won’t be seen inside the cabinet.
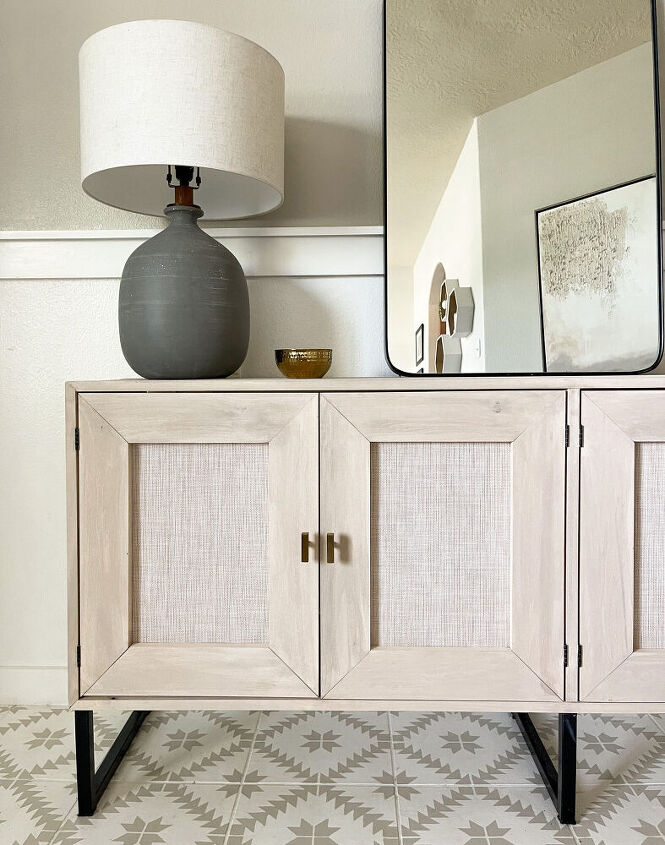
The Stain:
This is where I really started experimenting. I couldn’t find a stain in existence that was quite what I wanted so I decided to do a paint wash instead. The colors used were Gravelstone by Behr (1st coat) and Dovetail by Sherwin Williams (2nd coat).
See my blog post on using paint as stain for more details on the process.
Budget Breakdown For the Console Build with Faux Caning:
This is an estimate since I didn’t keep my receipts and this project also happened during the high post-pandemic lumber prices. I believe if wood prices were normal it would have been half this cost!
- Cabinet Frame (7 Poplar 1x6s): $200
- Cabinet Doors (4 Poplar 1x4s): $80
- Faux Caning Table Runner: $13
- Cabinet Pulls: $12
- Hinges and Cabinet Stoppers: $12
- Metal Tubing for legs: $40
- Misc Supplies (Staples, screws, glue, paint): $40
Estimated Total: $397
Product Links:
*This post may include affiliate links. See my Privacy Disclosure for more information.
- Table Lamp
- Neutral Vase
- Mirror
- Floor Stencil
- Cabinet Pulls
- Placemats

Resources for this project:
See all materials


Comments
Join the conversation
-
Damn...You Rock! So inspiring!
-
Freaking Awesome!!!!!!


Frequently asked questions
Have a question about this project?
stunningly beautiful
This is from Sue's husband,a certified,high pressure/high temperature welder.It's good to see a lady who does it all,even if it is with a M.I.G.gun,ha. Seriously,you did it up right! And that is one WILD decoration for a helmet.What brand is that,and did you paint it yourself?My hood is a Jackson professional,but seldom gets used now because I am retired.