


An Easy DIY Twisted Paper Ornament Tutorial (+ Christmas Anagram Print

This post contains editorial samples and/or affiliate links to products I recommend. While this adds no additional cost to you, I will earn a small commission on any sales made.
“An Easy DIY Twisted Paper Ornament Tutorial” is a post that is sponsored by BabbleBoxx, on behalf of JoAnn.
This year, I wanted to do something different with our Christmas tree decorations.
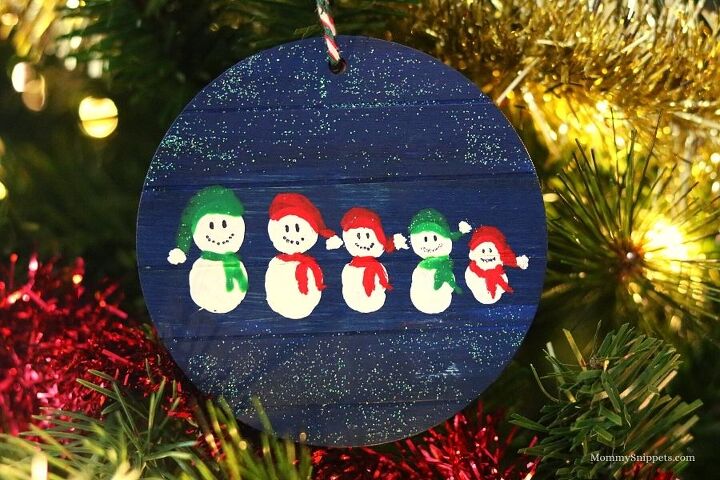
Inspired after our Fingerprint Christmas Ornaments activity, I announced that we would have a handmade Christmas ornament tree this year.
So this past week, we put our tree up.
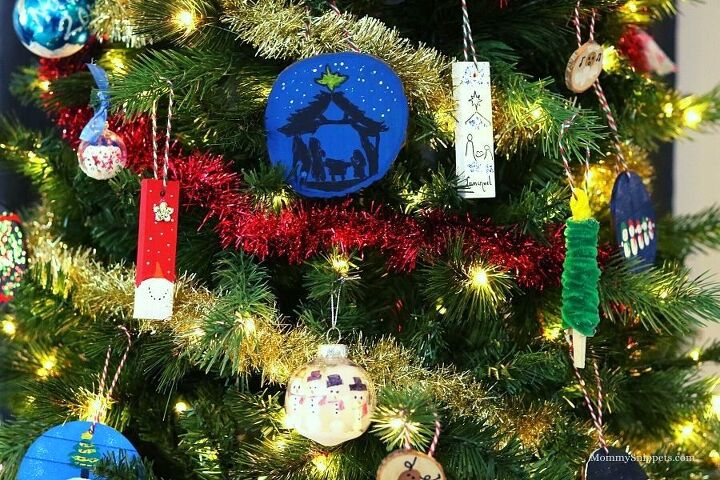
It may not be our most put together tree but every handmade ornament hung is a labor of love, creativity and intention. It’s perfectly imperfect in every way.
I guess you could say, it is, in some way, symbolic of the past couple of months.
2020 hasn’t been what anyone has expected it to be, but we’ve all been intentional.
Intentional to find joy in the midst of a new normal.
Intentional to hold onto hope when it is hard.
Intentional to be grateful for much.
Intentional to choose grace amidst the chaos.
I love our tree!
Handmade ornaments just bring so much personality to a humble tree.
I promise, they aren’t hard to make.
You can make classy handmade ornaments that look store bought.
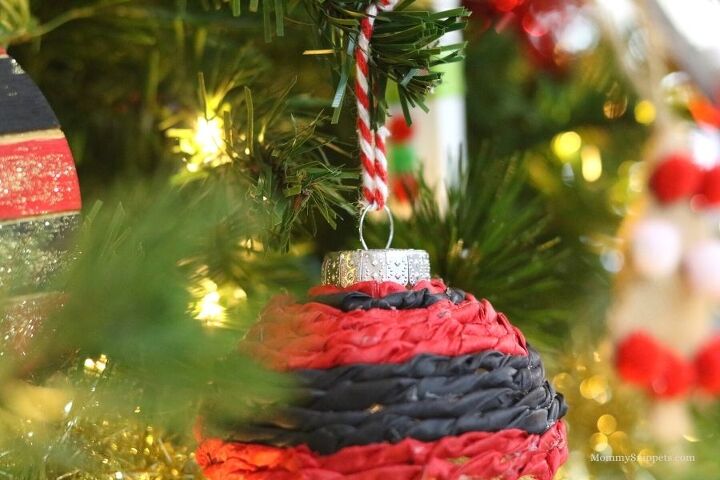
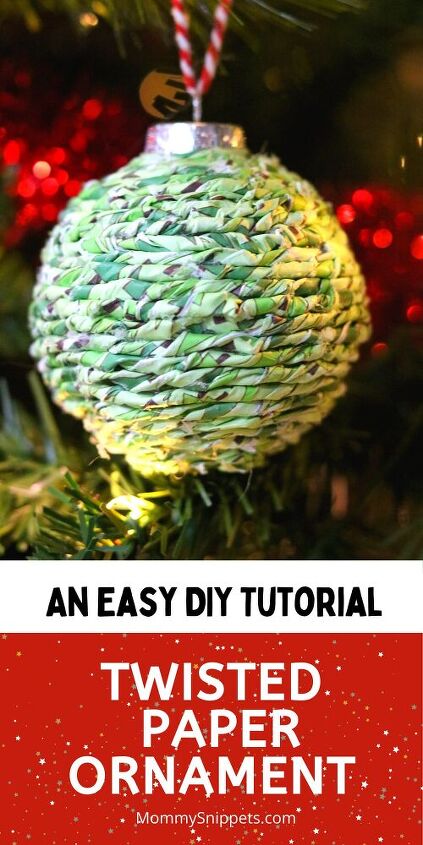
Gorgeous ornaments like this Twisted Paper Ornament.
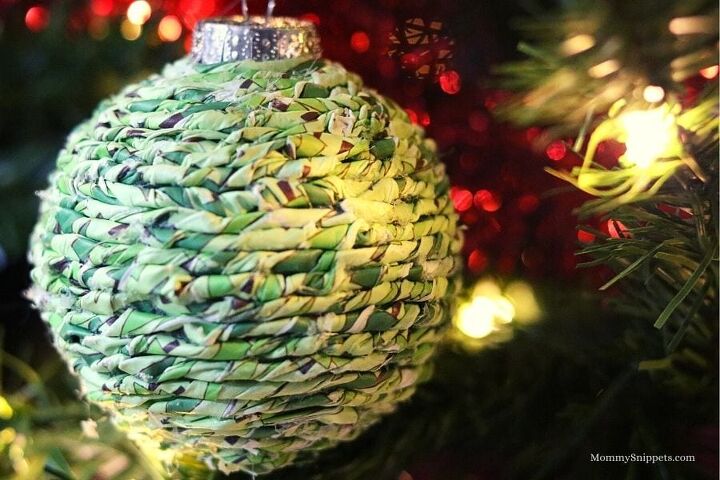
Allow me to show you just how easy this is to make.
An Easy DIY Twisted Paper Ornament Tutorial
Everything you need for this ornament, can be bought at your local JOANN‘s store.

You can order items via the JOANN app (easiest way to snag those coupons), and have everything delivered to your doorstep, or picked up via curbside, from your local store, or inside the store.
JOANN’s is my go-to for all my crafting needs. My happy place!
Inspiring creativity, since 1943, you can find everything you need in one of their 865 store-fronts, and online.
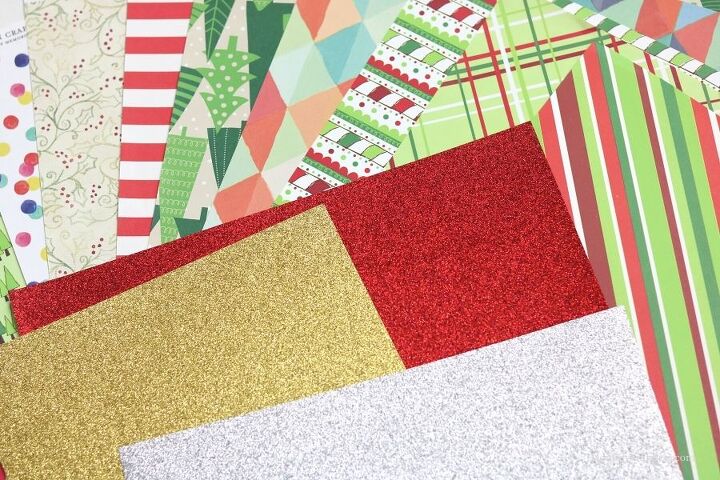
Materials
- Assorted Cardstock
- 1 plastic ornament
Tools
- Paper cutter or scissors
- Hot glue gun and glue gun sticks
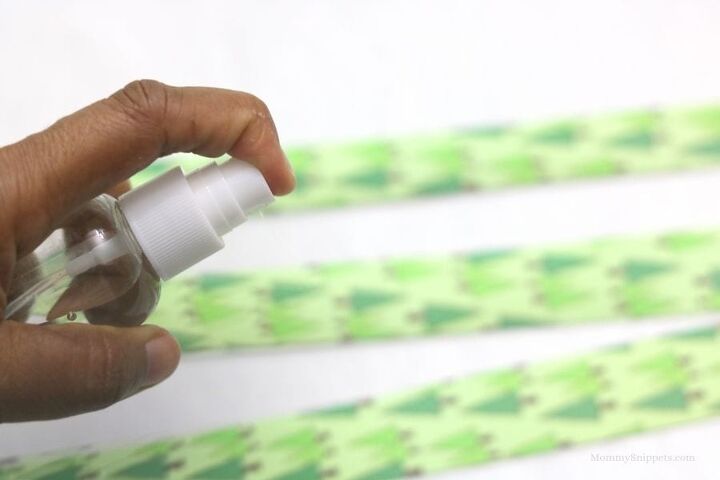
- Spray bottle with water
- Ruler
Instructions
- Use a ruler to mark 1" sections and cut your paper/cardstock into 1" strips

Using your spray bottle, slightly dampen your strips of paper, one at a time.
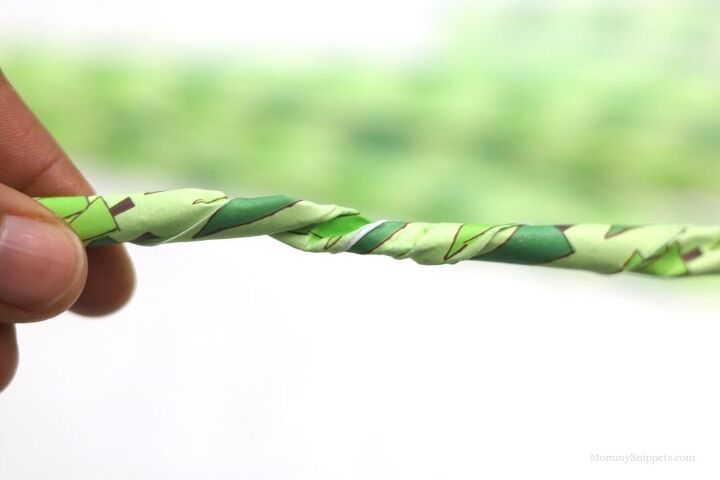
While the paper is soft and slightly damp, begin to fold and twist each strip. (Be careful not to twist too tight, you don't want to rip or tear the strips.)
Once your strips are twisted, begin by hot gluing a twist to the top of the ornament.
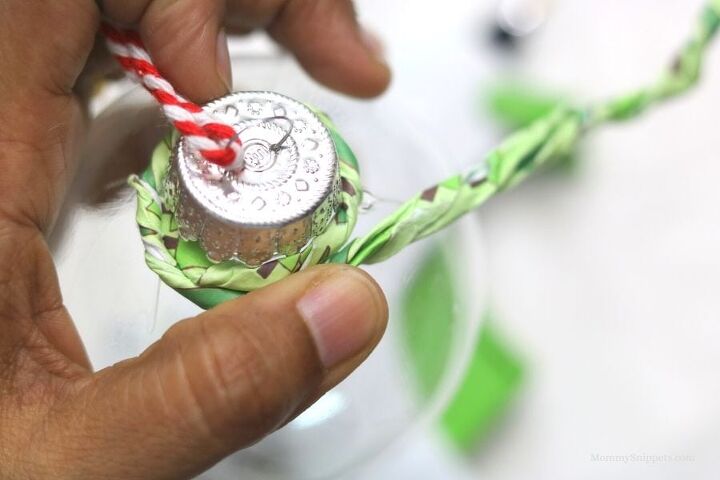
Work your way around gluing the twists on the ornament as tight as you can.
You want to keep them close and tight, so you don't see the ornament between.
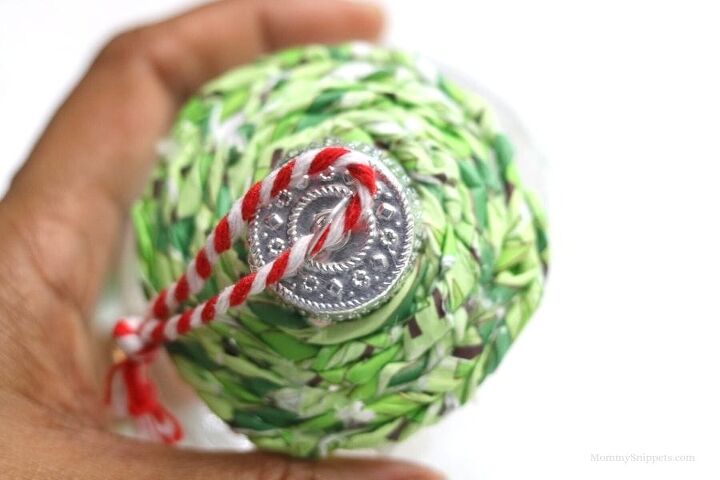
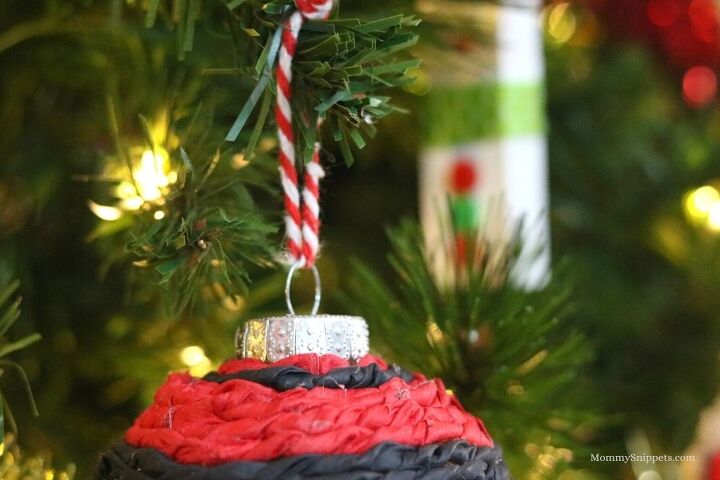
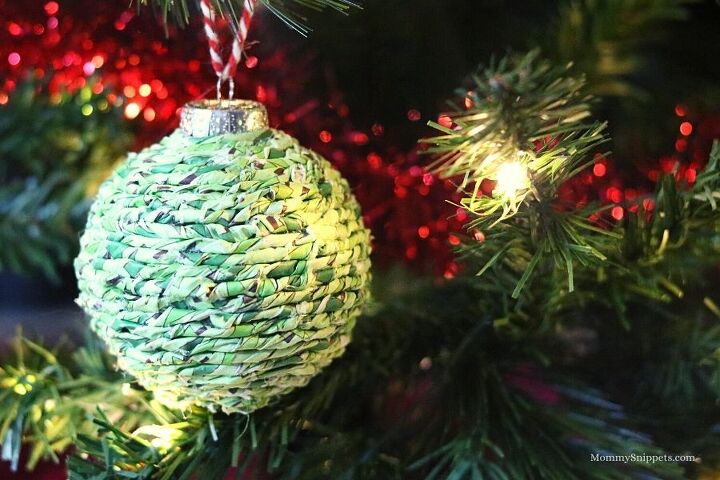
Mix and match colors and patterns to create your own unique design.
Once the ornament has been covered, add some ribbon or string to hang, if your ornament does not come with string.
Notes
You will see it's easy to work with thicker cardstock but you can also use printed Christmas scrapbook book paper. You will need to take more care while twisting the paper, and it will take much longer to finish, but the outcome is so worth it!
I can’t wait to see your handmade Twisted Paper Ornaments.
Would you share them on your favorite social channel, tag @JOANN and add the hashtag
You could also add embellishments, glitter, or to make this even more sentimental, try using handwritten recipes by Grandma, are a sweet reminder of the blessing she is to your family.
Or make some with music sheets.
Allow your creativity to explode.
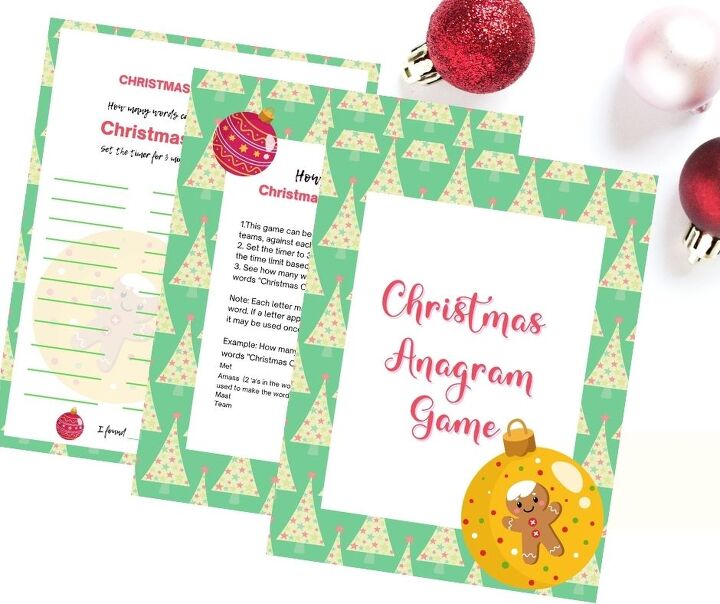
While you work on your ornaments, invite your older kids to join in the fun.
In case the little ones feel a little left out, feel free to download and print our Free Christmas Anagram Game.
Play some Christmas music, enjoy some Christmas treats,
and make those deposits in your family’s memory bank.
Check out all our f avorite Christmas Resources.
I’d love to hear from you. Hop over to chat with me on Facebook and/or Twitter
Resources for this project:
See all materials


Comments
Join the conversation
-
I love these! They remind me of the old rag rugs we always had around when I was a kid💖 your sweet words describing your tree really sums up what is important all year round💗
-
These are lovely! I will be trying these for Christmas, I lost most of my ornaments in big flood in the Detroit area. Thanks


Frequently asked questions
Have a question about this project?