


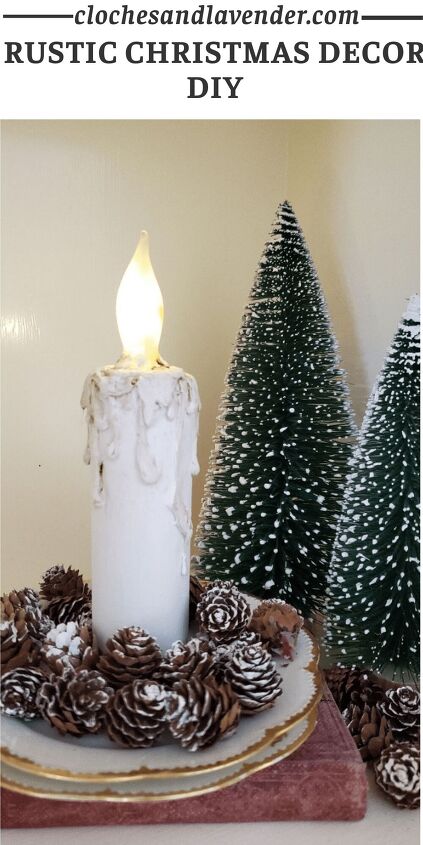
How To Make A Rustic Christmas Decor DIY
Welcome to Cloches & Lavender where I share crafts, DIY's and home decorating ideas.
Let's see how to make a rustic Christmas décor DIY from an old furniture leg.
Yes, I said furniture leg and rustic Christmas décor in the same sentence.
Coming Up With The Design To Make Rustic Christmas Décor
Step 1
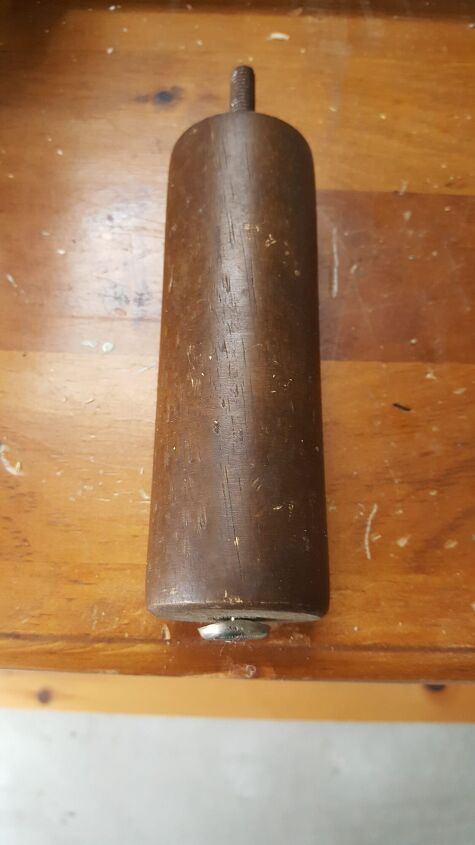
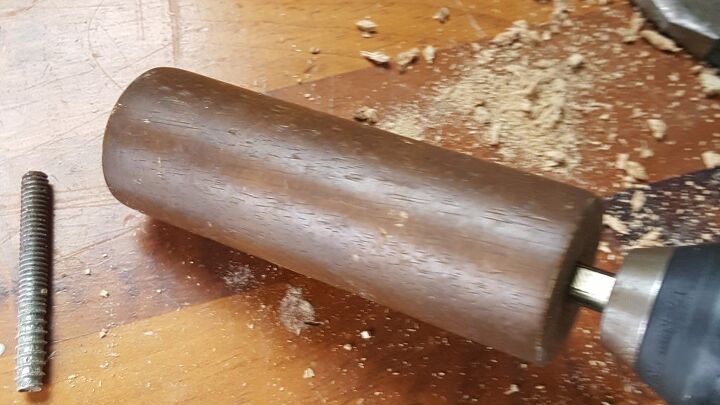
After opening the package and seeing the size of the furniture leg I immediately saw a candle. However, making a flameless candle for a rustic Christmas décor DIY that didn’t light wasn’t going to be good enough.
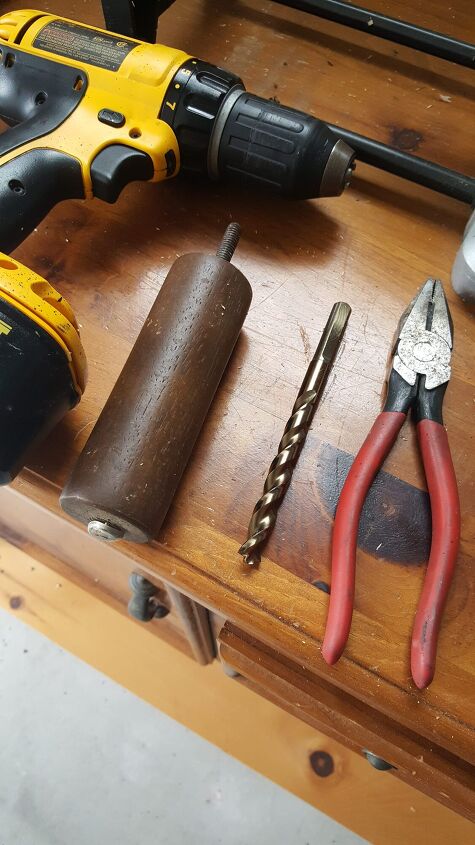
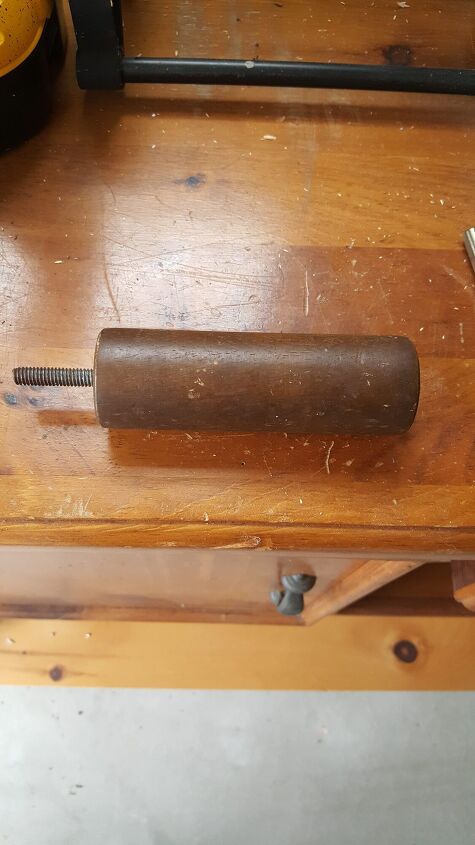
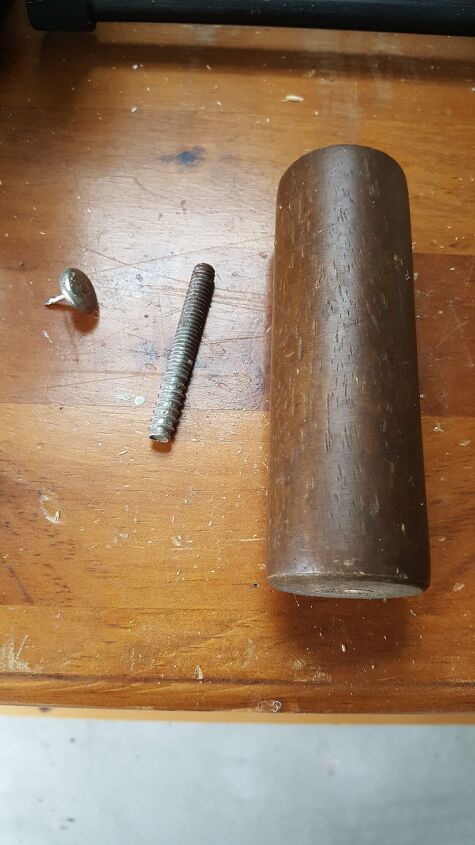
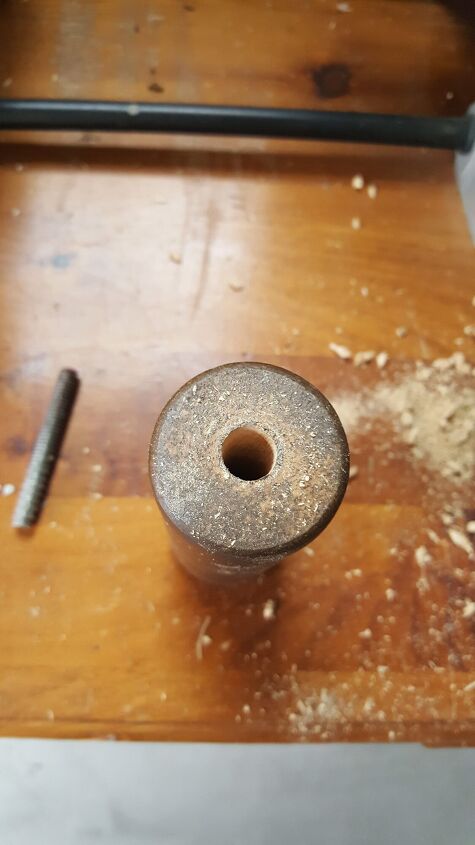
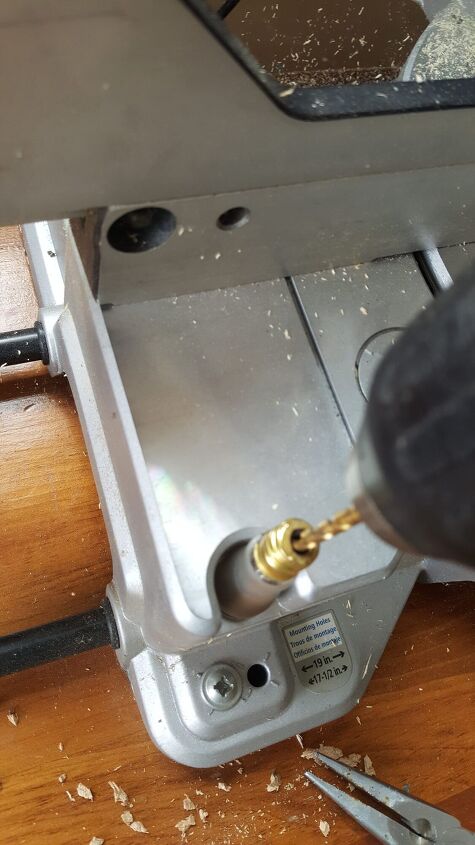
First we took the long screw out from the center of the wood furniture leg for my flameless rustic DIY. It was an easy process. After removing the screw and metal cap, using a drill, he drilled straight through to the other side.
Finding A Warm White LED Light For The Flame
Now, I had to come up with a plan how to make this flameless for my rustic Christmas décor DIY light. This is when the internet becomes my best source of information.
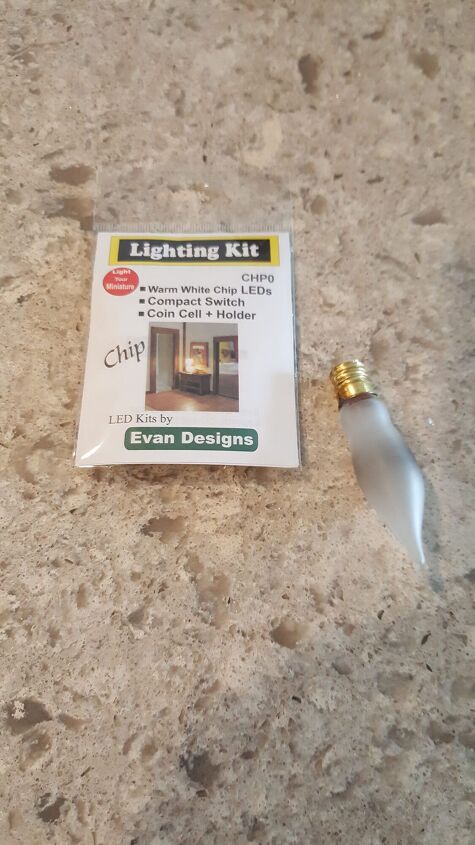
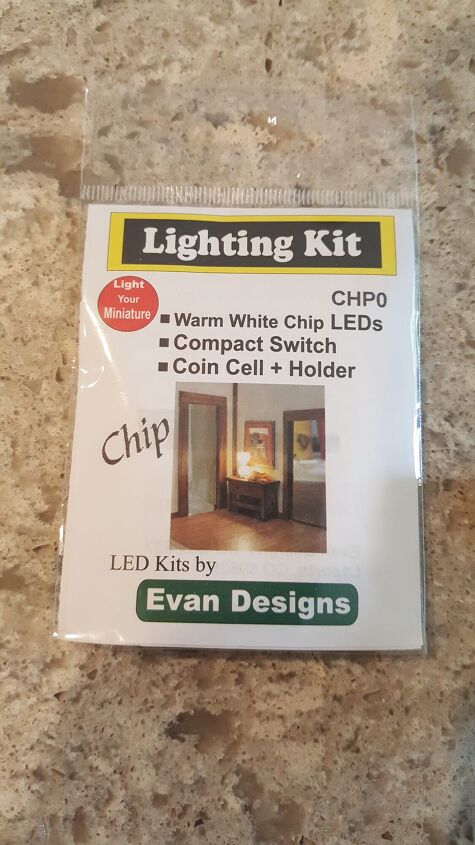
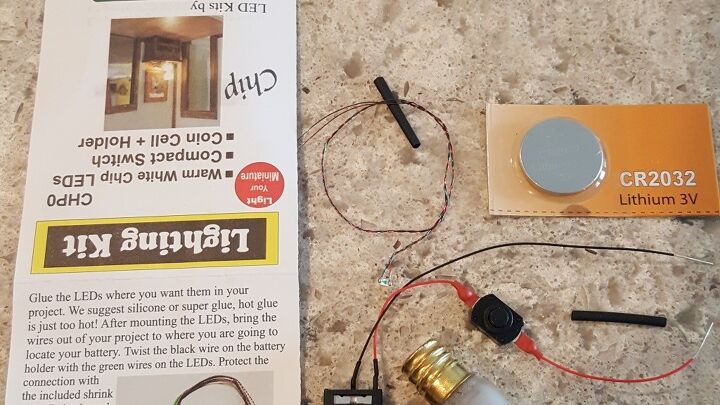
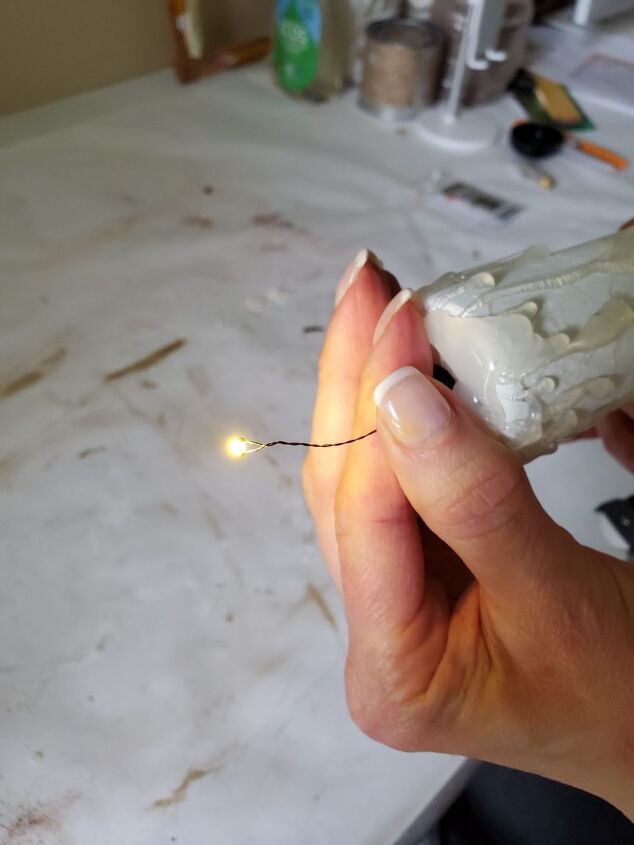
As I did some looking I Googled, LED battery operated light. Jackpot, Evan Designs popped on my screen. This immediately gave me a smile because I was beginning to see my vision come true. Take a look around their site because you may find pieces for a project.
Next, I placed my order for a package of LED lights for my flameless rustic Christmas candle. Lighting is accomplished.
Putting An Idea Together For A Flame For The DIY
Step 3
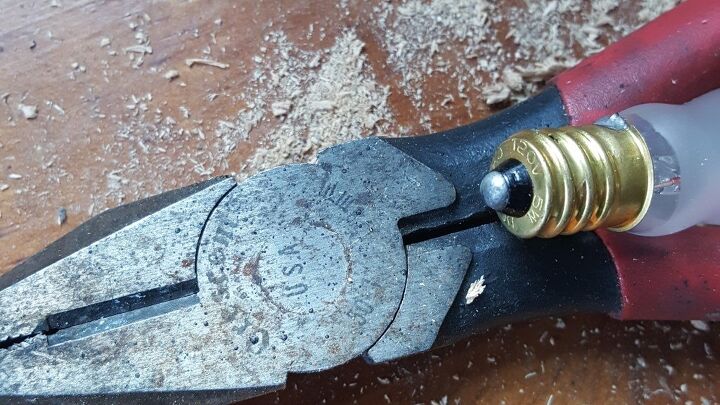
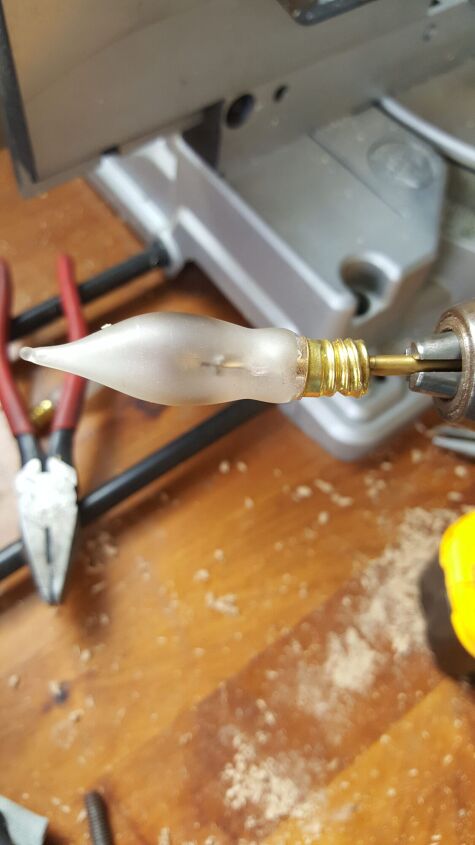
Next, I knew I wouldn’t be happy if I didn’t have a flame for my flameless rustic candle. So, because, we designed our home with an outlet under every window for window candles all year round I had my solution. Because we have window candle lights all year round we have frosted candle flame shape bulbs at all times.
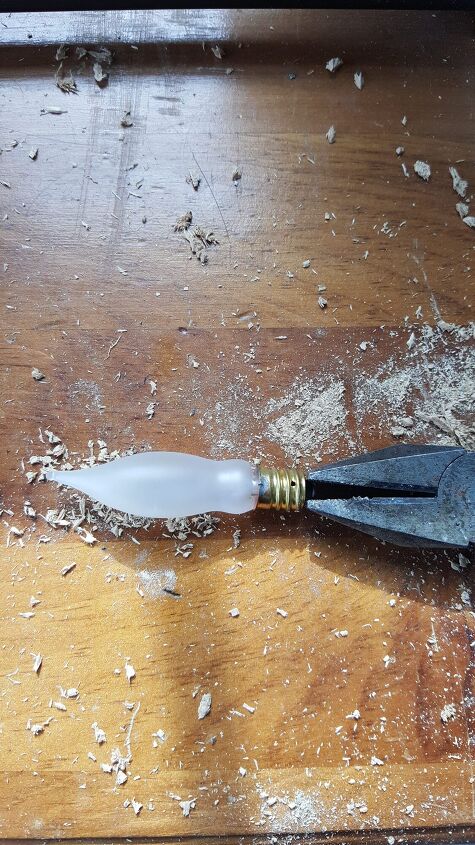
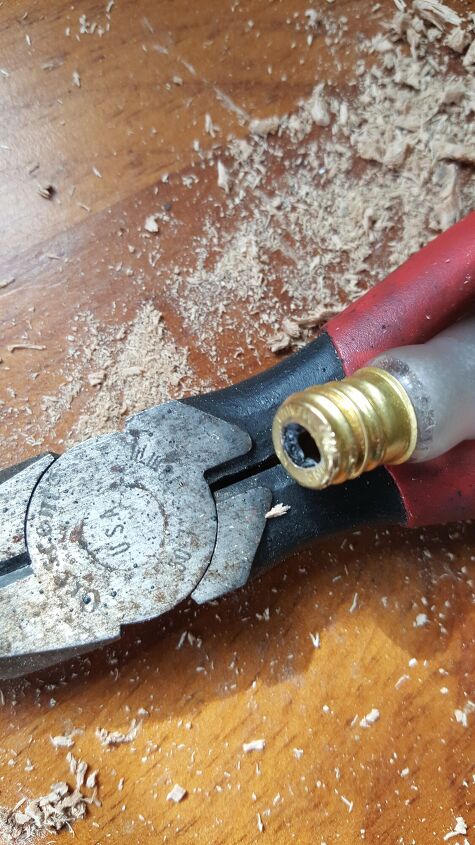
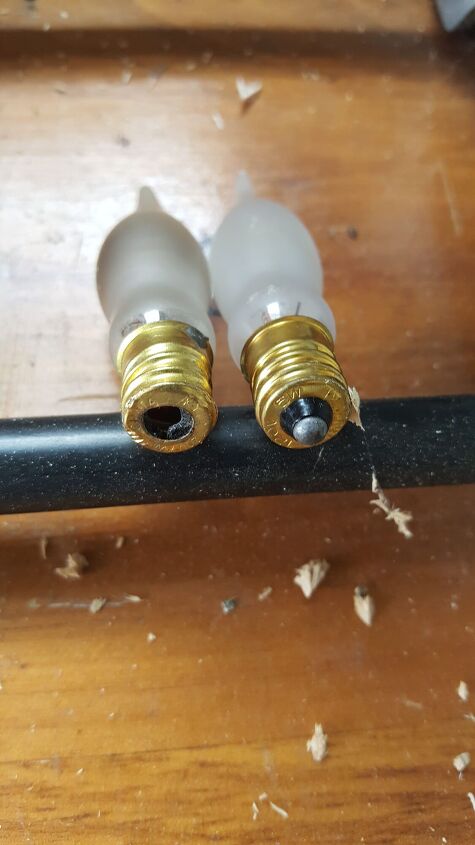
So next, my husband took an old bulb out to the garage and snapped the bottom piece off to leave me an opening. Exactly what I need to add a flame to my flameless rustic décor DIY project. I’m over the moon happy at this point. My plan is really coming together because I now have my flame for my rustic candle.
Painting My Rustic DIY
Step 4
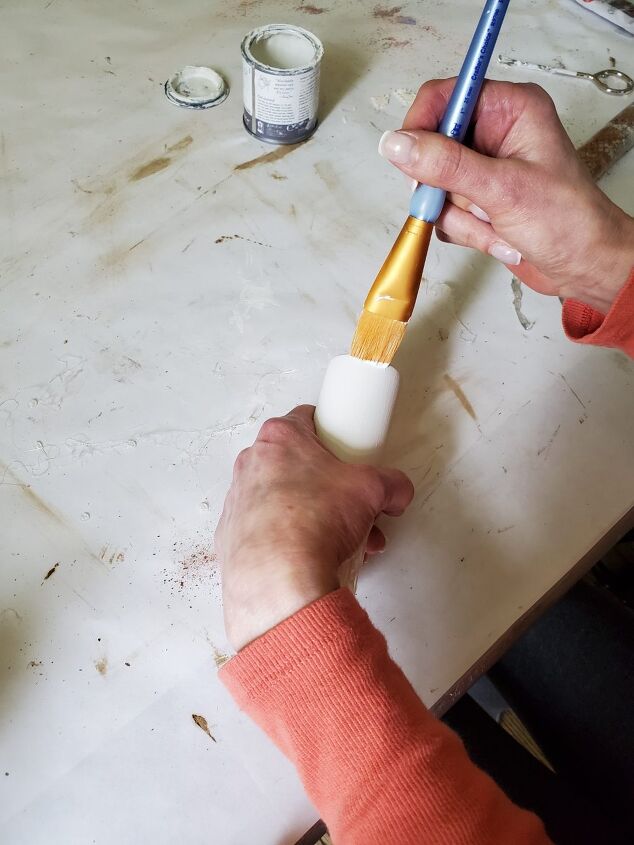
Painting and adding character to the flameless candle base for my rustic DIY is next. Using Old White chalk paint I painted three light coats on the wood base. I used an artists brush for this step. When painting with chalk paint using a good quality brush, painting in the same direction and using light coats is the best way to avoid streaks. Do not be impatient in between coats because the end result will not be smooth.
Adding Character To My Christmas Décor DIY Candle With A Hot Glue Gun
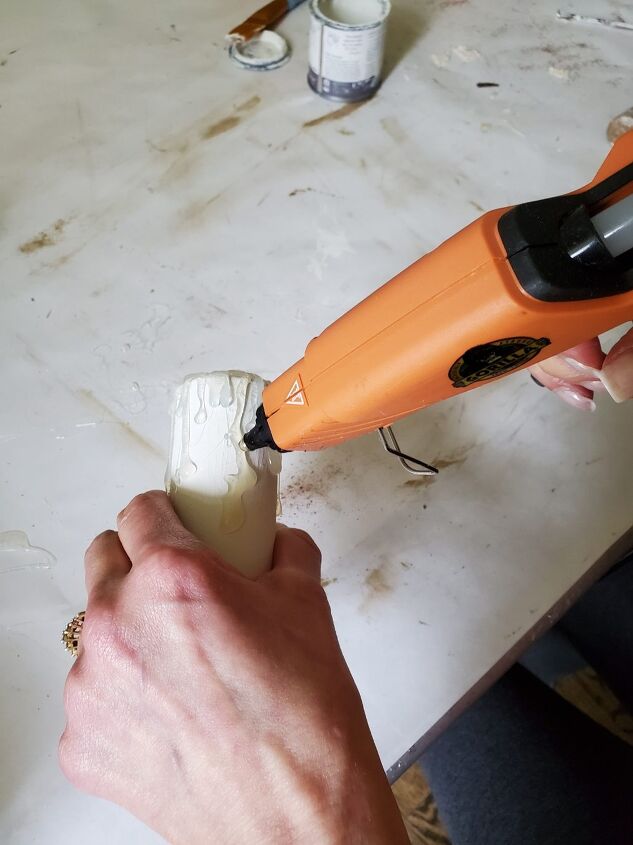
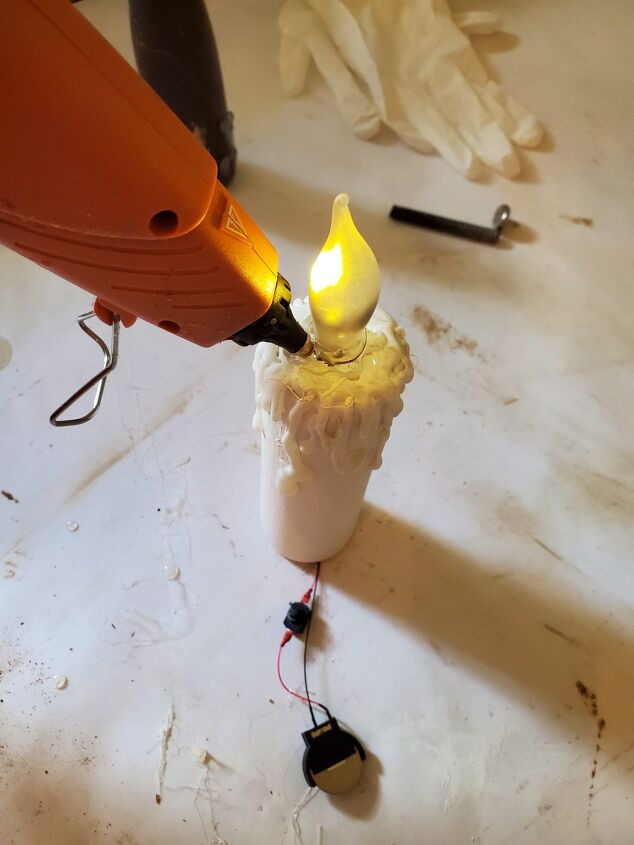
Step 5
Next, adding more character to my rustic Christmas DIY, I used a hot glue add drips resembling wax. Because I wanted fake wax drips my hot glue gun seemed to be the best answer. Here, I began adding drips of from my glue gun starting at the top of my painted base. I glide the point of the glue gun downward to the length of the drip desired. During this step remember when adding drips it’s best to work on a section and layer at a time. Because drips on a real candle are not all the same I made some drips longer and shorter. This makes the drips on my rustic décor DIY look more realistic.
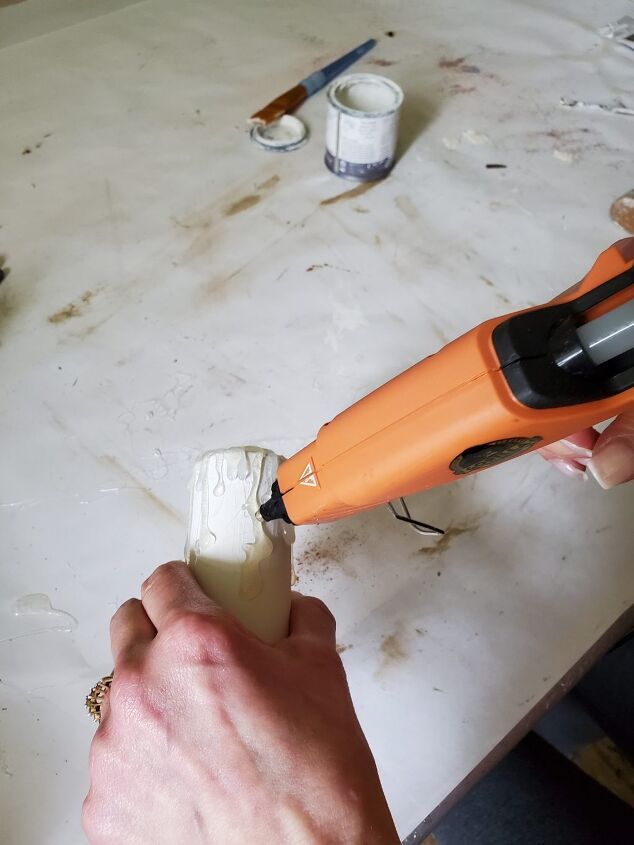
Also keep in mind, when burning a real candle, the top tends to get a build up of wax. On the top of my rustic DIY candle base I added thin layers at a time of hot glue to get a realistic look. I did this in small circular layers. Hot glue dries rather quickly so this truly didn’t take long.
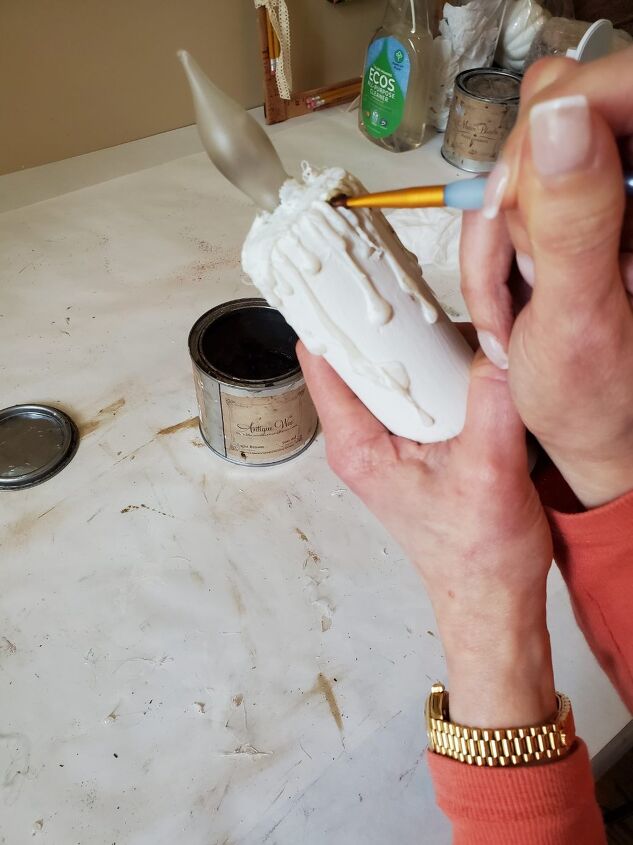
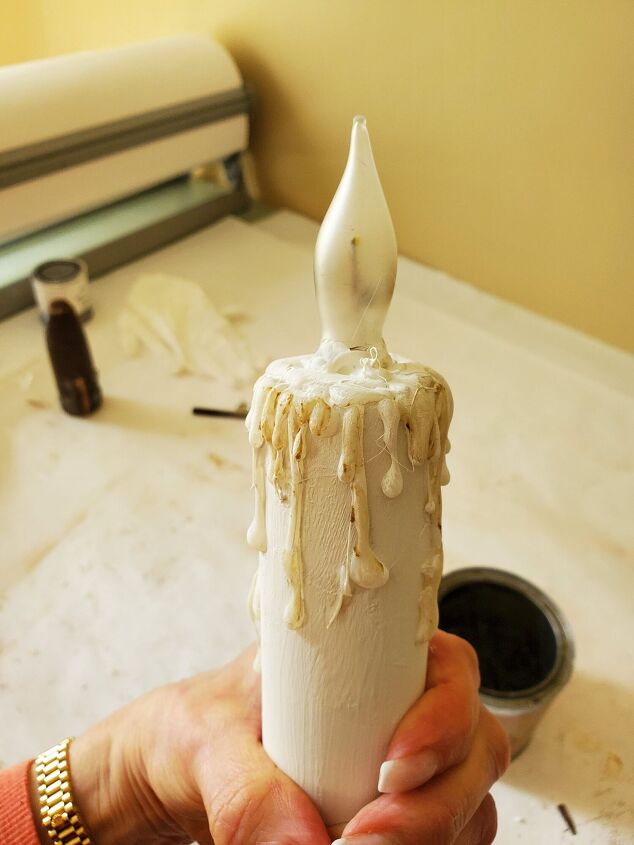
After the wax drips are added to my DIY project, I lightly painted them one coat of Old White paint.
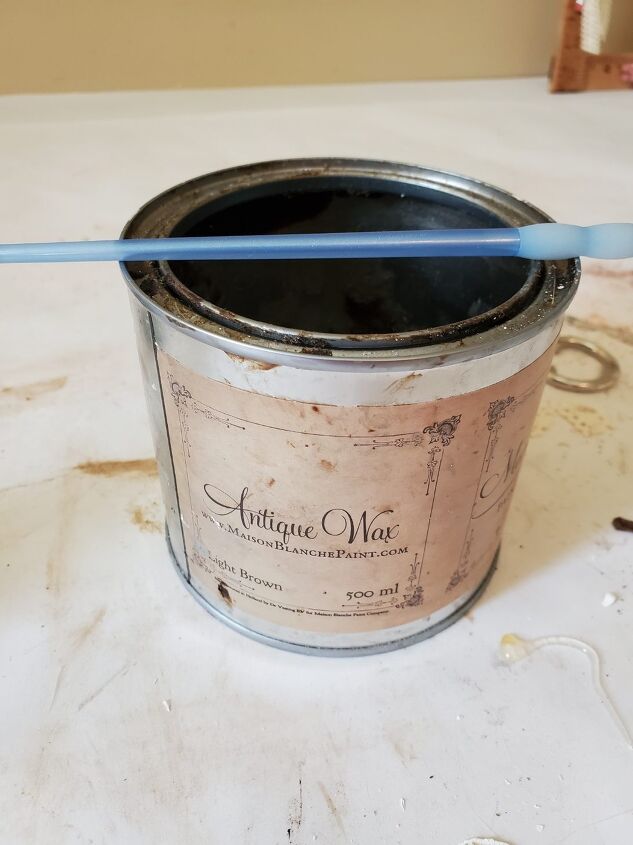
Adding Light Brown Wax To Drips On My Rustic Décor DIY
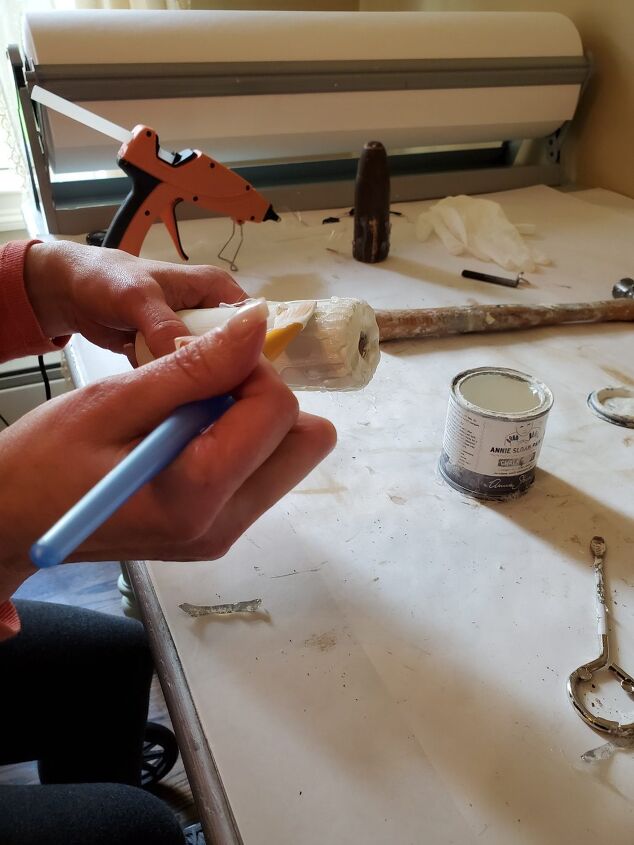
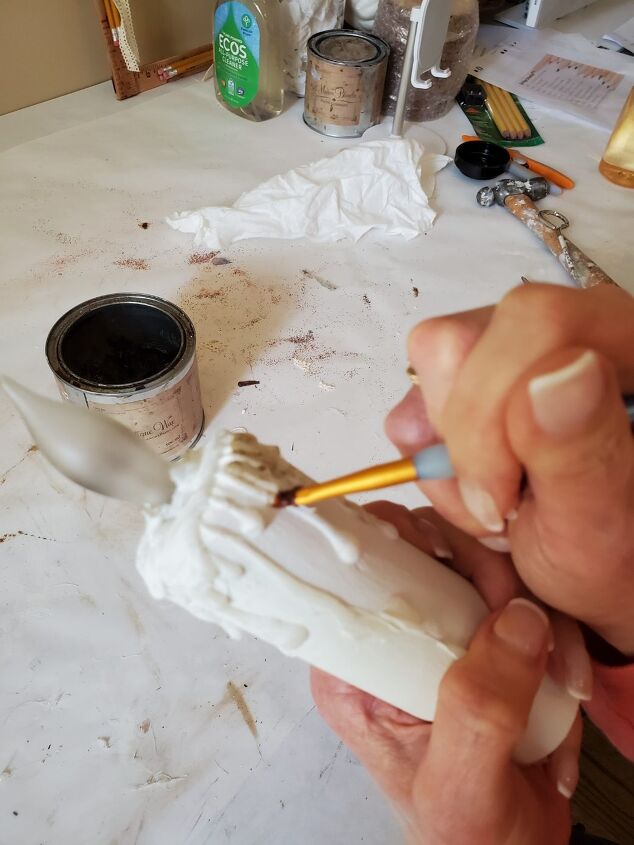
Step 6
Next, using a thin artists brush I begin adding thin layers of light brown wax to my flameless candle to resemble soot. After reaching the desired look, using a lint free rag, I lightly rubbed the wax into the drips.
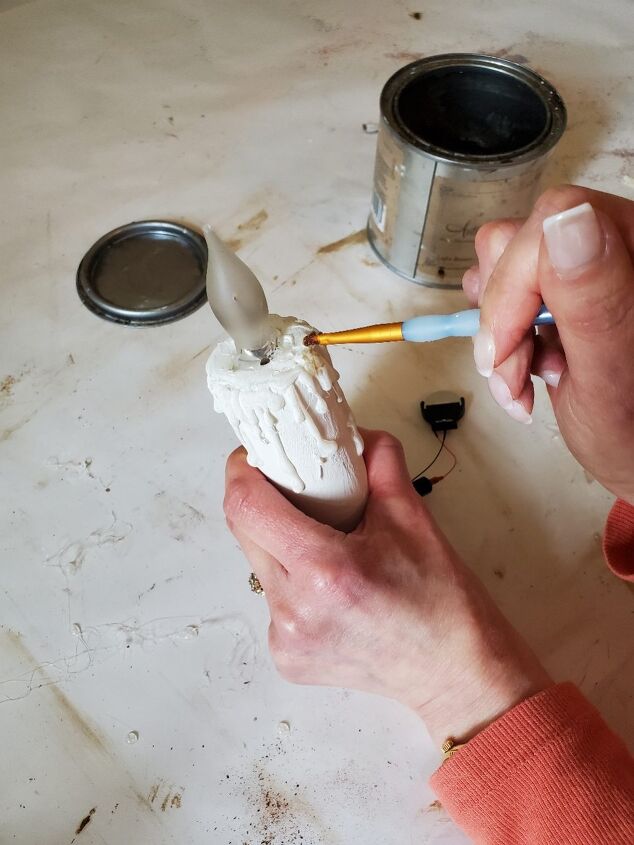
Notice the flame bulb is temporarily in the candle. Doing this gave me the ability to know where to add wax.
Assembling The Rustic Décor Project
Step 7
Now that we have the flame, assembling the rustic Christmas DIY begins.
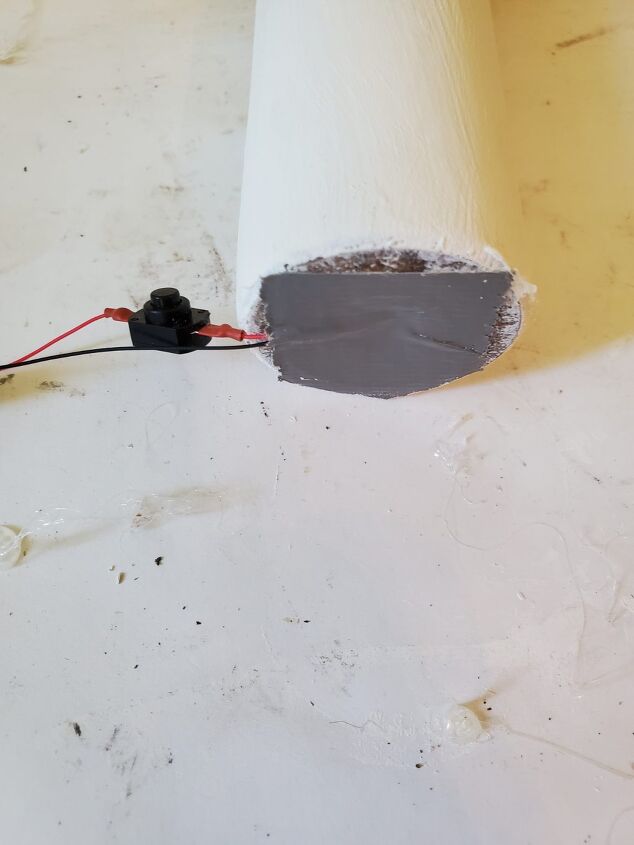
Next, we slip the wire up the furniture leg and carefully pull the bulb out the other side.

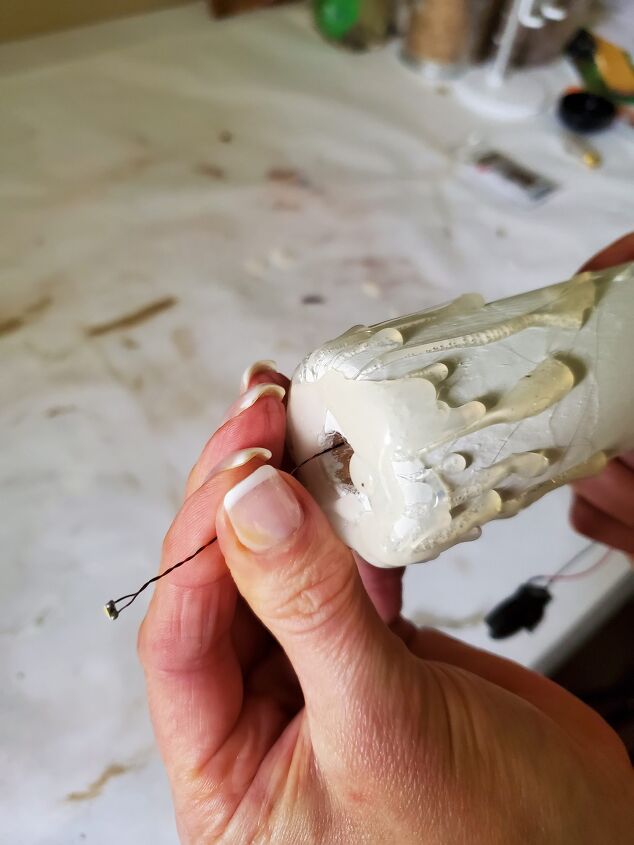
To prevent the wire from slipping out the bottom we simply added a small piece of duct tape to secure to the bottom of my rustic Christmas décor DIY candle.
Adding the Empty Flame Bulb To The Top To Rustic DIY
Step 8
Now, we place the empty flame bulb over the LED light. We pushed it into to the opening from the drill.
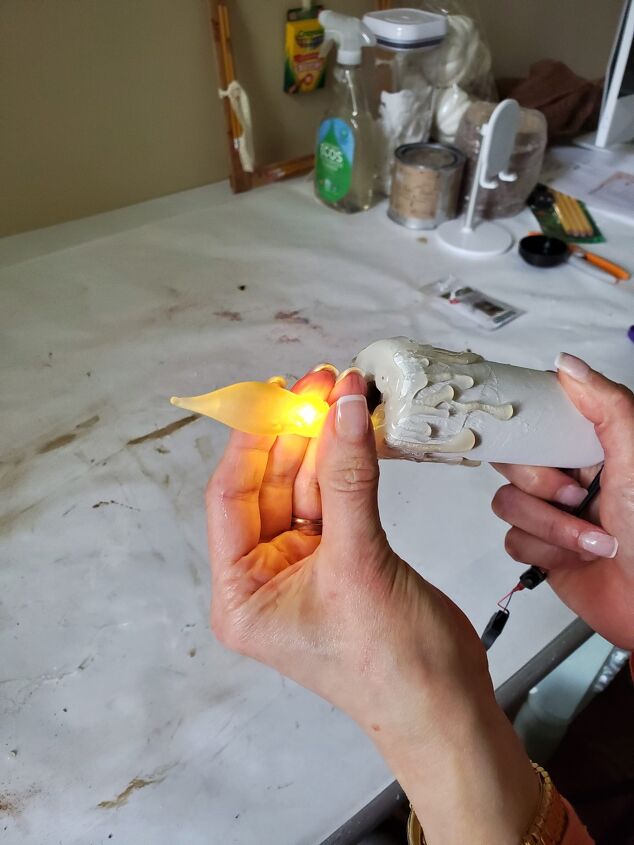
After this, I added a beads of hot glue to secure the bulb to my DIY.
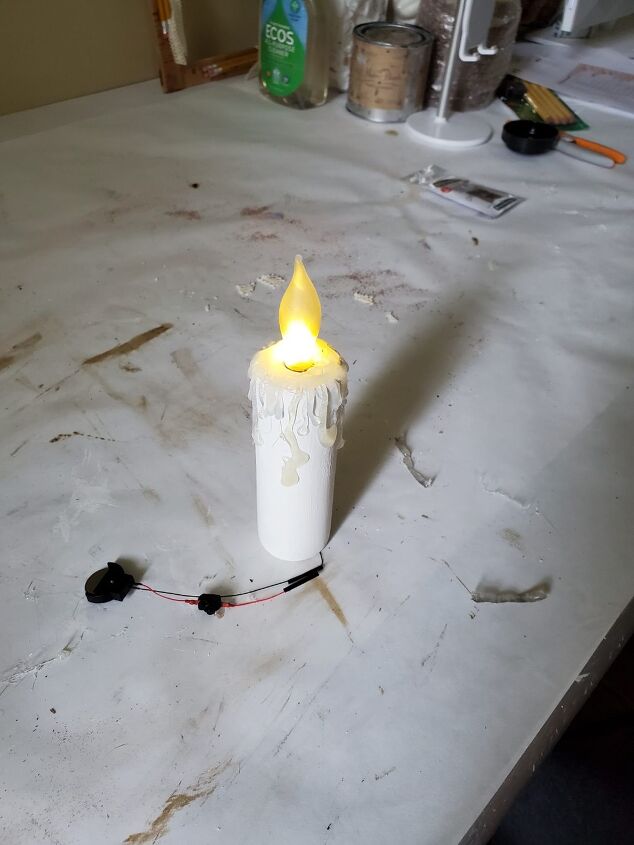
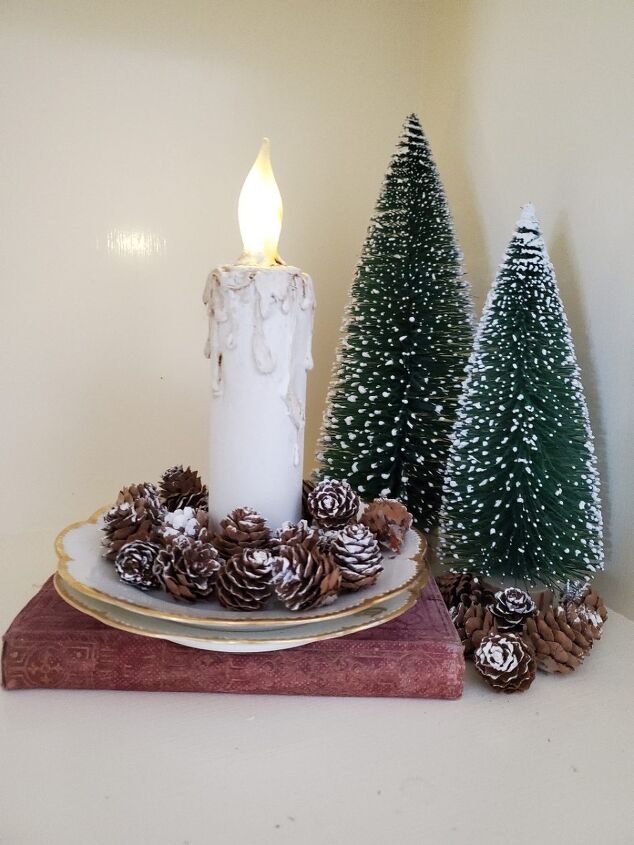
Lastly, here’s my rustic Christmas décor DIY on display. Sitting on antique dishes surrounded by small white tipped pinecones and bottle brush trees. I’m over the moon happy with this project. It’s easier then I ever thought. Stay tuned I have another shorter furniture leg. A flameless votive candle may be made in the near future.

So the next time you see couch legs grab some and make this rustic Christmas candle. I’d love to read your thoughts about this fun project!
Follow Cloches & Lavender for more crafts, DIY's and decorating ideas!
Happy crafting!


Comments
Join the conversation
-
So pretty -
It does have a old-world charm look to it.
Thanks for sharing. 🕯️
-
This is gorgeous the candle wax is done great like a real candle good job


Frequently asked questions
Have a question about this project?
That’s looks so cute
what a great idea.
U have me a great idea.
we treat of spend most of our time outdoors in Australia
so I’m thinking to do the similar thing - I have thick heavy duty tablet legs in diff heights, I’m think of using solar on top ( carved alittle deeper into the top of the wood) and then stick a light globe on top to give the illusion of romantic candles - similar to yours.
what do you think?
It should turn out ok? ?