


Embrace the Useless Fireplace!

by
Heather
$300
Medium
Take a peak at my guest post today, the talented DIY girl Brandy!
Hi DIYers! I was honored when Heather asked if I would guest post on her little corner of the internet! When I'm not getting my hands dirty, I'm busy dreaming of my next project. DIY is my idea of a good time and I love a good before & after! I've spent the last seven years upgrading my 1930 bungalow when time and money allows. Some projects required me to save all my pennies for a long time. But this project? She came in at $300. Grab a cup of coffee. This is a long post!
Happy DIY'ing, friends!
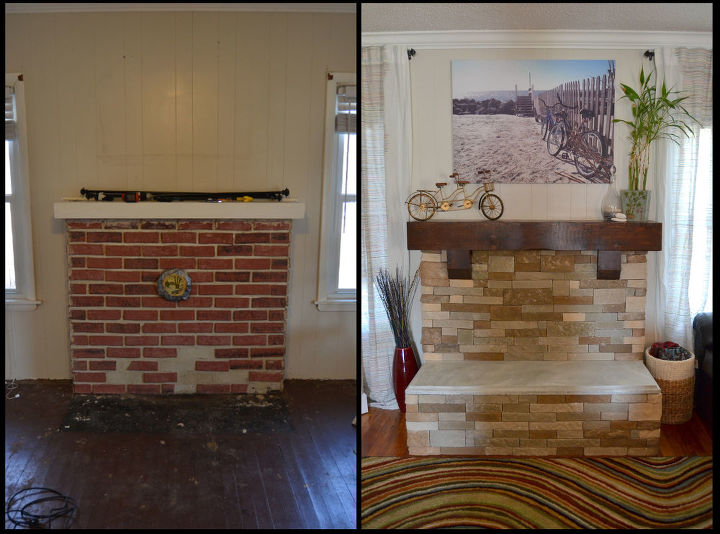
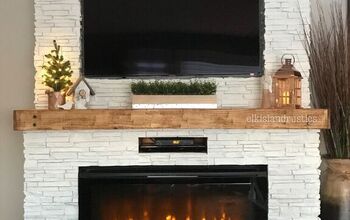
The cost of turning this into an actual fireplace or demolishing the thing was too high since we would have to replace a section of the foundation, an exterior wall, and the roof. So we decided to embrace this useless fireplace.
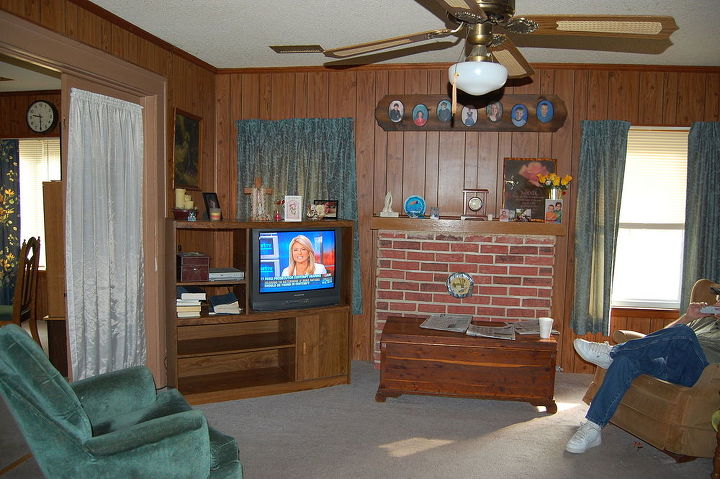
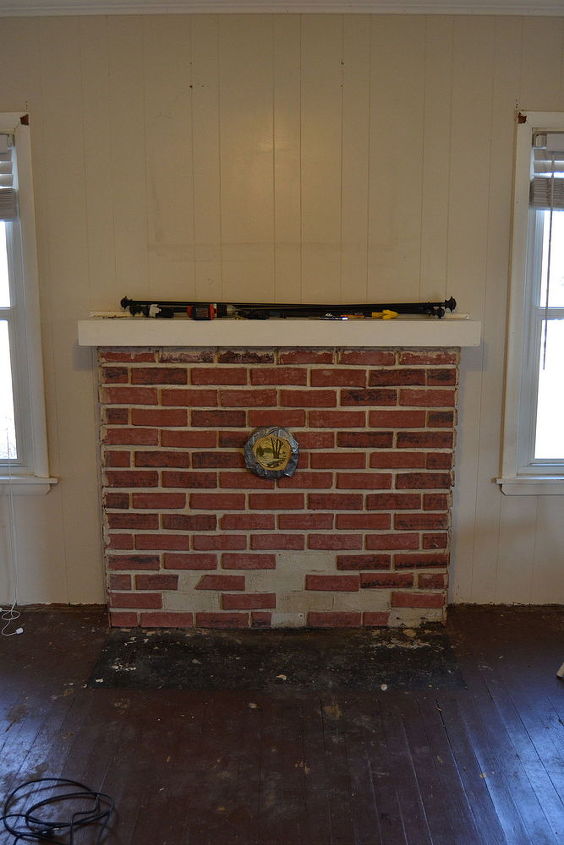
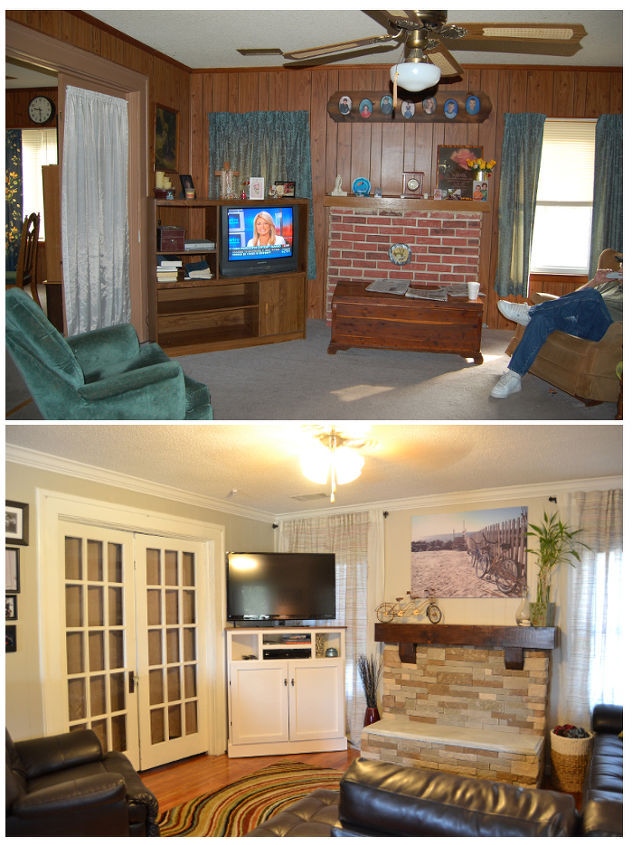
How do you turn that ugly faux-brick eyesore into the thing I can’t stop staring at?
First, convince your husband, that this is a good idea even though you can’t find anything online that resembles the rough Photoshop picture you’ve presented.
Hi DIYers! I was honored when Heather asked if I would guest post on her little corner of the internet! When I'm not getting my hands dirty, I'm busy dreaming of my next project. DIY is my idea of a good time and I love a good before & after! I've spent the last seven years upgrading my 1930 bungalow when time and money allows. Some projects required me to save all my pennies for a long time. But this project? She came in at $300. Grab a cup of coffee. This is a long post!
Happy DIY'ing, friends!
The cost of turning this into an actual fireplace or demolishing the thing was too high since we would have to replace a section of the foundation, an exterior wall, and the roof. So we decided to embrace this useless fireplace.
How do you turn that ugly faux-brick eyesore into the thing I can’t stop staring at?
First, convince your husband, that this is a good idea even though you can’t find anything online that resembles the rough Photoshop picture you’ve presented.
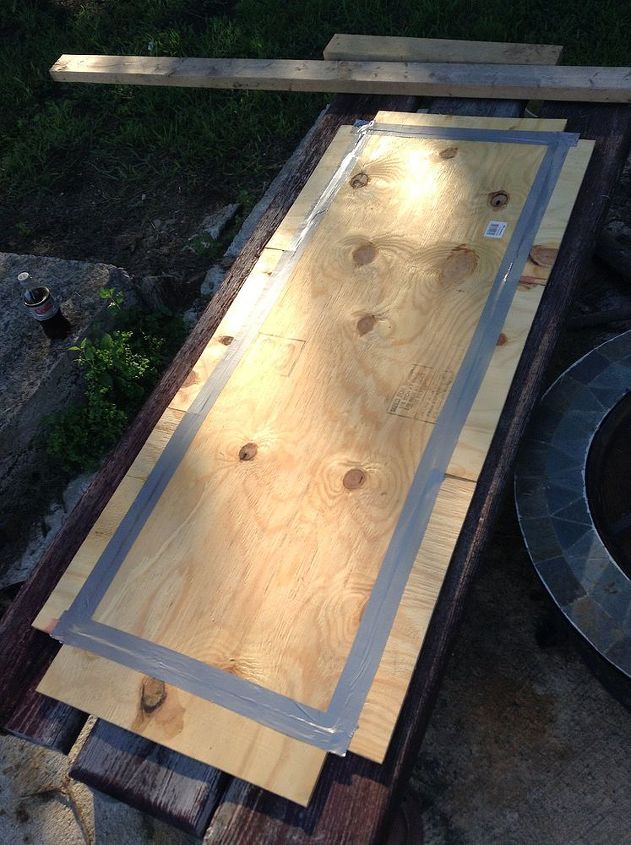
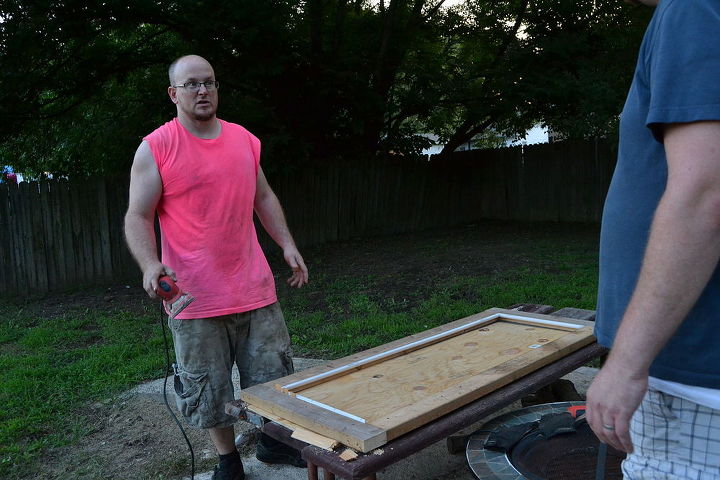
Build a wood frame using 2x4’s, mdf, and anchor the frame to your concrete hearth.
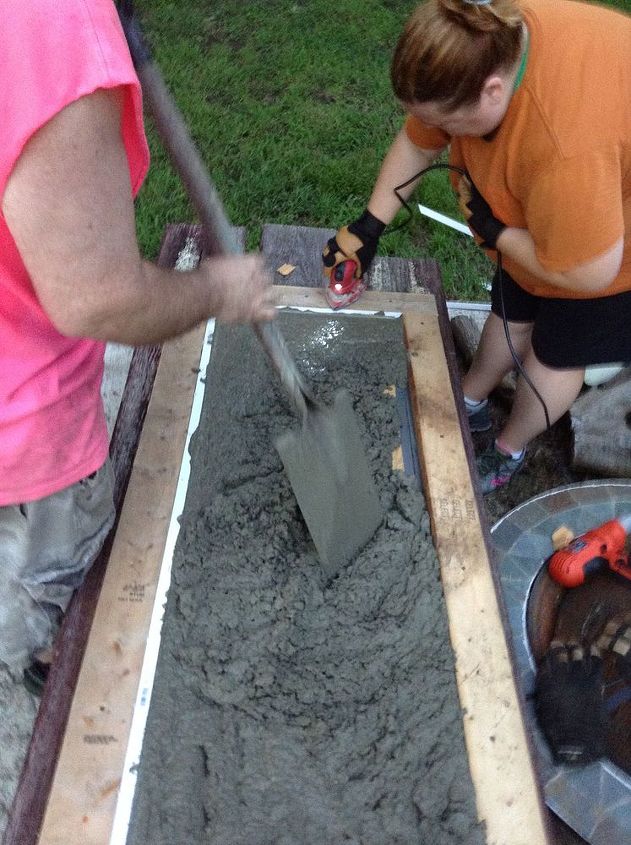
Ask your friend, Eric, to help because he knows concrete better than anyone you know. Mix the concrete, pour it into the mold, while causing a vibration to get out all the bubbles. I used a small sander on the 2x4’s while Charlie tapped a hammer around the frame to cause the vibration.
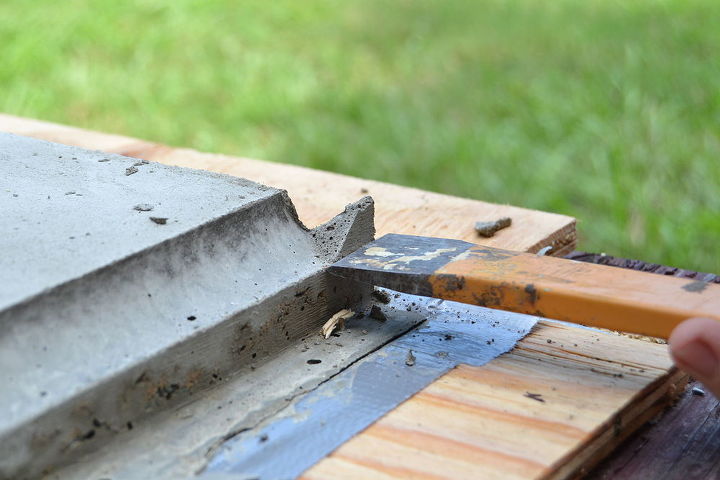
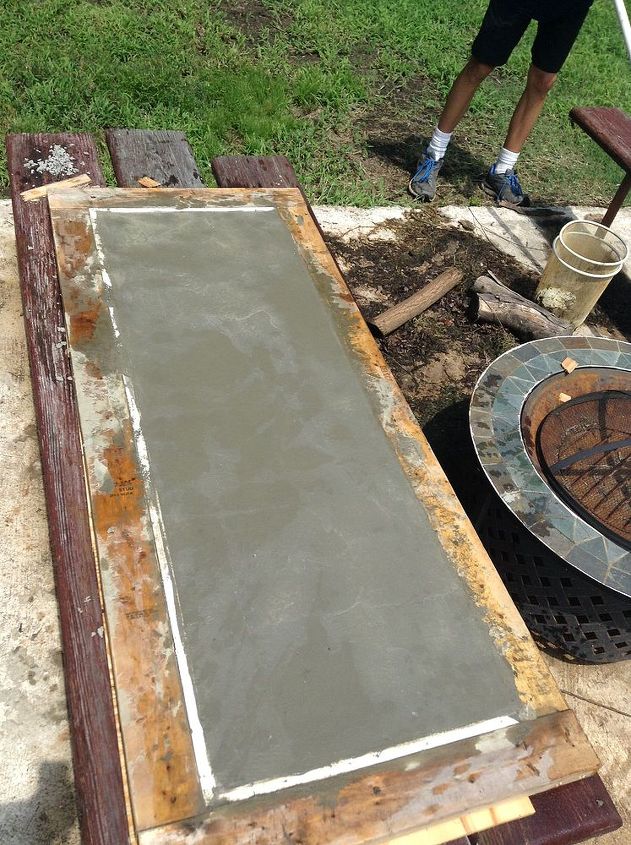
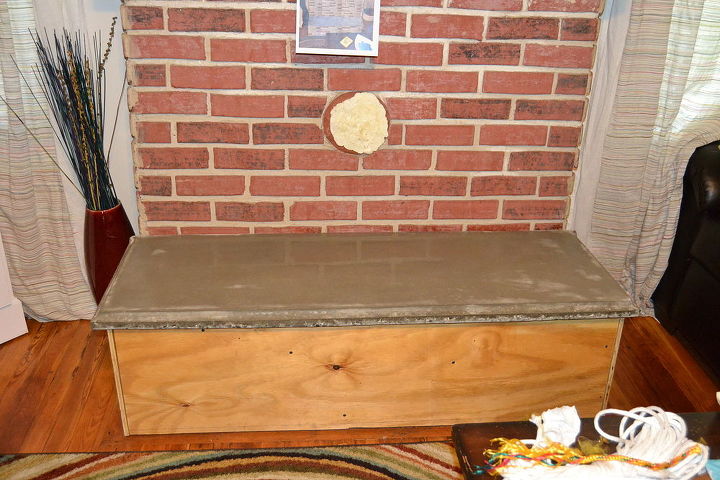
Once your concrete bench has cured, you can remove the mold and smooth any rough edges. We chiseled a few irregular corners and sanded all the edges.
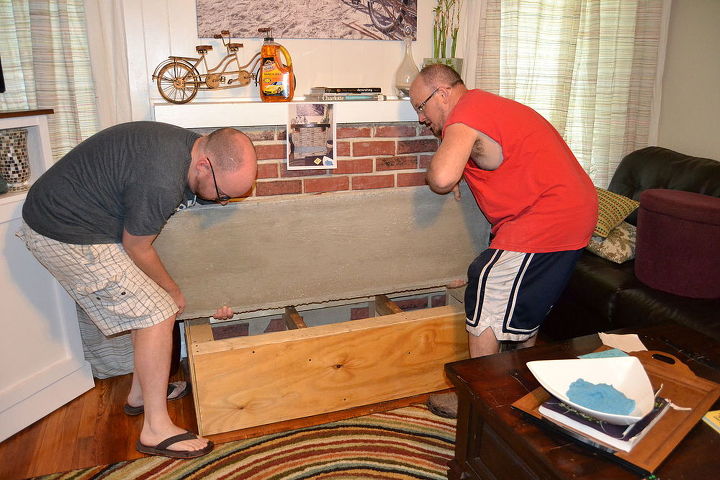
Bribe Eric to come over again. Take pictures while strong men carry a heavy concrete bench and place it on the wood frame. Use Carnuba wax to protect the concrete.
*Did you notice the photoshop image is hanging on the old mantel? That picture saved my sanity as we worked on this project in our spare time over several weeks. Instead of explaining to every single person who entered our home, (“I know it looks weird now but it will look great! It’s already better than it used to be!”) our “inspiration” was posted for all to see.
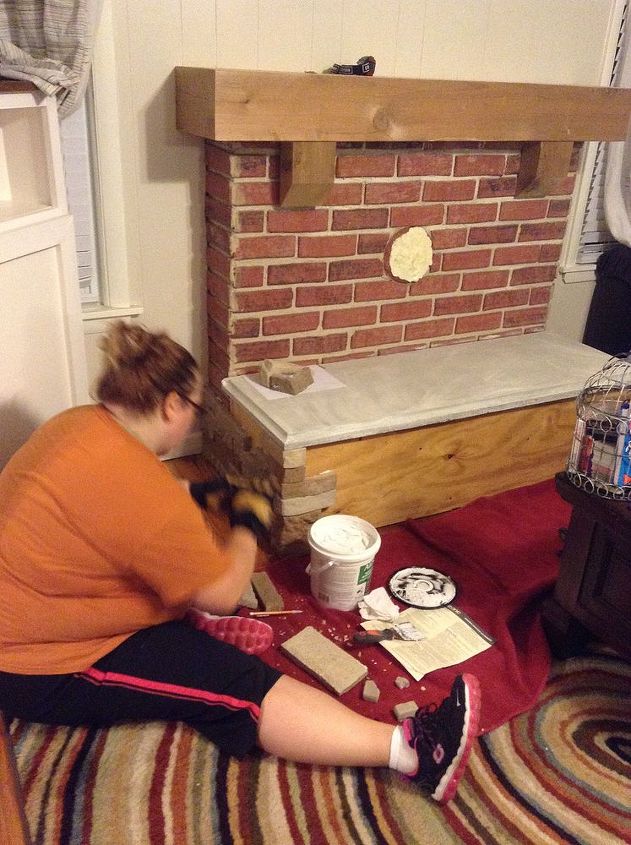
Now you get to have some fun with Airstone! If you are unfamiliar with this product, check out the display at your favorite Lowe's. There are lots of great Airstone ideas online, too! This product is very easy to use and the instructions are simple. A few tips, though:

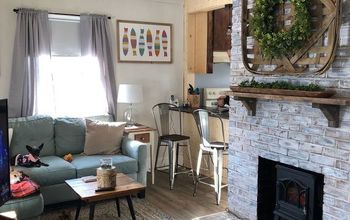
I’m thrilled with the end result! In the future, I might dress up the concrete bench with plants or candles. But for now, we like to use it as extra seating for our family game nights. Next project: sew some cute pillows for the bench.
Please note that there are over 25 pictures and all have details so not all information is included on this post. Please see the blog for full directions!
Want more details about this and other DIY projects? Check out my blog post!
Comments
Join the conversation
2 of 13 comments
-
Well done. Looks airy and the whole place has lightened up. :-)
-
Gorgeous is all that I can say!


Frequently asked questions
Have a question about this project?