


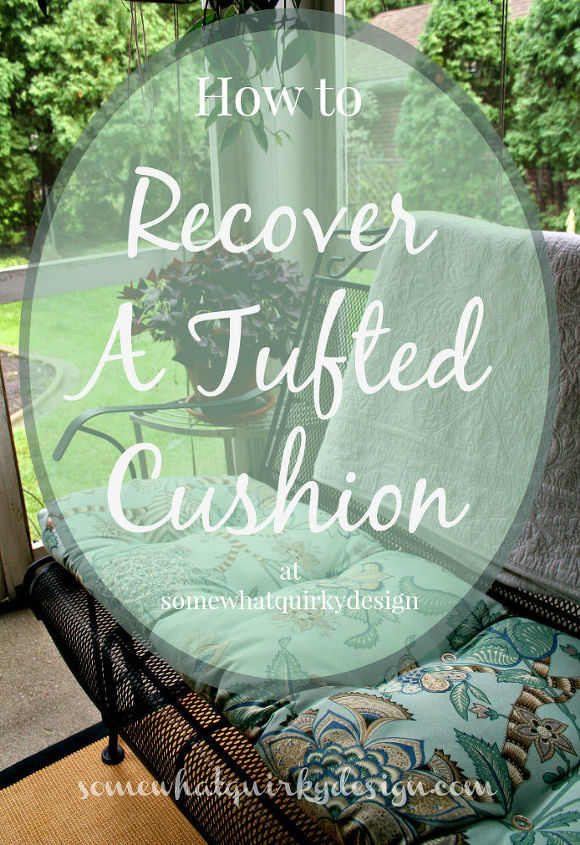
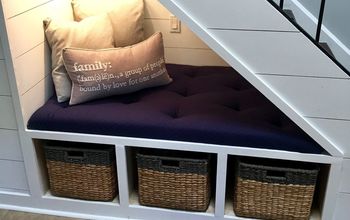
How to Recover a Tufted Cushion
$30.00
2 Hours
Easy
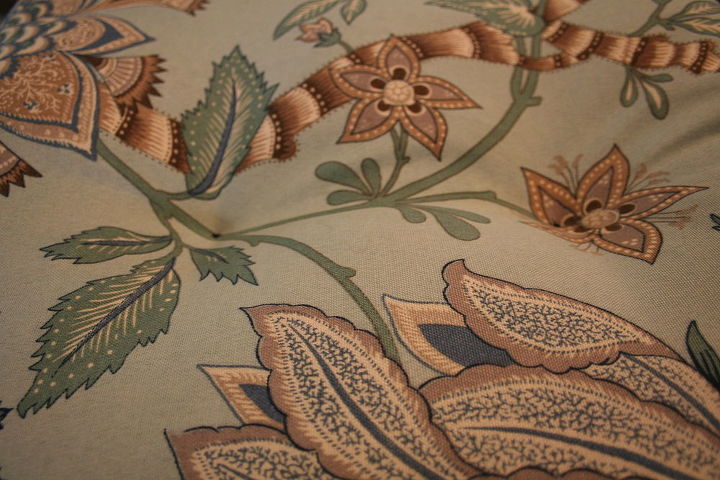
There wasn't exactly anything wrong with this cushion. It just needed a little freshening up. 1 1/2 yards of fabric and 16 buttons took care of that.
The cushion was actually 5 inches too big for the glider that it was laying on so before I covered it I made it 4 inches shorter.
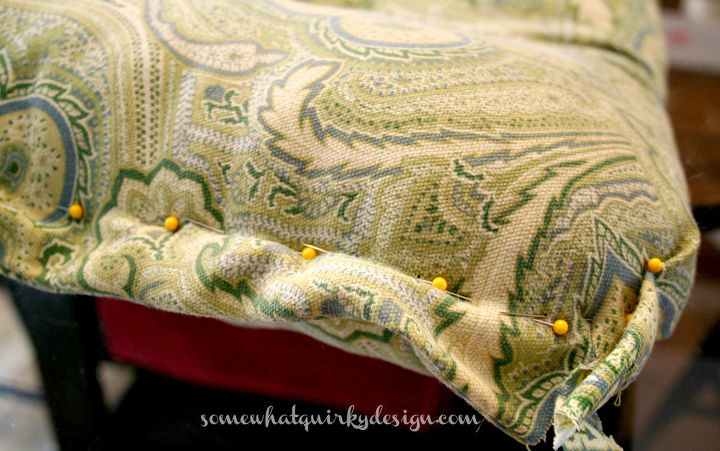
I was able to squeeze about two inches from each side just by pulling the fabric tight and moving the stuffing inwards.
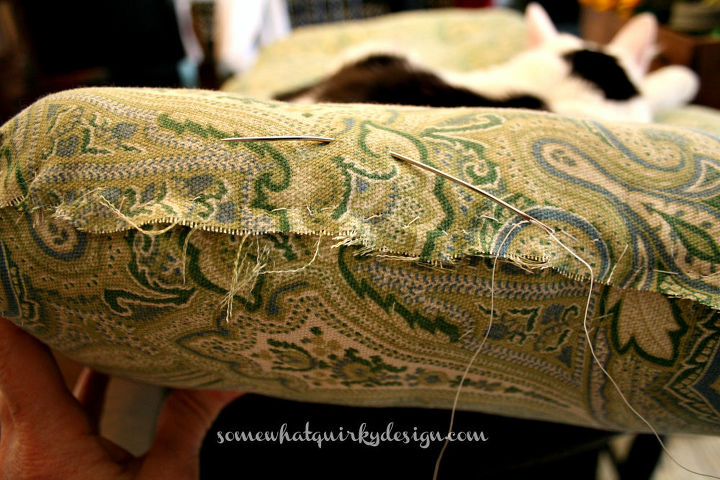
The next step was just cutting off the excess fabric and whip stitching it down.
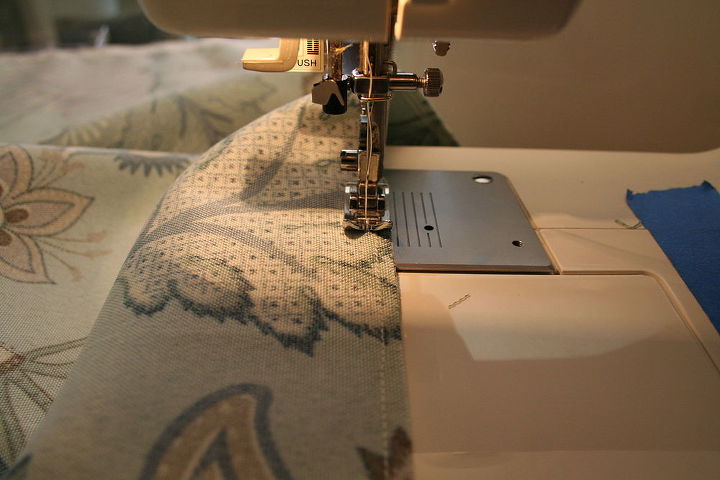
The short version of the tutorial available in the blog post is this: Sew your fabric into a case that fits around the length of the cushion with about 6 inches to spare.
Pin the corners of the sewn end of case to match the curve of the cushion and sew curve with the sewing machine.
Starting at the sewn end, hand sew 8-10 large stitches at each tufted area. Carefully pull in tightly to form tuft.
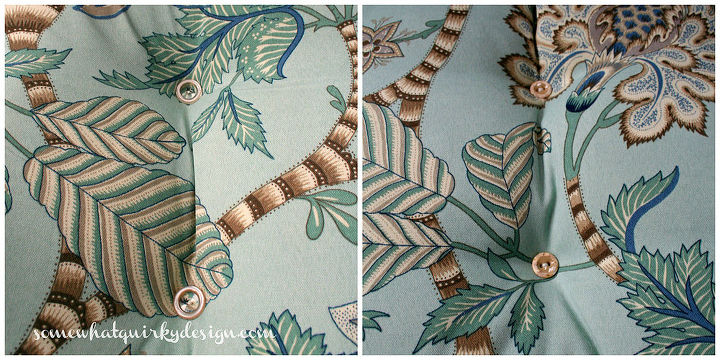
Then use a button on each side of the tuft and stitch tightly together. You can skip the previous step if you are coordinated enough to do this step without "pre-tufting". I was not. It was hard to manage both buttons at the same time.
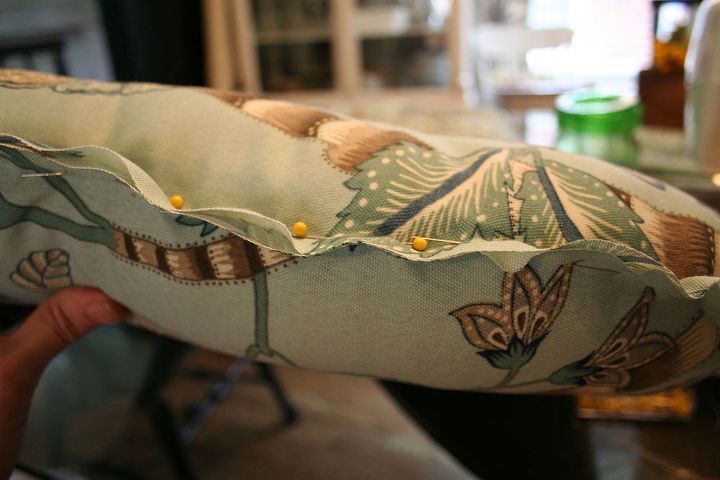
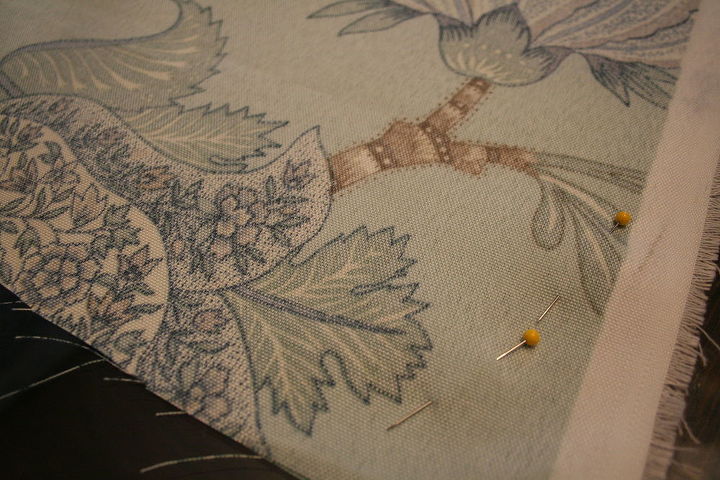
Then pin the open end tightly around cushion and trim to 1/2 inch.
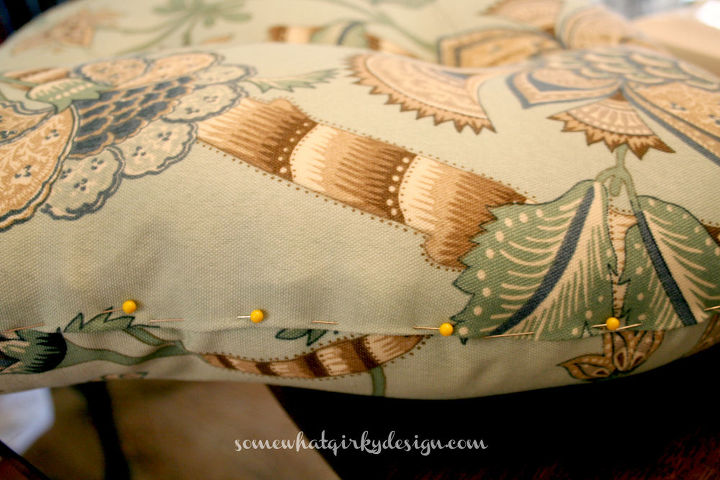
Slip bottom fabric under the top layer, fold top fabric under 1/2 inch and pin. Slip stitch this closed and you have a new cushion! More details about fitting your fabric making this cover is in the blog post.

Want more details about this and other DIY projects? Check out my blog post!
Comments
Join the conversation
2 comments
-
This is really timely and helpful!


Frequently asked questions
Have a question about this project?