


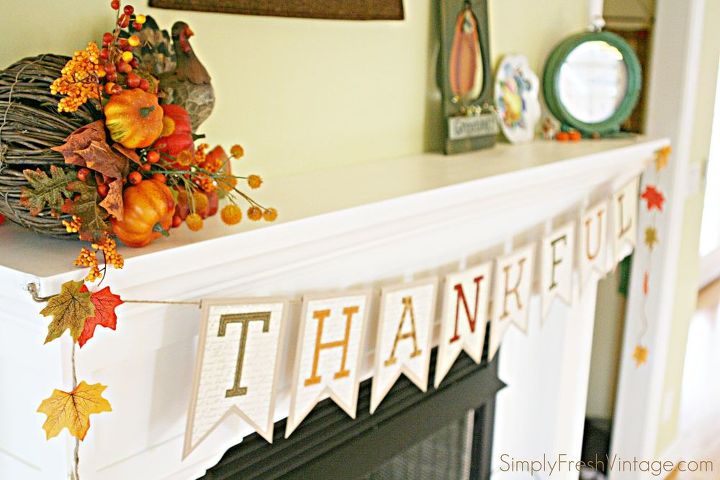
A "Thankful" Banner / Bunting Tutorial
Easy
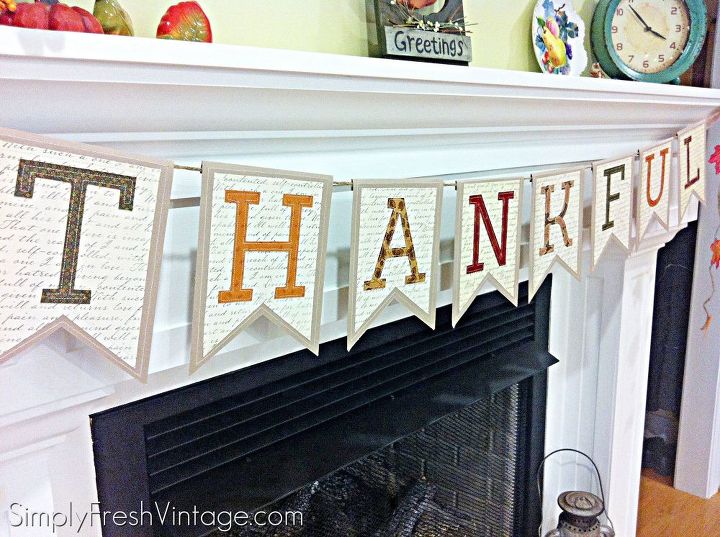
Last year I made a new “Thankful” banner / bunting for our fireplace. I had put up all of the “pretties,” but it was still missing something. So off I went to Michaels to see what inspired me. I came back with a few varieties of scrapbook paper and an idea. I wanted to combine my love for sewing with paper crafting, and at the same time add some fabric for texture. Before long I came up with a fairly simple plan. This tutorial will take you step-by-step through how to make this darling bunting. It can be customized for any holiday or occasion simply by switching out the paper and fabric options, and the letters. Once you get the first one under your belt, you’ll fly through the rest.
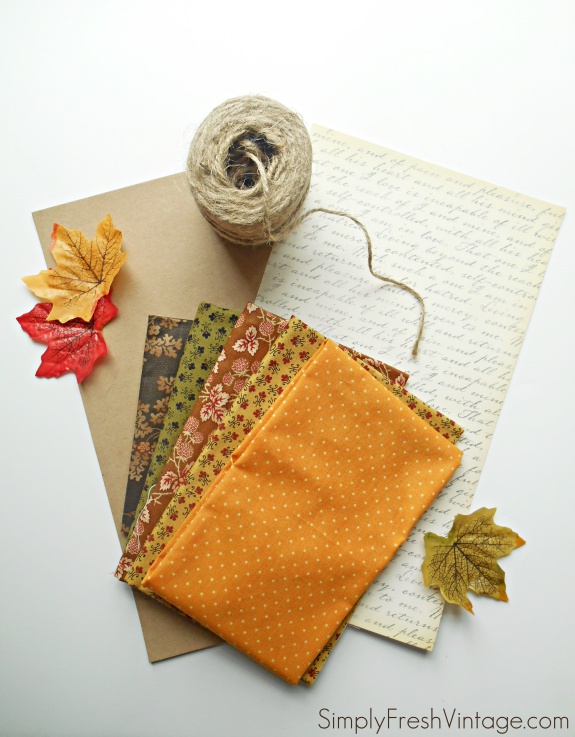
Gather your materials
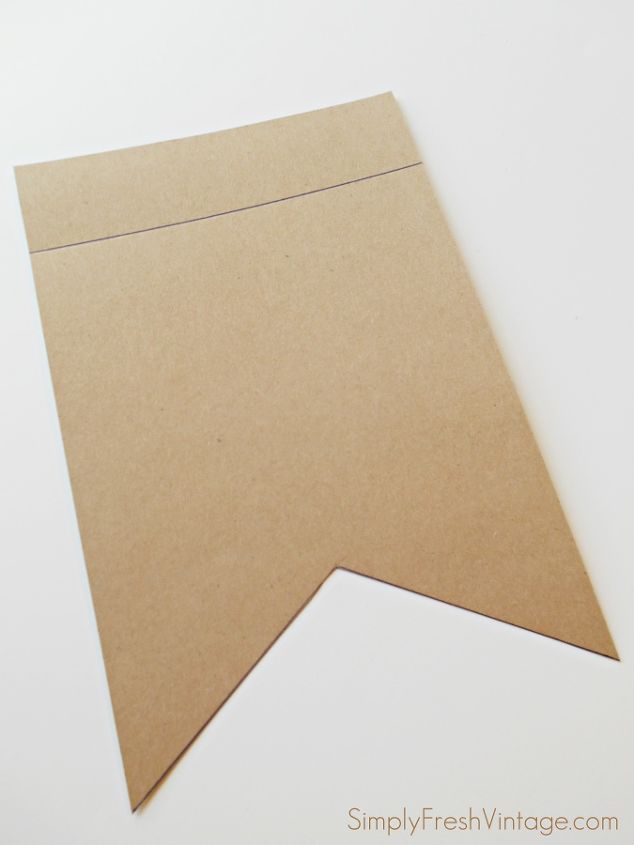
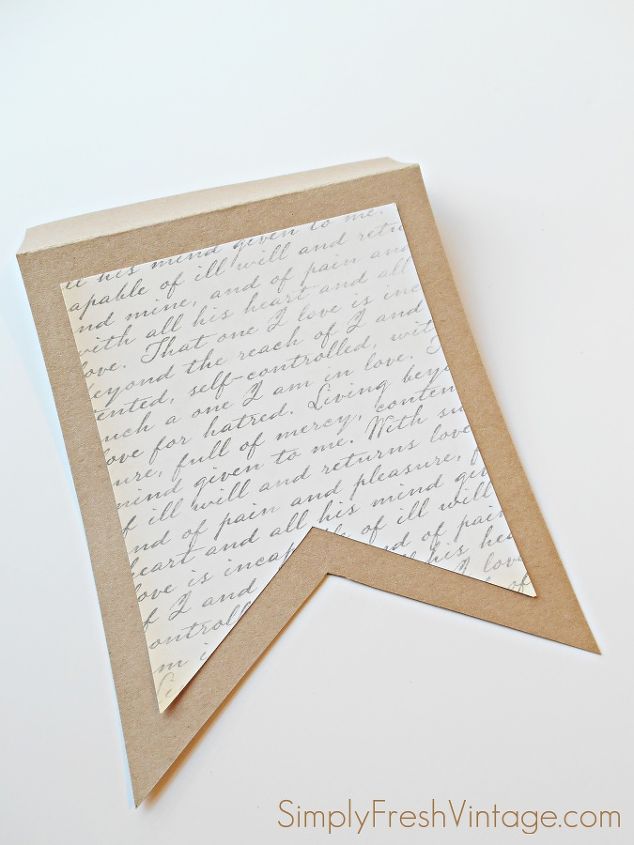
Cut your base piece 6" x 9"; on the back, mark a horizontal line 1-1/2" from the top - press firmly to create an indentation, or a score. From the bottom, make a dot 2" up and 3" over. Draw diagonal lines from the bottom corners to the dot and cut on the lines.
Cut your print paper 5" wide by 6" long (watch those directional prints). On the back, from the bottom, make a dot 1-3/4" up and 2-1/2" over. Draw diagonal lines from the bottom corners to the dot and cut on the lines.
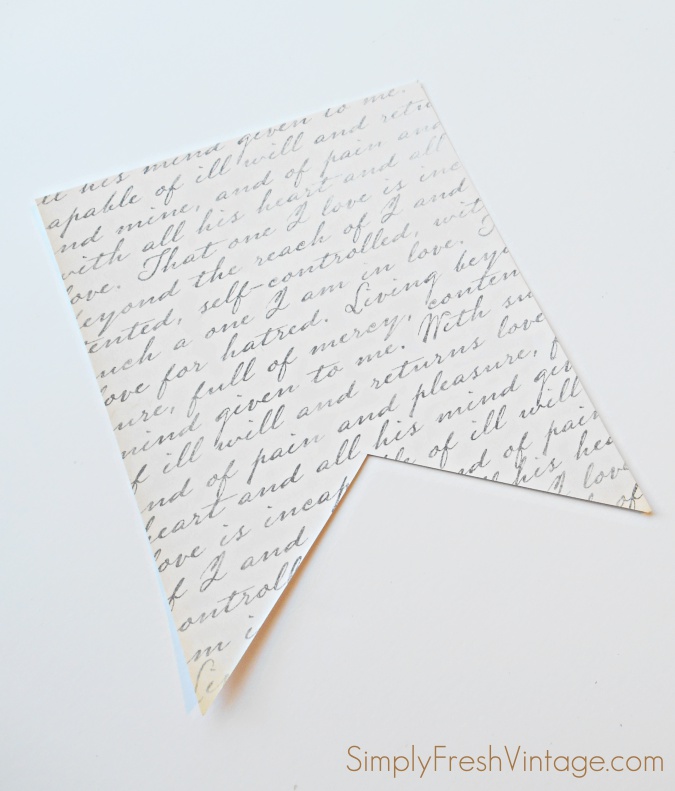
Center the print paper over the base and secure with glue or double-sided stickies.
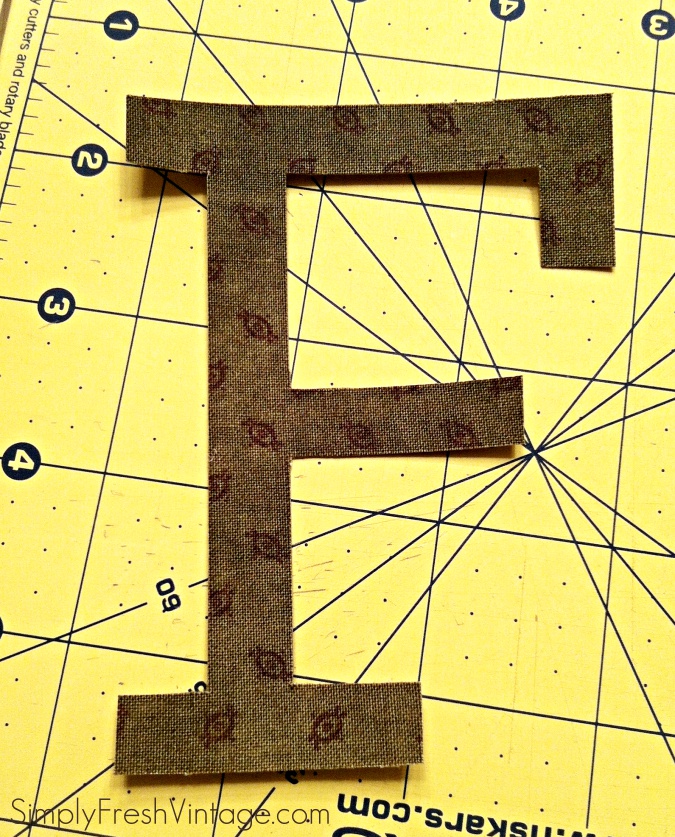
Cut out a scrap piece of cardstock about 4-1/2" by 4-1/2". Trace an alpha letter IN REVERSE on the cardstock.
Center the letter over the print paper and secure using glue or double-sided stickies.
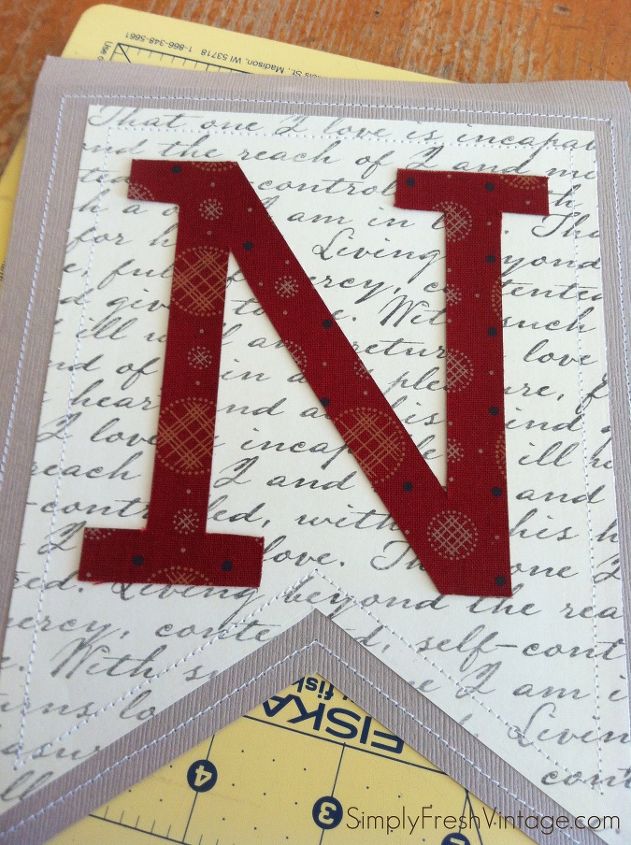
Using your sewing machine, stitch around the base, the printed paper, and the letter, as shown below.
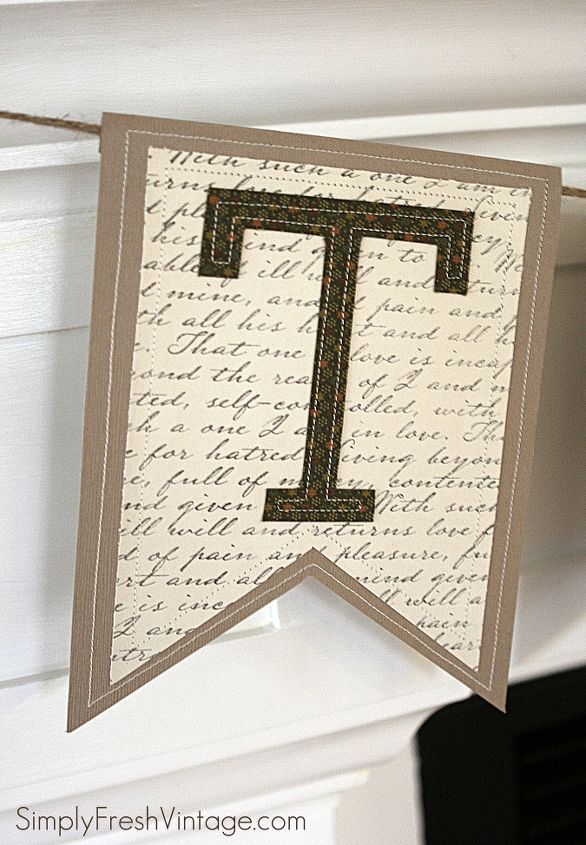
Fold over the back and secure. Repeat for all letters. Run twine or ribbon through the pocket and hang in your favorite spot.
A full pictorial step-by-step tutorial is available on the blog, as well as a downloadable file including templates and the alphabet letters. I hope you enjoy this project and that it brings your home a beautiful reason to be thankful this year.

Want more details about this and other DIY projects? Check out my blog post!
Comments
Join the conversation
3 of 18 comments
-
Fantastic!
-
WOW that is awesome Lani and looks so professionally done!! Beautiful!!


Frequently asked questions
Have a question about this project?