


Create a Realistic Looking Pumpkin Stem Using Mod Podge And!?
I won't bore y'all with details about mod podging the actual pumpkin :-) Those deets are over at the blog, so make sure you check it out if you need step by step info on how to do that. Nope, I'm going to share how I made this realistic looking stem on my plastic pumpkin!
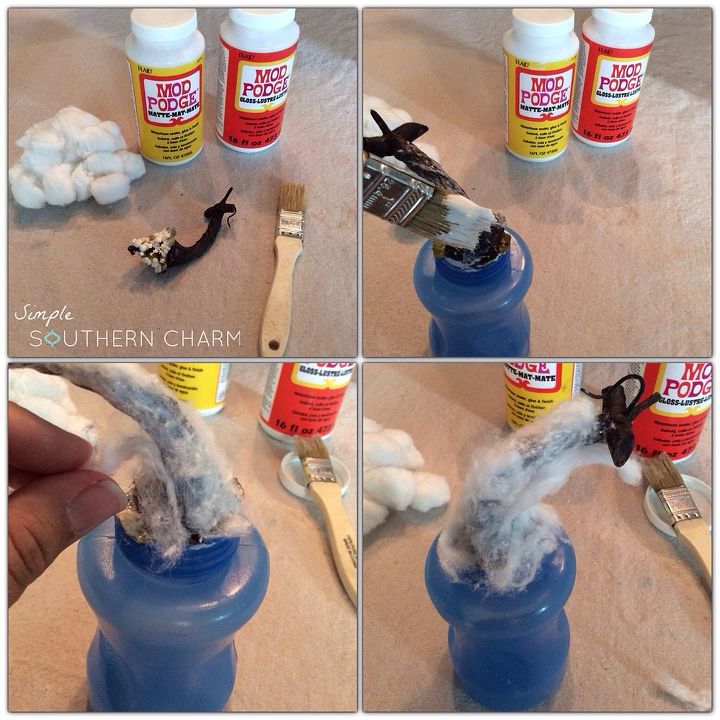
Presumably you have a pumpkin with a removable stem. If not, just do the following steps with the stem attached. Otherwise you can remove your step and proceed. You'll need mod podge, a chip brush and two cotton balls. Pull apart strands, not chunks of cotton. Cover the stem completely with mod podge and apply the cotton strands vertically.
Once it's completely covered, you'll paint a coat of mod podge over the top of the cotton. Be sure to apply it liberally, paying special attention to the base. I pulled several strands of cotton down in order to create a small starburst look at the base. Set it aside to dry. You want it dry to the touch, not completely. Check out my blog to see how I expedited this part! It'll still look pretty ugly at this point :-)
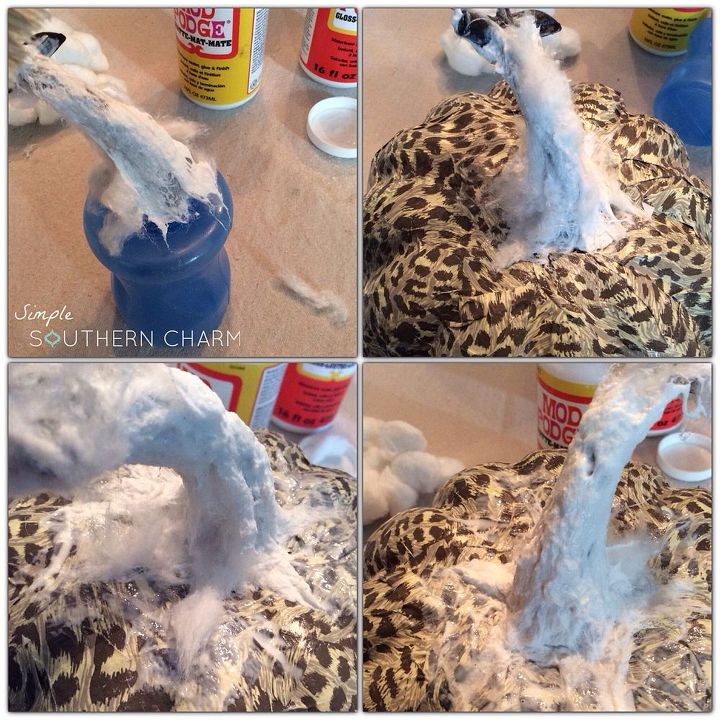
Here's when we make it look like a real stem! I took my thumb nail and made vertical lines in the partially dried Mod podge to simulate to grooves on a real stem. Starting to look a little better, right!?

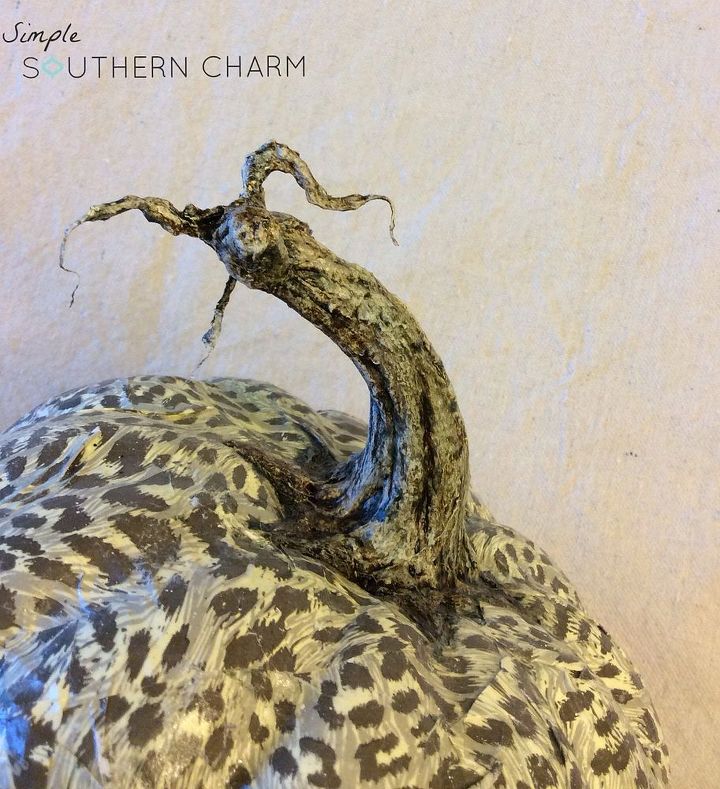
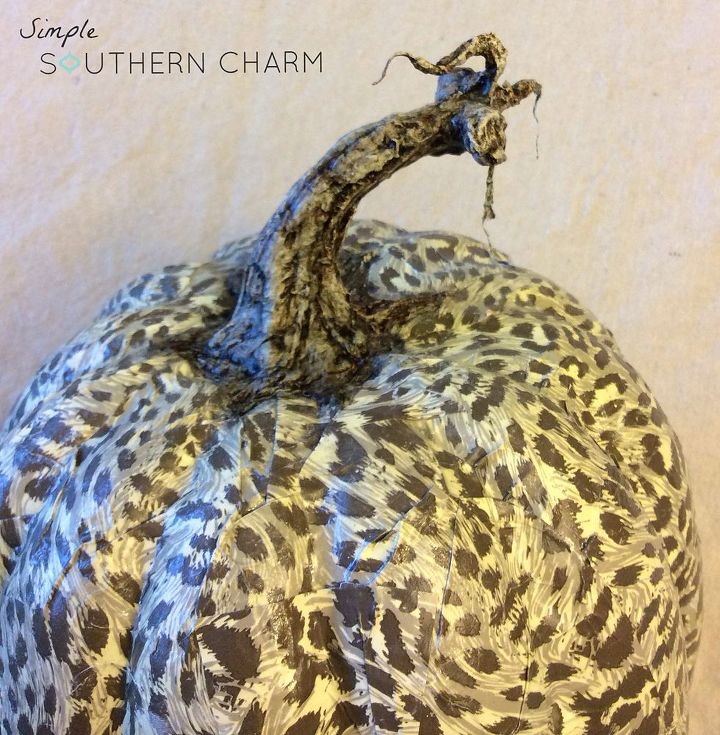
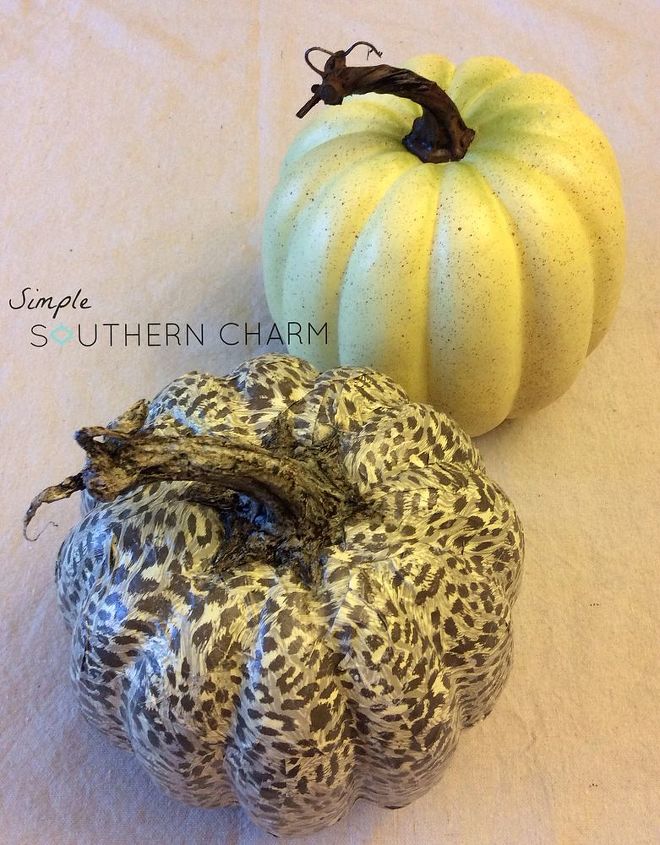
Let that dry overnight and in the AM, you should be ready to paint! I used a few different colors (details and alternatives on the blog!) and I'm so, so pleased with how it turned out!

Here's the finished product! I'd love to hear your thoughts. Please make sure to pop on over to my blog and leave me some love and be sure to subscribe to get my latest updates sent right to your inbox!! Thanks a bunch! xoxox


Comments
Join the conversation
-
Whoa - awesome!
-
What a clever gal you are!!! I also have seen one done with Modge Podge and sisal, followed by paint. You made it very realistic. Happy Fall!


Frequently asked questions
Have a question about this project?