


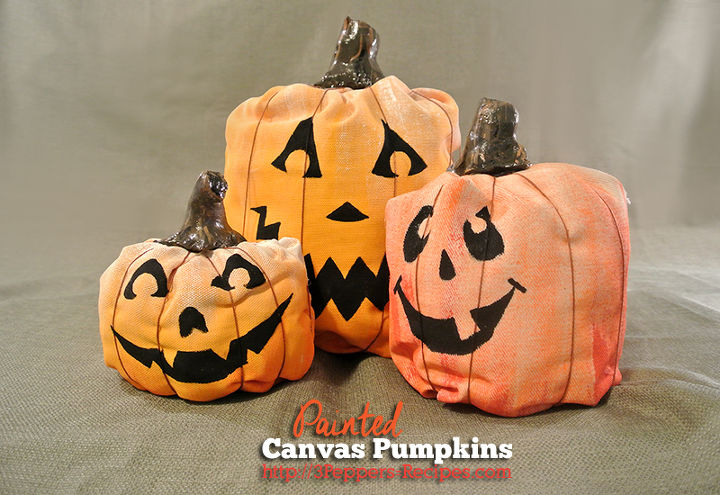
DIY Canvas Painted Pumpkins
$8
3 Hours
Easy
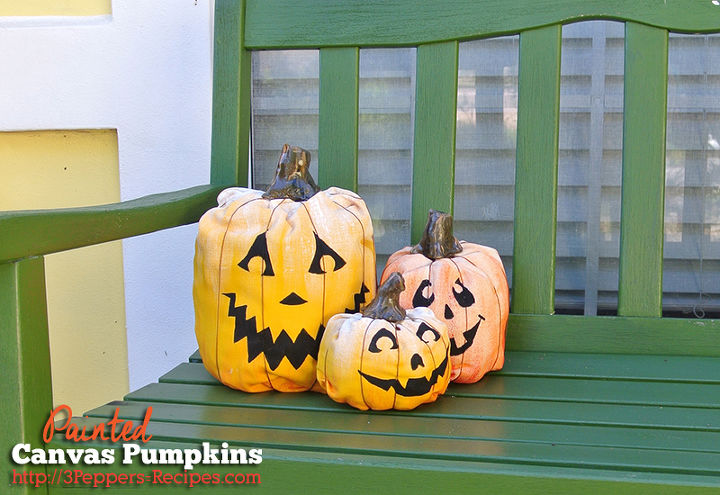
These DIY canvas pumpkins are a completely no-sew option for a “fabric” pumpkin.
I’m jumping on the fabric pumpkin bandwagon here, but I absolutely love the trend. I found the canvas fabric in the Joann’s discount pile, and have had it laying out in the closet for months.
I’m jumping on the fabric pumpkin bandwagon here, but I absolutely love the trend. I found the canvas fabric in the Joann’s discount pile, and have had it laying out in the closet for months.
What you’ll need:
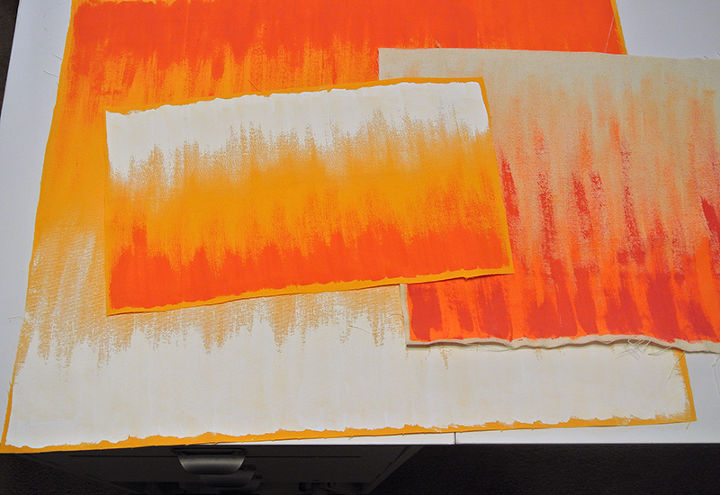
First cut your fabric to the size you want for your pumpkin. I cut 3 different pieces, largest: 25in x 20in, medium: 18in x 13in, small: 16in x 9in.
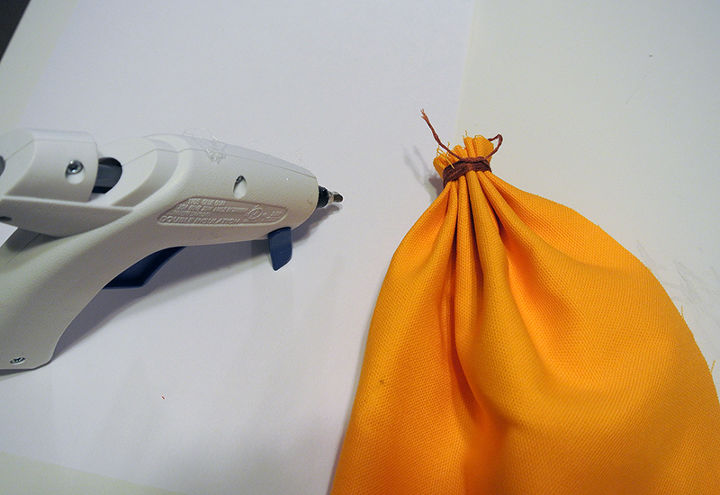
Stuff your pumpkin. I used scraps of Old t Shirts to stuff mine (That’s what I had laying around from previous projects) but you could use pillow stuffing or whatever you want.
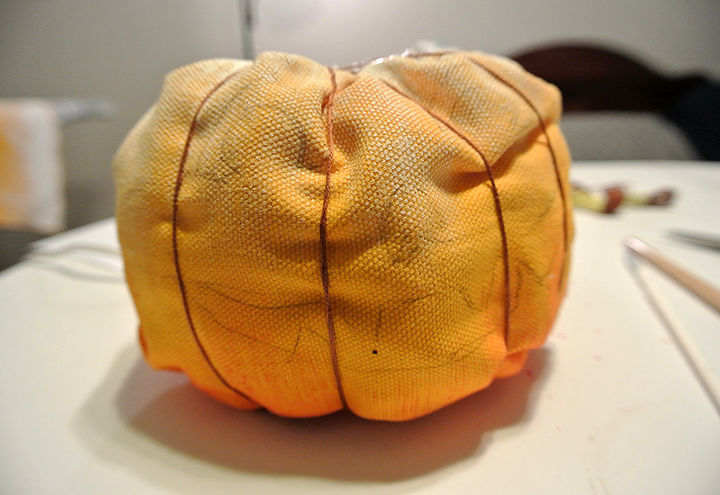
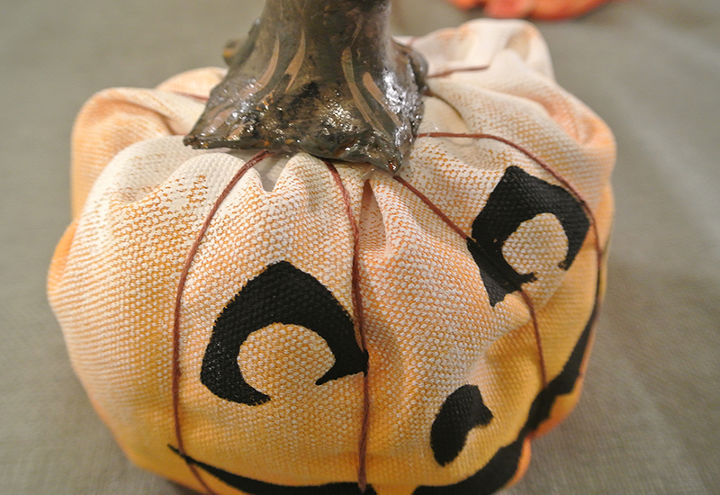
Draw your face on the pumpkin and paint in with black paint. Don’t forget to paint the string where it overlays on the black part.
For the full photo tutorial and more about the painted canvas pumpkins, check out the post below. I hope you enjoyed them!

Want more details about this and other DIY projects? Check out my blog post!
Comments
Join the conversation
2 of 10 comments
-
How very fun. Here I go painting pumpkins. Thanks for sharing. sk
-
Really cute; thanks so much!!!!


Frequently asked questions
Have a question about this project?