


Before & After: Modern Laundry Room Reveal
$100
1 Week
Medium
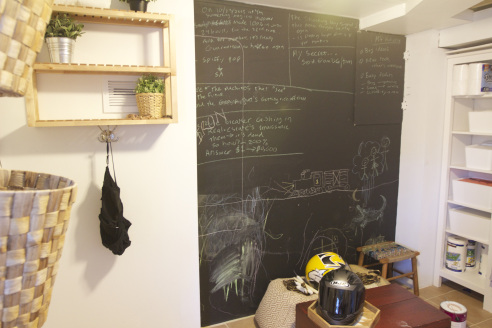
In every place I’ve lived, there’s always that one room that accumulates all the extra. The leftovers, the put-aways, the donations, the I-don’t-quite-know-what-to-do-with-this-right-now-so-I’m-going-to-leave-it-here-and-forget-all-about-its…you catch my drift. In this house, it had become the laundry room (though sometimes it got a little competition from our office).
Ours was a catch-all for everything we didn’t want or couldn’t fit in any of the main rooms, as well as a temporary “Craigslist” room where we kept items we planned on selling.
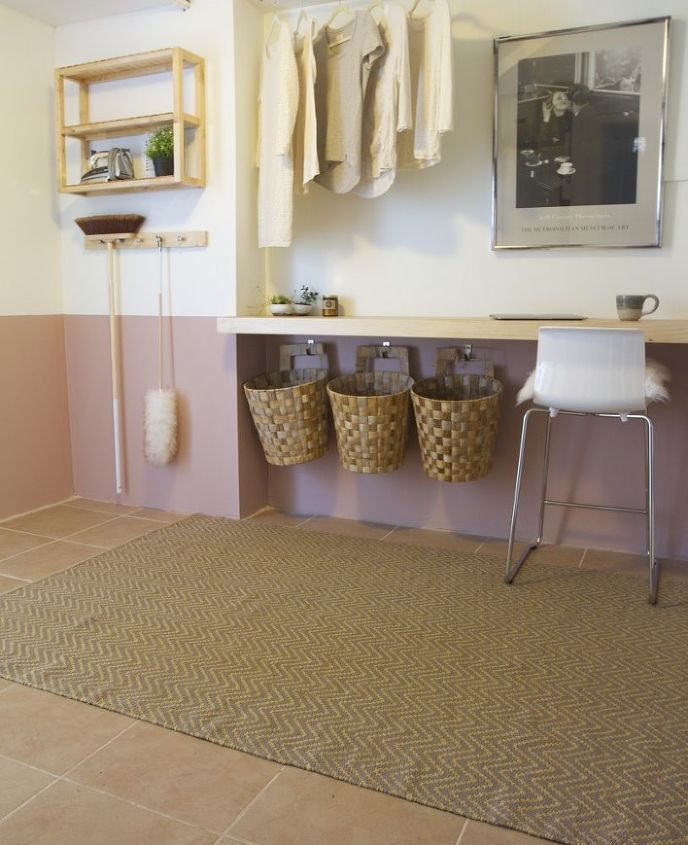
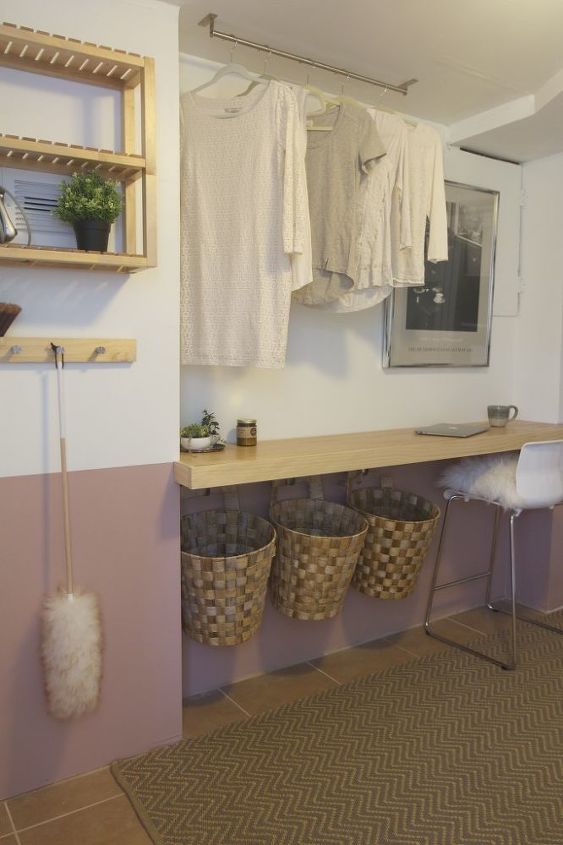
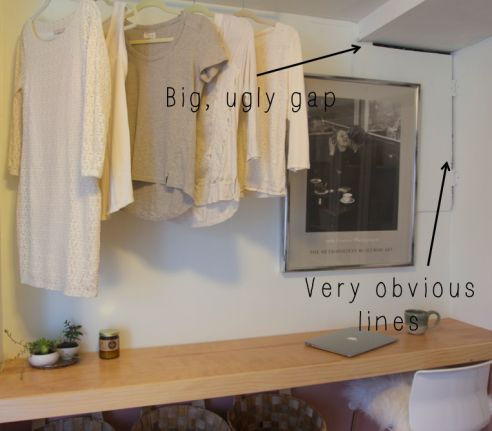
But even still, you will see from the After photos that my plans changed. I decided to use the laundry baskets that we already owned, and simply hung them under the floating shelf. Plus, the wall banner that I made (see my blog for the how-to) didn’t quite “go” as well as I’d hoped, so I hung it in our family room instead and moved in a photograph from our bedroom.
And the after:
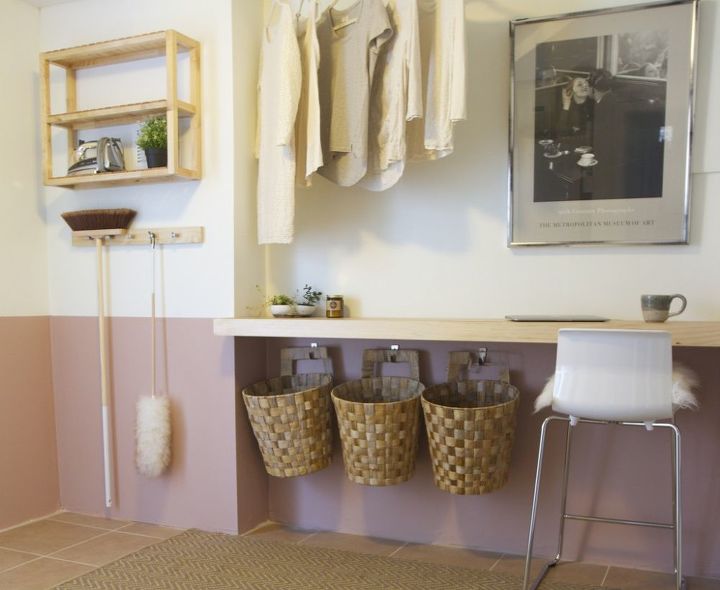
The walls are painted with some oops! paint from the Home Depot, which cost all of $7, and I found the Ikea bar stool on Craigslist for $30. The clothing rod is actually a towel rack from Ikea that cost about $10. I built the peg rack using some extra lumber and Ikea pegs, and color-blocked my broom and duster with some white spray paint.
And after:
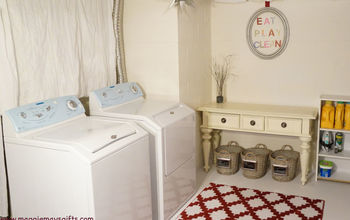
Now, you may notice there is no washer or dryer in these photos. Believe me–we have them, but they are on the other side of the room. However, our hot water heater and air conditioning are also in this room next to the washer and dryer, and there is no drywall on that side. It’s nothing you need (or want) to see, believe me.
For more photos and a complete product guide, be sure to visit Annabode.com!

Want more details about this and other DIY projects? Check out my blog post!
Comments
Join the conversation
4 of 15 comments
-
Not sure if you found an answer but I use an old cabinet door to cover the fuse box. It is painted the same color as the cabinets in the room.
-
If I had a laundry space like that, I'd never leave that room LOL. I did have some ideas for redoing my little laundry space, now with your help I have some really good ideas. Thanks


Frequently asked questions
Have a question about this project?