


Amazing Pool Room Transformation

1,500 square foot Ceramic tile installation in the basement area of this Lakefront property located on beautiful Lake Norris.
Signature Concrete Products was invited to this home by David to provide a quote to restore the blotched color on his stamped concrete patio.
While looking the project over I noticed a lot of ceramic tile in the basement. After informing David we had a 38 year background as a ceramic tile contractor, a commercial flooring installer, a concrete floor leveling contractor, David invited us to provide a quote for the color restoration, the ceramic tile installation, as well as a self leveling floor compound installation.
The results are in the photos below.
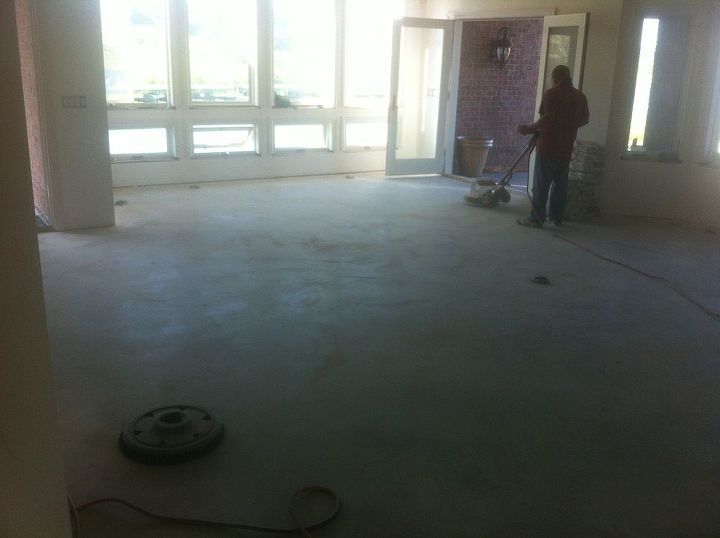
Cleaning the concrete
Using SureCrete’s SCR will clean, mildly degrease, etch and profile the surface preparing it for the floor leveling compound. We scrubbed the concrete with a black scotch bright pad attached to a floor buffer, then used a shop vac to wet vac the surface.
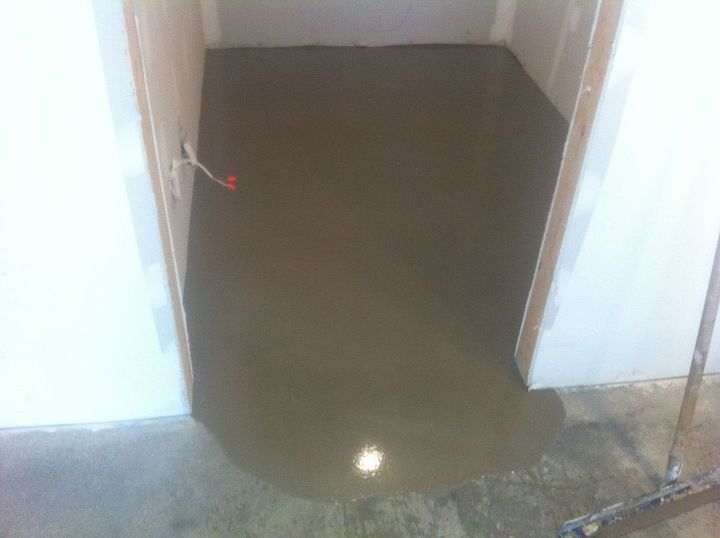
Floor leveling in the guest walk-in clos
After priming the floor the self leveling compound installation starts in the walk in closet, progresses to the guest bedroom, then the hall way leading out to the pool room.

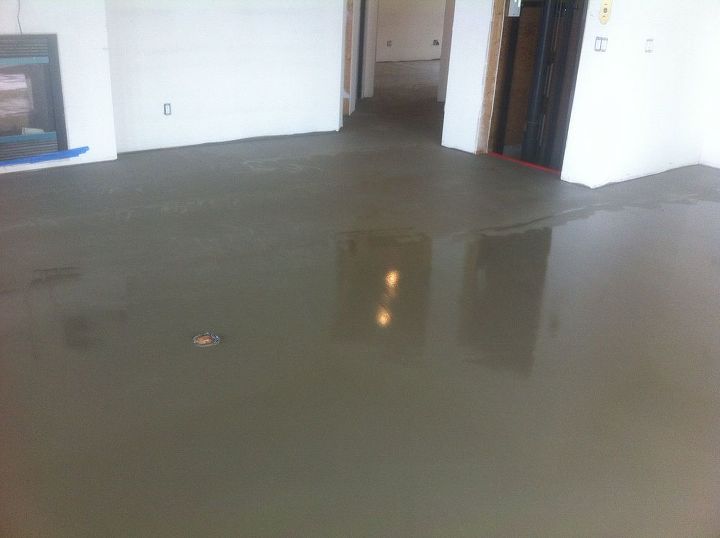
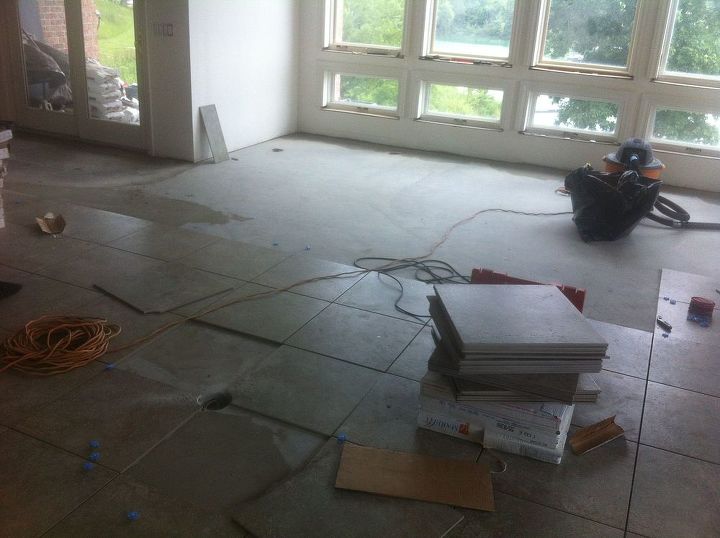
concrete floor leveling in the pool room
The first sections of self leveling underlayment are starting to cure. The product is walkable in a few hours and the flooring can be installed in about 18 hours.
More self leveling compound gets installed
The concrete leveling continues nonstop until the self leveling underlayment system covers the entire floor
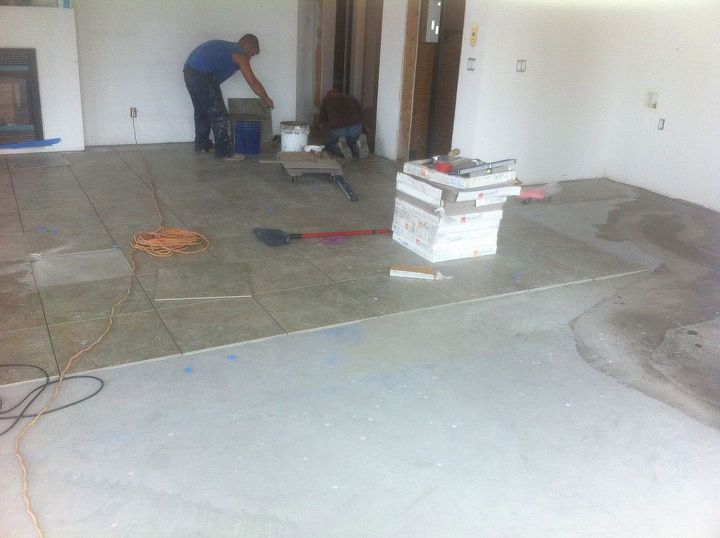
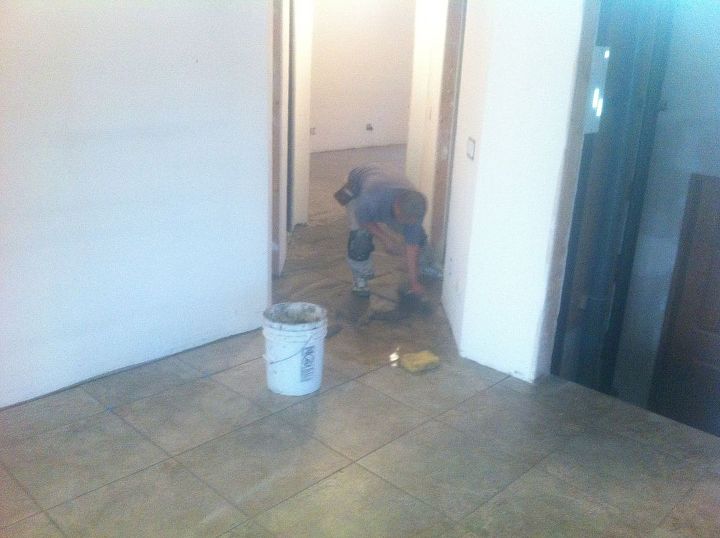
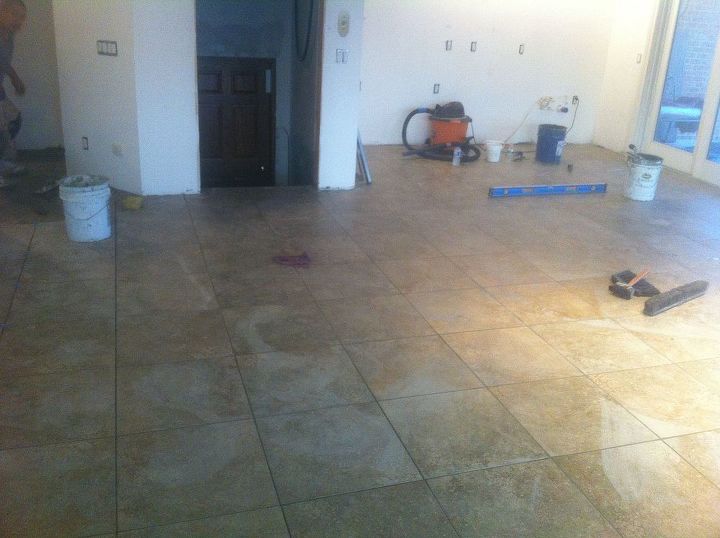
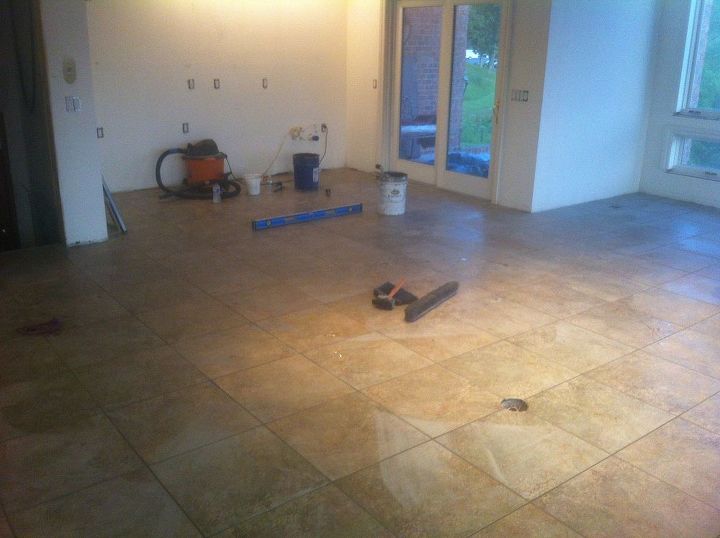
The installation of ceramic tile in the hall
The installation of ceramic tile is complete in the bedroom and partially completed in the pool room. The ceramic installation in the hall was all on a diagonal, so we chose to layout the measurements and install the pool room first. Turned out to be a good choice as the layout worked perfect.
Ceramic tile around electrical outlets
The ceramic tile installations around the round electrical outlets in the floor were a real challenge. All hand cut with a diamond blade in a floor grinder.
Applying ceramic tile grout in the hall
Grouting the ceramic
More grout
Grout cleanup with a grout cleanup system. Saves hours of time and leaved the grout level like it should be with this porcelain tile
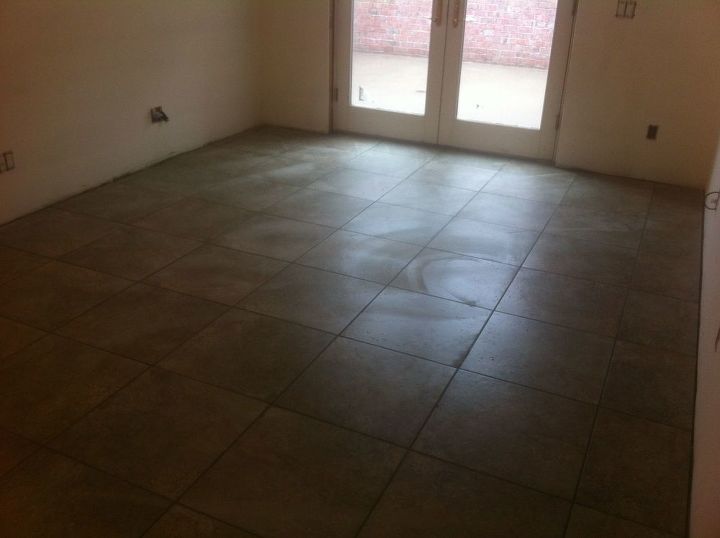
Guest bedroom finished
Moving on to the pool room.
Grout done.
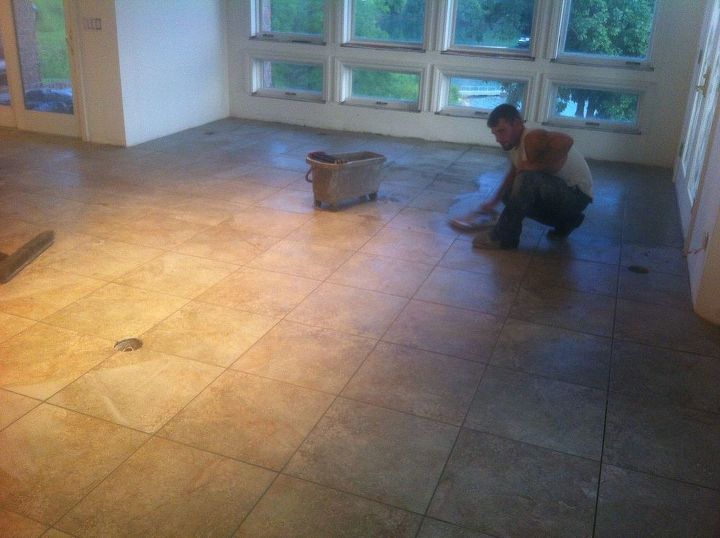
Pool room installation and grout complete
Grout and ceramic finished A little Detail work remains.


Frequently asked questions
Have a question about this project?