


DIY Milk Paint Guide for Beginners
Easy
Why paint with milk paint? In a nutshell, it's because it calls for NO PREP WORK. No priming, sanding, dusting...nada. It also dries very quickly - usually 30-60 minutes between coats, and it's a very forgiving paint, hiding even your brush strokes.
Better still, the paint is made of all naturally-found ingredients, such as clay, lime, and earth pigments, which makes it free of toxins and harmful chemicals (VOC-free) and biodegradable. If it's winter, I can still paint with it inside the house with closed windows and be just fine.
Better still, the paint is made of all naturally-found ingredients, such as clay, lime, and earth pigments, which makes it free of toxins and harmful chemicals (VOC-free) and biodegradable. If it's winter, I can still paint with it inside the house with closed windows and be just fine.
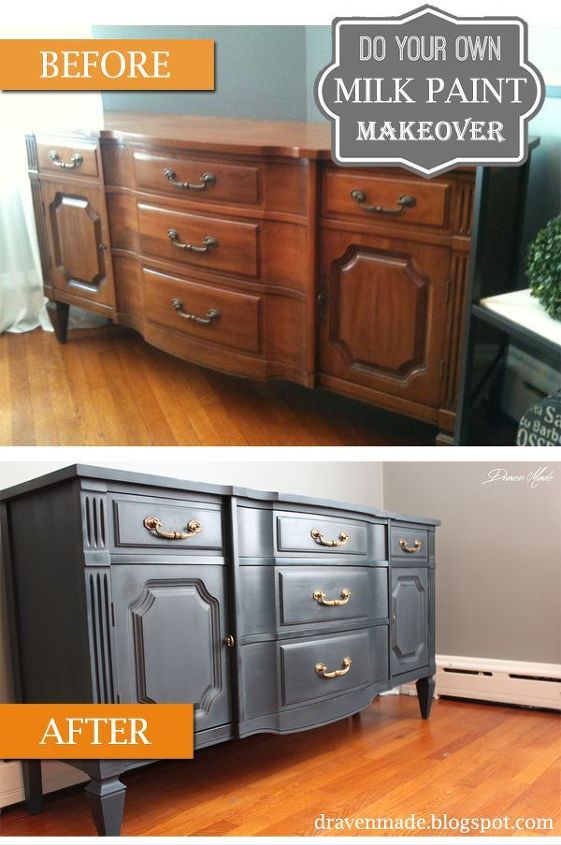
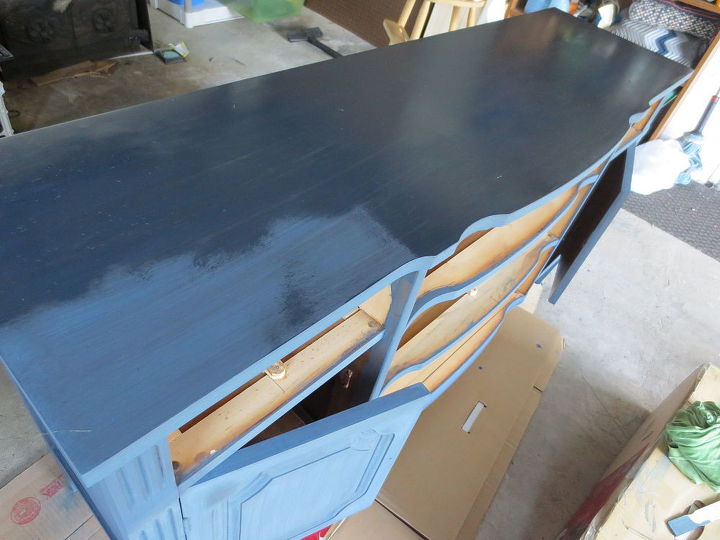
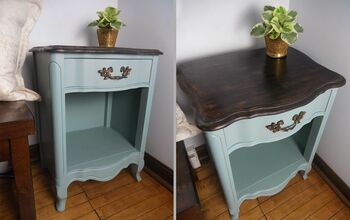
I picked up this buffet table for our dining room at an estate sale for exactly what I'd budgeted for ($75!). It's a sturdy wood piece in great condition with no scratches or missing fixtures. And just look at those sexy legs, eh?
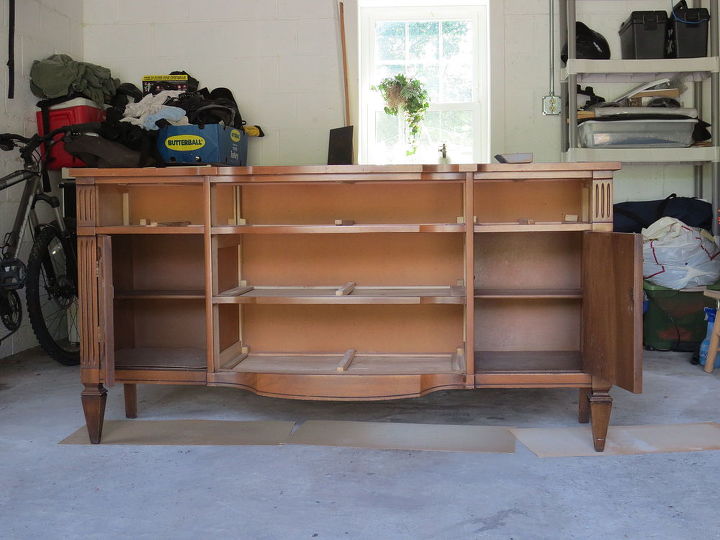
I went into this project optimistically, as most of us do when we're rarin' to go on something new and exciting.
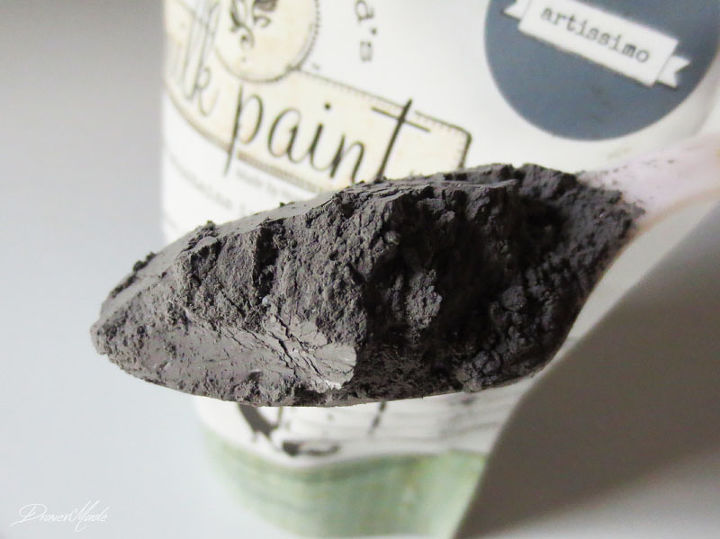
The first hurdle is that milk paint usually comes in a powdered form. You spoon out the amount you need, add water and mix it until it becomes smooth.
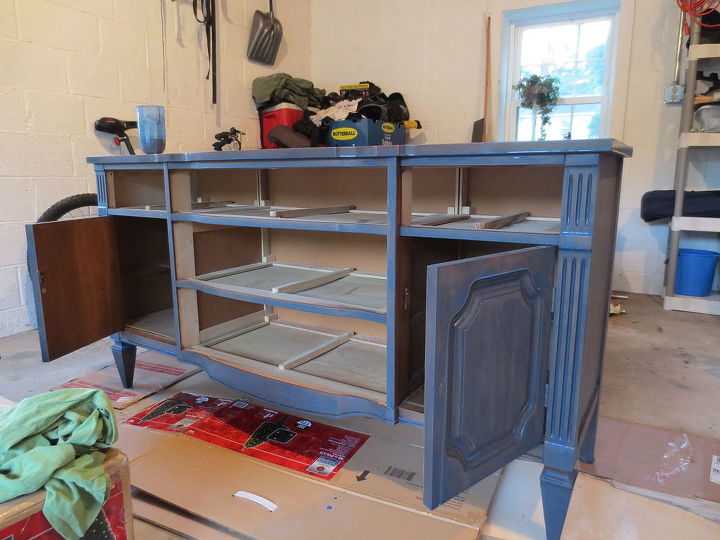
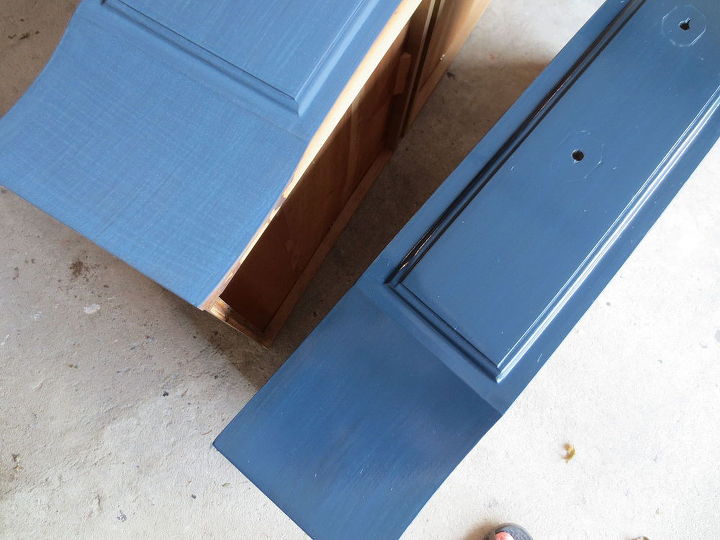
After the first coat of paint had been applied and allowed to dry overnight, I examined the buffet the next day and felt that I seemed to be doing a-ok; the paint was a little on the thin side with coverage on the wood, but from what I had seen and read on the MMS Blog about the subject, I was expecting it to be that way and to need two coats. Better yet, the bonding agent seemed to have done its job as I saw no flaking.
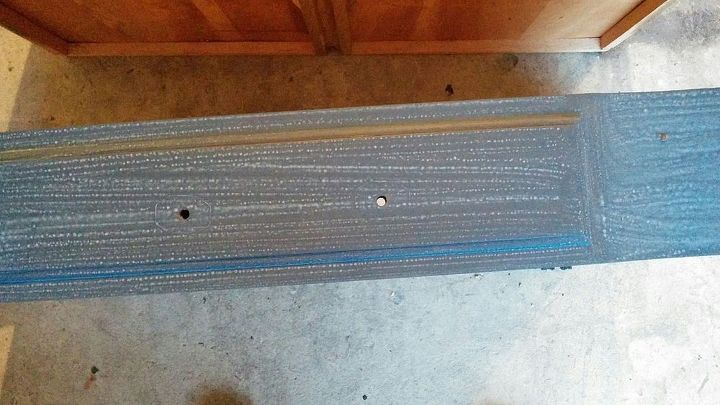
They didn't seem to be air bubbles, as the paint was still smooth to the touch. Not knowing what else to do, I sanded it all down to the first coat (and some areas frustratingly became thinner than the first coat) and re-tried it with a new brush.

Want more details about this and other DIY projects? Check out my blog post!
Comments
Join the conversation
4 comments
-
You had me at no prep work! Love the color too :)
-
Great teaser! Will be going to check out your blog.


Frequently asked questions
Have a question about this project?