


Everything You Need to Know About Saving Heirloom Seeds

by
Craftsy
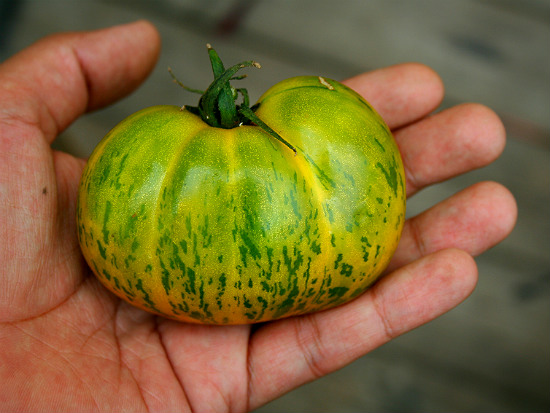
Do you hate to see your favorite tomato plant wither and die at the end of the growing season? Saving heirloom tomato seeds is fun and easy, and the best way to preserve the genetic diversity of these delicious and beautiful plants.
Why do You Want to Save Heirloom Seeds?
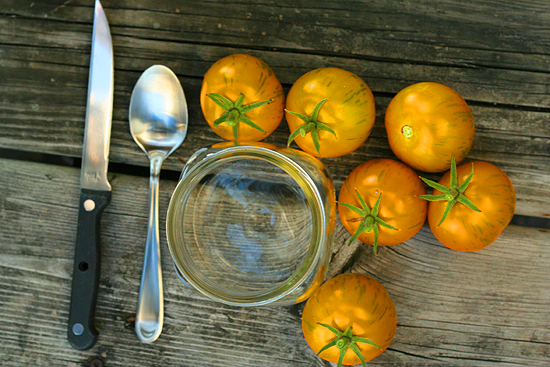
Tomato Seed Saving Supplies
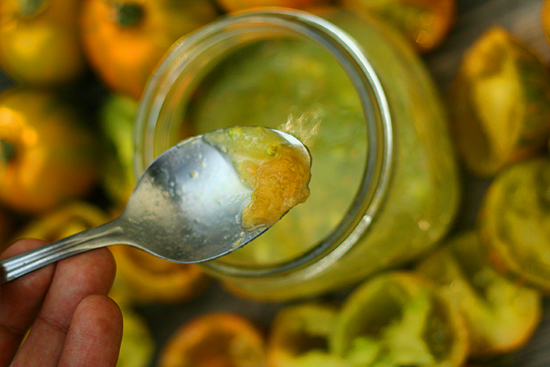
Step 2:
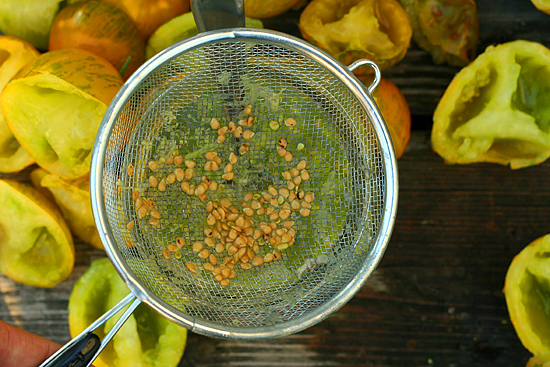
Step 4:
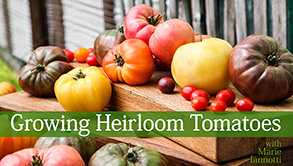
Get the techniques you need to grow healthier heirloom tomatoes year after year!
Want more details about this and other DIY projects? Check out my blog post!
Comments
Join the conversation
2 comments
-
Thanks for your article about heirloom seeds. Over the past few years, we have learned a lot about the importance of growing our own vegetables to stay healthy and avoid the problems of commercially grown products with GMOs.
-
Great advice.


Frequently asked questions
Have a question about this project?
I have saved heirloom tomatoes for last 3 years now. I love planting them and sharing them with family and friends too. I save mine however a little differently. I cut them open like you explained. Only I wash mine out immediately and then put them on a paper towel to dry. Write the name on my napkins. After they are fully dried, I fold the napkins and place them in a freezer bag, put them in the freezer until it’s time to plant seedlings the following year. Is there anything I’m doing wrong with this method?