


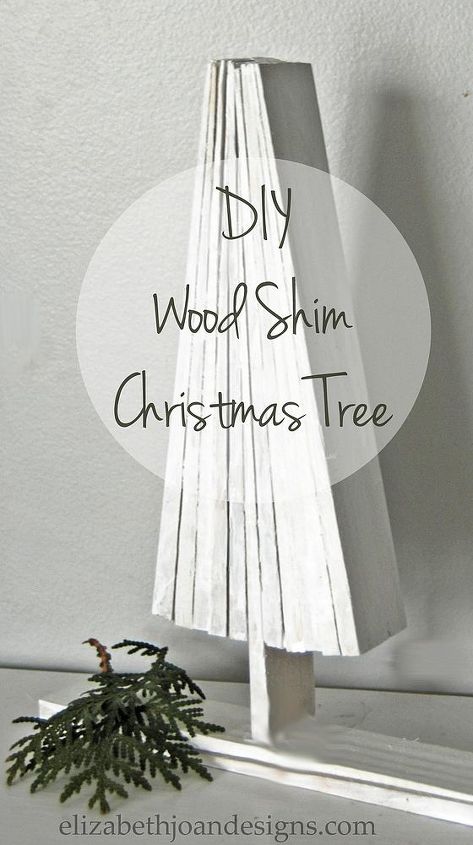
DIY Wood Shim Christmas Tree
$2.00
Easy
if you like to spend hundreds of dollars on each of your holiday decor items, then this post isn’t for you. But if you like cute, cheap, and easy projects then stick around and I will show you how I created an adorable wood shim Christmas Tree for less than $2.00.
Supplies
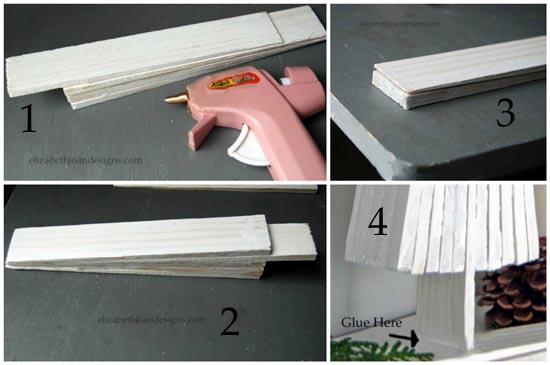
1. Start by hot gluing a few of the wood shims flat on top of one another. Make sure to line up the narrow ends, which this will be at the top. For the trunk piece. you will want to glue it about 1 1/2 inches down from the top of the other glued pieces. It should stick out a little bit from the rest.
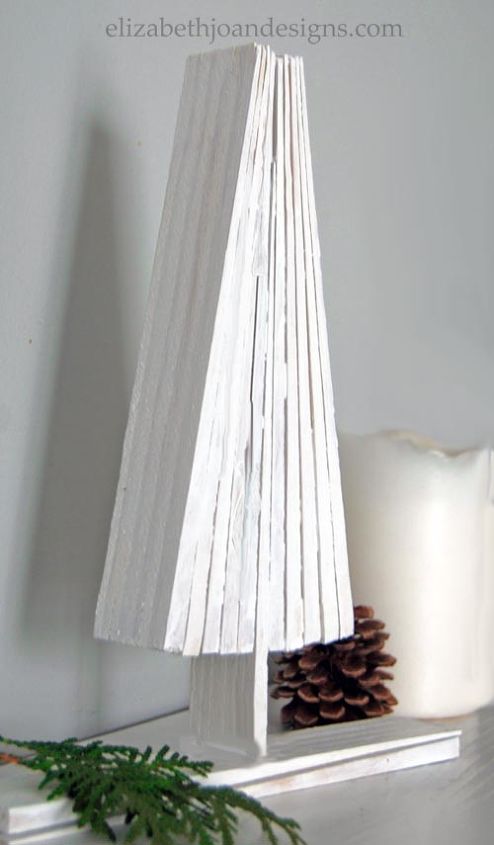
This project is a fun modern spin on a traditional Christmas tree decoration.

Want more details about this and other DIY projects? Check out my blog post!
Comments
Join the conversation
2 of 5 comments
-
How cool!
-
Really cute. I prefer yours but if you had children they could glue little things on their own to decorate it.


Frequently asked questions
Have a question about this project?