


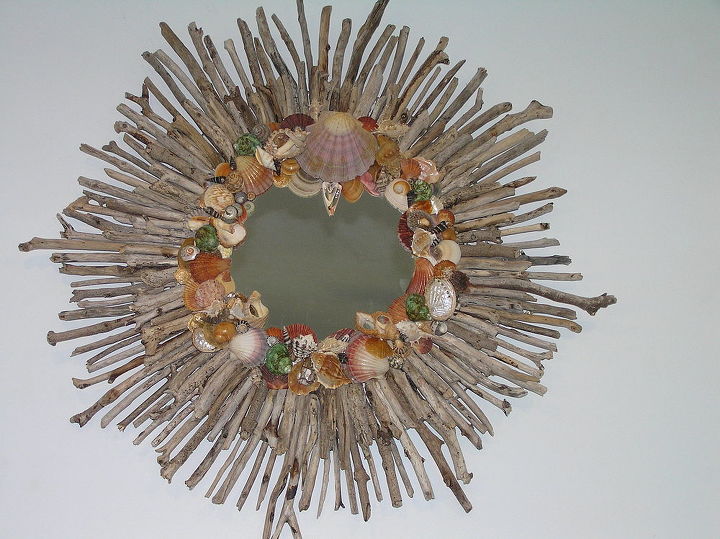
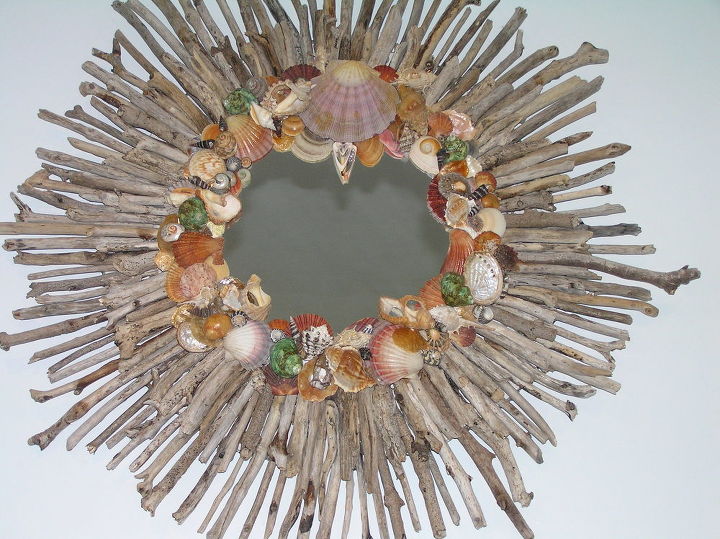
StarBurst Driftwood & Shell Mirror

by
Nerida
$50.00
10 Hours
Medium
G'Day. Over the last couple of years I've collected the driftwood and shells from our beach, with this project in mind and at last I've attempted it. I had to purchase a few special shell to add to the appeal, and I'm pretty happy with the result.
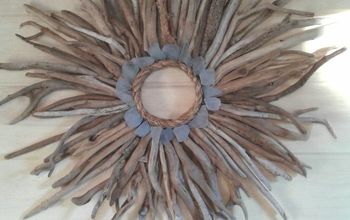
I used a piece of ply-like sheeting that is called Masonite, and cut this into a round shape just a bit smaller than the small driftwood pieces and as I needed the mirror to be level with the driftwood I used a piece of one of those foam boxes that veggies come in at the green grocers. It's about 1" or 2cm thick. Glue this to the centre of the round masonite.
I used a piece of ply-like sheeting that is called Masonite, and cut this into a round shape just a bit smaller than the small driftwood pieces and as I needed the mirror to be level with the driftwood I used a piece of one of those foam boxes that veggies come in at the green grocers. It's about 1" or 2cm thick. Glue this to the centre of the round masonite.
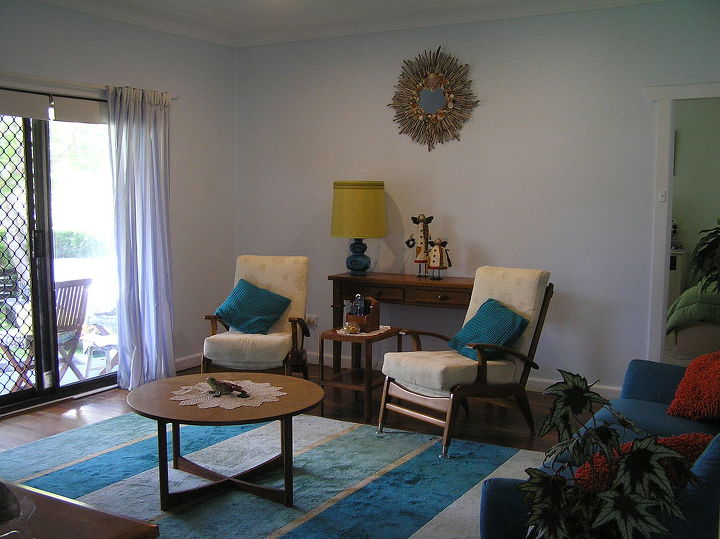
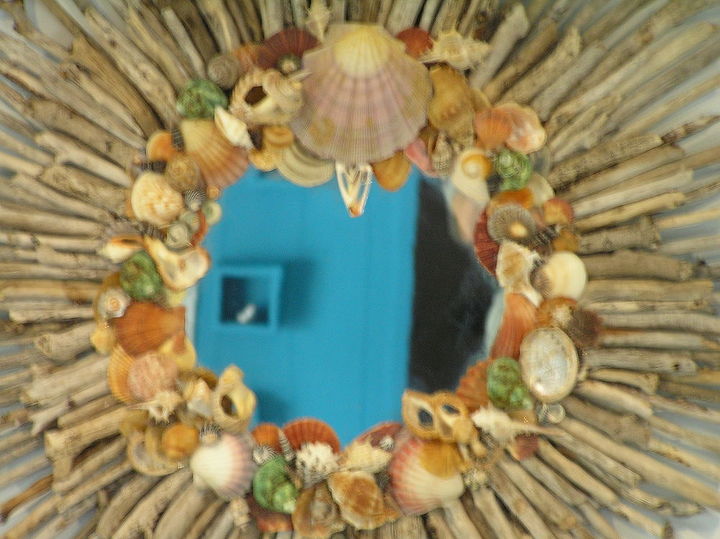
Now the fun begins. Assemble your driftwood into two lots, long and short. It doesn't really matter if they are all exactly the same length, you can carefully break the excess off from the least attractive end to make it right. Don't start glueing YET, just place the longer bits onto the board up to the foam centre foam piece and have a look to see the desired pattern you are after. I decided on a "Starburst" look as I wanted it to go with my 60's beach house look.
When your happy with a pattern, start Hot Melt Glueing the longer sticks into place. Be careful of your fingers that stuff gets HOT!!! You don't have to get each stick real close as the next layer. The shorter driftwood sticks cover up those gaps.
The size of your mirror will be similar to the cut foam, as this is glued to the foam. REMEMBER TO GLUE AROUND THE EDGE OF THE MIRROR ONLY! Some glues affect the mirror surface.
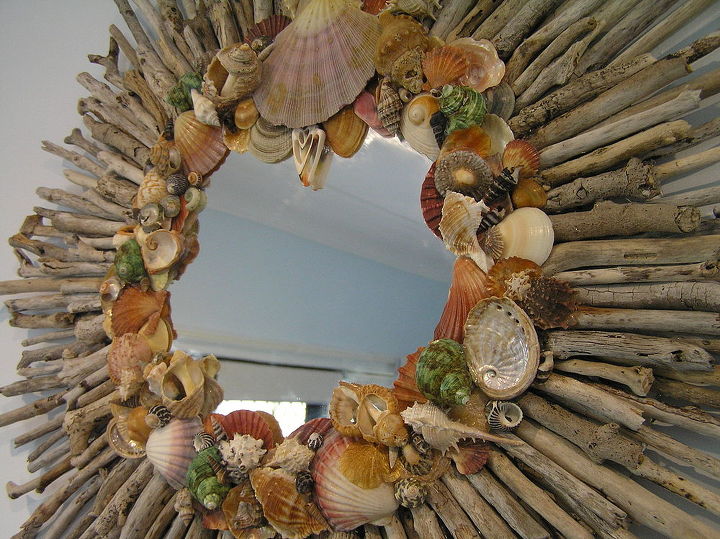
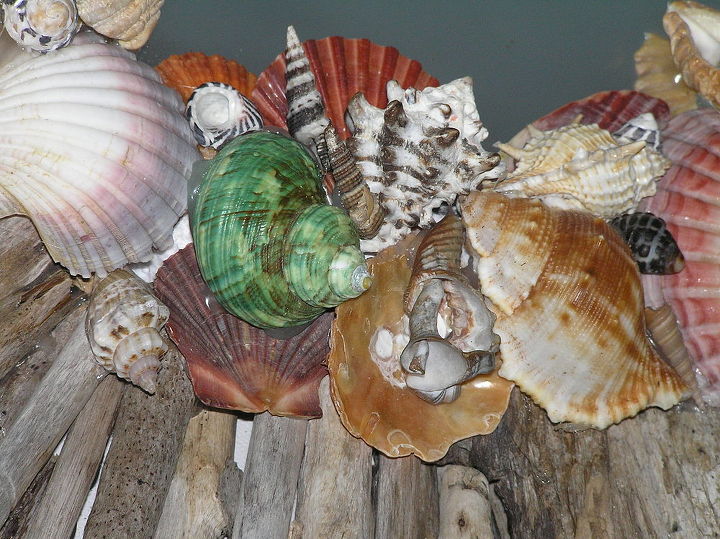
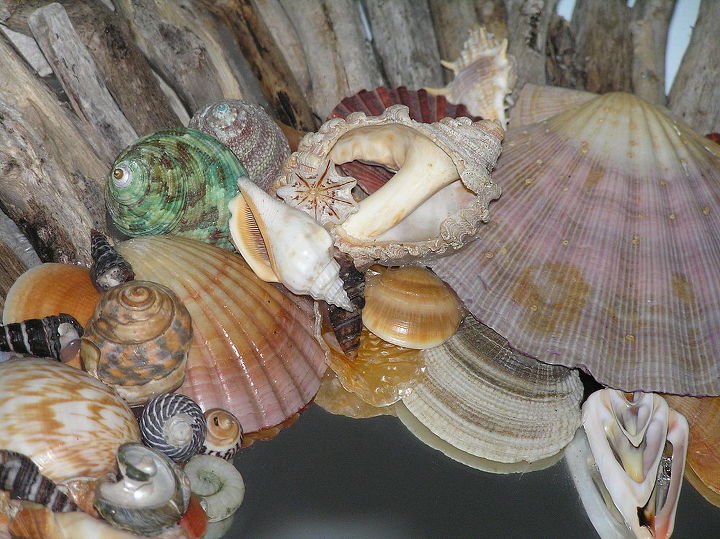
THe next step is to hot melt glue the shell to cover the rough edge between the wood ends and the mirror.This should be pretty flat as it makes this step easier. Go as simple or as creative as you want, I liked the layer look. I found it fun to place. Look, try another, twist it around, and look again then glue. Yep it takes a bit time but it's worth it.
Hope you have as much fun as I did, in creating your own!! I live in Australia, so I hope you can understand my instructions. Cheers Nerida
Comments
Join the conversation
4 of 6 comments
-
beautiful work of art!
-
It's Really so pretty, but it's hung way to high! Bring it down to "eye height" so it can be seen and enjoyed much better!! Great job!
- See 1 previous


Frequently asked questions
Have a question about this project?