


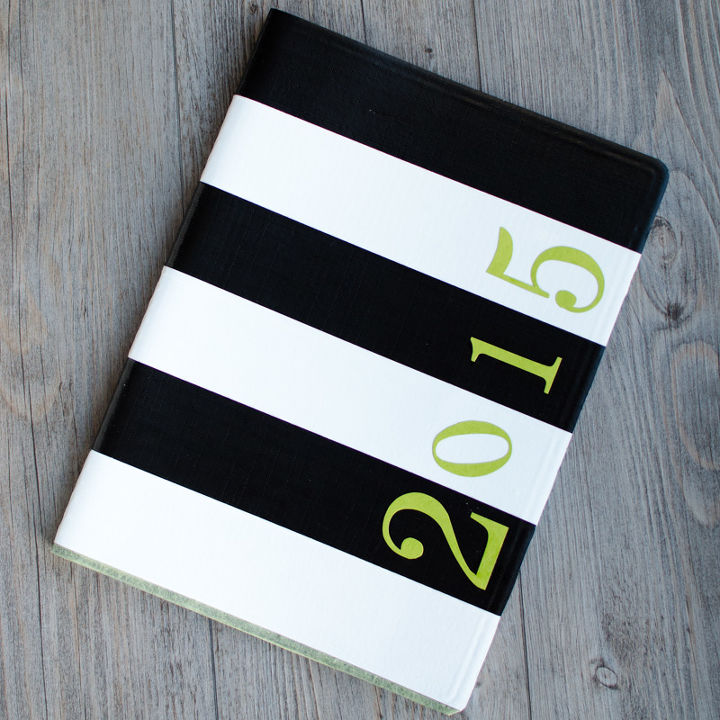
Kate Spade Inspired Planner {using Duck Tape}
30 Minutes
Easy
My plain looking planner is functional on the inside but plain-looking on the outside. I was inspired by Kate Spade's office supplies line to make the cover look a whole lot prettier.
I love Kate Spade's office products. They're bold, graphic and colorful but still feminine. But the price tag is pretty hefty and I already use a style of planner that's functional for me.
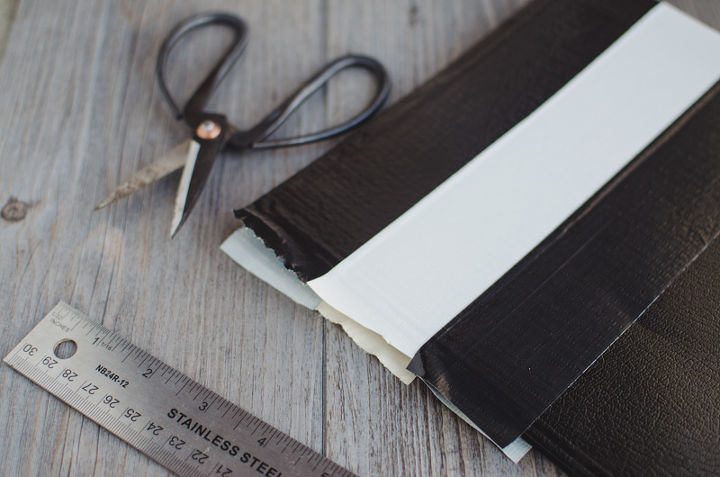
Using alternating stripes of black and white duck tape, I started at the top of the planner, lining up the edge of the tape with the top cover, but not worrying about the edges yet.
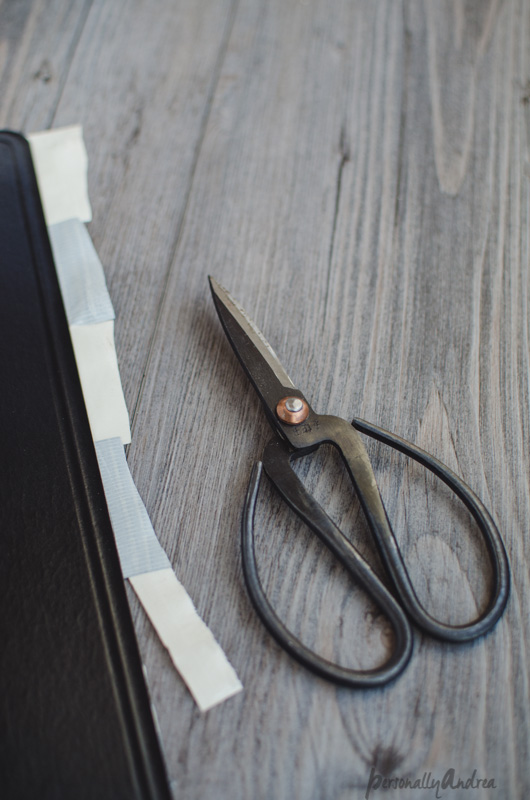
When I had tpaed the whole cover in alternating stripes, I trimmed the edges of the tape with sharp scissors, using the inside of the cover as a guide.
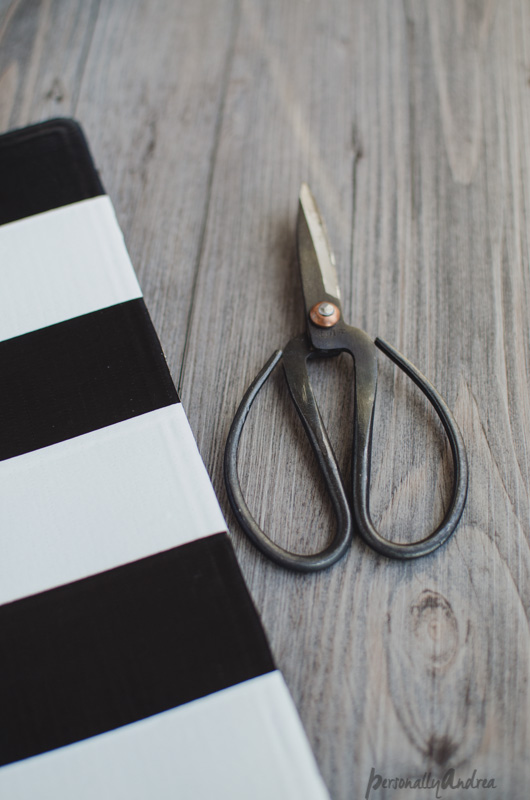
Now I have a clean edge where the tape lines up with the edge of the cover perfectly.

Finally I used some die-cut paper numbers to add the current year to the front of the planner. (Rubber cement is a great permanent adhesive that won't damage the look of the paper either.) This looks so much prettier now sitting on my desk. Check out my blog post for links to some of the products I used and the actual Kate Spade planner I as inspired by. http://bit.ly/1F9dLUf

Want more details about this and other DIY projects? Check out my blog post!
Comments
Join the conversation
3 comments
-
OMG great idea! I love!
-
Amei!


Frequently asked questions
Have a question about this project?