


How I (a Wee Atypically) Made a Concrete Countertop.
Sure, there's lots of instruction out there on how to make a concrete countertop. But what if your process varies? No problem! It can still be done, and it's not hard.
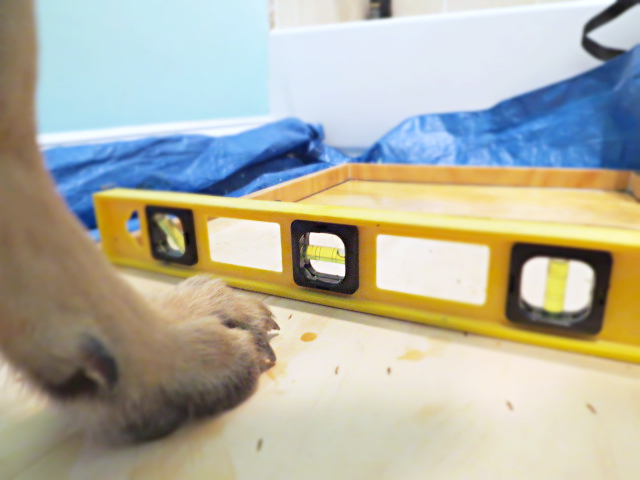
First make sure you have a good assistant who can read a bubble level. Ok, it's not the first step but help is fun.
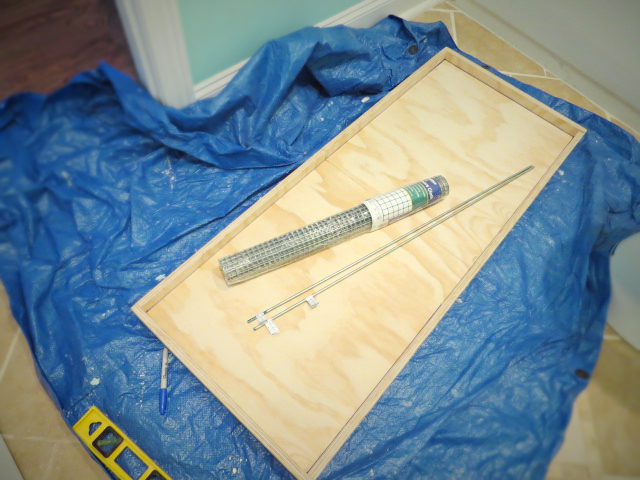
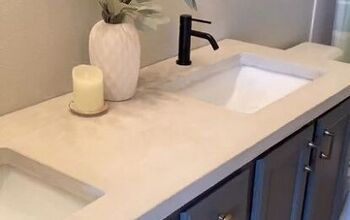
Do lots of research online, it is useful. I list a couple sites that I checked with over on my blog, Flipping the Flip, where you can read the entire process: humboldartdept.blogspot.com. Start with a form for your counter. Mine is for a bathroom vanity top and I was lucky enough that it was built for me. Plenty of tutorials online about how to do it though, so don't worry.
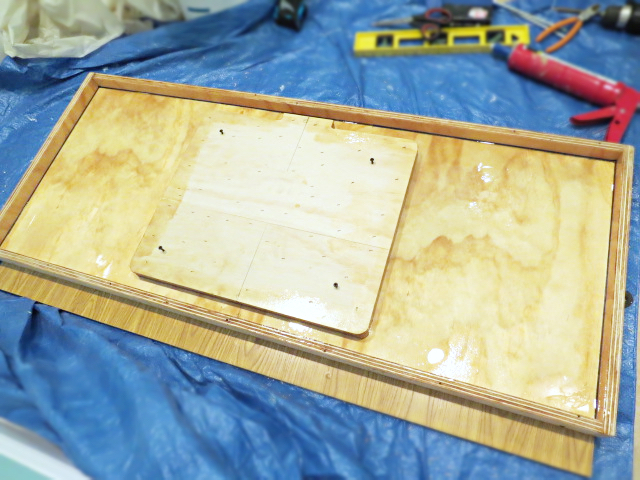
Because my form was built of plywood (typically melamine is used), I had an extra step of sealing it with oil based polyurethane. The sink block was installed just prior to the sealing.
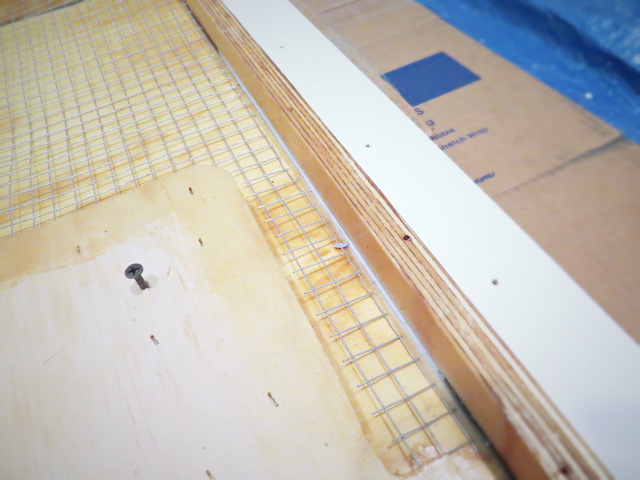
After sealing some seams that weren't entirely sealed by the poly with silicone caulk, I trimmed some hardware cloth to fit. I also used steel rods in the two areas that were super narrow.
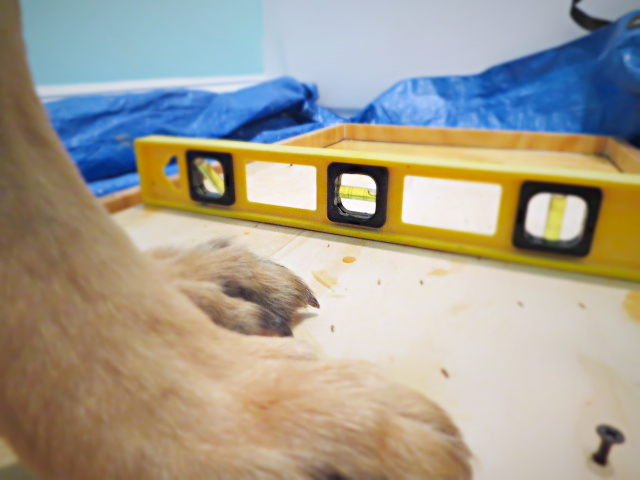
Make sure that form is level! Yeah, it's not level here just yet.

Mix that concrete (I used a specific store bought mix for countertops) according to the bag directions and pour half in. Add your hardware cloth and steel rods then top off with the rest of the mix.
Wiggle and jiggle the form using a mallet and/or a power sander without sandpaper to get those air bubbles out. Cover it with plastic and breathlessly wait 24 hours.
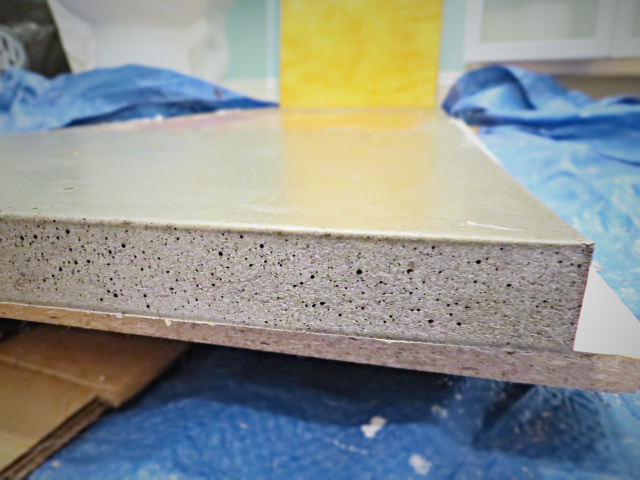
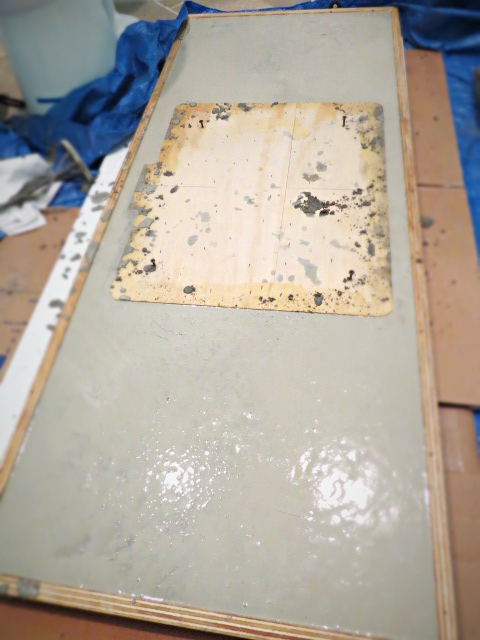
After 24 hours, flip it and remove the form carefully. I have some pitting and little air pockets. Many people will fill these, sand and polish at this point but I like the imperfections so I'm leaving it as is.
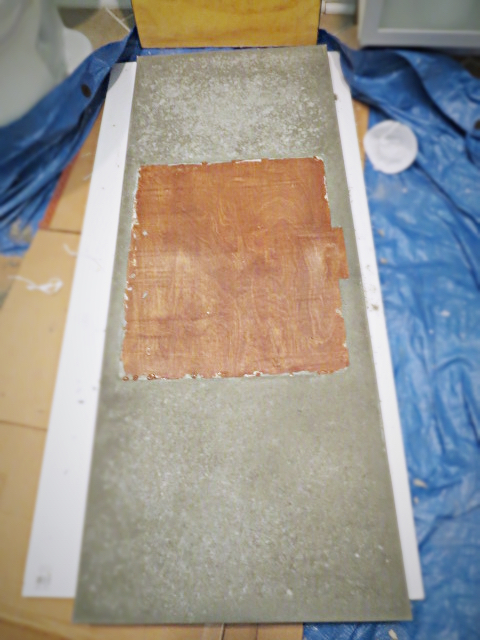
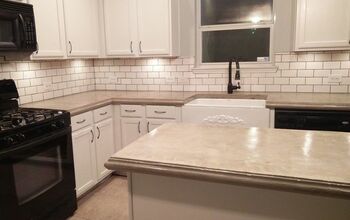
And there we have it! We're waiting for the concrete to cure more before removing the sink block as the concrete is still pretty tender and those areas there are quite narrow. I'll be sealing it up and installing it soon! Be sure to come read the whole story on how you too can do this over at my blog by clicking the link below!

Want more details about this and other DIY projects? Check out my blog post!
Comments
Join the conversation
4 of 6 comments
-
This is so great ideas thank you for sharing
-
I wanted to do this for kitchen counters since granite is quite expensive. I was thinking about the staining and or painting of the concrete as well. However, you make this seem so much easier then I thought it was going to be where I was going to call in a company to come do the work. But now, I might just give this a go ahead on my own. I would also do back splashes also. Would you say that this could be accomplished by a complete first timer and still look magnificent? I plan to lay the paint and glaze or sealer to resemble granite. Thanks for making this sound so easy and good job on yours.


Frequently asked questions
Have a question about this project?