


How We Built Our Stove Hood for (Almost) Free!

by
Caroline
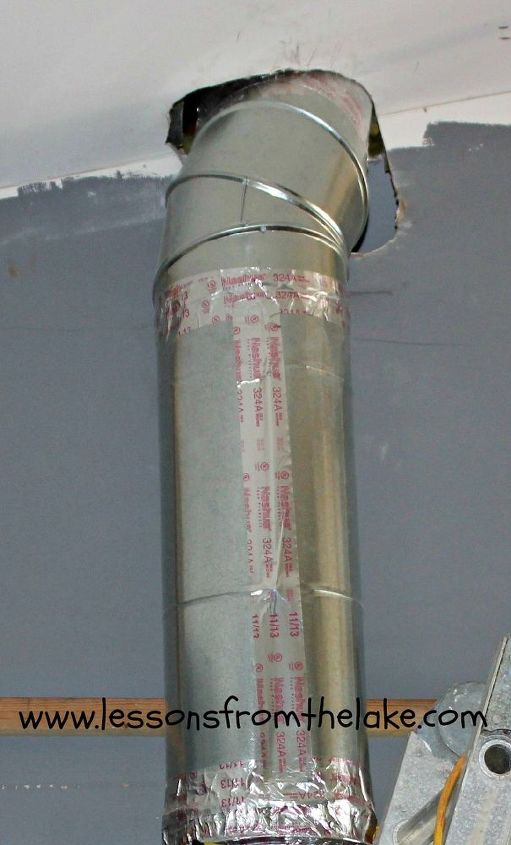
This is what I looked at for over 6 months.We did pay to have the stove plumbed for propane gas and properly vented.
And then it sat.
Like this.
For a LONG time,
Then finally it was time! (Meaning my husband had decided we could actually do this!)
And then it sat.
Like this.
For a LONG time,
Then finally it was time! (Meaning my husband had decided we could actually do this!)
We started by framing around the vent pipe with 2 X 2's. We wanted to minimize the weight on the hood and knew it wasn't going to have to carry much weight either. So 2x2's would be adequate. Plus we already had them!
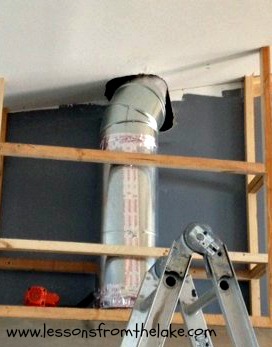
I forgot to take a picture of it, but we added bracing for where we knew the shelf and corbels were going to go.
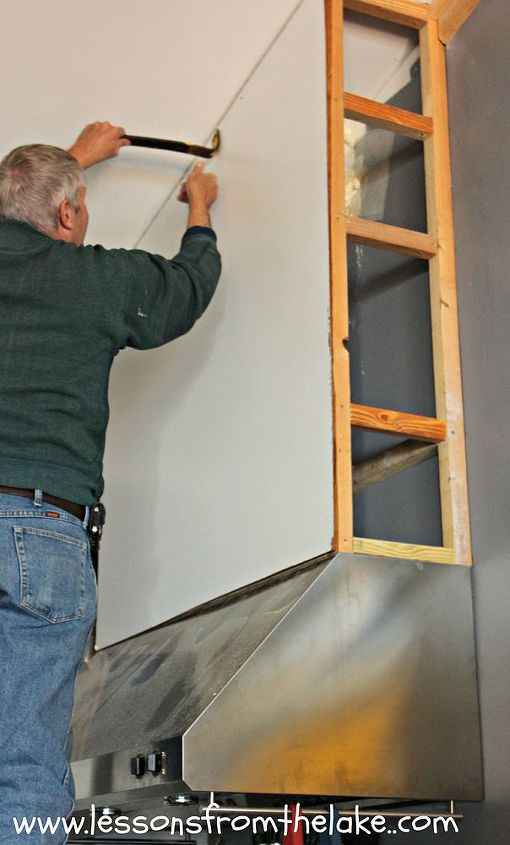
We bought 2 sheets of luan (very thin wood) at the big orange store that were about $9.00 each (our only cost) and they were nailed up over the framing.
We are also redoing our island (hope to have that up soon!) and the framing and bead board came off that. Hubby just cut it to size.
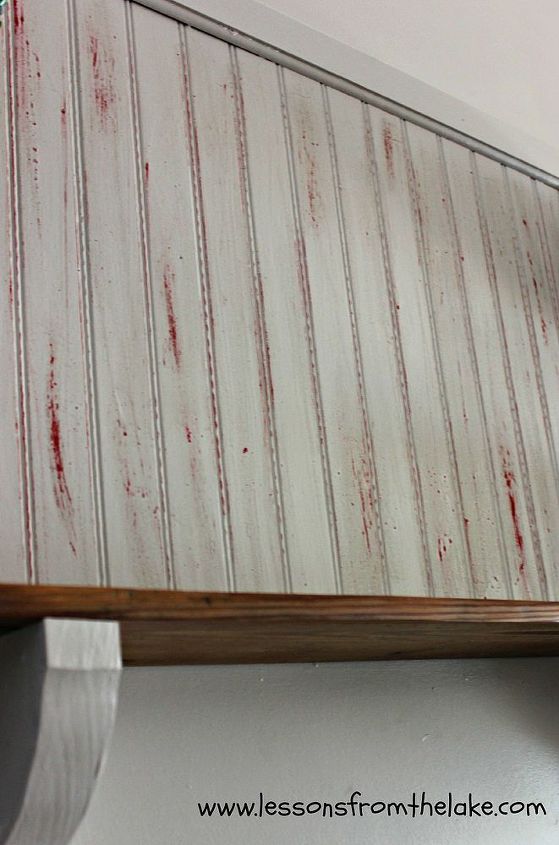
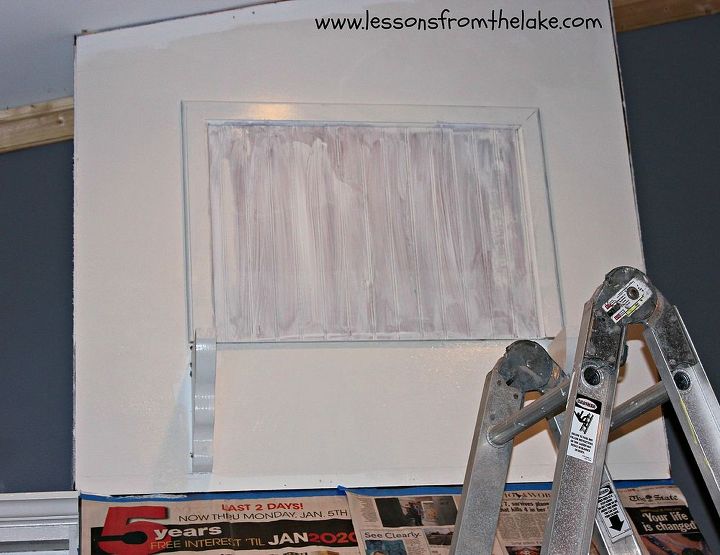
All that was left was the corner trim, the crown molding and caulking where the stove hood and luan meet.

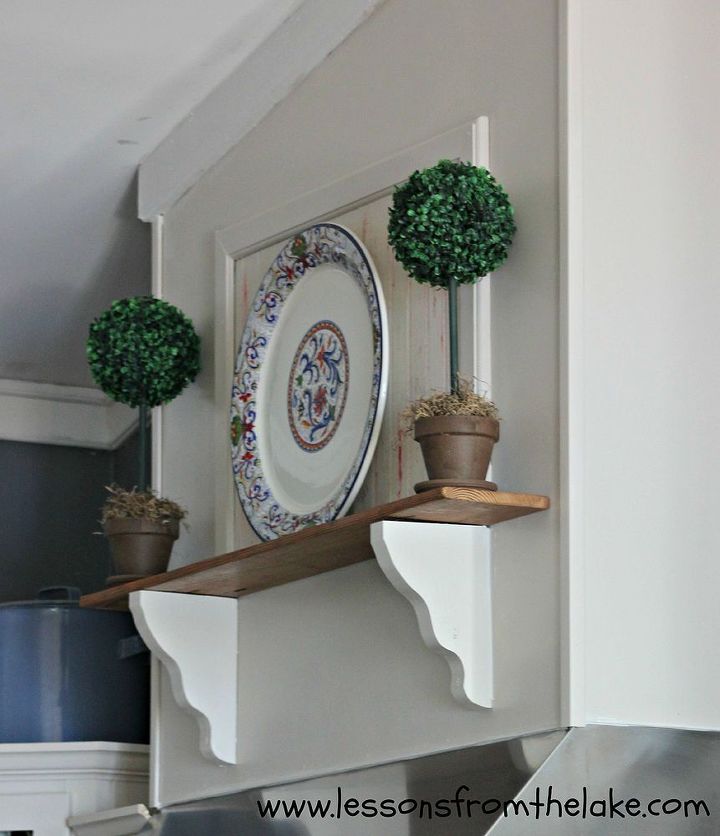
I am so happy with our (almost) free hood! And so glad NOT to have to look at that ugly vent pipe anymore!
Want more details about this and other DIY projects? Check out my blog post!
Comments
Join the conversation
2 of 4 comments
-
GREAT JOB
-
Thanks so much Vonzella!


Frequently asked questions
Have a question about this project?