


My Little Green Table SOLD!!!

$12.00
4 Days
Easy
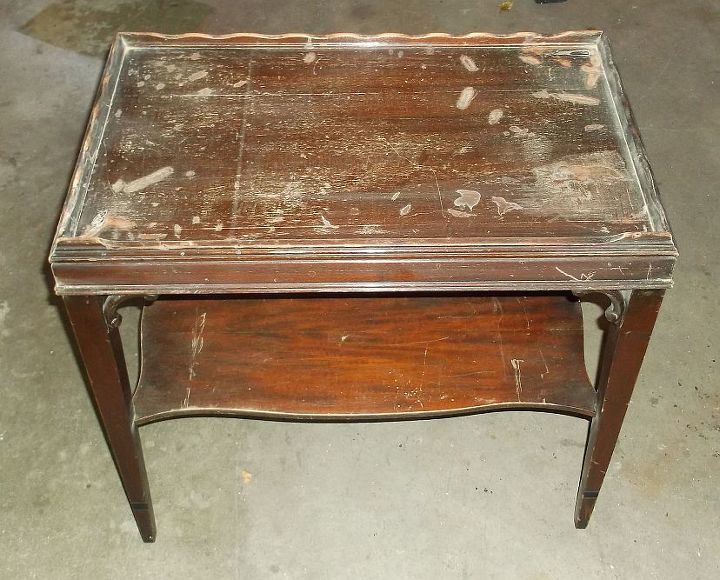
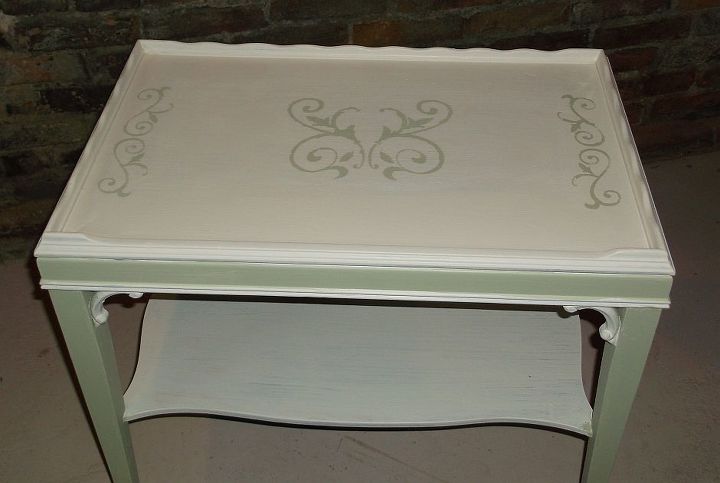
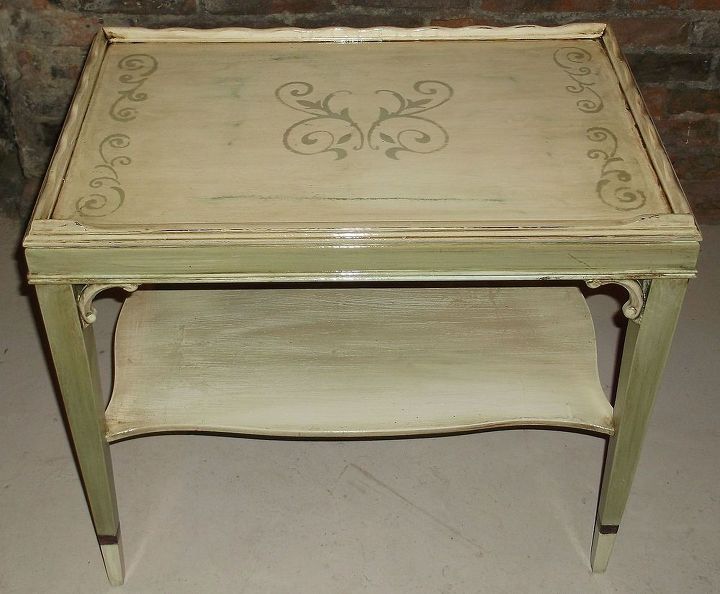
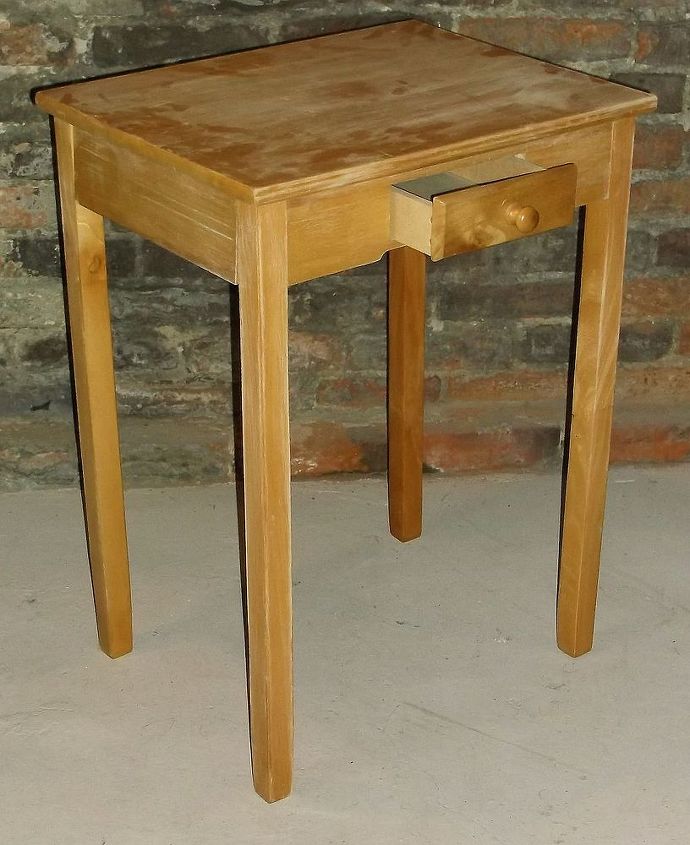
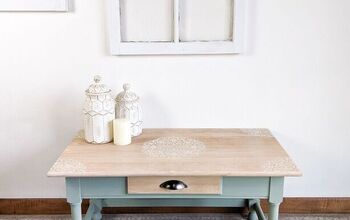
This was my next project. Found her in a little shop way in the back where no one could see her charm. She really needed some loving with all the scratches and gouges she had on her top. She has the cutest design....raised edge around the top with a lower section in the front, rather like a tray might be. Sturdy shelf below and I just LOVE the scroll design at the legs.
She is 24" W, 15" D and 22 1/2" H.
Update:
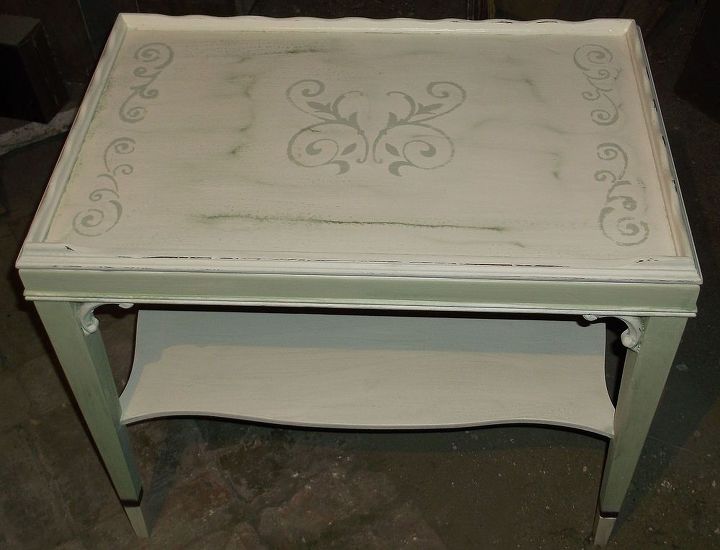
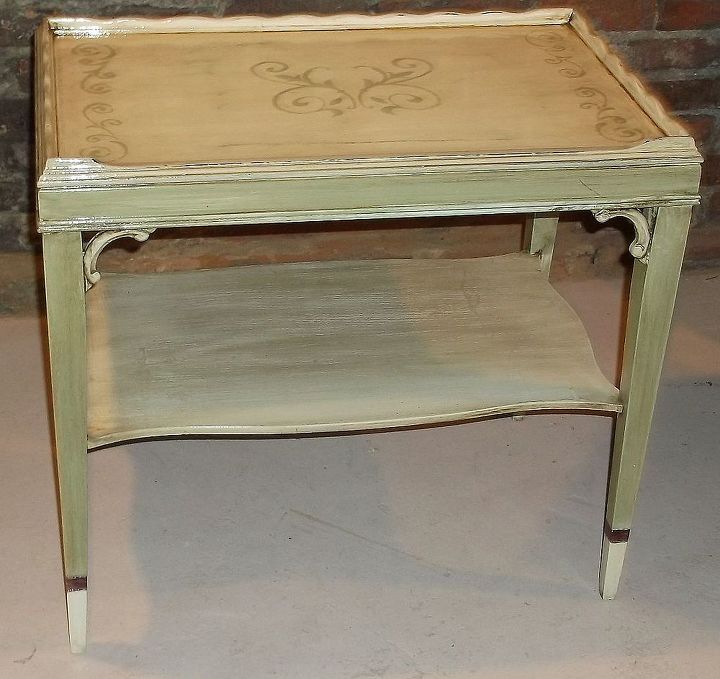
I have had some people ask what kind of paint I used. She was painted with Rustoleum spray paint. The glaze is by Rustoleum and the poly is Minwas Satin Finish. My apologies....I thought I had used the cocoa brown glaze but it is actually Java.
She is 24" W, 15" D and 22 1/2" H.
Update:
I have had some people ask what kind of paint I used. She was painted with Rustoleum spray paint. The glaze is by Rustoleum and the poly is Minwas Satin Finish. My apologies....I thought I had used the cocoa brown glaze but it is actually Java.
First....to sand her down.
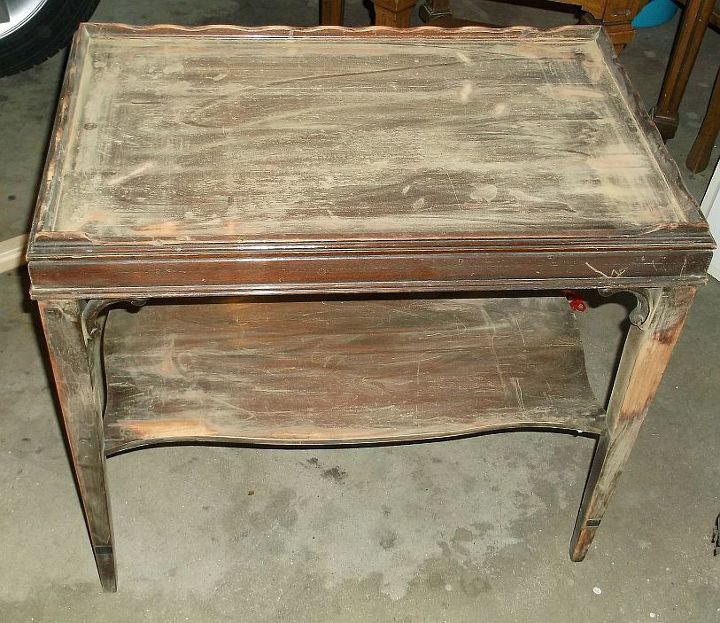
Next I needed to get her boo boos filled since a few of those gouges were pretty deep. Getting there. Now to prime her.
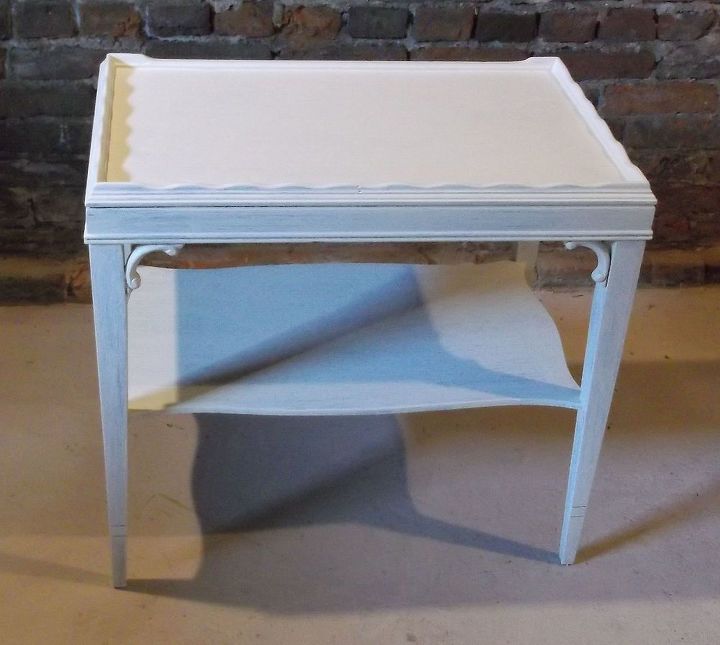
Two coats of flat primer. She was covered nicely. Next...paint.
I first painted her in Heirloom White and then decided to use a green paint for her trim. I diluted the green so it came out a lot softer....a nice pale green. (It used to be Forest Green) A little water in a pail with my forest green paint and it turned in to a nice, soft green. LOVE it! Now....what to do with the top. STENCIL it!!! But....what kind of stencil.....hmmmmmm..... (light bulb moment) I know what to use!!
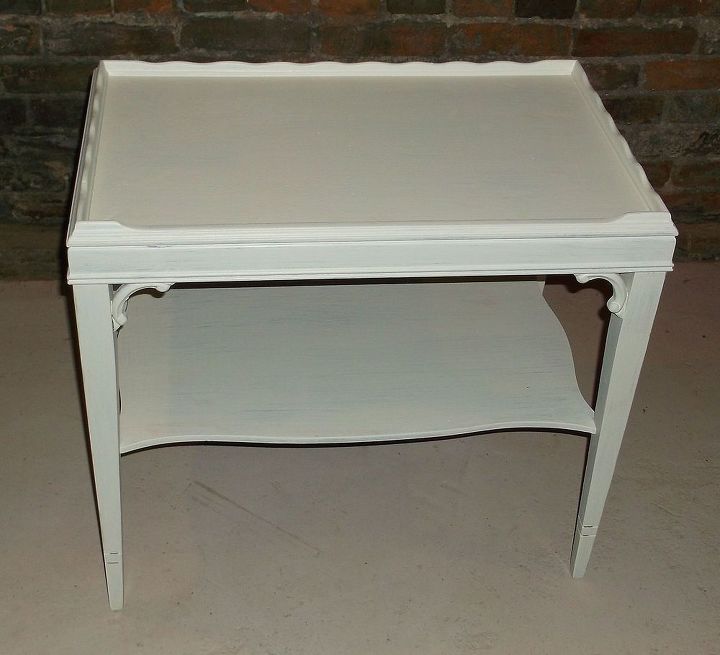
First I gave her another coat of paint on the legs and front trim. Again, a soft green.
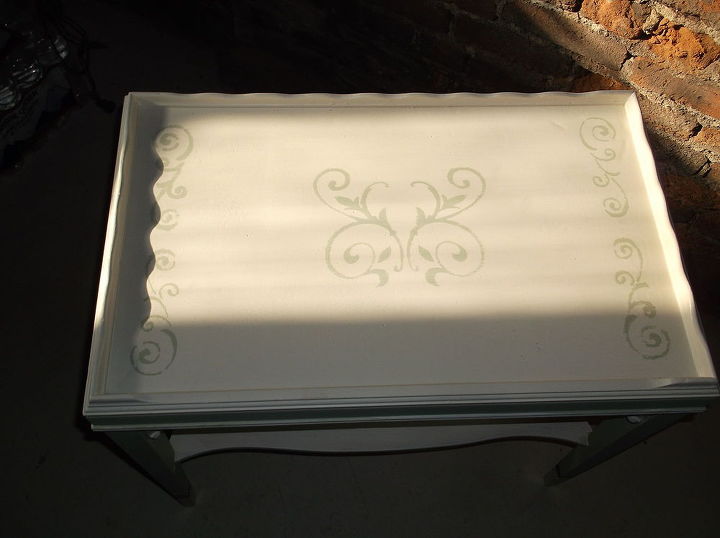
Sorry about the shadow....the sun was brighter than my flash.... ;) Gotta love sunlight.
And the final step...a nice satin poly finish! Gave her a nice shine.
I just love the way she turned out! Am toying with keeping her but....she really needs a home where she will shine in her own way and my house has no room for her....sigh....... Am going to miss this little lady.
She, along with my RoadSide Dresser will be in my Etsy shop once I get that opened....am still new to this social media posting. But, we are never too old to learn. :) So...what do you think?
Until next time....
Comments
Join the conversation
2 of 210 comments
-
Keep it up. This turned out great. Good luck with Etsy!
-
I'm quite interested to know how much you sold the table for after all that hard work?


Frequently asked questions
Have a question about this project?