


Interior Storm Window: One Option & a DIY How To

In some recent articles on the HTRC for articles for renters (how to save money on utilities) & homeowners (getting ready for ole man winter) we talked about another option for storm windows; namely a DIY kit that mounts on the inside. This kit from Frost King simply consists of a sheet of specialty plastic & double sided tape & ran a whopping $1.87. The only tools required are a knife or scissors & a hair dryer.
Tips & Tricks:
As for the veener / paint peeling - I would have to recommend you use a little common sense & consider the quality of the material – the better the quality, the less likely you will have an issue.
While you might be tempted to use blue painters tape to avoid this... we do not recommend you try this. These tapes are only designed to remain easily removable for a one-week period. After this time period they have been known to stick tenaciously & cause the same issue you are trying to prevent. Now if you happen to have made this mistake, no worries as a little patience & a hair dryer will help remedy the situation.
Pre-Installation:
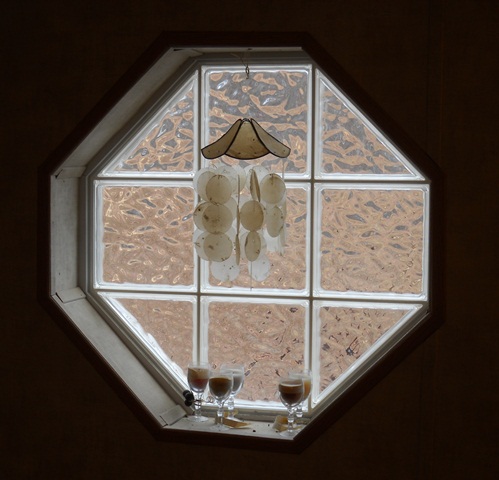
Make sure all the surfaces are cleaned & dry so the tape can stick.
If the windows or sills are dirty, you might want to clean them unless you want to be looking at dirty windows all winter.
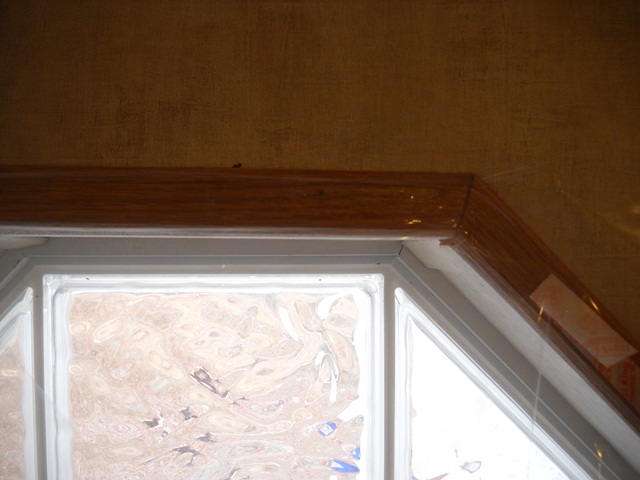
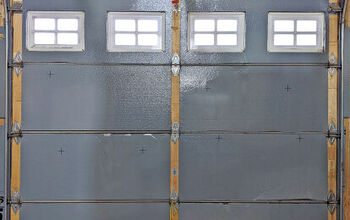
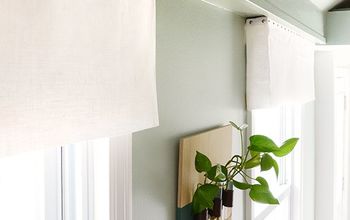
If there is any missing weather-stripping or caulk, these items should be corrected While it maybe ok to leave knick-knacks – any item (like this wind chime) that will interfere with the plastic needs to come out
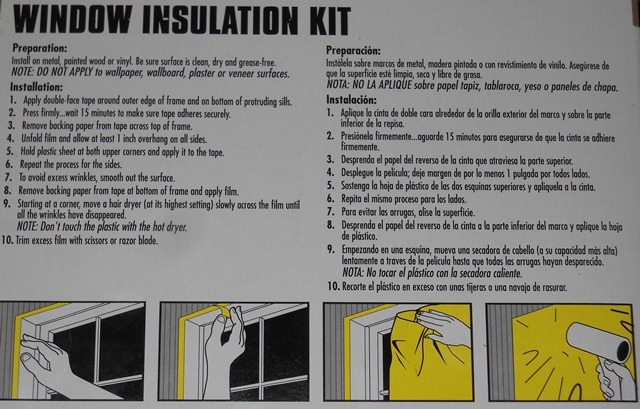
Installation:
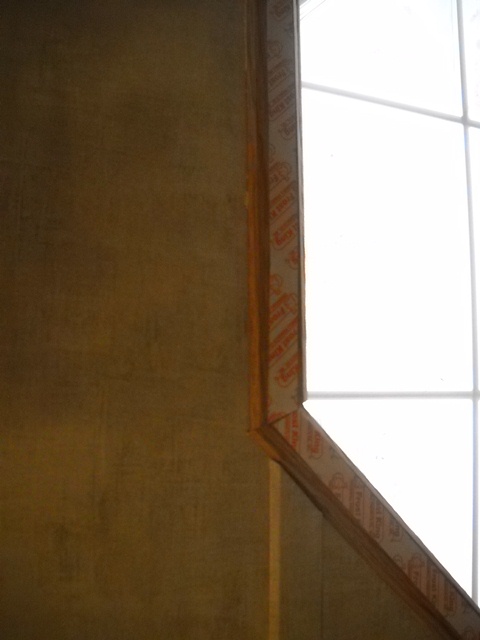
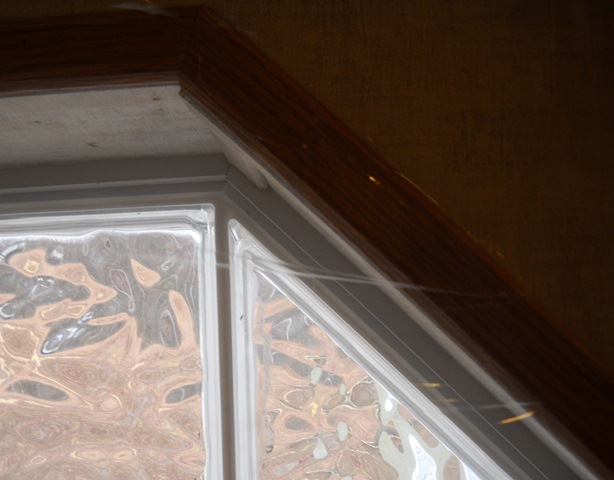
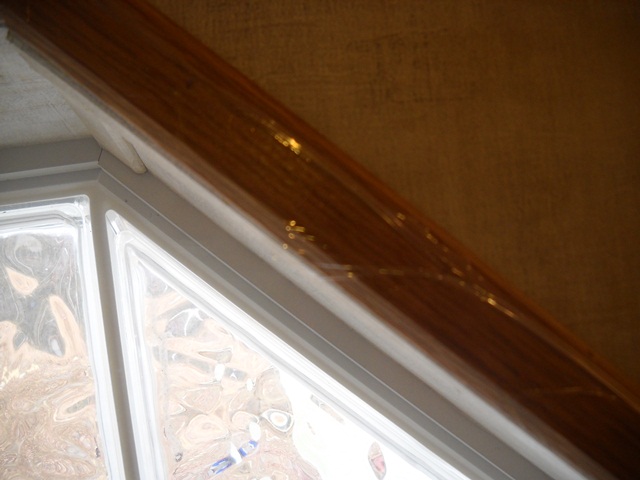
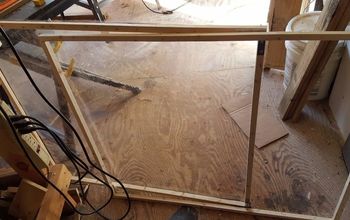
Attach tape all the tape around the window (quick tip – if you have octagon like this and cut the tape diaganolly jump back and forth from left side to right side – this eliminates the need for multiple cuts)
Press tape firmly in place and if needed pre-cut plastic (we had two windows to do, which were both the approx. same size & instead of having a long piece draping down we cut the first one a few inches longer than needed)
Peel backing from tape on top and attach film to it – once happy with the way it sits press firmly to the tapeTIP - For small windows it is easy enough to do by pulling from the two corners & aligningTip - For large picture windows which would be near impossible consider folding in half & aligning the folded corner with the center
Peel tape from left side, then right & finish off with bottom trying to minimize wrinkles - don't forget to firmly press against tape (yes will probably still have a few wrinkles – no worries though)
Take a blow dryer & turn on high – staying a few inches away & continuously moving apply heat around the edges until the plastic is tight and the wrinkles have disappeared
Trim the excess with a pair of scissors or knife & you are all done (for a knife – make sure it is sharp & do not cut into the material but rather pull the excess down and keep your knife vertical to cut)
Related & Original Articles:
Rental Energy Savings: http://blog.sls-construction.com/2012/save-on-utilities-rental-property
Homeowners Getting Ready for Winter: http://blog.sls-construction.com/2012/25-point-prepared-ole-man-winter
Original Article: http://blog.sls-construction.com/2012/interior-storm-window-diy-option
Tips & Tricks:
As for the veener / paint peeling - I would have to recommend you use a little common sense & consider the quality of the material – the better the quality, the less likely you will have an issue.
While you might be tempted to use blue painters tape to avoid this... we do not recommend you try this. These tapes are only designed to remain easily removable for a one-week period. After this time period they have been known to stick tenaciously & cause the same issue you are trying to prevent. Now if you happen to have made this mistake, no worries as a little patience & a hair dryer will help remedy the situation.
Pre-Installation:
Make sure all the surfaces are cleaned & dry so the tape can stick.
If the windows or sills are dirty, you might want to clean them unless you want to be looking at dirty windows all winter.
If there is any missing weather-stripping or caulk, these items should be corrected While it maybe ok to leave knick-knacks – any item (like this wind chime) that will interfere with the plastic needs to come out
Installation:
Attach tape all the tape around the window (quick tip – if you have octagon like this and cut the tape diaganolly jump back and forth from left side to right side – this eliminates the need for multiple cuts)
Press tape firmly in place and if needed pre-cut plastic (we had two windows to do, which were both the approx. same size & instead of having a long piece draping down we cut the first one a few inches longer than needed)
Peel backing from tape on top and attach film to it – once happy with the way it sits press firmly to the tapeTIP - For small windows it is easy enough to do by pulling from the two corners & aligningTip - For large picture windows which would be near impossible consider folding in half & aligning the folded corner with the center
Peel tape from left side, then right & finish off with bottom trying to minimize wrinkles - don't forget to firmly press against tape (yes will probably still have a few wrinkles – no worries though)
Take a blow dryer & turn on high – staying a few inches away & continuously moving apply heat around the edges until the plastic is tight and the wrinkles have disappeared
Trim the excess with a pair of scissors or knife & you are all done (for a knife – make sure it is sharp & do not cut into the material but rather pull the excess down and keep your knife vertical to cut)
Related & Original Articles:
Rental Energy Savings: http://blog.sls-construction.com/2012/save-on-utilities-rental-property
Homeowners Getting Ready for Winter: http://blog.sls-construction.com/2012/25-point-prepared-ole-man-winter
Original Article: http://blog.sls-construction.com/2012/interior-storm-window-diy-option
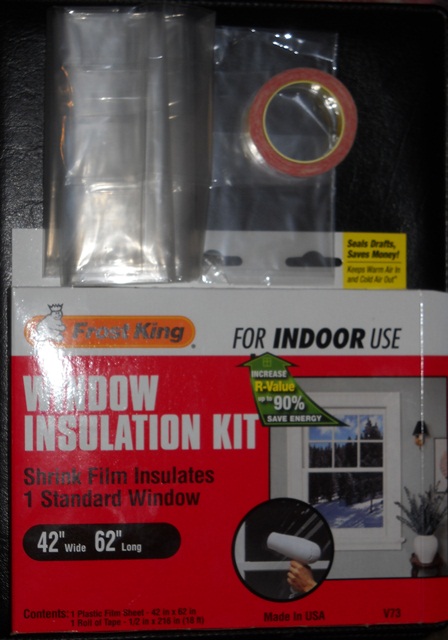
The first as you can see is a green arrow that says it improves the R-Value by up to 90%. The reality is the film actually has no R-value, but the gap created (1/2" or larger) can increase the effective R-Value by .5 assuming there...
The second is on the back where it warns one not to install the product on veneer surfaces, wallboard, plaster, or wall paper.
See Tips & Tricks Above
See Pre-Installation Above
See Installation Above
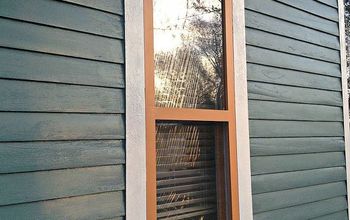
No you do not have to peel any backing from the sides as shown here as there still is enough give to get the backing out
I did pretty good not getting to many wrinkles, but this one stood out
Ahh the wrinkles are all gone & excess has been trimmed
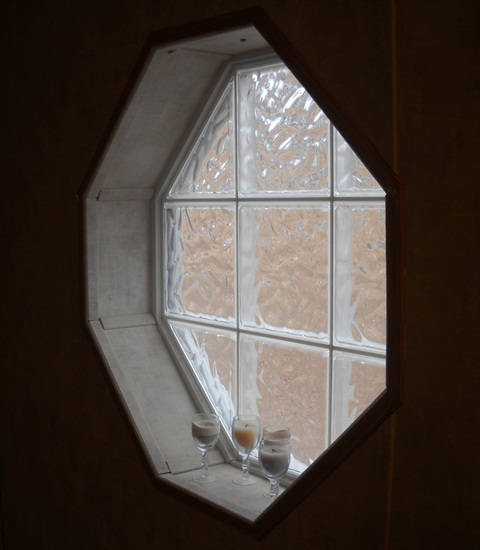
That's it – except for lights reflecting off of it instead of the window – you would never even know it was there.
Comments
Join the conversation
2 of 4 comments
-
I attached one of these kits to an exterior door in my former office, which I converted to my toddler's bedroom. The room was always cold and drafty, largely because of this old exterior door, and this kit made a huge difference. As you said, it's a really cheap, simple solution.
-
Connie - my first thought is you might be over-handling the tape & not pressing it in well (not only during the initial stick but also after you strip the backing off & apply the plastic). If you are doing all that properly you might have an issue with oils or something else similar being in the area & might consider cleaning the area with a product like TSP (Painting aisle in almost all lumberyards) Many thanks everyone for the comments & glad to see you around to AK


Frequently asked questions
Have a question about this project?