


How to Build a DIY Vintage Crate or Box
A quick and easy DIY for added storage or display. Post includes link to instructions on how to get rustic finish.
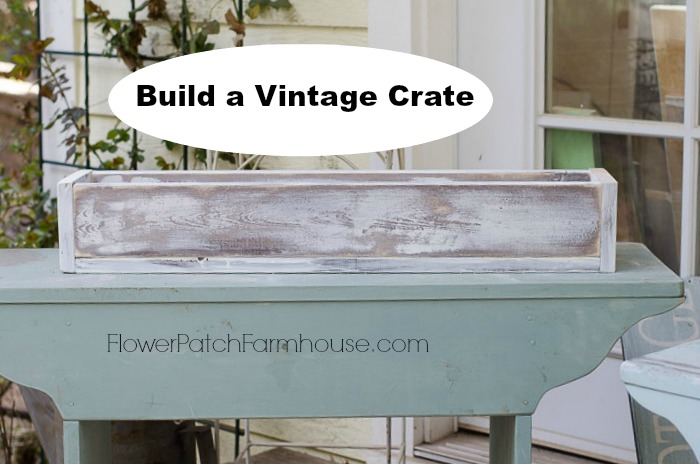
How to DIY build a rustic vintage crate for added storage or display.
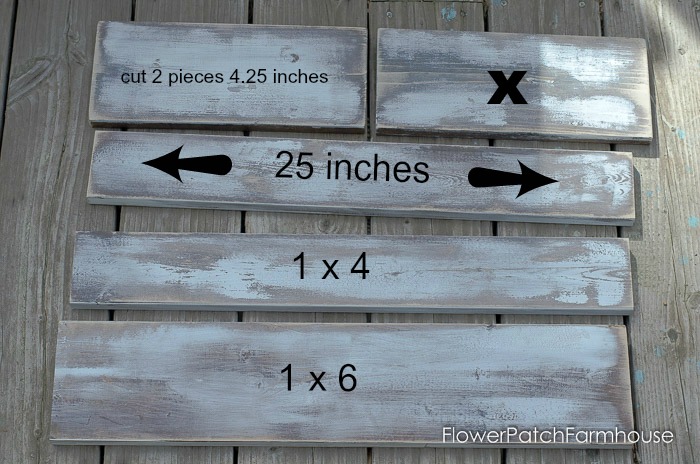
Start with your lumber cut to size, I have already put the rustic finish on mine. You measurements will depend on the size and style of your crate.
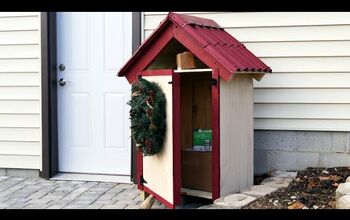
I will demonstrate different types of crates and tool box builds in the next few weeks as I build them for my studio organization project.
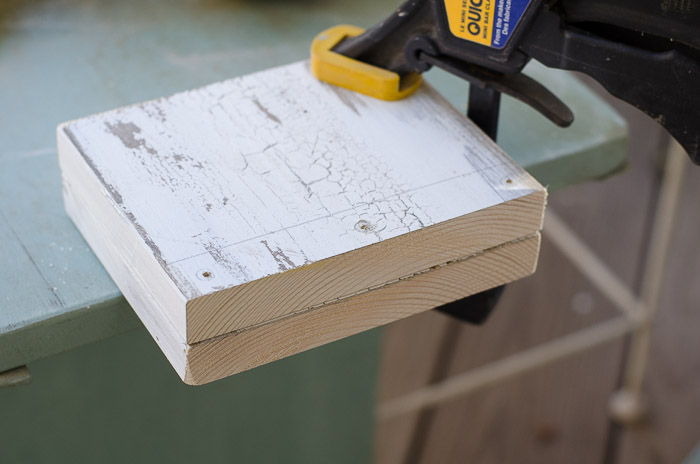
Pre-drill for your screws making sure you are within the area to be fastened together. You can draw a pencil line if it helps you rather than eye balling it.
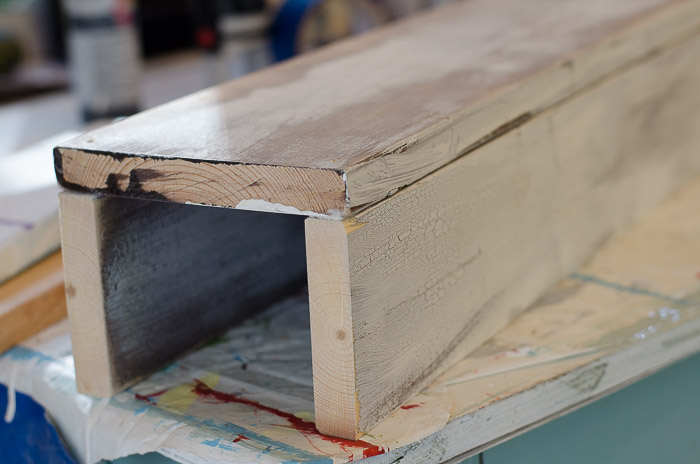
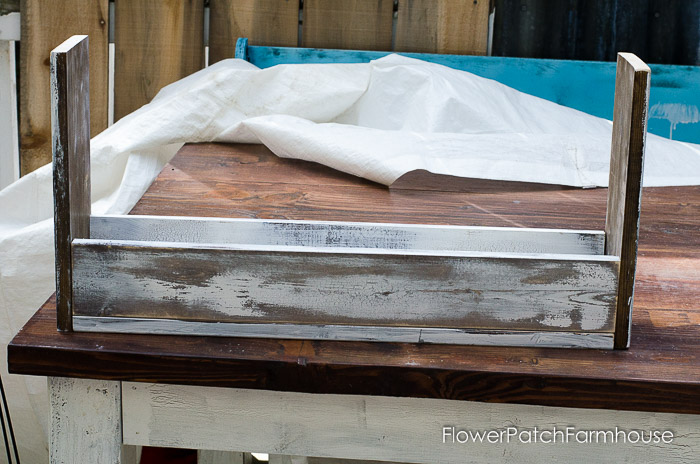
Run a bead of wood glue along edges and start fastening together, adjusting square as you go along.
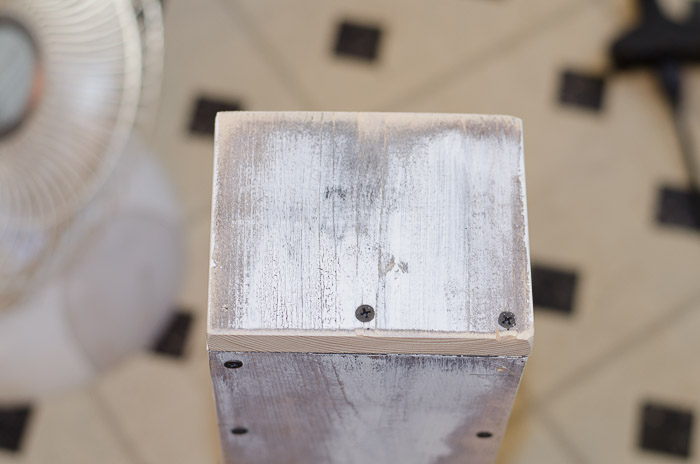
Now screw it all together. The Blog Post includes instructions on how to adjust when things are not quite squaring up. Also there is a link in post to the instructions on how to get the rustic finish on new wood.
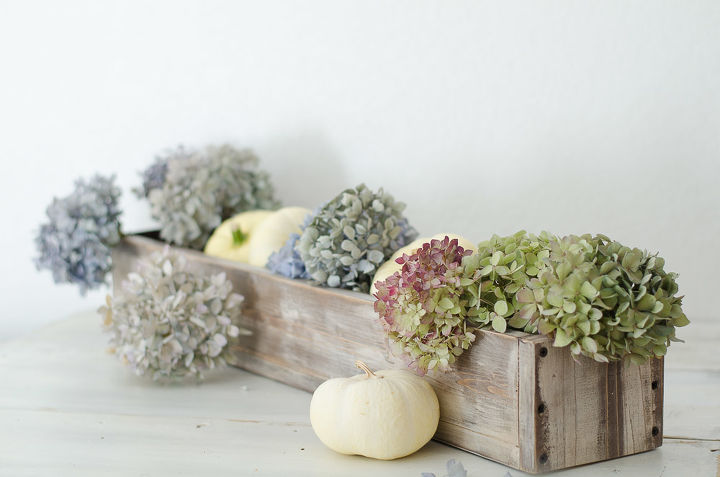
Enjoy and have fun finding ways to use your new (old) crate.

Want more details about this and other DIY projects? Check out my blog post!
Comments
Join the conversation
4 comments
-
This is just gorgeous!
-
...SO cool , and I like how you added your site to see the entire tutorial...and I like your website. ..!


Frequently asked questions
Have a question about this project?