


Repairing Drywall and Adding Texture With a Secret Tool

by
DeeDee
45 Minutes
Medium
We are still working on our Master Bathroom mini remodel and one thing we had to do was repair some of the drywall around the tub.
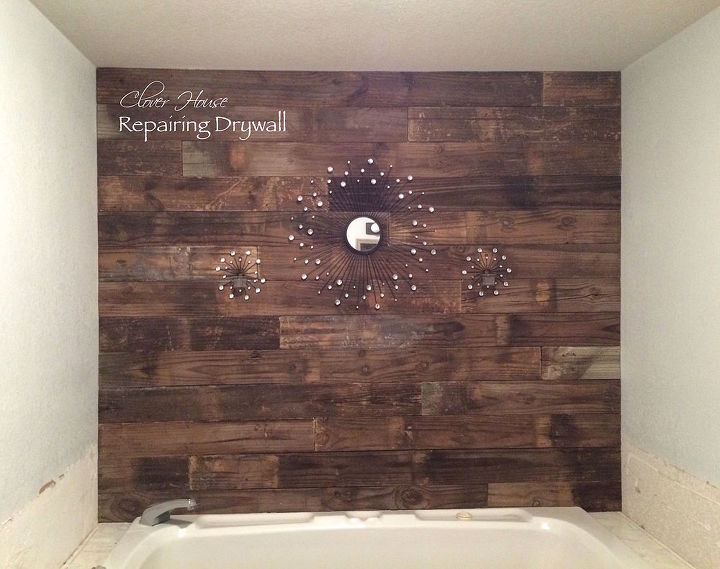
This beautiful wall that my honey created was surrounded by ugly drywall yuckiness! No worries, my honey fixed it and we're going to show you how he did it. If you'd like to see how he created this wall, click HERE:http://www.hometalk.com/diy/decorate/walls/fence-picket-wall-7160796
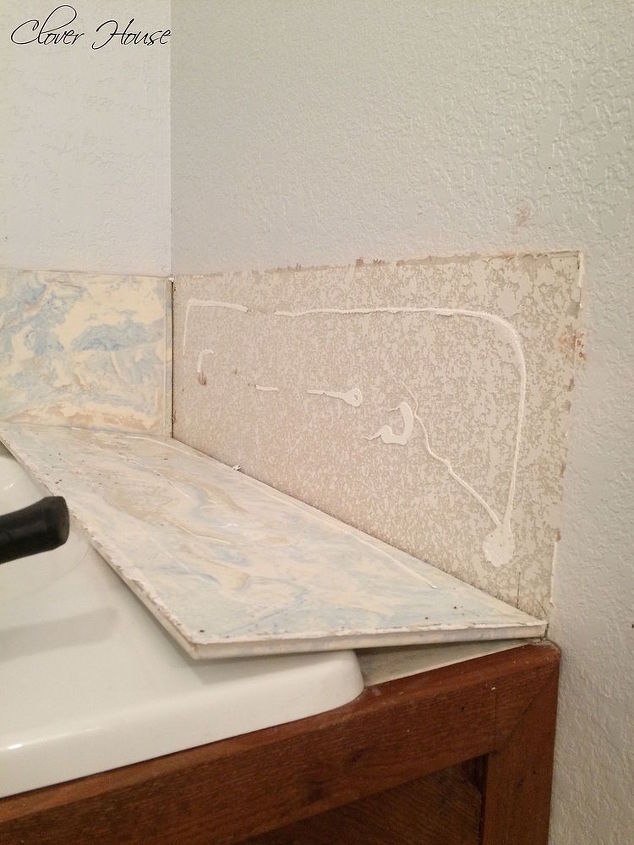
We had to remove the lovely blue faux marble from around the bath tub and it left us with some ugly looking drywall that was in need of repair.
Don't you be jealous of our 80's vinyl floor! LOL! That's a big job coming up soon too.
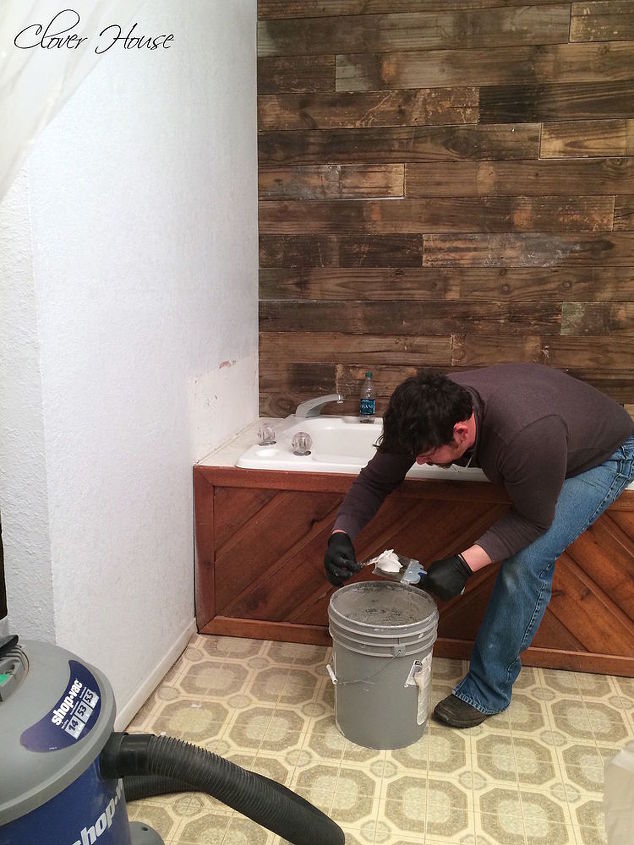
Using a scraper and the drywall sander, we removed all the extra glue and what not that was left over after removing the "marble".
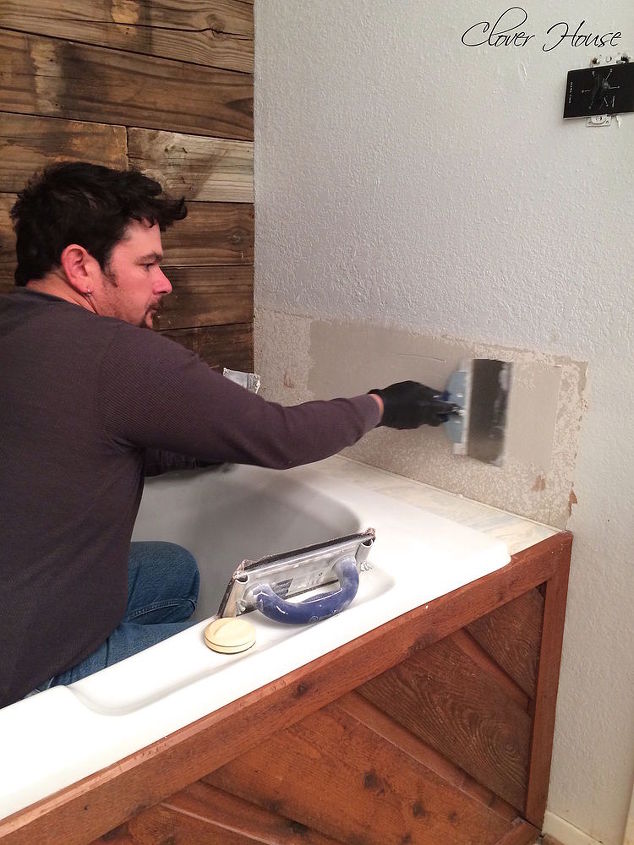
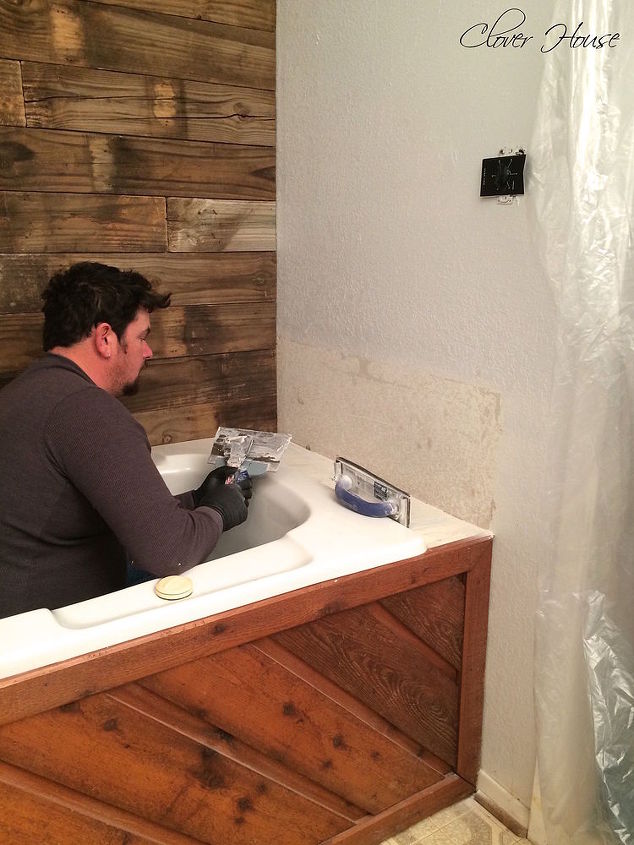
Next you'll want to hide any imperfections in the drywall. This takes patience that I don't have, but my honey does, so he got to smoothing on the drywall mud. TIP: Be careful not to make this very thick or your patch job is going to "glow" when you're finished. Let this dry for a while and sand again if needed.
Another close up of our 80's vinyl floor! Yay!
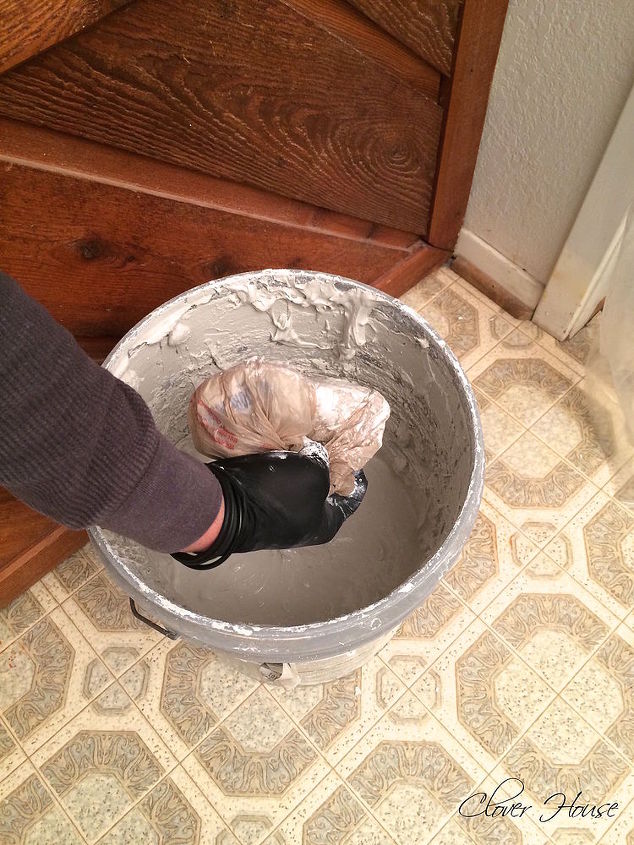
Dip your bag into the drywall mud and dab it on. Keep dabbing until you have the entire patch area covered in little peaks.
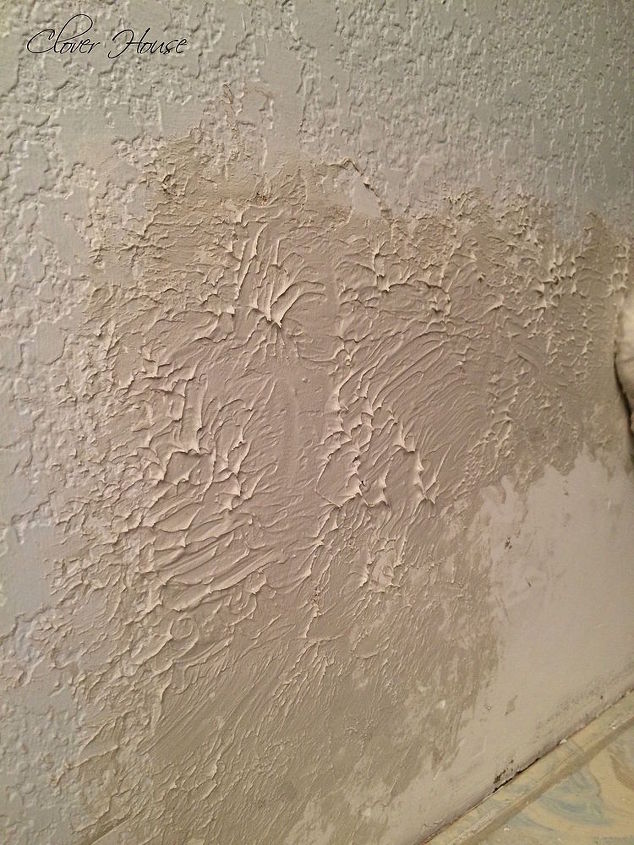
For the knock down texture, this is the look you're going for. Lots of little peaks, you know like meringue? LOL! When you have this look over your entire area, let it sit for a few minutes so that it starts to dry a bit. Do not let this dry completely, you're not finished yet.
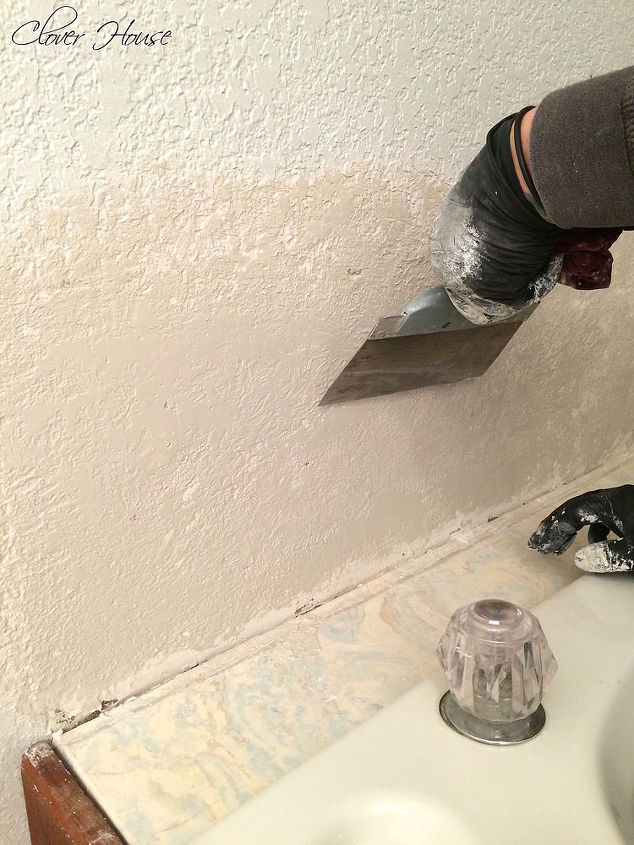
Now you are ready to "knock down" the peaks that you've so carefully created. This takes a very, very light hand to achieve. It's not easy and it takes practice, so you may want to practice on a board before tackling your actual walls.

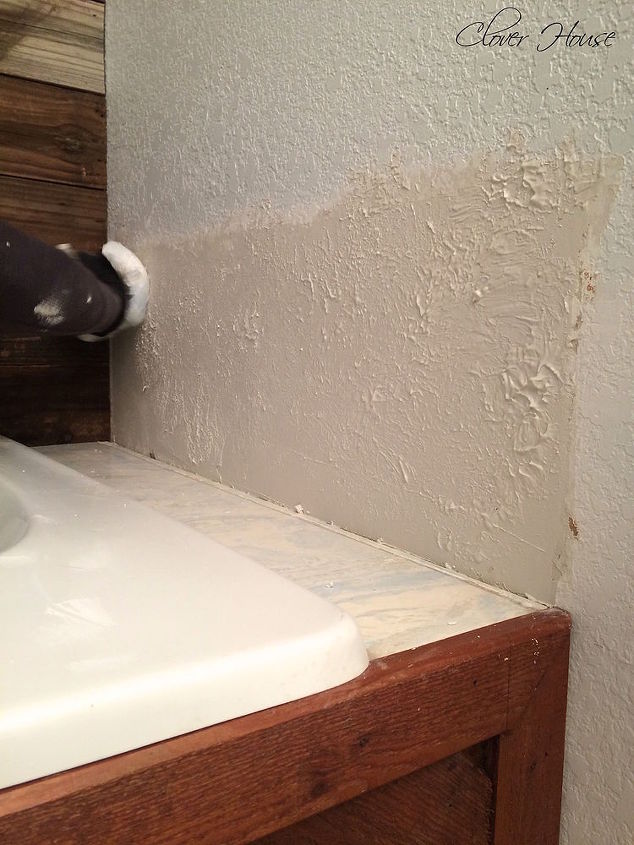
This is the area all dried and ready for paint. It's really hard to photograph this texture, but in real life this looks really good and will look even better with some fresh paint over it.
Want more details about this and other DIY projects? Check out my blog post!
Comments
Join the conversation
3 of 50 comments
-
Cover House, Deedee--I sincerely wish that I'd read your tip about the knock down finish before I bought and used 2 spray cans of plaster finish at Lowe's/Home Depot. You're right--practice first helps.
-
Nice job, and I think it's wonderful you love you helper so much, Nice


Frequently asked questions
Have a question about this project?