


How to Build (nice) Planter Boxes Economically

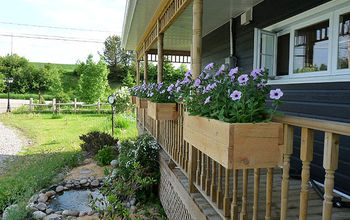
I am building cedar planter boxes for my deck to create an elevated kitchen garden. You can build one too with a few easy steps!

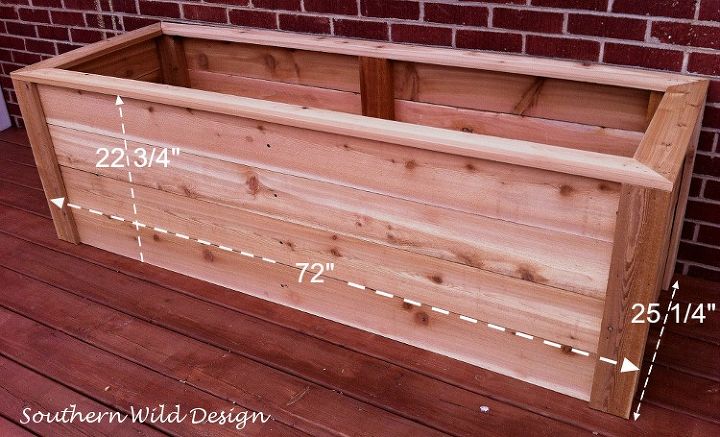
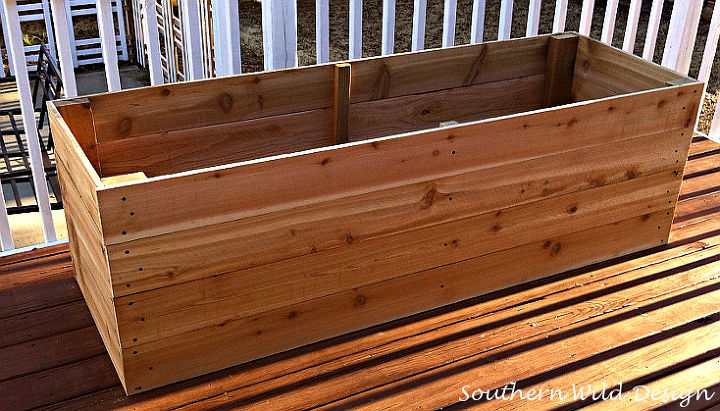
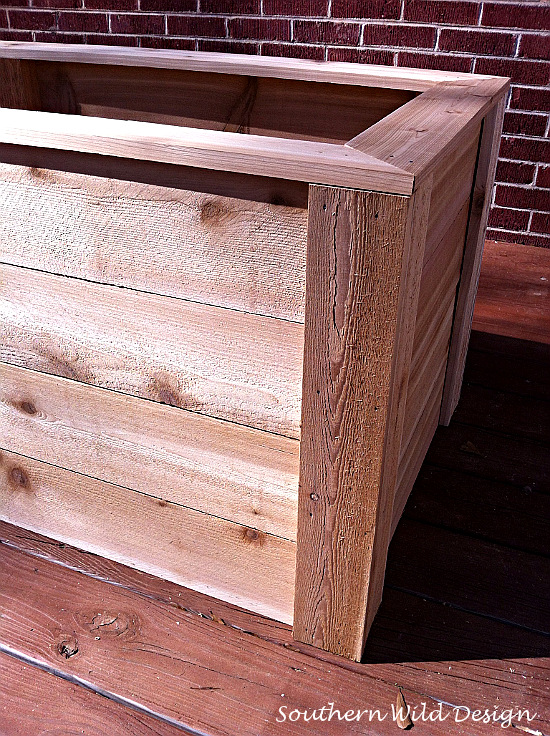
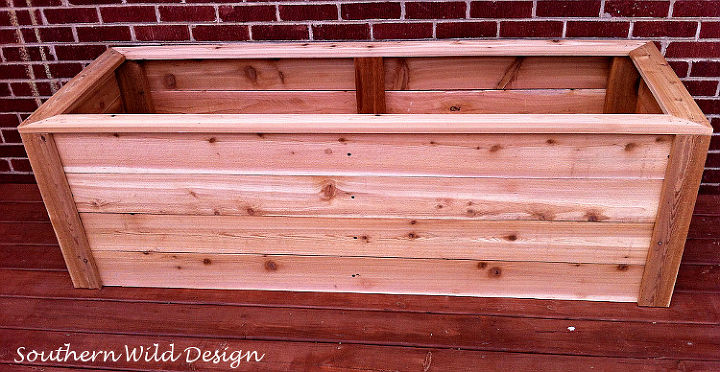
First let’s take a look at the finished product. The beauty of this planter box design is that it can be built to any dimension that you choose with a few simple steps. The planter box I built took full advantage of the materials I used to produce as little waste as possible.
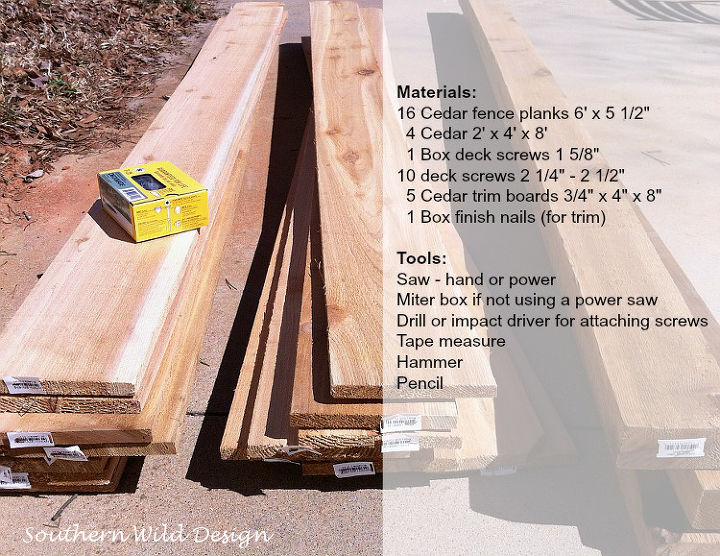
Step 1: Gather your materials and tools.
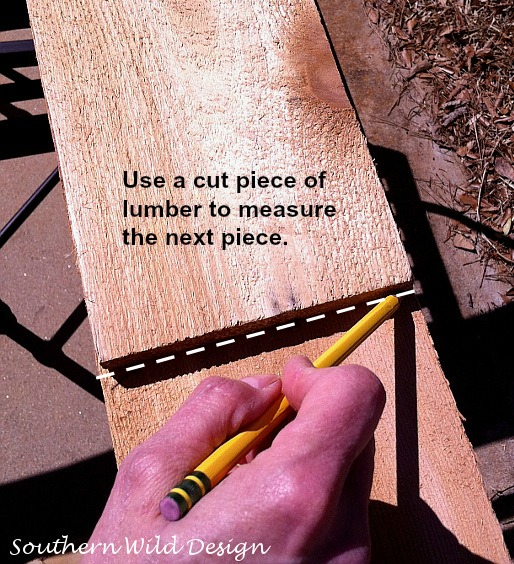
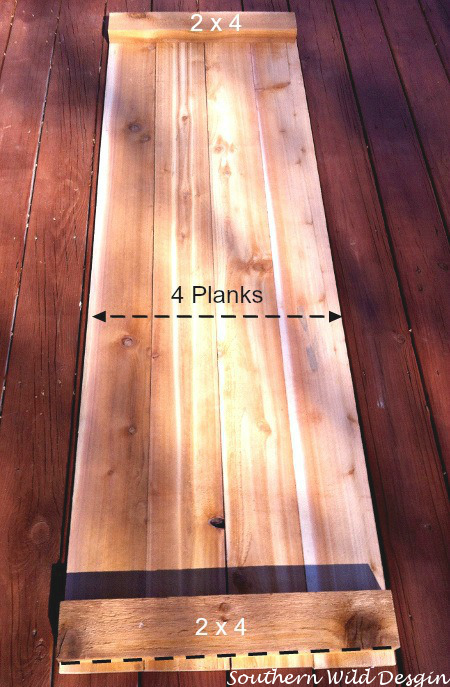
Step 2: Measure and cut the lumber for the basic box.
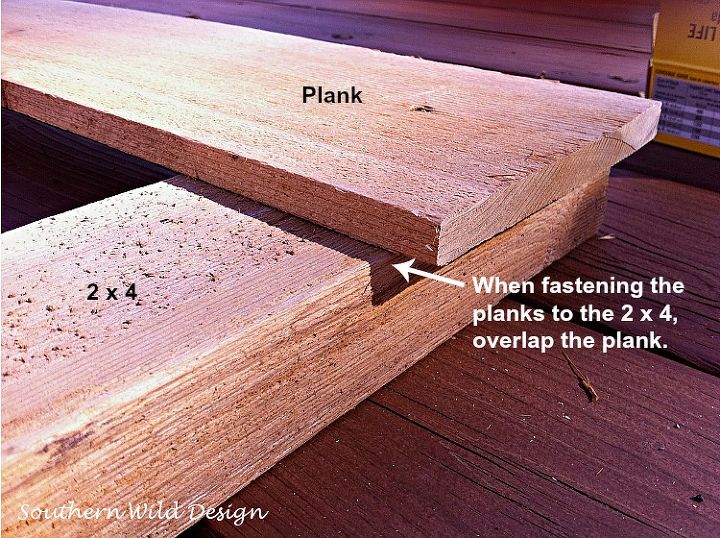
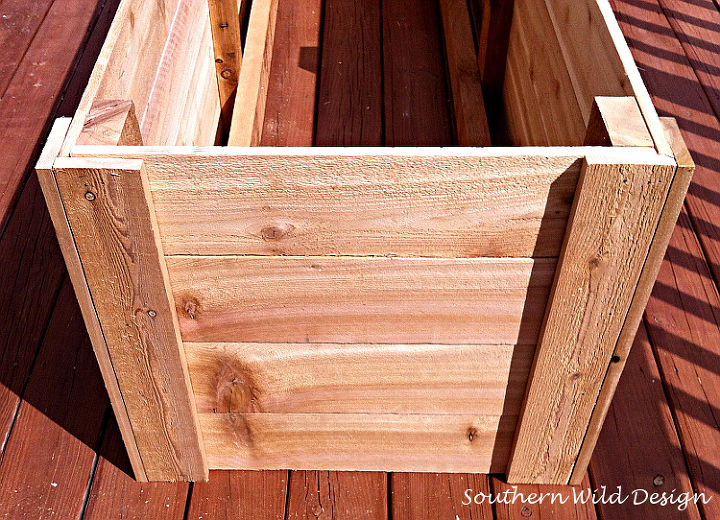
Step 3: Assemble the long sides.
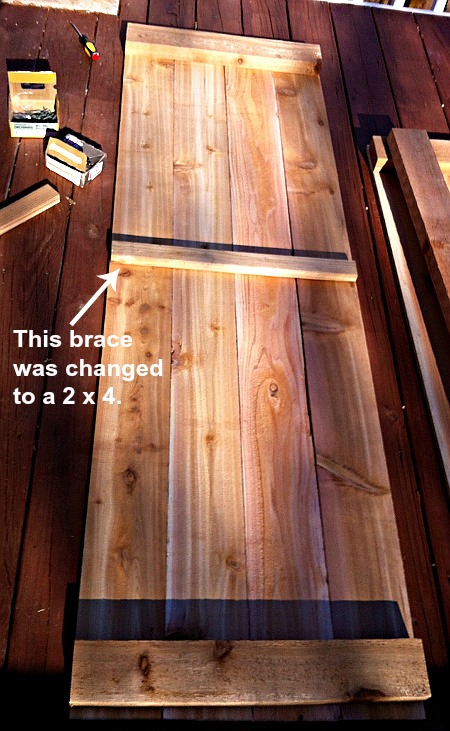
If you flip over the sides, you should have something that looks like this:
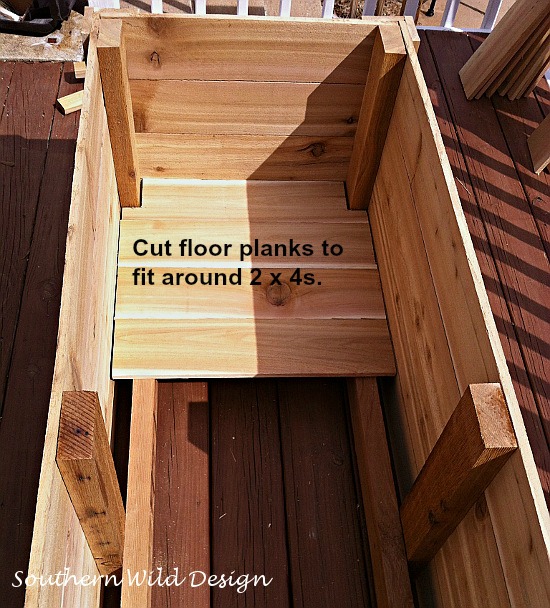
Attach a 2 x 4 piece to the center of each side for a brace. (This is where I made a mistake.)
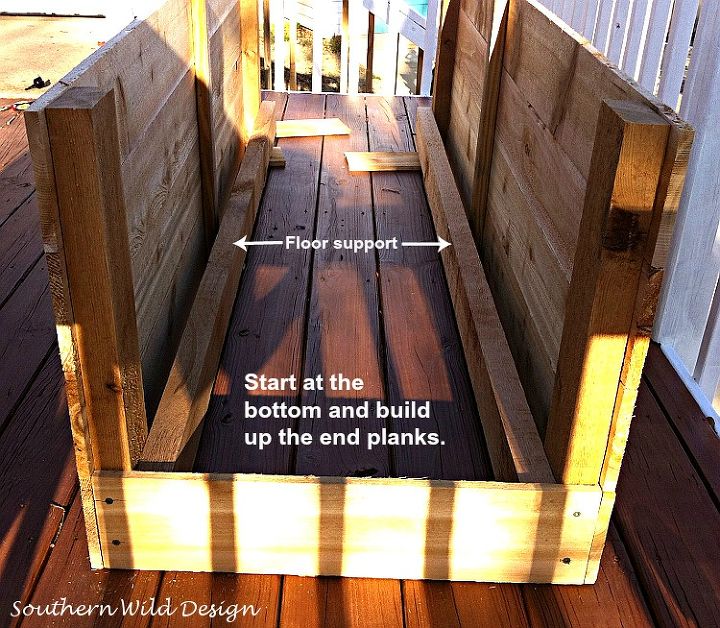
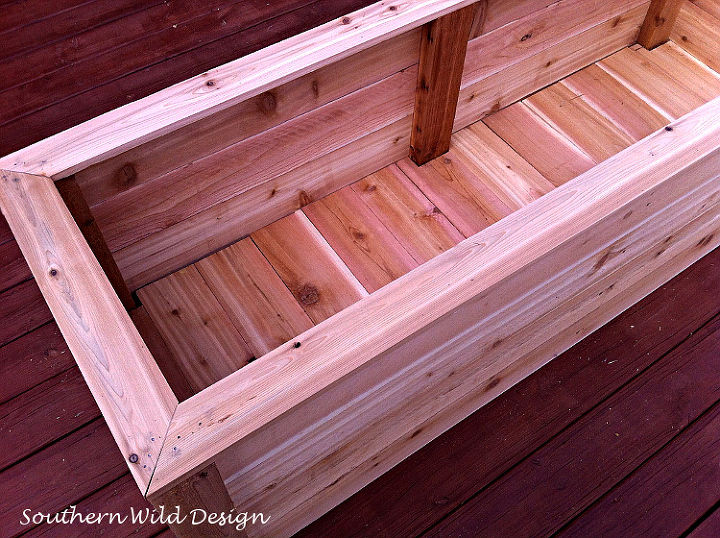
Step 4: Attach the floor support.

Step 5: Build up the short sides.
At this point, you could skip to Step 7 (cut your floor boards) and call it a day. This would reduce the cost of your planter by a little over $33. However, I chose to trim out the corners and top to make a more finished look.
Step 6: Trim out the corners and top.
Measure and cut trim boards for the top. Miter each corner 45 degrees for a polished finish. Use finish nails to attach the boards.
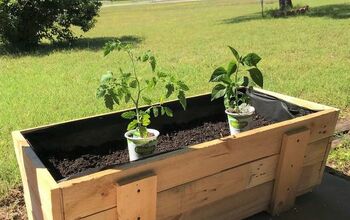
Step 7: Cut the floor boards.
Step 8: Do your happy dance!
For more details and a few tips, visit the blog: http://southernwilddesign.com
My planter cost me just at $115.00 excluding tax. I did have a box of the longer (2 1/2″) deck screws that I did not have to buy. I purchased all of my materials at The Home Depot.
Comments
Join the conversation
2 of 8 comments
-
I like this planter and your directions. I did add drain holes. Most plants do not need deep soil to thrive. One foot is more than enough. I lined mine with heavy gauge plastic (6mils). This protects the wood even though you are using cedar. I also added hidden wheels so the planter can be moved easily.
-
This look is so simple and clean. Between you and one of the HT peeps on Facebook, I don't see a planter but a great bench for my deck with storage! Grill tools etc


Frequently asked questions
Have a question about this project?
Lovely planter, but why no dranage holes?
how can I keep this waterproof as Ireland is damp in the garden all winter?
I used fabric spray paint on a fabric covered bench. It became stiff. Is there anything to use to soften it or does it need to be recovered?