


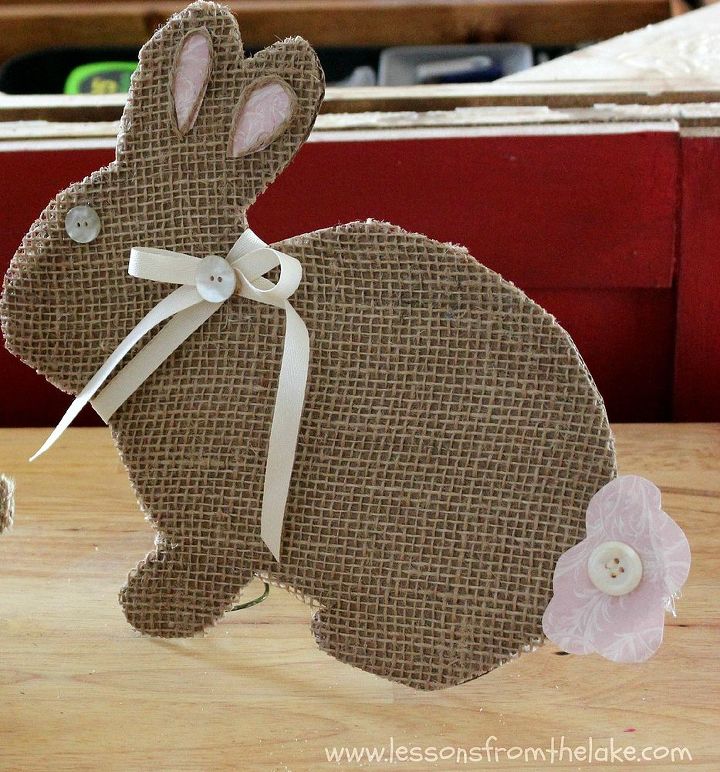
Bottons and Bows Burlap Bunnies

by
Caroline
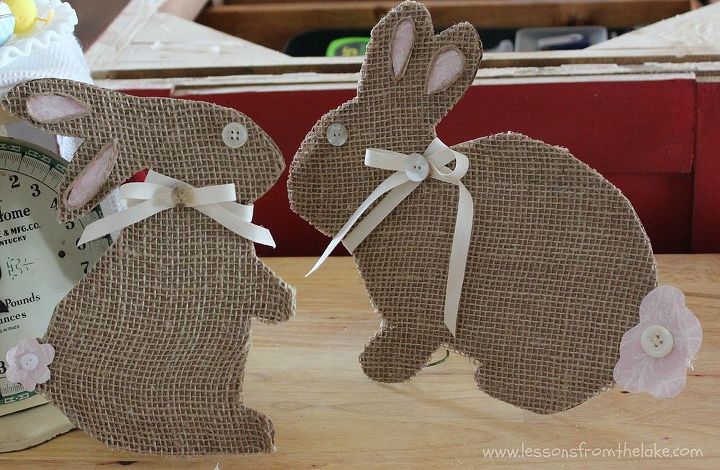
All you need for this project is some heavy cardboard, burlap, white glue and some buttons and bows!
1) Cut out the bunny patterns (you can download them for free from my blog- the link is at the bottom of this tutorial) and then your cardboard.
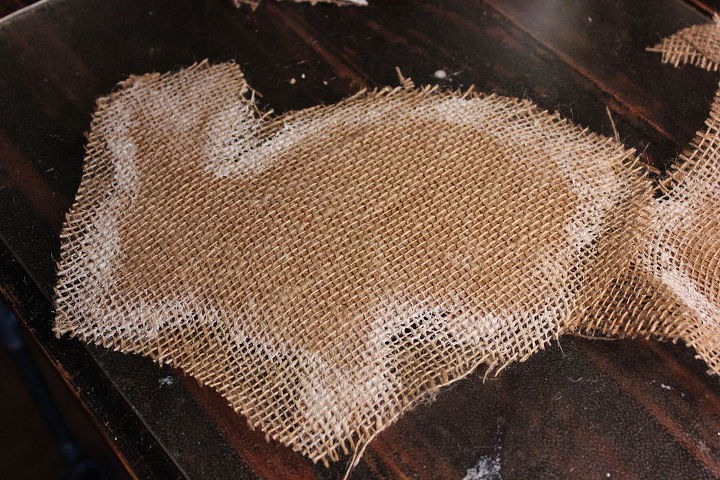
4) Trim the burlap off as close to cardboard edge as possible. The glue has sealed the edges so you don't get that awful 'burlap fuzz'!
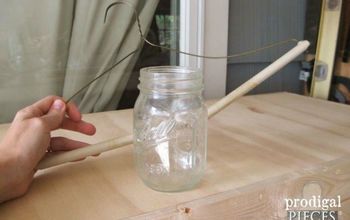
I also bent part of a coat hanger into a stand and hot glued it to the back so they could stand up.
Want more details about this and other DIY projects? Check out my blog post!
Comments
Join the conversation
2 comments
-
So cute!
-
Thanks Hannah!


Frequently asked questions
Have a question about this project?