


Easter Garland From Cans
60 Minutes
Easy
I’m so glad you are back to see how I made the garland I shared with you on the Easter Fantle. Before I get into it, I must warn you that I have no idea where this idea came from. Do you ever have those bizarre ideas that come to you? I get them and sometimes they work, sometimes they don’t. Probably more often they don’t work, and I wonder “what was I thinking!” I hope I’m not the only one that’s been at this point. Sometimes you don’t know what can happen unless you just try. Which is why I tell you to set your creative spirit free and just go with it!
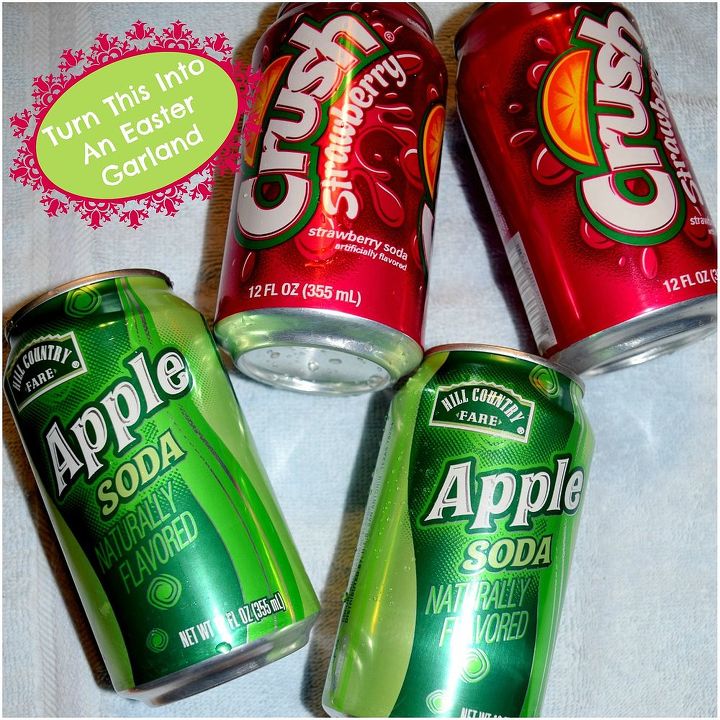
Well, let me get started and show you how I turned these…..
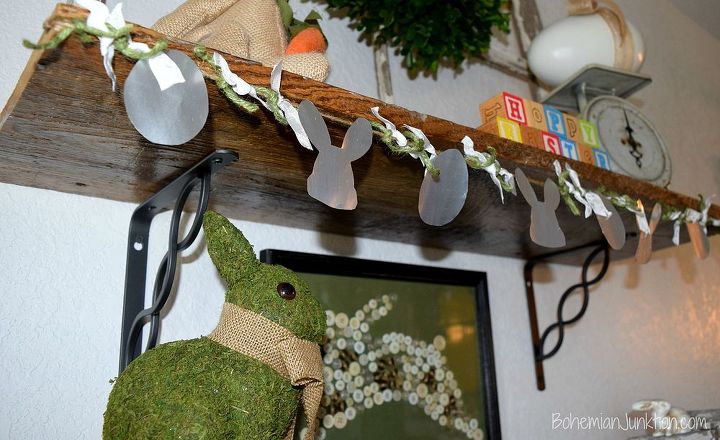
…… Into this fantastic garland.
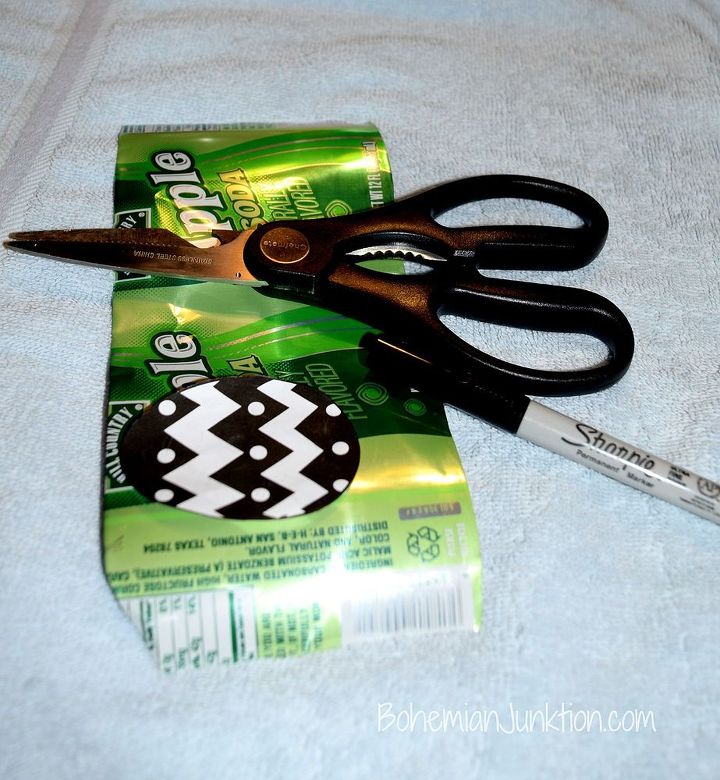
You cut the can apart, get the image you want, and start cutting.
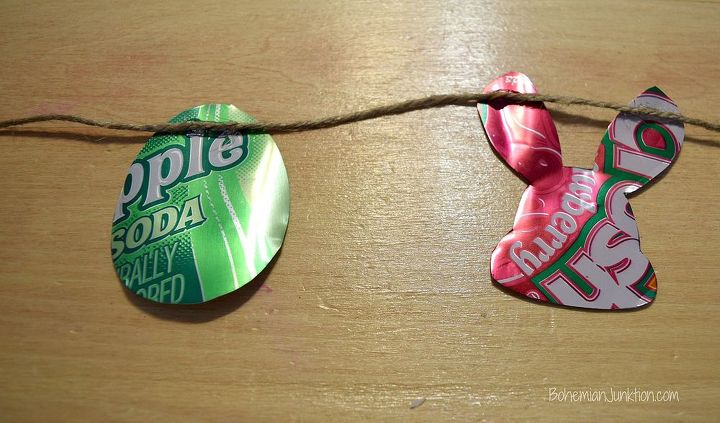
Now you have this. Just hot glue your shapes on the ribbon or twine. You can use either side of the can, but I decided on using the inside.
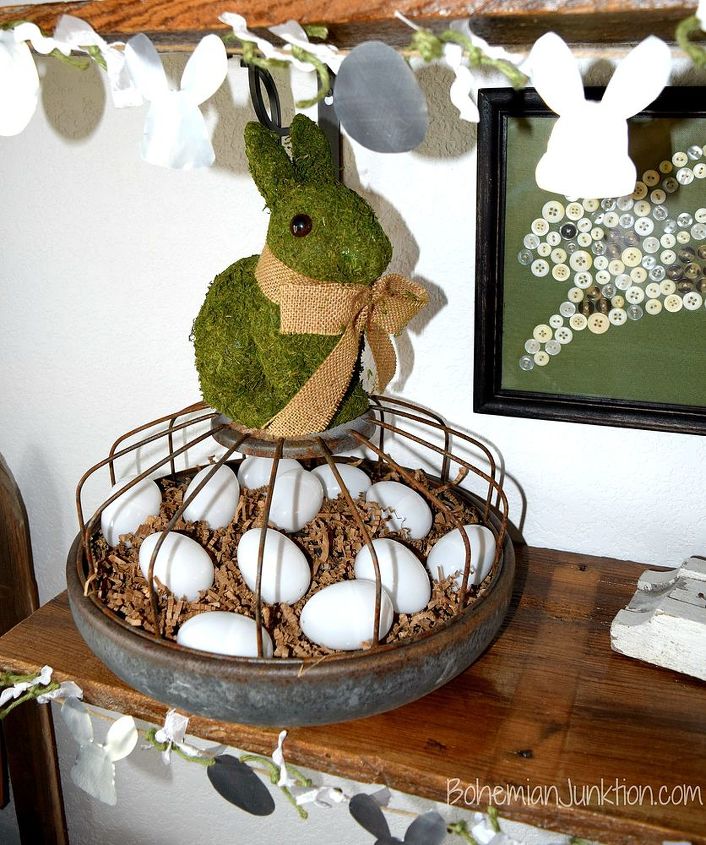
Now select pieces of ribbon and tie them on to fill in the spaces. I told you it was a crazy idea, but I really like how it turned out. It’s basically neutral, but the shiny aluminum adds a little pizazz. I hope your Easter decorations are coming together for your family celebration.

Want more details about this and other DIY projects? Check out my blog post!
Comments
Join the conversation
2 comments
-
What a cool idea! I love the look of this.
-
Who knew soda cans could become something cute!


Frequently asked questions
Have a question about this project?