


How To Make a Recessed Wainscoting Wall From Scratch
4 Materials
$85.13
2 Days
Easy
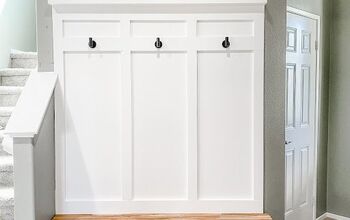
I’m excited to say we’ve finished the recessed wainscoting wall. The last part of this project I shared was the DIY Transom Window Entryway Before and After. We started this last project for the wall in much the same way as when we built the entryway. There are certainly many ways to make a wainscoting wall. A lot of techniques are complicated and can get expensive. The wall we built is simple and inexpensive.
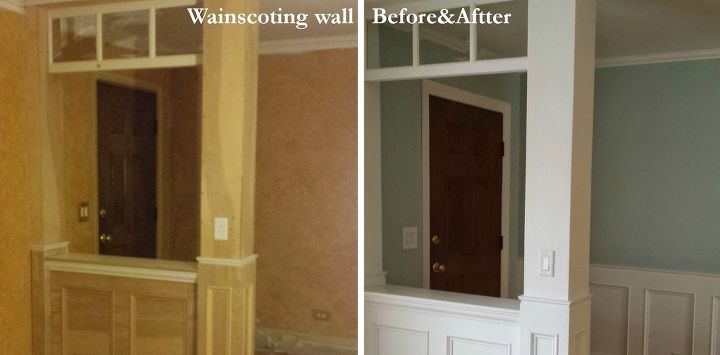
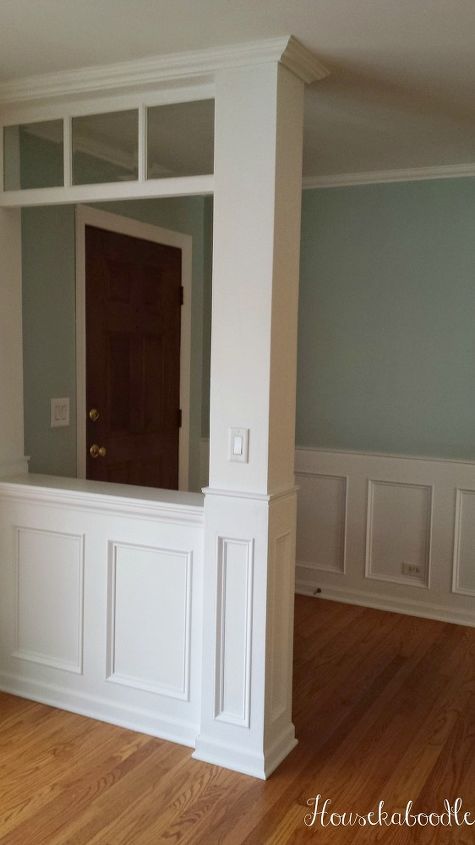
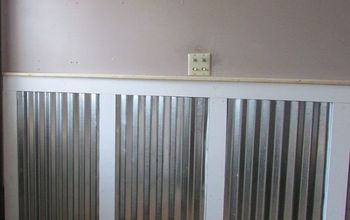
Before, before there was actually nothing there. Here the before is about before we painted the walls and entryway and added wainscoting to the opposite wall. Ignore that poor door that is going to be refurbished next with a decorative glass insert and painted white.
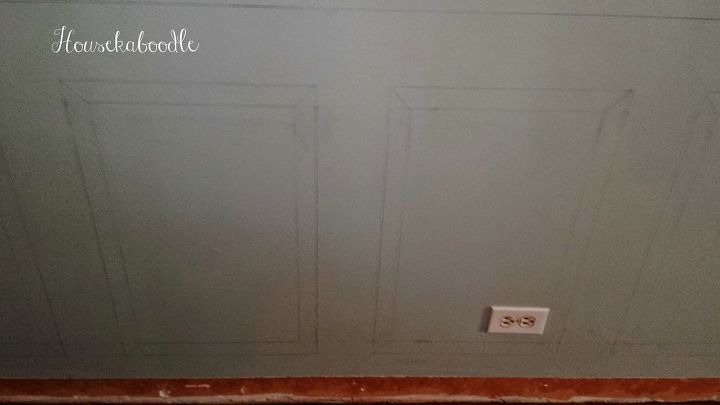
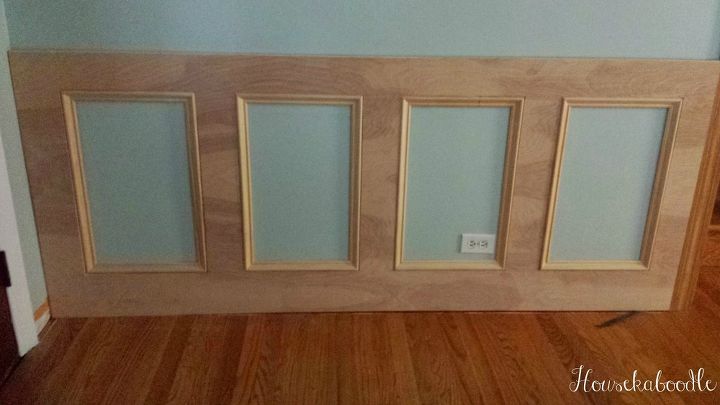
Humor me since I know it may be hard to see the pencil drawings on the wall and plywood below.
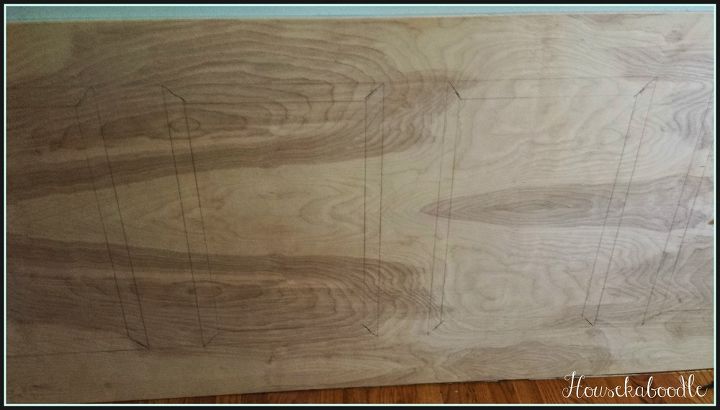
We used a 1/2 inch 4.8 sheet of birch plywood.
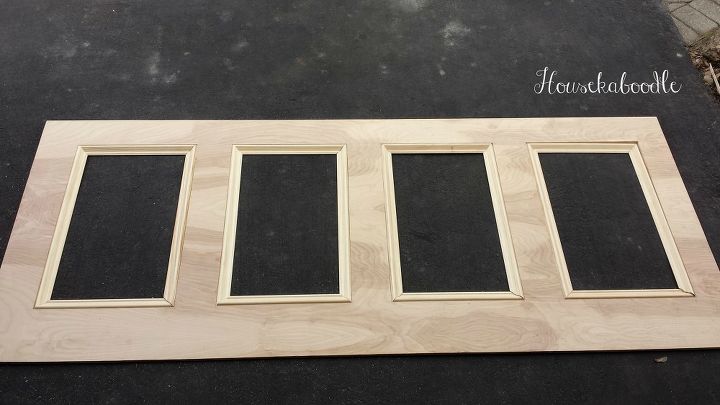
After making the cuts we laid it out on the driveway and placed our miter cut moulding pieces to make sure they fit.
Nailed and glued the recessed panel to the wall.
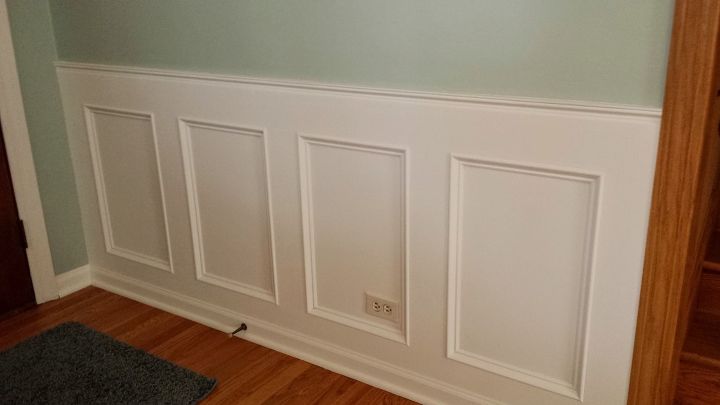
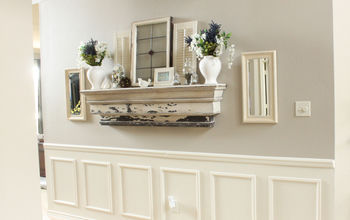
Painted it white to match the entryway on the opposite wall.
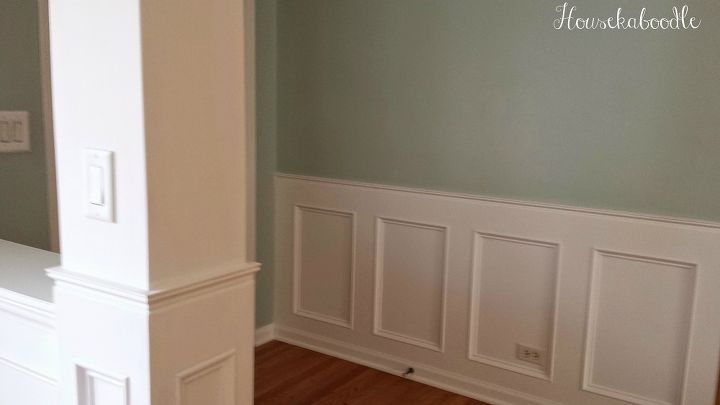
We are really happy how it turned out and so glad to be done with this part of the project. In case you like the wall color too, it is by Benjamin Moore and called Palladian Blue.

Want more details about this and other DIY projects? Check out my blog post!
Comments
Join the conversation
2 of 112 comments
-
Looks like a great idea, especially if your flipping houses or working remotely, you can get it a ready to go then take it to the house and install it!
-
Beautiful. Thanks so much for sharing!


Frequently asked questions
Have a question about this project?
Beautiful job. What make and color is the green above the white ?
Hello, beautiful concept and execution. I’d like to try this myself! One question: If you were doing an expanse longer than 8 feet, how would you hide the “seam” where the two sparate panels meet? Thank you!
Hello, beautiful concept and execution. I’d like to try this myself! One question: If you were doing an expanse longer than 8 feet, how would you hide the “seam” where the two sparate panels meet? Thank you!