Botched up drywall repair

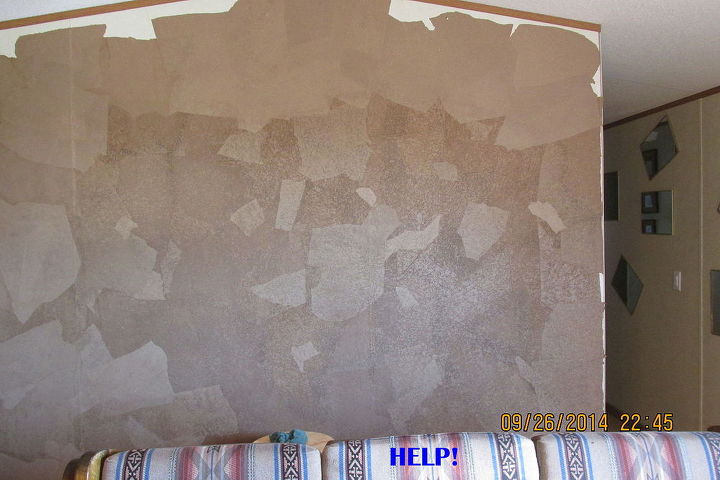
I was attempting to fix a floor to ceiling crack in my drywall. I taped it, and used drywall mud over it, sanded it, more mud, more sand, and then I painted it- 2 coats of paint with primer in it. It looks like crap now. You can totally see the entire area where I did the repair. I attempted to take photos, but you can barely tell in them. It is glaringly obvious in person though. I have no idea where to go from here, and how to fix it again now that I painted the area. HELP!!!
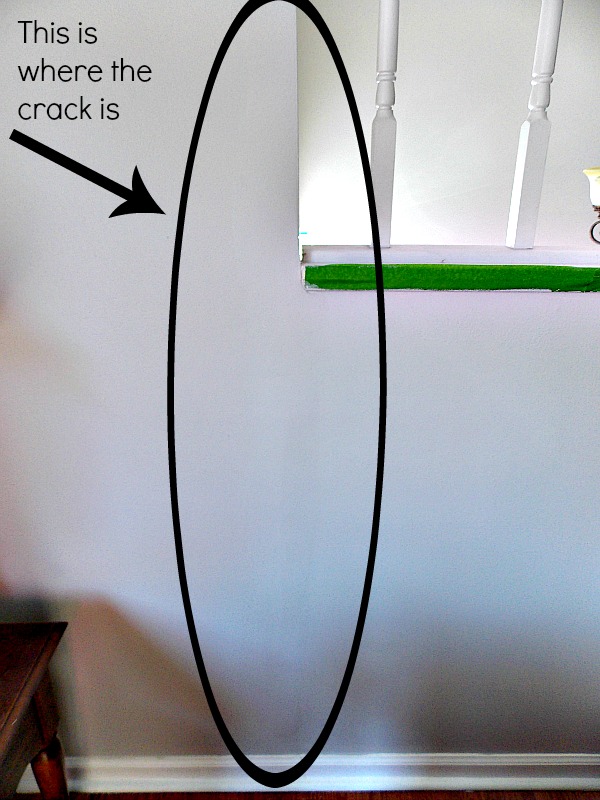
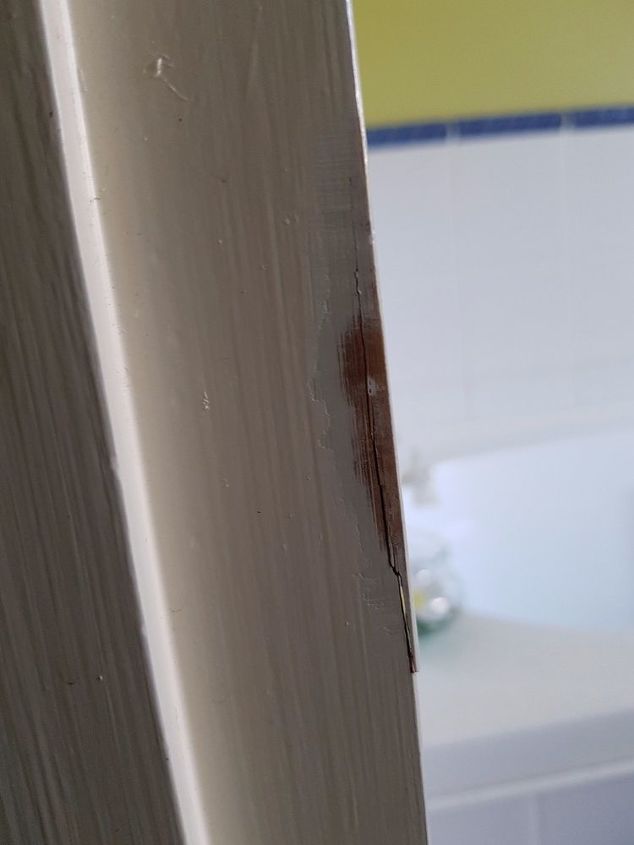
Teh crack is next to this wall opening, from the floor all the way to the ceiling.
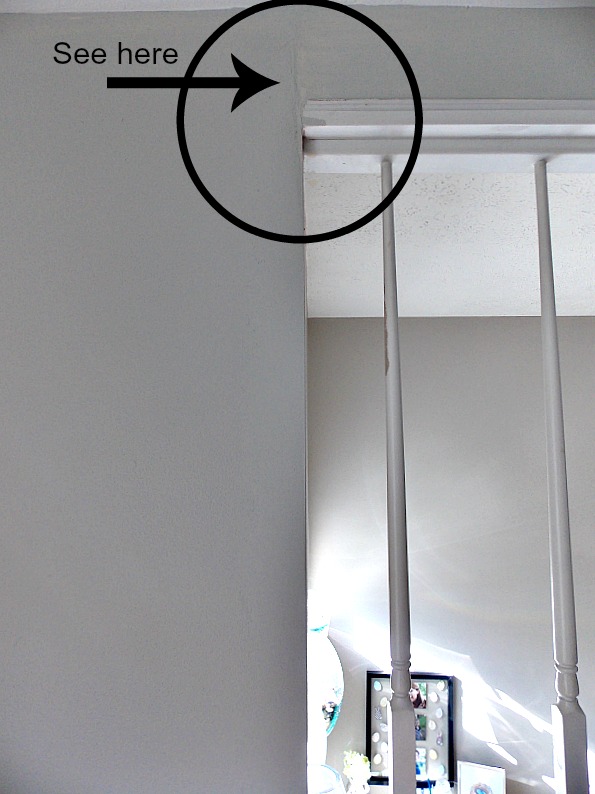
You can see the mistake better here than anywhere else.
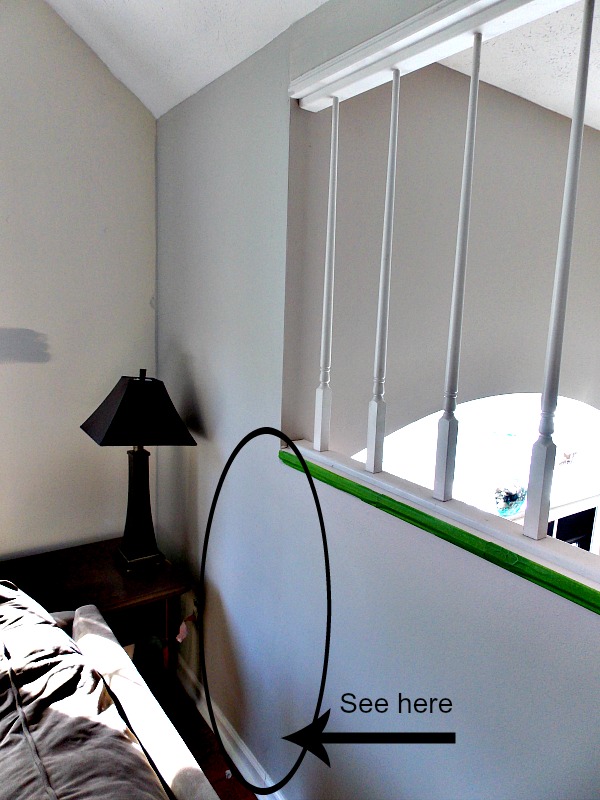
YOU can see it more down toward the floor too.
  14 answers
  • Longtinb Longtinb on Apr 06, 2015
    NOT SURE, BUT IT LOOKS LIKE YOU MAY NOT HAVE SANDED IT ENUF. IMO YOU NEED TO SAND AND START OVER. I COULD BE WRONG THO. SAME THING HAPPENED TO ME AND I JUST STARTED OVER. TRY "STRESS CRACK TAPE" FROM SHERWIN WILLIAMS.
  • Charles Myers Charles Myers on Apr 06, 2015
    Full sheets of drywall are tapered on the ends to allow for tape and mud to create a flat wall when finished. If you butt together untappered pieces you need to allow for the tape and mud seam by sanding and smoothing the joint out further so the taper is not noticeable. You accomplish this by using wider trowels, sanding more and lengthening out the taper. DO NOT BE IN A HURRY-let it dry and do it till it looks good you will notice it for a long time if you do a poor job!
  • Lagree Wyndham Lagree Wyndham on Apr 06, 2015
    I have a crack like this from house settling. Just plan to mud crack and sand it smooth. You may want to skip the tape and try that.
  • Jeanie Jeanie on Apr 06, 2015
    There's no way paint and primer go well together. You need to prime new drywall, plaster (as in patches) etc. first. This makes a really nice smooth, non-porous surface to accept the paint. Yes, it's twice the work. But, you will have to look at that wall a long time. If your patch looks blotchy and a different color than the wall, priming will make it right.
  • Moxie Moxie on Apr 06, 2015
    I'm with the first three comments and it can be a tough one - when we have issues like this we find using a progressively bigger mud knife helps during each tape process helps spread out the patch and yes you needed to sand more. now that it has been painted it will be harder to get it right. You may also want to consider why it cracked, I see it is above an opening in the wall....is the wall load bearing? Is there a problem that caused the crack? If so you may want to look into that before you try to fix again as it cracked for a reason.
  • Al Al on Apr 07, 2015
    Use a 12" knife.
  • Kim Hermansky Zoccali Kim Hermansky Zoccali on Apr 07, 2015
    No tape was needed. Cut about 1/2 in around either side of the crack and remove the bad piece. Fill with an expandable filler such as sandable caulk or wood filler. By doing it the way you did it, your crack will be back in no time. This is a heavy settlement area in any house. By using an expandable filler, it will adjust with settlement.
  • Emy-Paul Spaleta Emy-Paul Spaleta on Apr 07, 2015
    Cut a narrow V- groove out along the crack about a 1/4" deep and 1/2" wide. Apply your layer of mud, then tape, then mud again over tape. Allow to dry, sand and reaply mud feathering out the sides 8"-10". Allow to dry and sand and prime.
  • Grouchy Grouchy on Apr 07, 2015
    My question here would be whether it might be a paint matching issue--like the newly painted area is a slightly different color than the original paint---which the solution would be to paint that one entire wall with new paint (and not nessarily the entire room). Also, from my experience, sheetrock is NOT tapered on the ends but is so on the sides (the long part). Sheet rock joints are essentially to be an illusion of being flat but not necessarily flat which is why you use several coats of mud, slowly building up a taper which will not be obvious--thus the illusion. This often requires a wider knife with each additional coat. Much of this can be seen on even good work by holding a light on the work by placing the light on the joint real close so it shines down on the seam.
  • Charles Prock Charles Prock on Apr 07, 2015
    Does the wall have texture on it? If it does then you need to sand the texture off. The wider the repair the the less it will show.....If texture is necessary it will look better applied over a wider area than a small verticle repair. Then repaint.
  • Jane Jane on Apr 08, 2015
    I had a similar problem years ago over out fireplace, I tried everything, sooner or later it was back. I ended up getting a painter that knew what he was doing, he came out & fixed it, but he came 3 days in a row to sand & reapply the mud on the drywall. It never came back & he just charged me $35. Don't be afraid to ask for professional help, you will come out ahead many times & you won't be pulling your hair out any more. Good Luck.
  • Omniman Omniman on Apr 09, 2015
    Use Fabric Tape Instead...works well.....We use that in renovations....sad an re-tap TIGHT !
  • D & K D & K on Apr 10, 2015
    The problem with doing a surface repair on drywall is there's a high likelihood that it will eventually crack as the drywall beneath it. If the wall is moving and shifting there's nothing you can do to the drywall to prevent it from cracking. If it's not currently moving you can repair it by removing approx. 1/4 inch of the drywall 1/2 inch wider than the width of your tape. Clean out and widen the actual crack to 1/4 to 1/2 inch wide in a V pattern. Fill to entire area with slightly wetter than normal joint compound. Why wetter than normal...because you'll be beneath the old paper layer of the drywall and the old drywall will suck up the moisture quickly. The slower it dries the stronger the joint will be. Immediately after applying joint compound, apply your tape, apply a very thin layer of joint compound and another layer of tape. Be certain to press the tape into place and smooth over to make certain there's isn't any air trapped beneath. Once you've applied two layers of tape, skim over the entire area with joint compound. Do not taper out the last skimmed coat of joint compound. Leave it no wider than an inch or so beyond the area you trimmed out. Let it dry, lightly sand or sponge it smooth, prime, texture and paint.
  • Don Don on Jun 26, 2017

    Firstly to address the reason of continuous cracking. It's really a no brainer, plasterboard or in American speech drywall 99% of the time will have a joint below and or above doors windows and any other penetrations. This is to limit wastage and costs its what rough tradies do. If there has to be a butt joint in the wall it should not be directly below or above doors or windows as this is a weak spot and under stress from opening and shutting off doors or windows. Now to solve the problem completely and having the confidence of it not returning is to remove plasterboard and resheet without having a butt joint. Cut around the window jamb in one piece.. if you want to keep patching then you are going to end up with a massive speed hump and use tape making sure it's paper tape. Well that's my lowdown on your cracked drywall. Btw I'm a plasterer from Sydney Australia with 21 years experience.