


A Sewing Closet Conversion

by
Kimberly
My husband and I were sharing a room as an office for him and a sewing room for me. I was gradually taking over more than my share of the room... This was when we decided it was time to convert the garment closet that was in the room into a sewing closet for me.
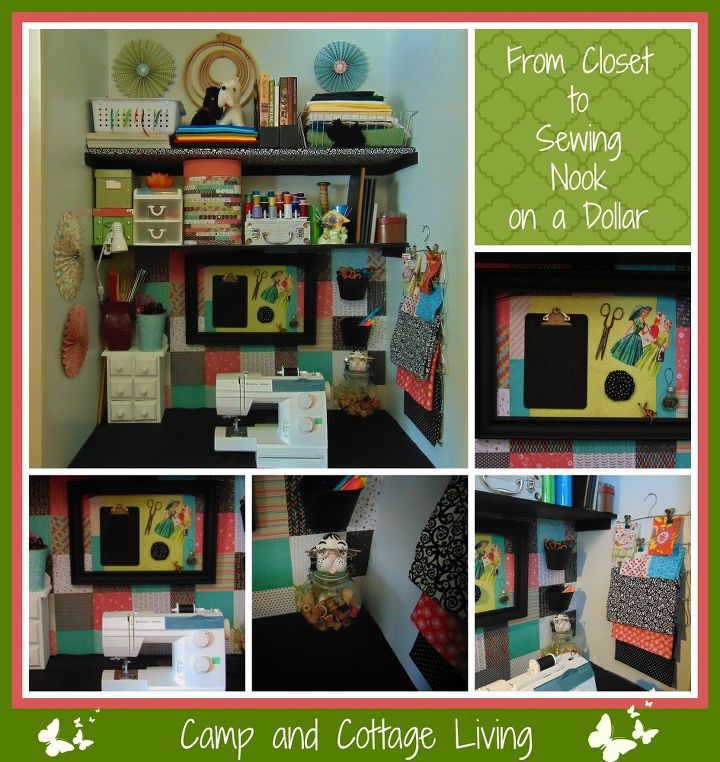
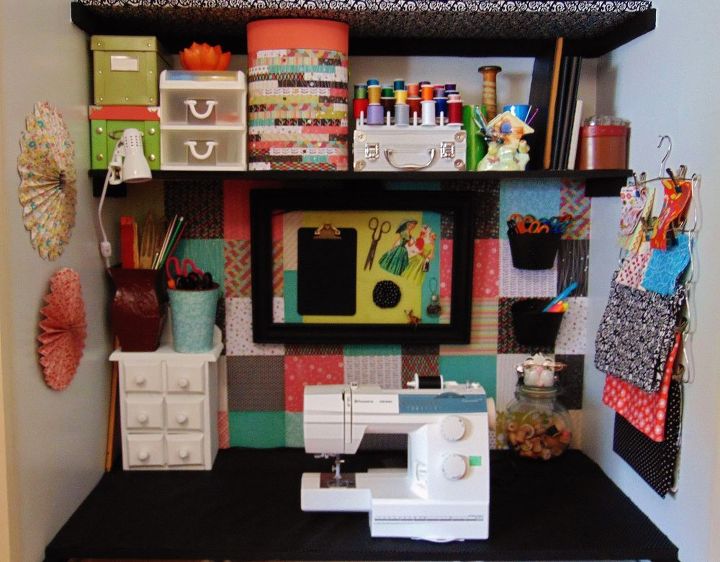
Once the closet was cleared out my husband added a large shelf to hold my sewing machine and another additional shelf for storage of all of my supplies.
As you can see, it didn't take long for me to start filling those shelves either!
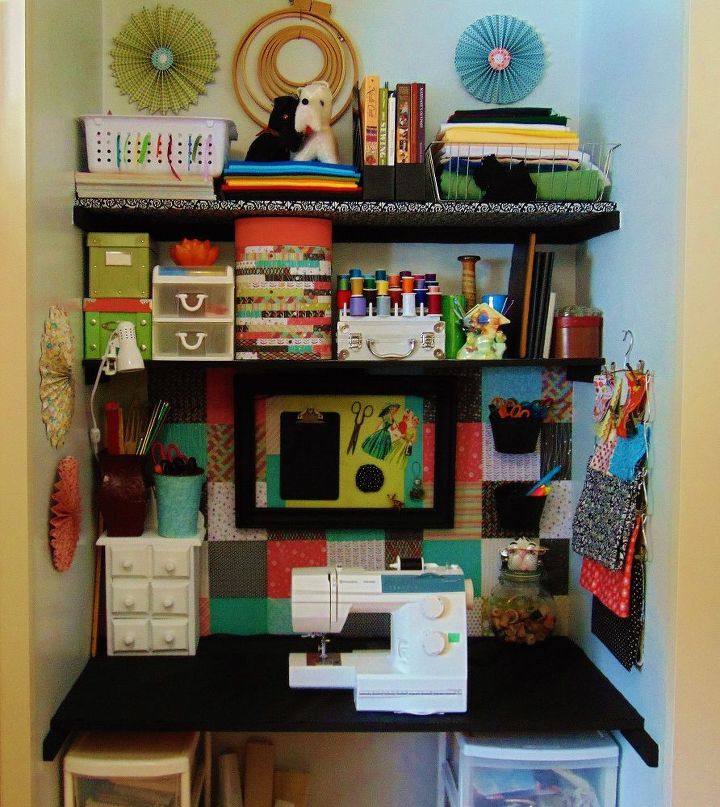
I covered the top shelf with a contrasting black and white fabric and on the sewing machine shelf I placed rubber matted shelving paper to keep the machine from sliding around as I was sewing.
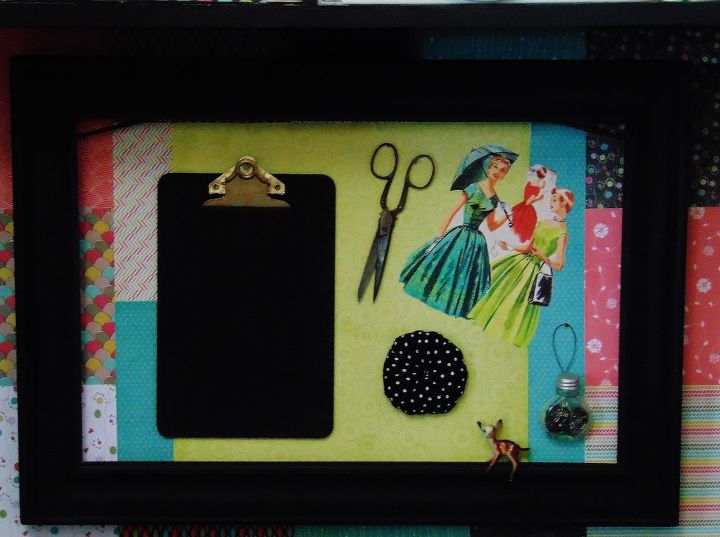
Instead of a cushioned bulletin board I opted to paint a picture frame and add a chalk painted clipboard to write my planned projects on.
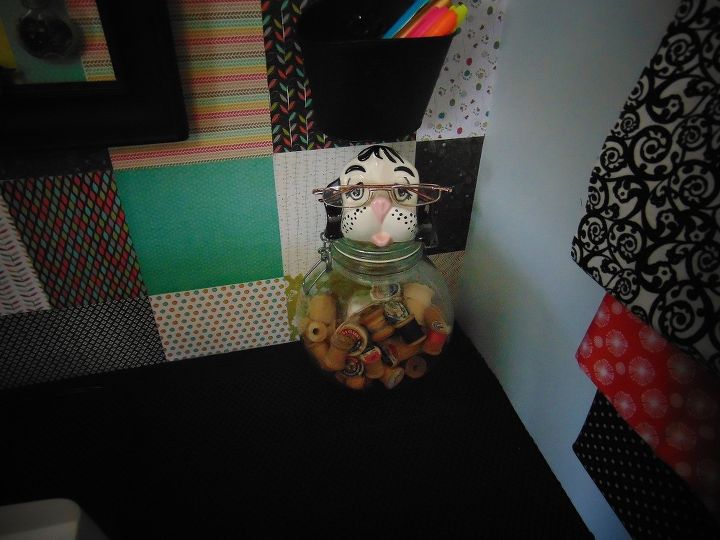
Of course I couldn't leave out my little doggie buddy who holds my glasses for me until I need them for threading my needles!
Want more details about this and other DIY projects? Check out my blog post!
Comments
Join the conversation
2 of 3 comments
-
What a creative space!
-
Love your closet. Wish l could think like you do. Great job!!!!! Looking forward to seeing more.


Frequently asked questions
Have a question about this project?