


Sign Making and Stenciling for the Home
I love making signs with only pieces of flat wood that come from pallets and other scrap wood. The ones that I used here are not very wide but they make perfect small signs.
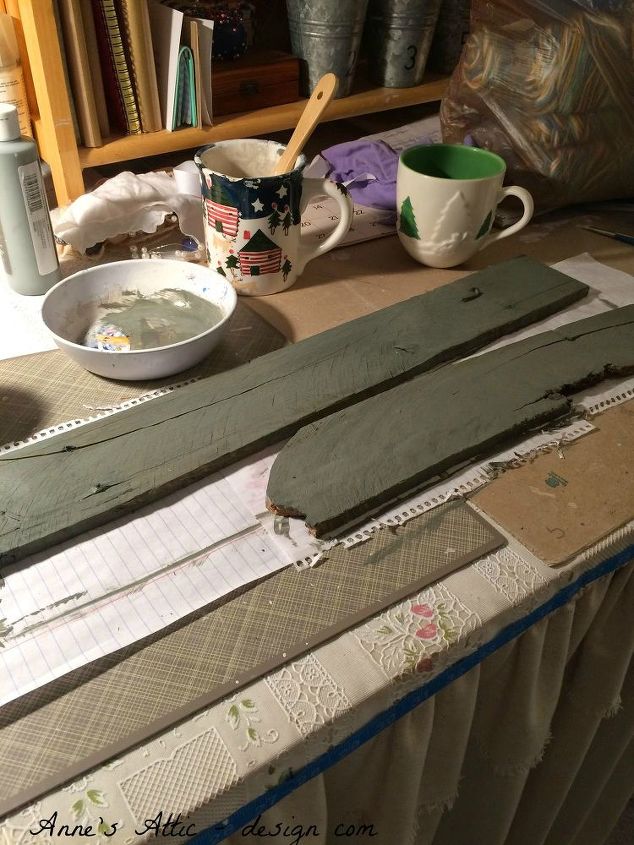
Above is a piece of wood from a pallet that broke, it makes two perfect little signs. I used a gray acrylic paint wash and painted the slats. I let it dry good before stenciling.
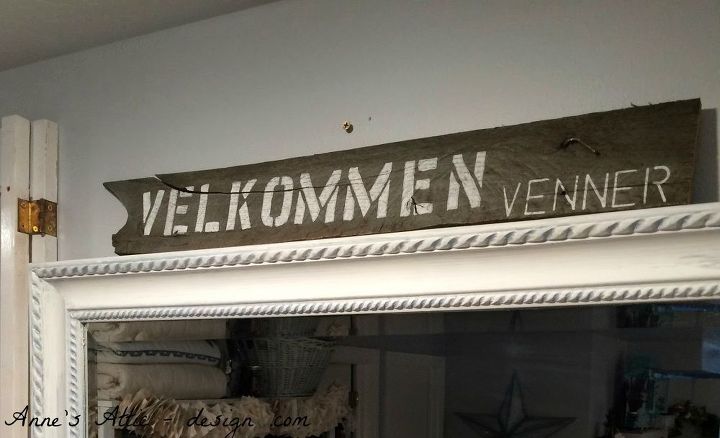
This sign I used white chalk paint to print Welcome Friends in Danish. Part of my heritage. The slat is cracked and still has a nail in it, I think that it gives it rustic character.
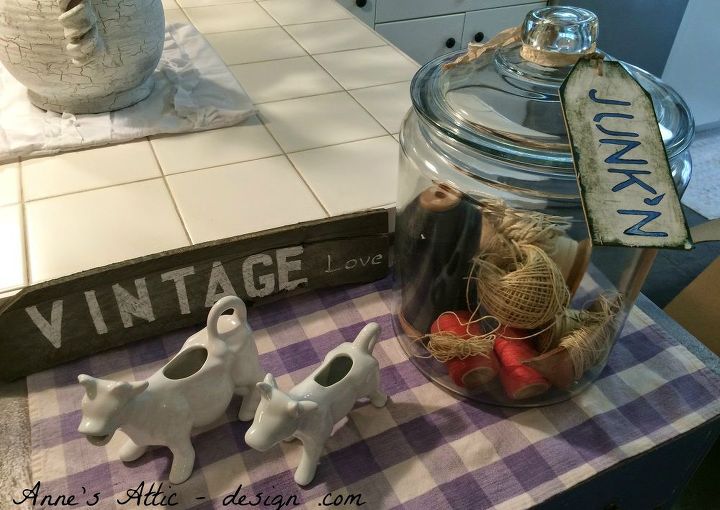
The small piece of wood says Vintage Love. You can use so many sayings and words and numbers that mean something to you.
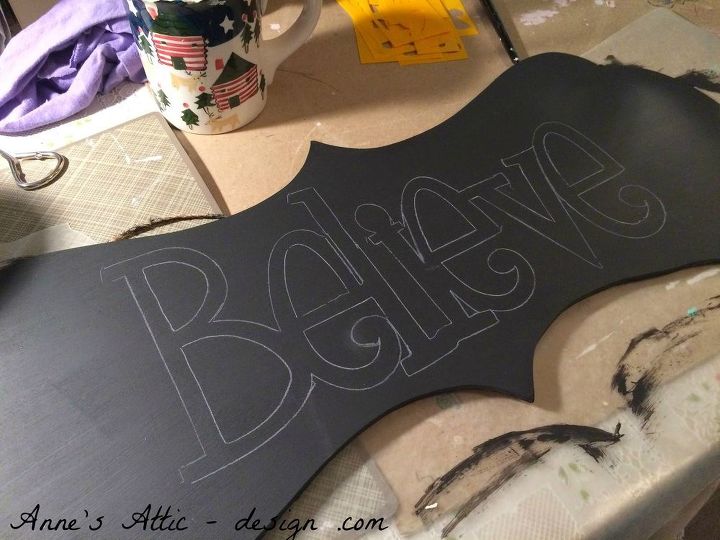
I bought this special piece at Michael"s Crafts. I painted it with black chalkboard paint and then printed BELIEVE on it. I then used a chalk pen to fill in the believe.
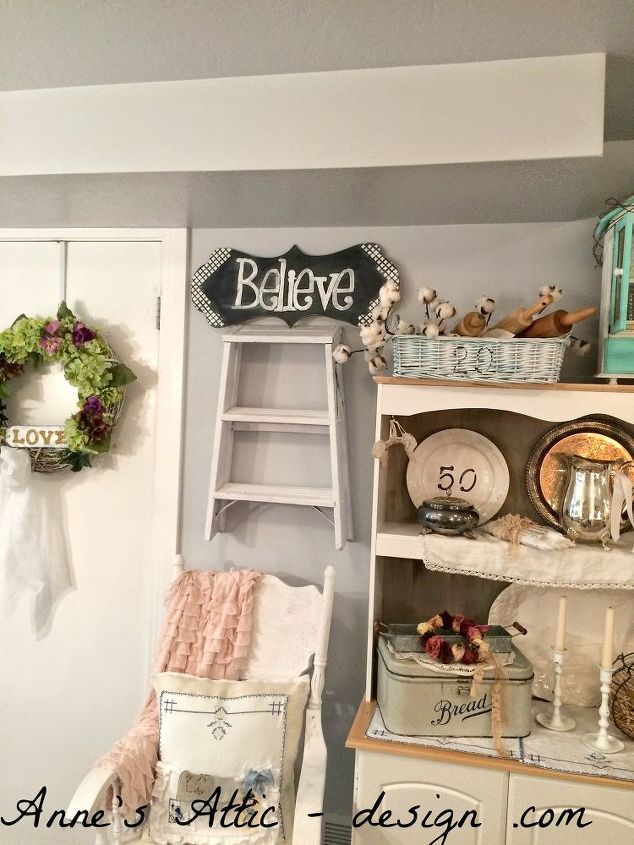
I added some little stars on the end of the sign for fun. Make sure that after you paint on your sign and you plan to sand it to sand in one direction.
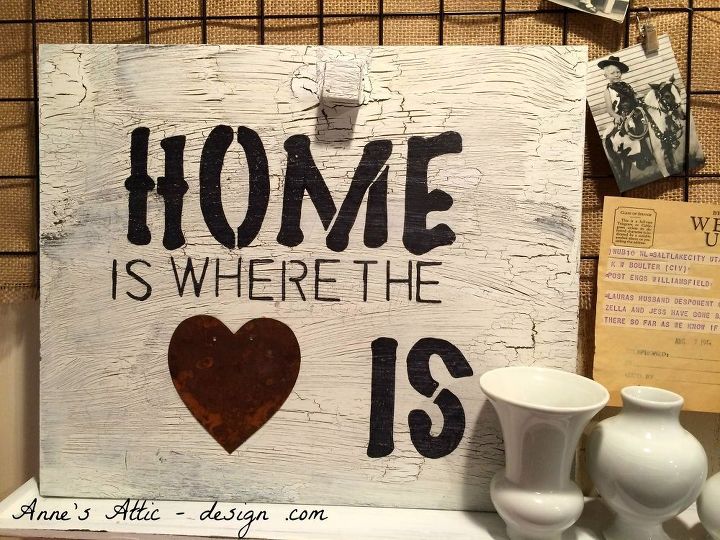
This fun sign I made used a piece of an old drawer from a dresser. I used crackle paint then painted it with white paint. This sign's wording was really easy because I used used a Sharpie to print the words. So easy!
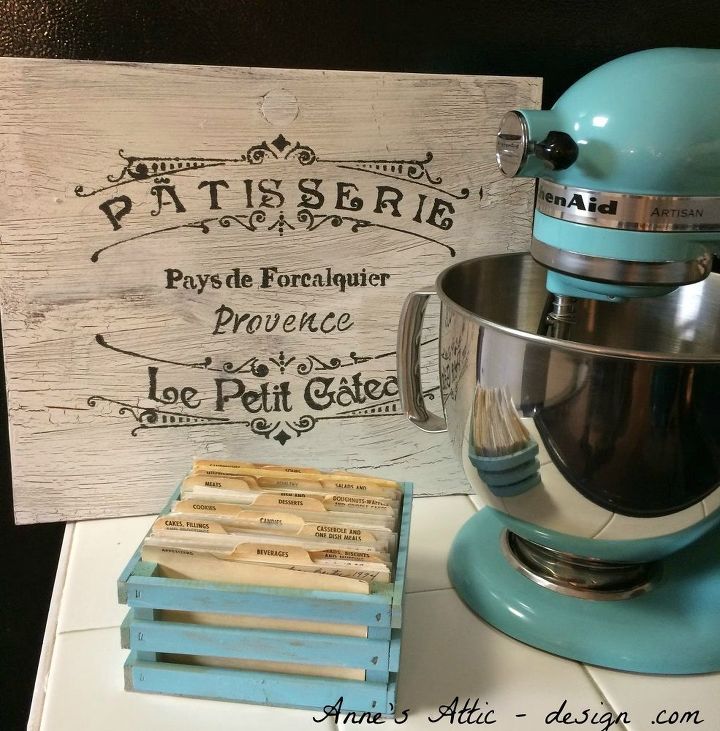
This sign I used a fun French bakery stencil and a black Sharpie.
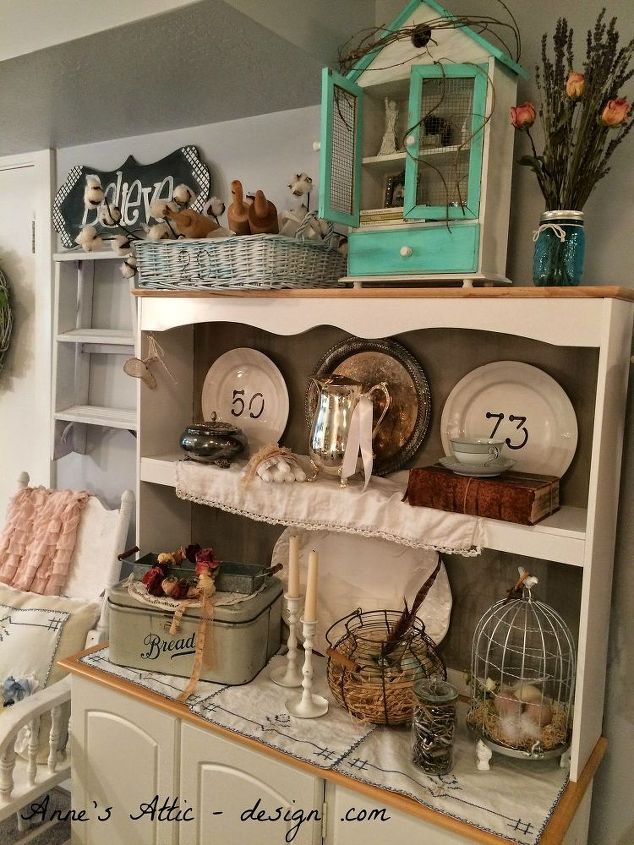
While I had my marker and stencils out I added some fun numbers on plates. The numbers are special years in my families lives. It makes it special every time you look at them.
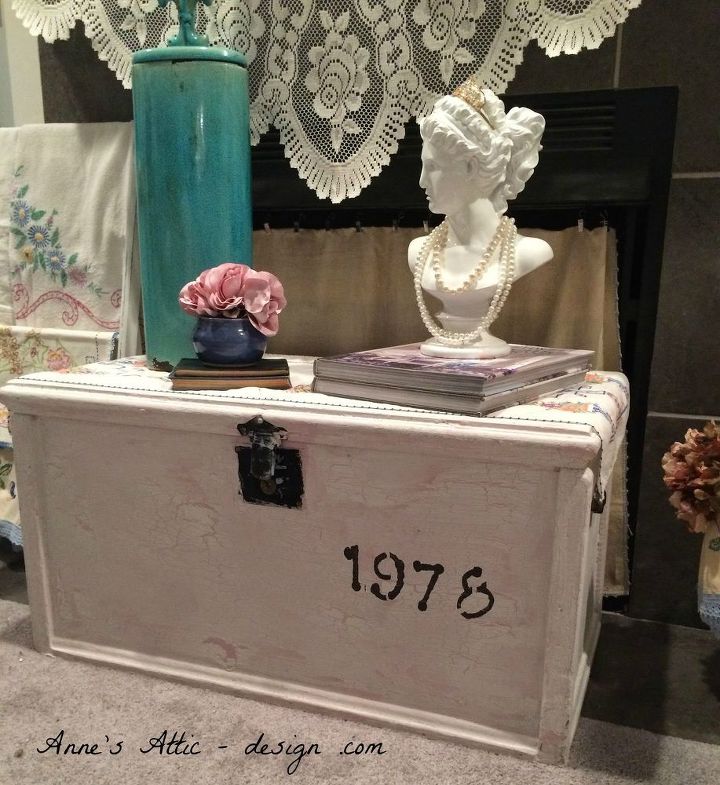
1978 was the year one of my sons were born.
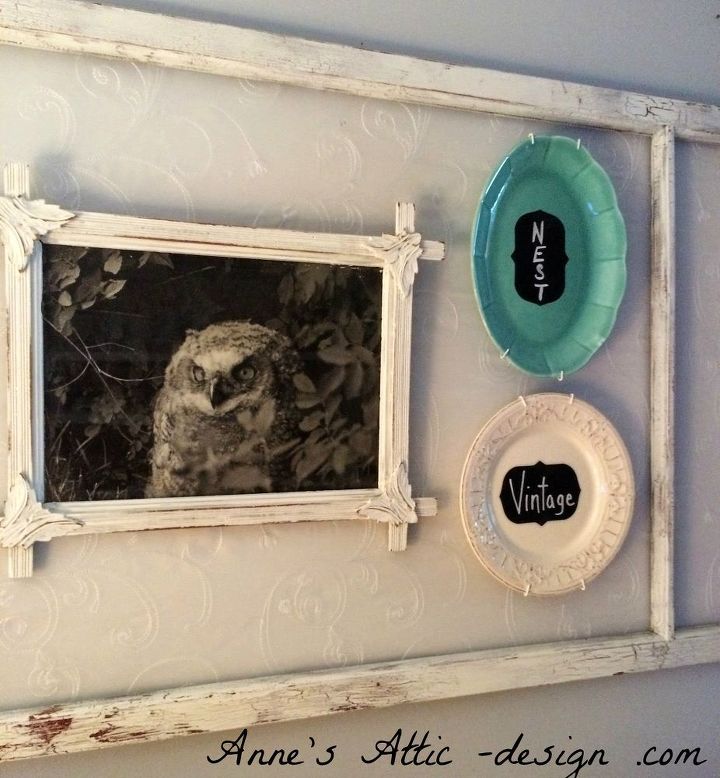
Here I used chalk board sticky labels. It really adds some pzazz to a vignette. Have fun stenciling!

Want more details about this and other DIY projects? Check out my blog post!
Comments
Join the conversation
2 of 4 comments
-
these are great!
-
These are all great! I love all of the stenciling you've done.


Frequently asked questions
Have a question about this project?