


Quick & Easy Upholstered Bench! (Super Cute Transformation)
$20
1 Hour
Medium
There is nothing more fun than a quick and easy upholstery project! Well, maybe I should change my wording on that. I said quick, and this was actually not quick this time. It was totally MY mistake- which I learned from! (Don’t you love learning moments! ugh!!) But typically, a project like this is fast and very easy- and it will be for you if you learn from my mishaps! :)
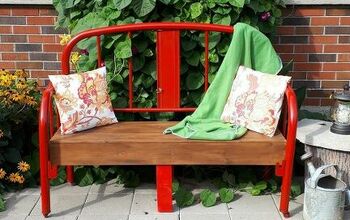
This bench was an eye sore, much like most of the projects I choose to work on. I found it in a flea market for around $15 (I don’t remember exactly)…and it was kind of hidden under a pile of junk. I saw potential immediately, so I grabbed it up and took it home.
This bench was an eye sore, much like most of the projects I choose to work on. I found it in a flea market for around $15 (I don’t remember exactly)…and it was kind of hidden under a pile of junk. I saw potential immediately, so I grabbed it up and took it home.
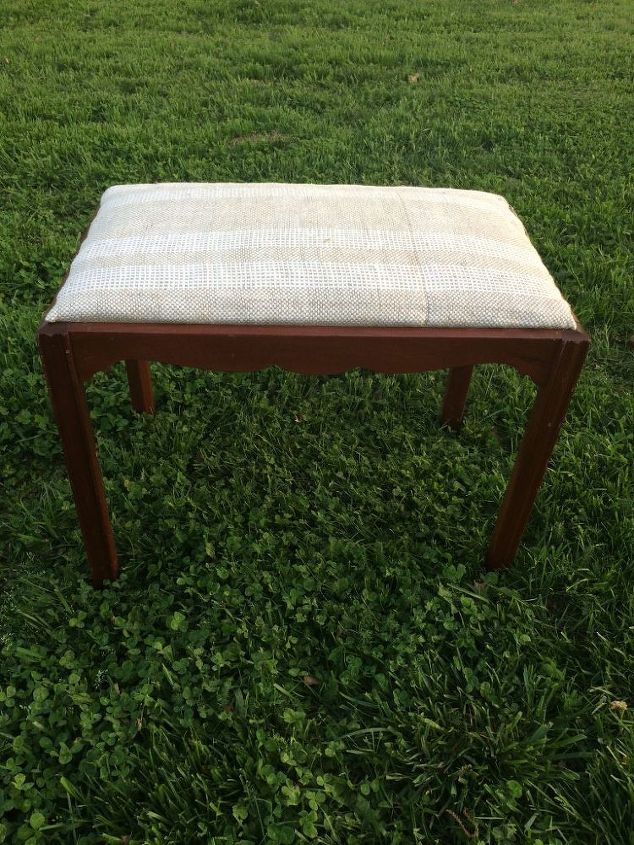
BEFORE
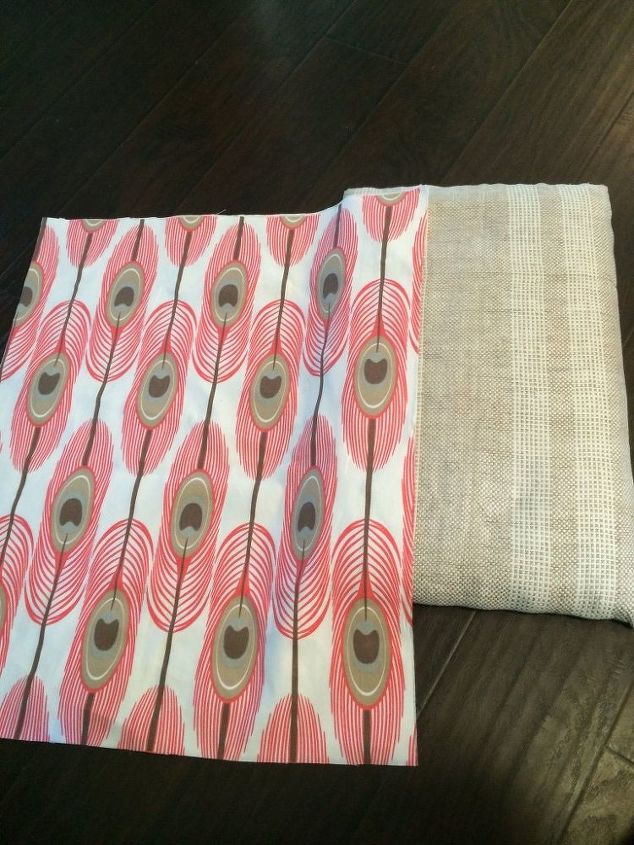
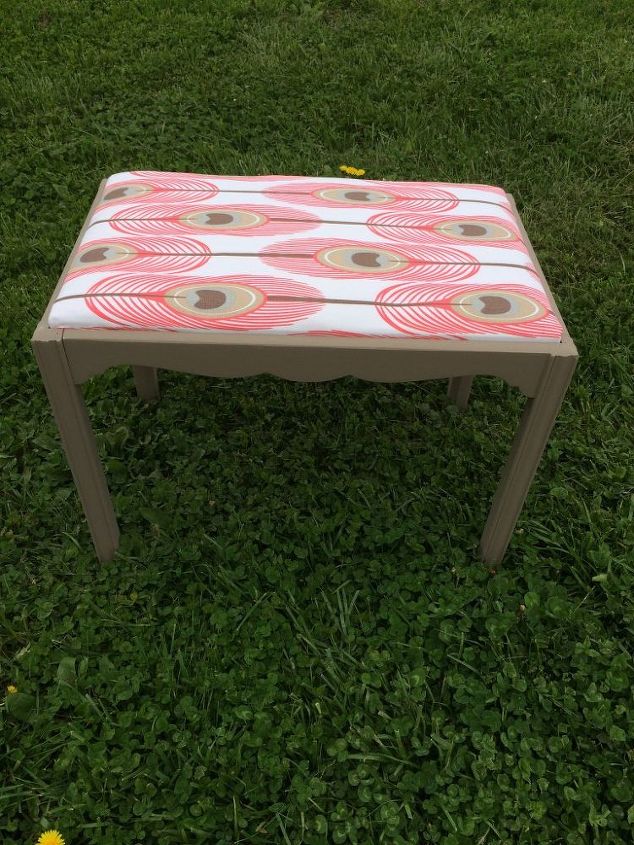
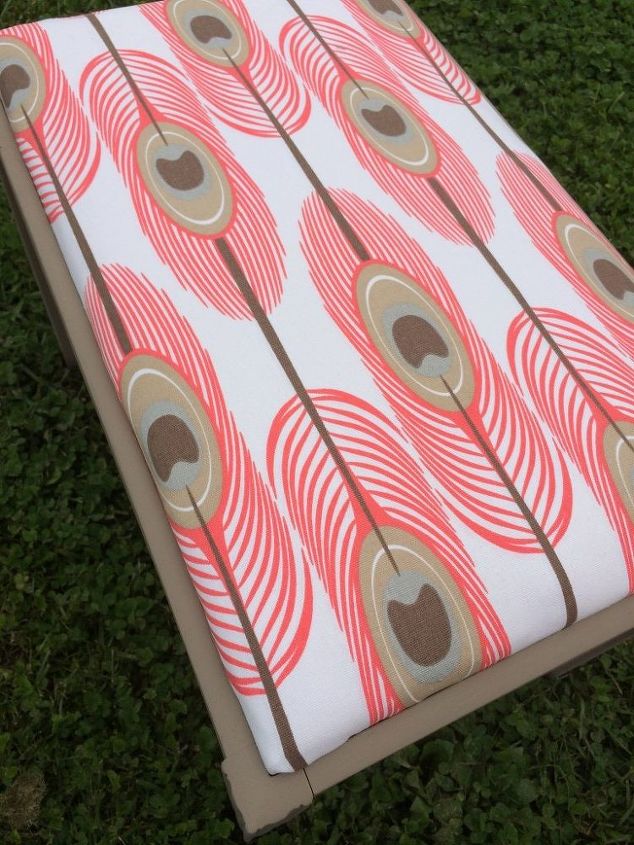
I liked the curvature alot, and I knew that to make this a super cute piece, all I needed was a little paint (would not take much at all) and some unique fabric.
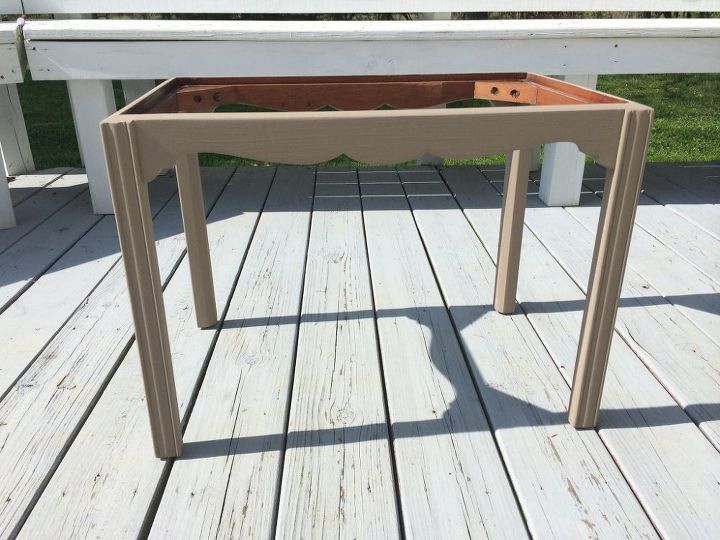
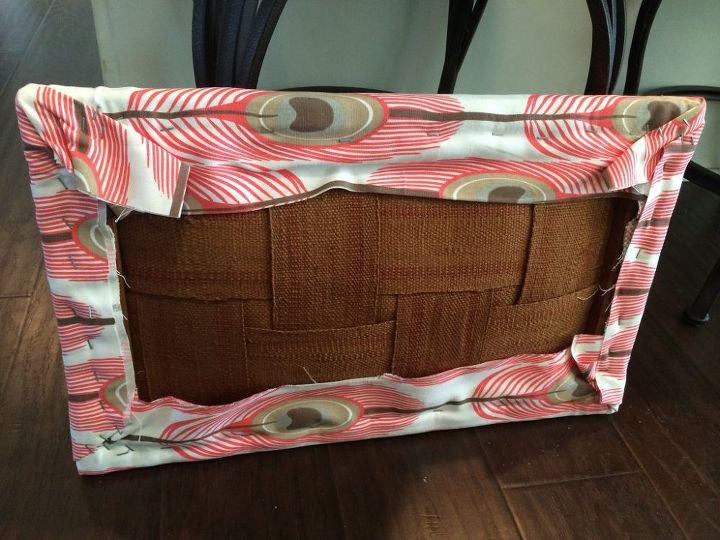
Once I had the seat removed and the wood painted, I started the upholstery portion. THIS is where I boo-boo’d at first. It took me double the time because of it, so LEARN FROM ME!
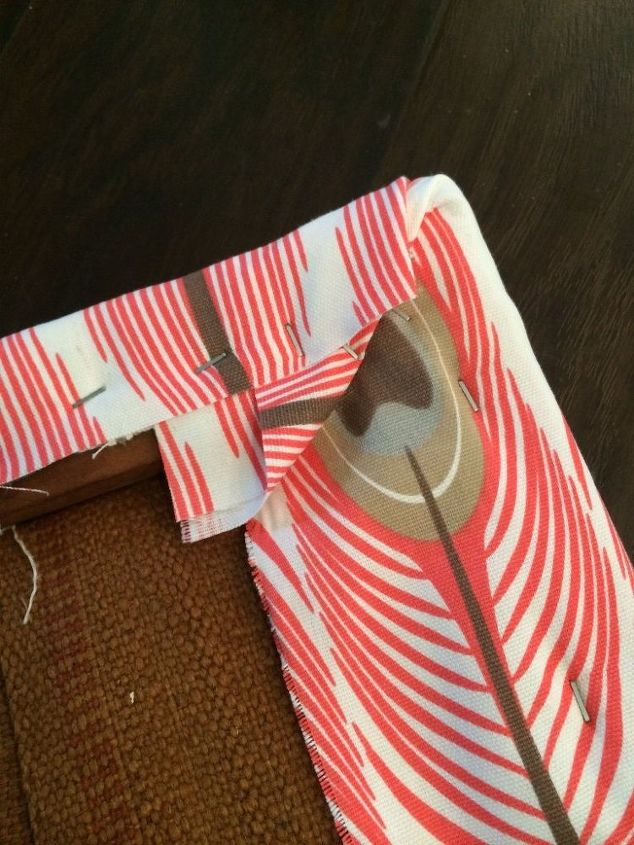
Now came the fun part (again)~ putting the seat on, screwing it back on…and my favorite part~ seeing the finished product!

Want more details about this and other DIY projects? Check out my blog post!
Comments
Join the conversation
3 of 93 comments
-
Very nice. I love the fabric. I am a blogger to. Awishforacure.blogspot.com
-
Very nice! I love the paint color and that adorable fabric is perfect. I would buy this bench in a heartbeat!


Frequently asked questions
Have a question about this project?