


How To Create Raised Stencil Effects With Embossing Plaster - Tutorial

With Country Chic’s clay-based Embossing Plaster you can create a beautiful texture on your piece as a whole, or form raised reliefs that look like they were part of the original piece. With a variety of colors to choose from, you can closely match the wood color of your piece.
Currently, Embossing Plaster is available in 3 colors in pint (16oz) cans:
Creamed Honey (light brown tone)
Praline (medium brown tone)
Roasted Chestnut (dark brown tone)
In this tutorial we'll show you how to create raised stencil effects with this wonderful product. If you'd rather watch a video, we also have a video tutorial available towards the bottom of this post!
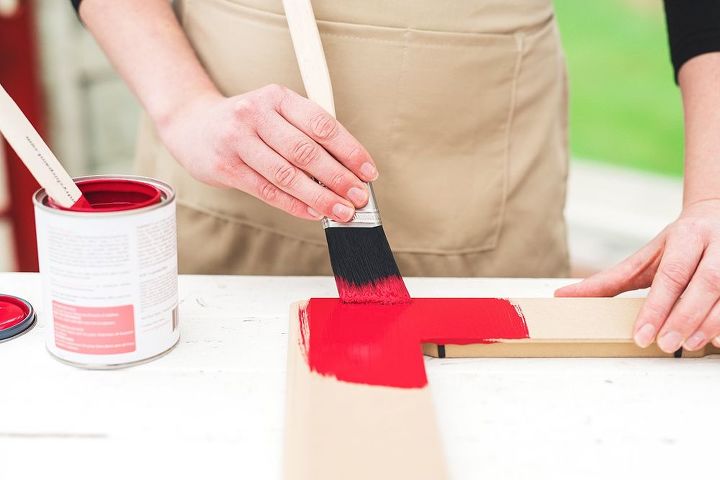
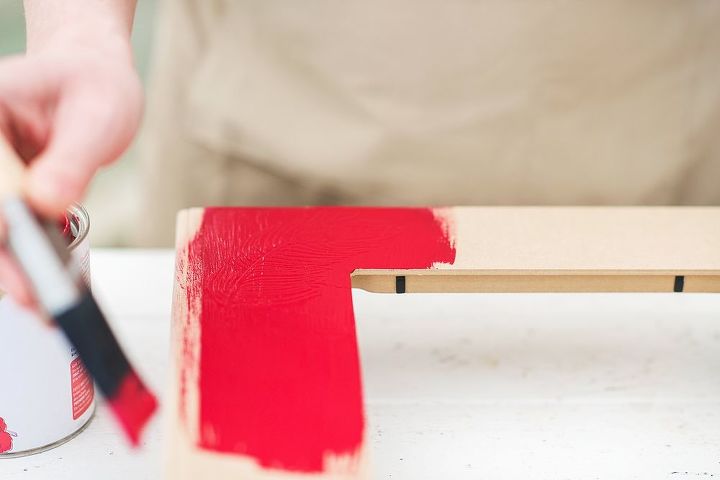
Step 1) Paint the surface
Step 3) Apply the plaster
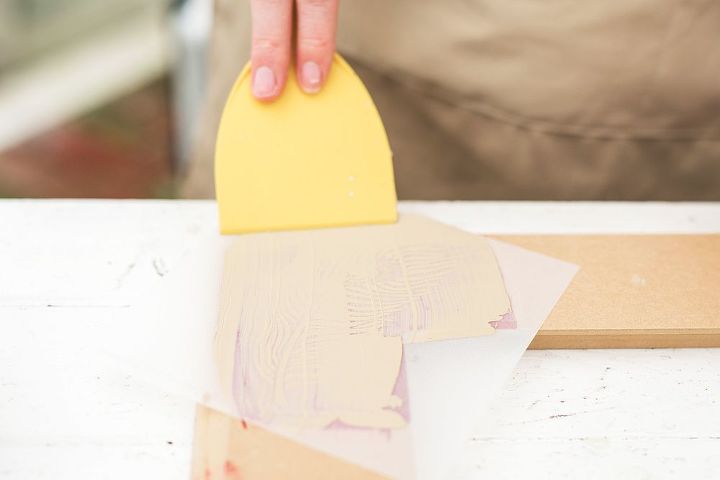
You can apply the Embossing Plaster as thinly or thickly as you like. Just remember that the plaster will crack if applied too thickly, which might even add to the effect, but it's something to keep in mind. Here, we're using a clean spatula to remove the excess plaster so that it's applied in the same thickness as the stencil.
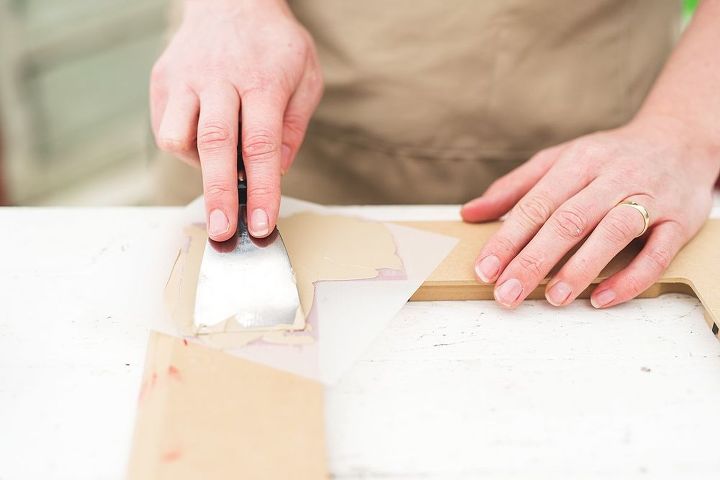
Step 4) Remove and clean your stencil
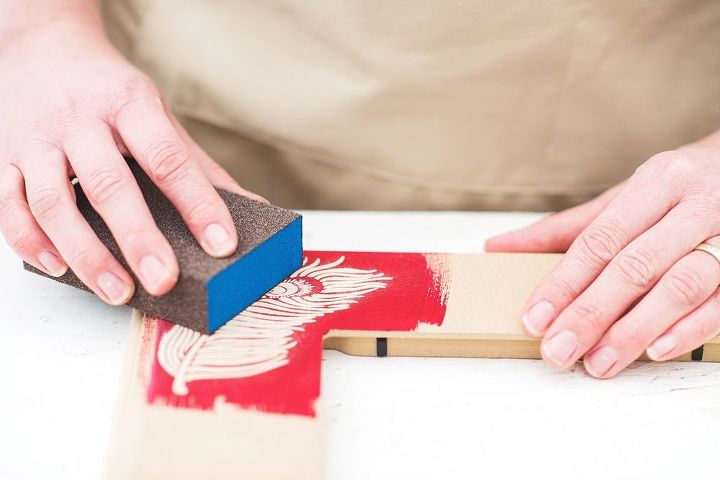
Step 5) Let it dry
Step 7) Finish your project
{
"id": "2863310",
"alt": "",
"title": "",
"video_link": "https://www.youtube.com/embed/WfCHtfwUiug",
"youtube_video_id": "WfCHtfwUiug"
}
{
"width": 634,
"height": 357,
"showRelated": true
}
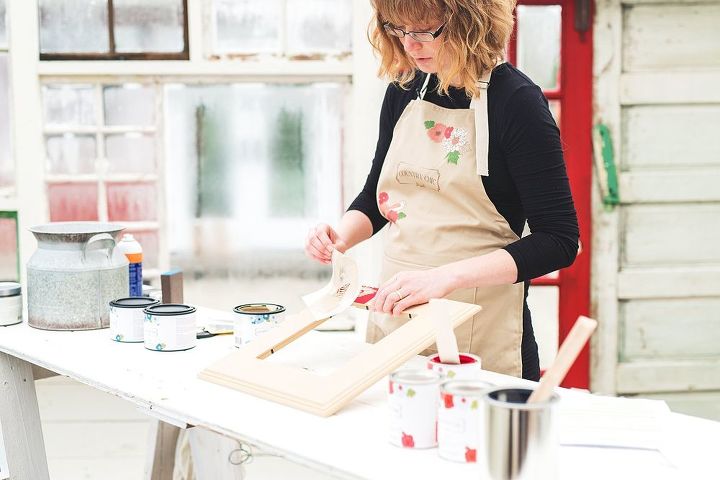
Watch this video to see company co-founder, Rosanne using Embossing Plaster first hand!


Frequently asked questions
Have a question about this project?