


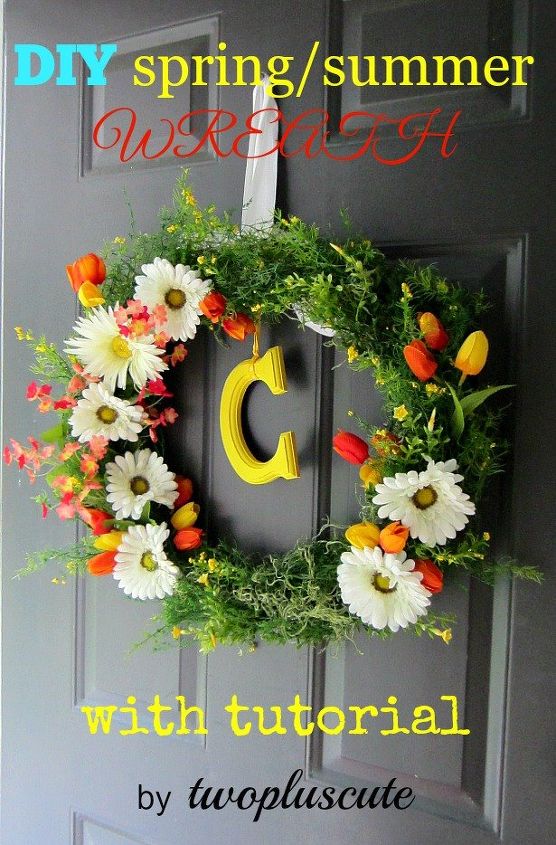
DIY Spring-Summer Wreath With Monogram – Tutorial

by
TwoPlusCute
DIY wreath for spring (or even for summer) with initial. Includes tutorial and I share a few tricks that I hope are helpful.

We had a surprisingly short and dry spring this year. It really felt like we went from winter straight to summer. I missed spring! So, when I decided to adorn our front door with a wreath, it seems that subconsciously I picked spring colors. My summer wreath looks suspiciously like a spring wreath.

Trick: First, arrange your creation until you find a design you like. Do not attach anything yet, this is just your sample and your inspiration. Take a photo (or more) and use it as a guide.
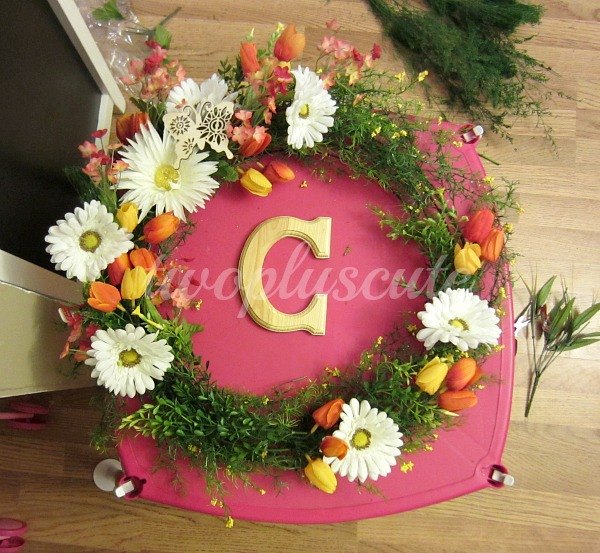
Our front door is painted in a grey with blue undertones, which is pretty dark. Any wreath for that space has to contrast with vivid and light colors. White, orange and yellow were my go-to colors and I added pale reds to soften the transition.
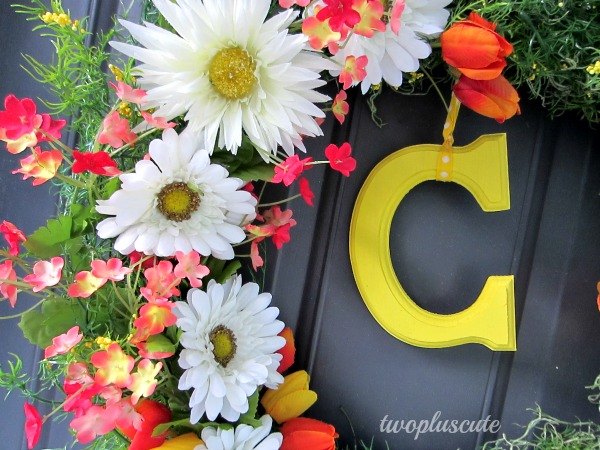
I hang the initial with yellow ribbon and added a wide white ribbon to hang the whole wreath.
Once I had started making it, I couldn't stop. I didn't sleep that night but when morning came and I hung my wreath at the front door, I felt it was worth it. :)
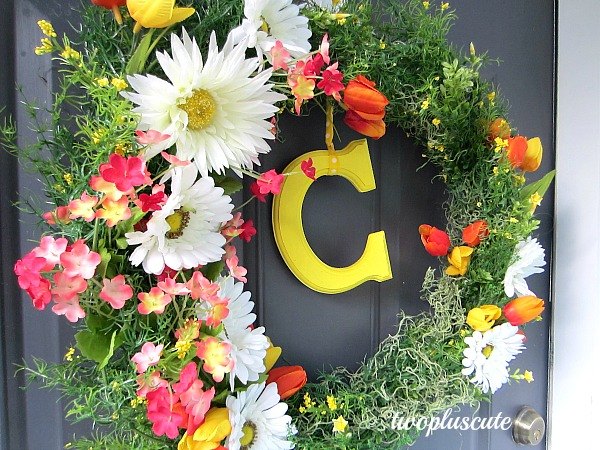
It makes me smile and it really pops out against the darker door.

Want more details about this and other DIY projects? Check out my blog post!
Comments
Join the conversation
2 comments
-
Oh my goodness I love this wreath idea!
-
It looks absolutely lovely!


Frequently asked questions
Have a question about this project?