


Affordable and Customized Vanity Organizing Drawer
Recently, people were asking me about my do-it-yourself vanity. You see, I share this vanity with my teenage daughter. She has her side and I have mine. Guess which side is mine? I think my side tends to be more organized than hers. Some of her things did not fit in any of the bins I had and it made it hard to closet the drawer. So, I decided to make my owner customized vanity dividers so everything will fit.
When we started sharing a vanity, this is how it looked. I used white drawer organizers that I purchased at the container store. They fit OK but there was about an inch of space in the back that wasn’t being used. And, you know, how much I don’t like wasted space. So, this just wouldn’t do.
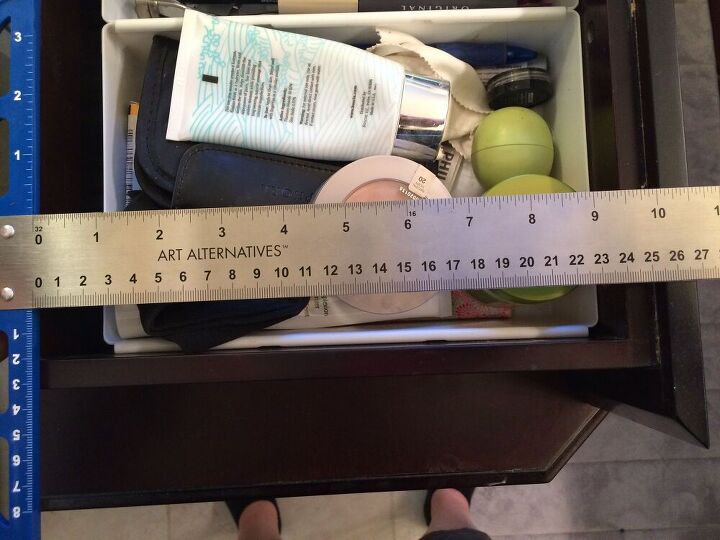
First, I measured the inside of the drawer. Since I was planning on dividing them up similar to the way I did it before, I measured the inside of the drawer only and took about 1/4 inch off the measurement to allocate space for the holders that are attached to the sides of the drawer.
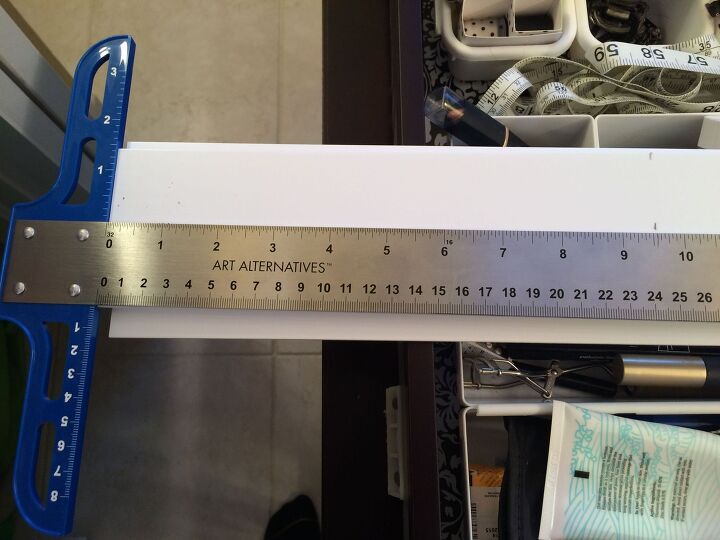
With the measurements of the space, I used my ruler and marked it on the dividers with a pencil.
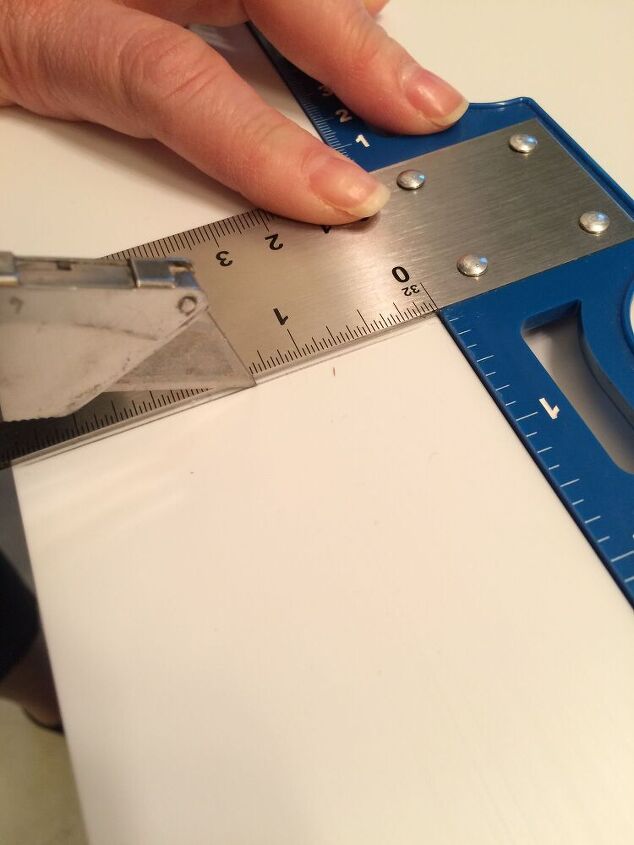
I then, marked the dividers and used a knife to score it. I scored it twice and then “snap”. I snapped into a clean edge. That’s it. Awesome, right! If only every organizing product was this easy. =) I then placed all the cut items into the drawer and arranged them with the end pieces. I didn’t adhere them yet. When I determined what I wanted to do, I then removed the adhesive ends. It took about an hour to cut, arrange, and adhere.
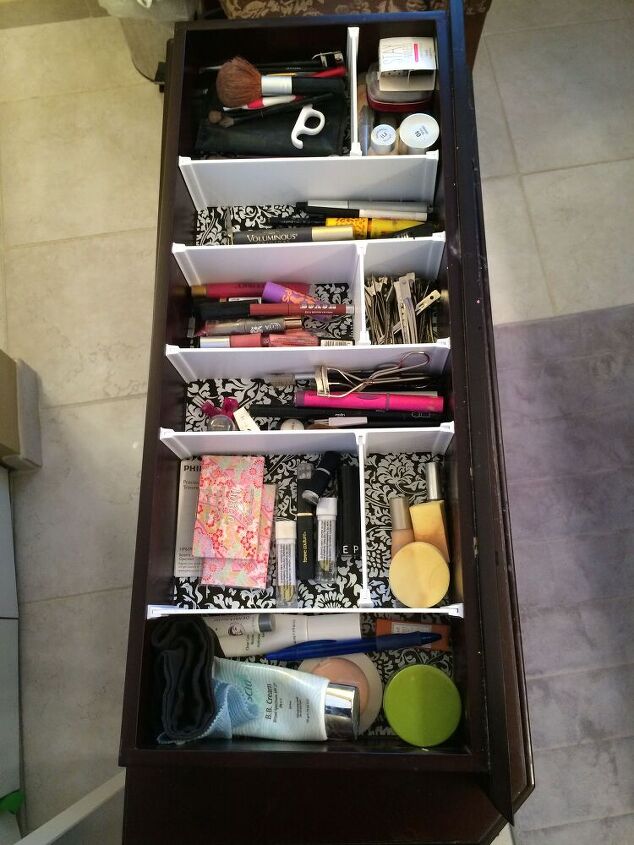
I removed the sticky backing of the holders and added the sides to the front and back of the drawer. I also added the holders to the sides of the dividers so I could create compartments. Pressing firmly to make sure it adhered to the dividers and drawer sides.
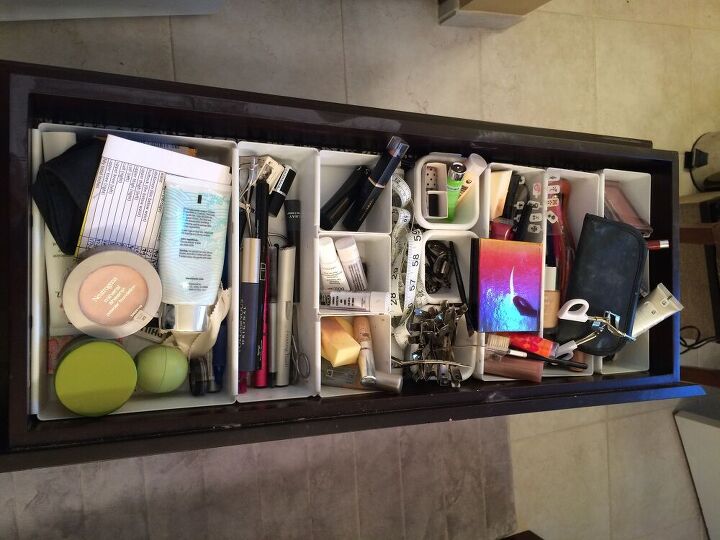
Then I added our makeup into the sections.
For very little money, I created a customized drawer divider unit in only a few hours. There were several things that did not fit properly before and now everything has their own home. YAY!


Frequently asked questions
Have a question about this project?